


The Art of the Mark: 6 Techniques for Wood Engraving

Wood engraving, a creative technique that has been used for centuries, allows artists to create intricate designs and images by carving into a smooth block of wood.
In this article, we will explore the top 6 wood engraving methods, spanning from the traditional hand carving technique to cutting-edge laser engraving, unveiling the tools essential for each approach.
Top 6 Wood Engraving Methods
1. Laser Engraving on Wood
This method uses a laser to etch the design onto the wood. It is precise, quick, and can be used to create intricate designs.
Laser wood engraving represents the pinnacle of modern engraving techniques, utilizing a concentrated laser beam to achieve intricate designs, including detailed 3D engravings.
While initially designated for industrial applications, desktop laser engravers now bring this technology to a user-friendly and accessible format.
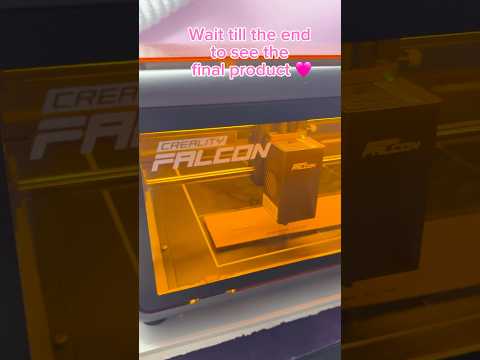
Video for laser engraving wood:
Tools Needed for Laser Engraving:
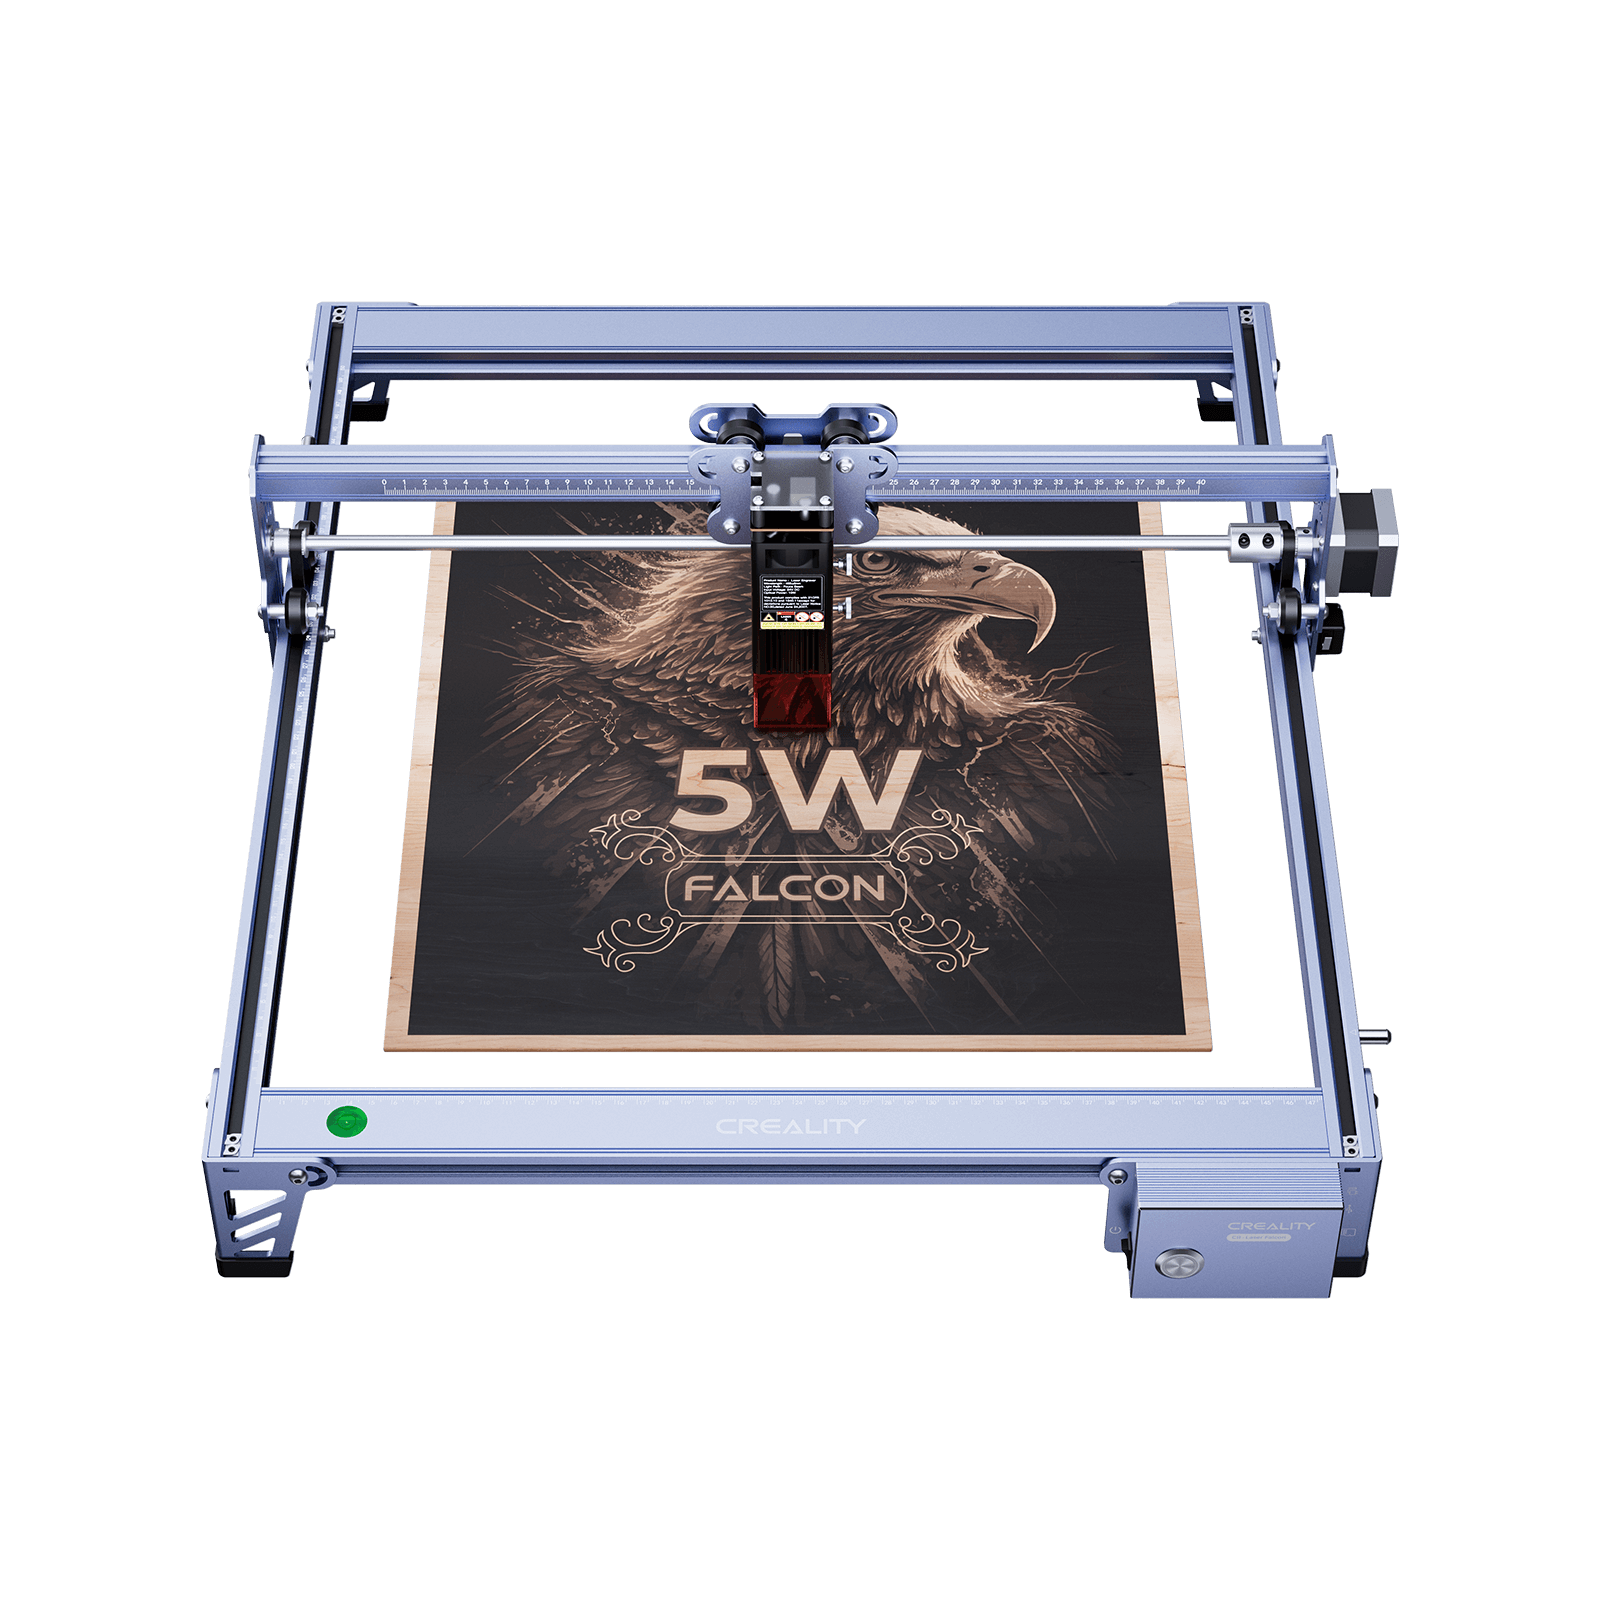
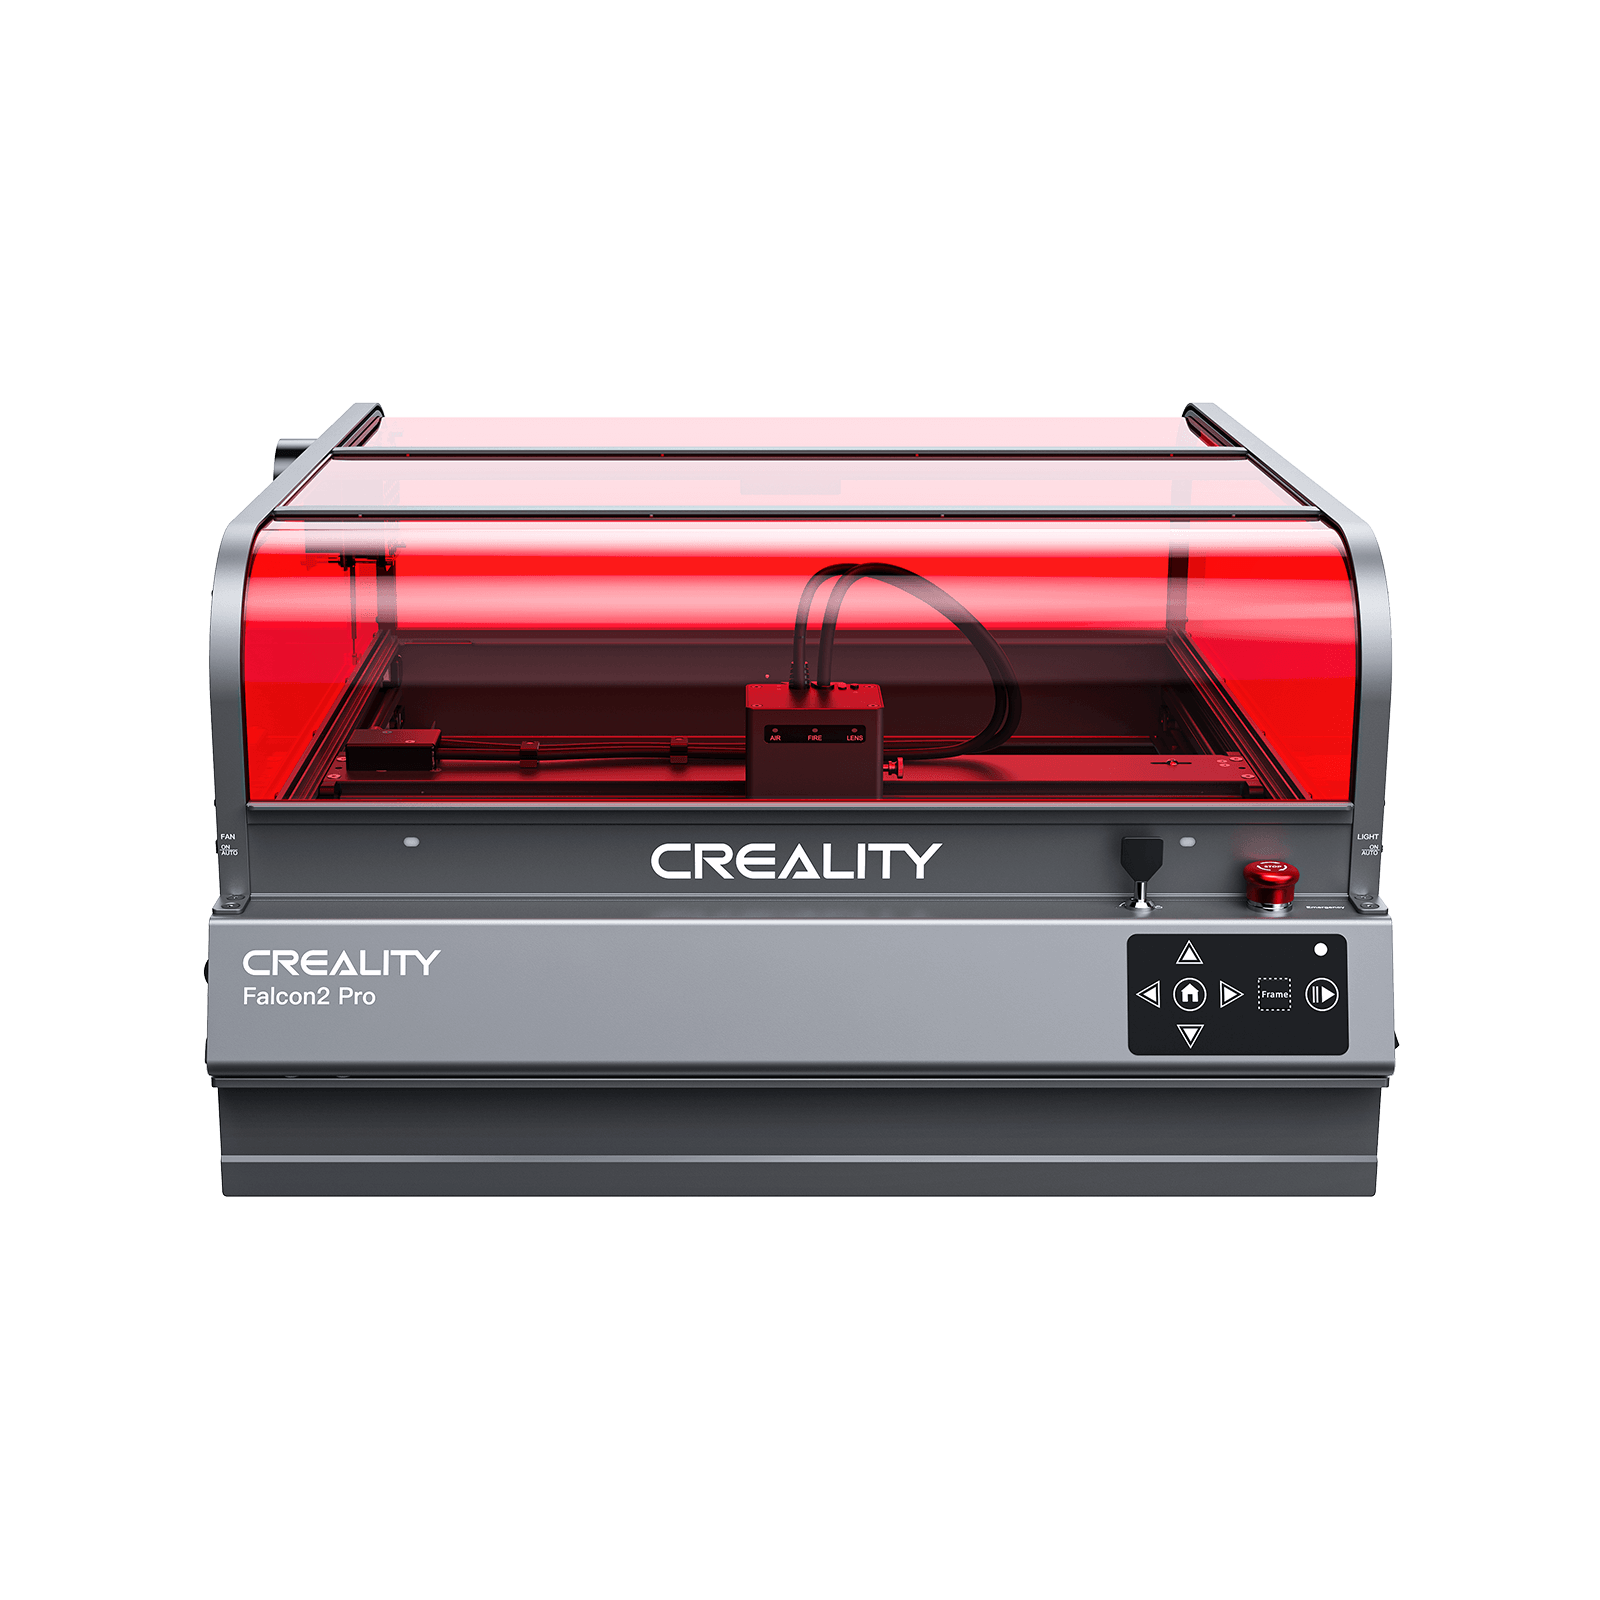
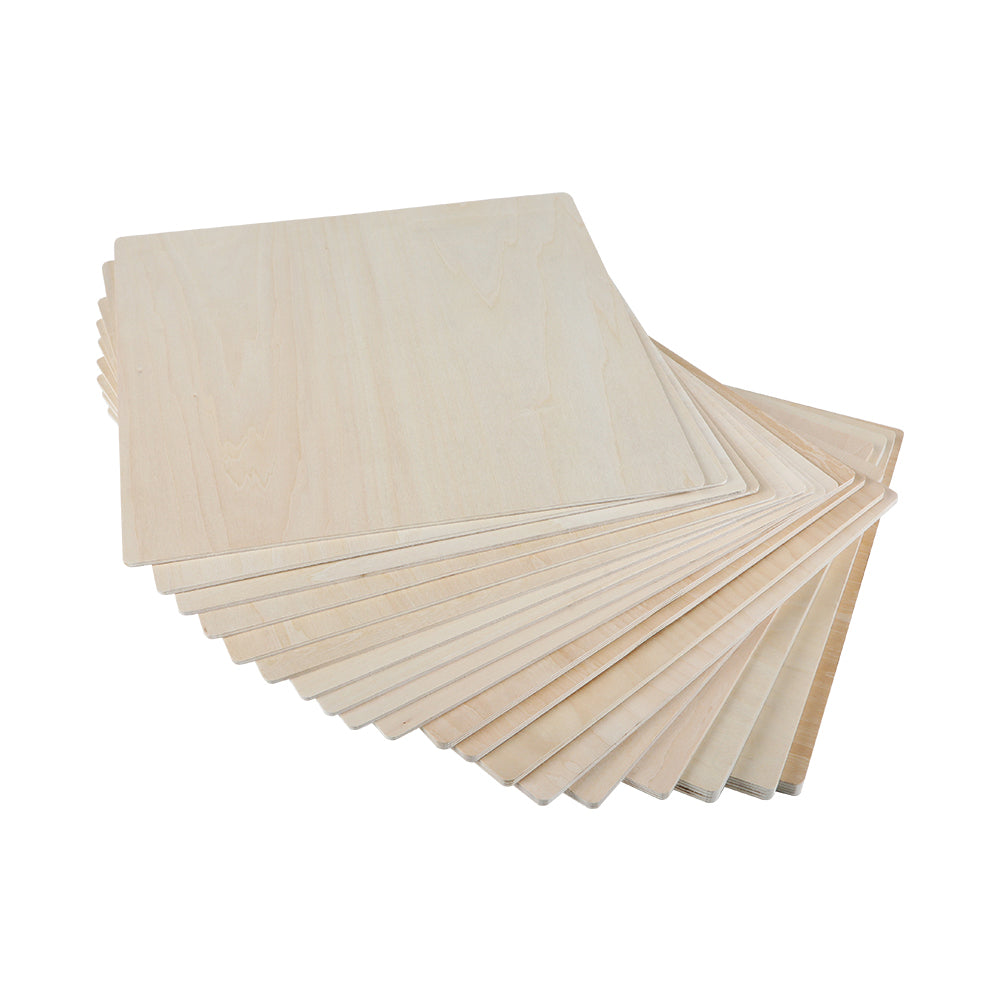
- Wood Laser Engraver: A desktop laser engraving machine, ideally between 10W to 40W, compatible with design software for graphic import and settings adjustment.
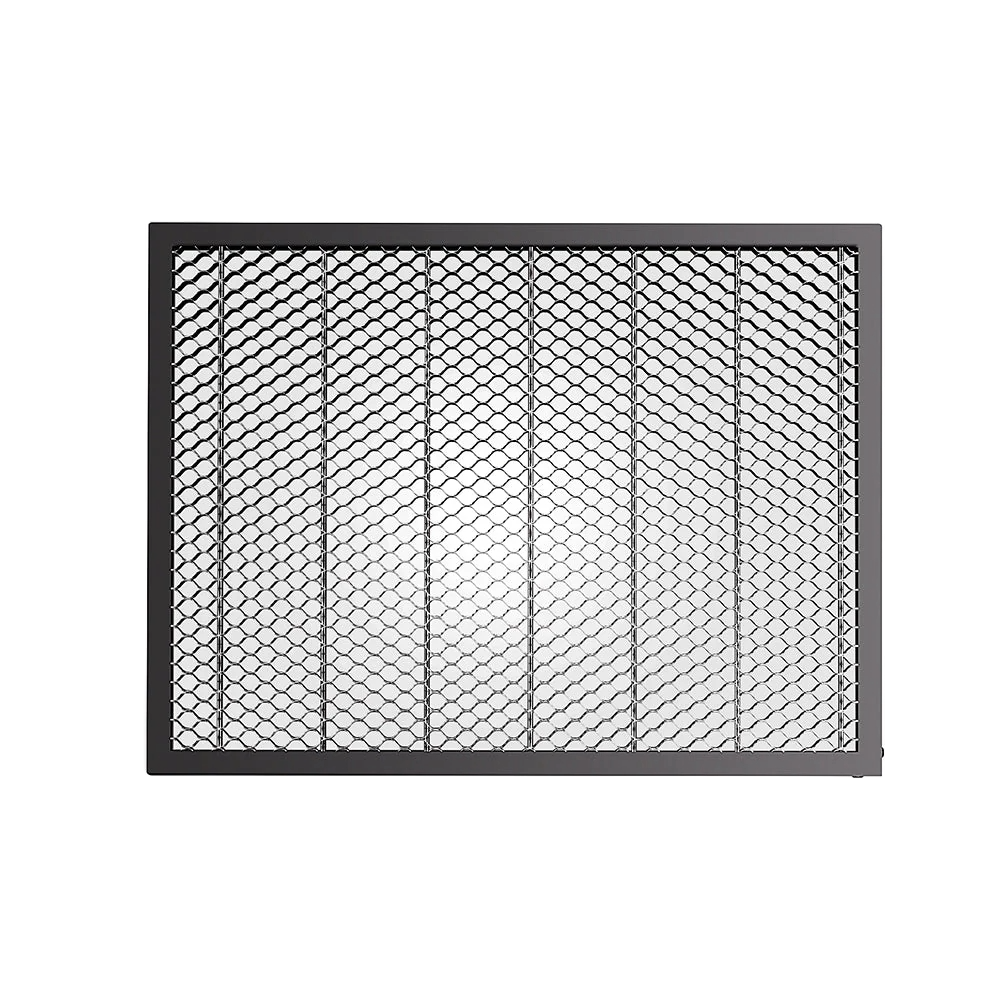
- Air Assist Set: Essential for reducing burnt marks on wood, this accessory uses compressed air to clear debris and smoke during engraving.
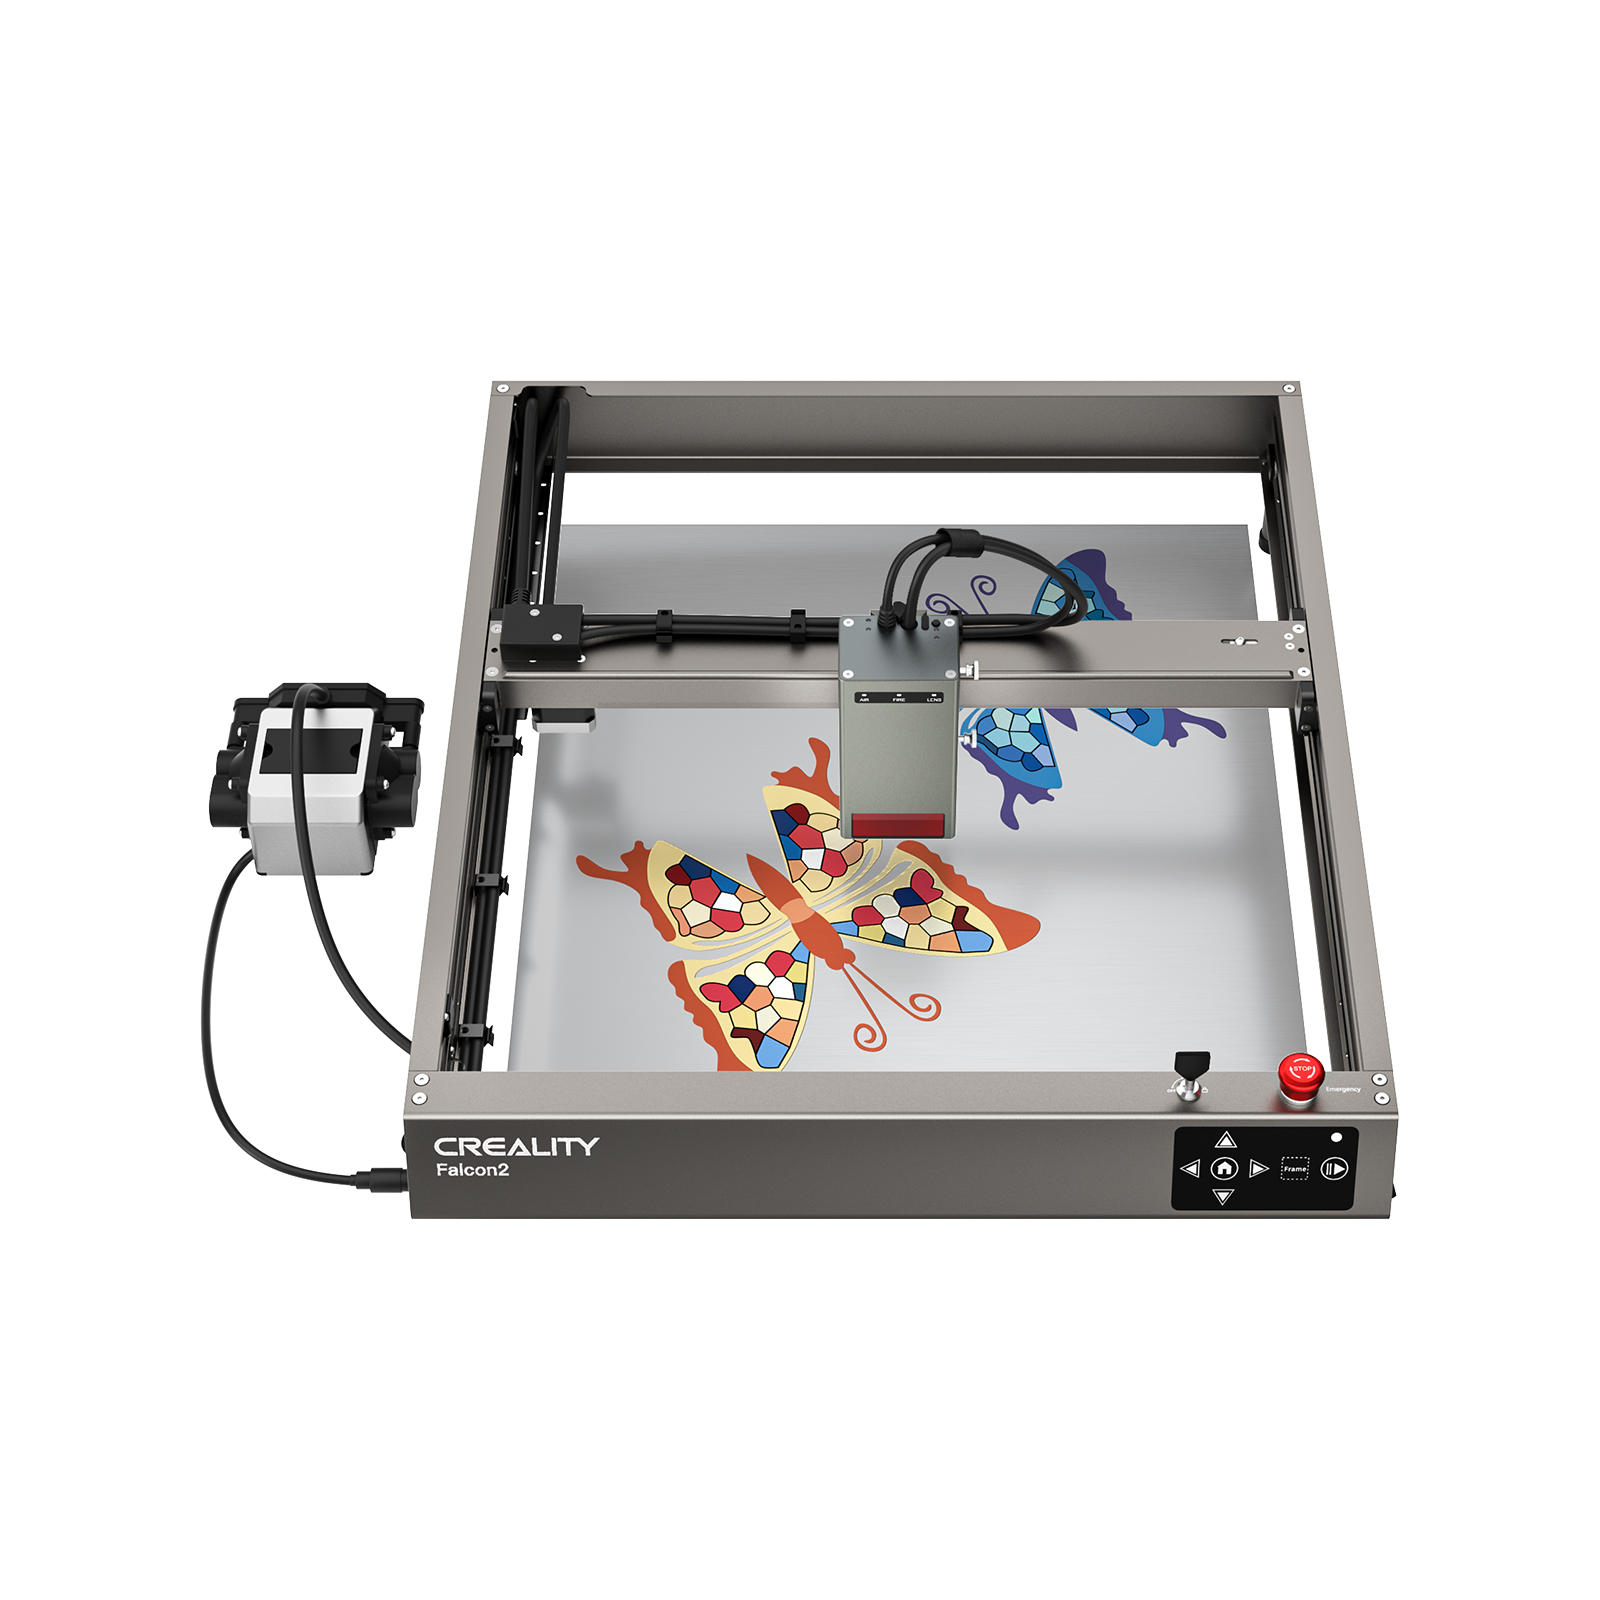
How to Laser Engrave Wood with Falcon2 40W Laser Engraver in 6 Steps:
- 1. Safety Measures & Setup: Ensure you wear safety glasses and work in a well-ventilated area due to potential toxic fumes from burnt wood. Unpack and set up your Creality Falcon2 40W Laser Engraver as per the user manual. This includes attaching the laser module to the CNC machine, connecting power cables, and interfacing with your computer.
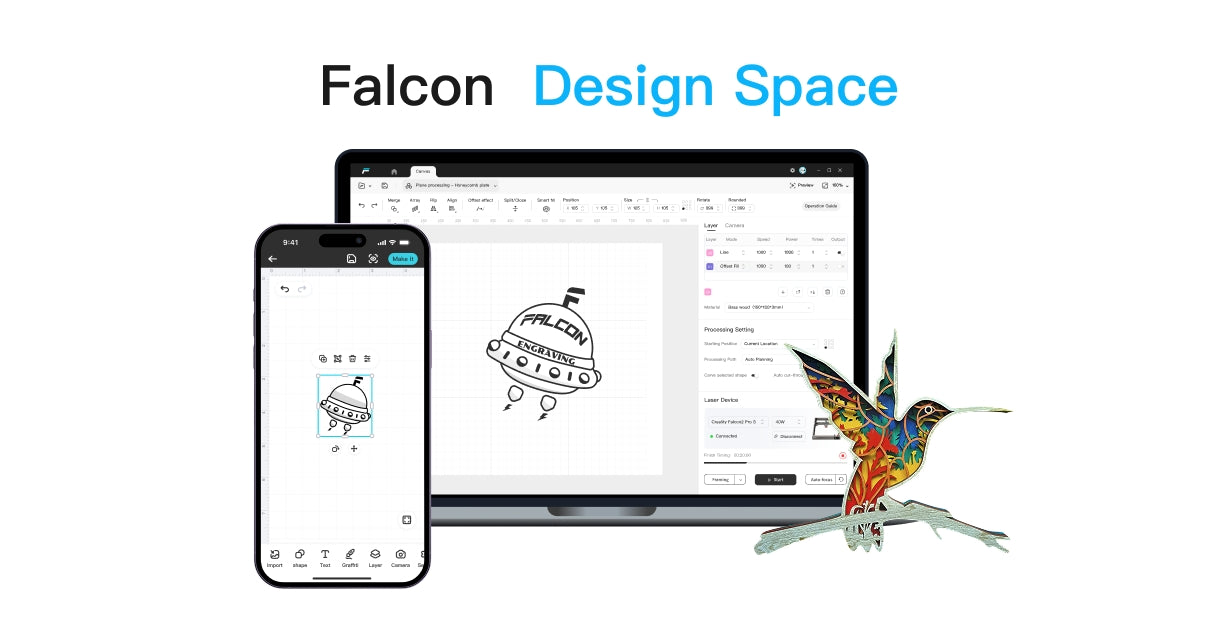
- 2. Software Installation & Design Preparation: Install the recommended engraver software, typically LightBurn or LaserGRBL. Use this software to create or import your design, making necessary adjustments to its size, position, and orientation to fit your wood piece.
- 3. Machine Configuration & Wood Preparation: Configure the software settings for your design, which includes adjusting the laser speed, power level, and pass number. Secure your wood piece to the engraving platform ensuring it's stable.
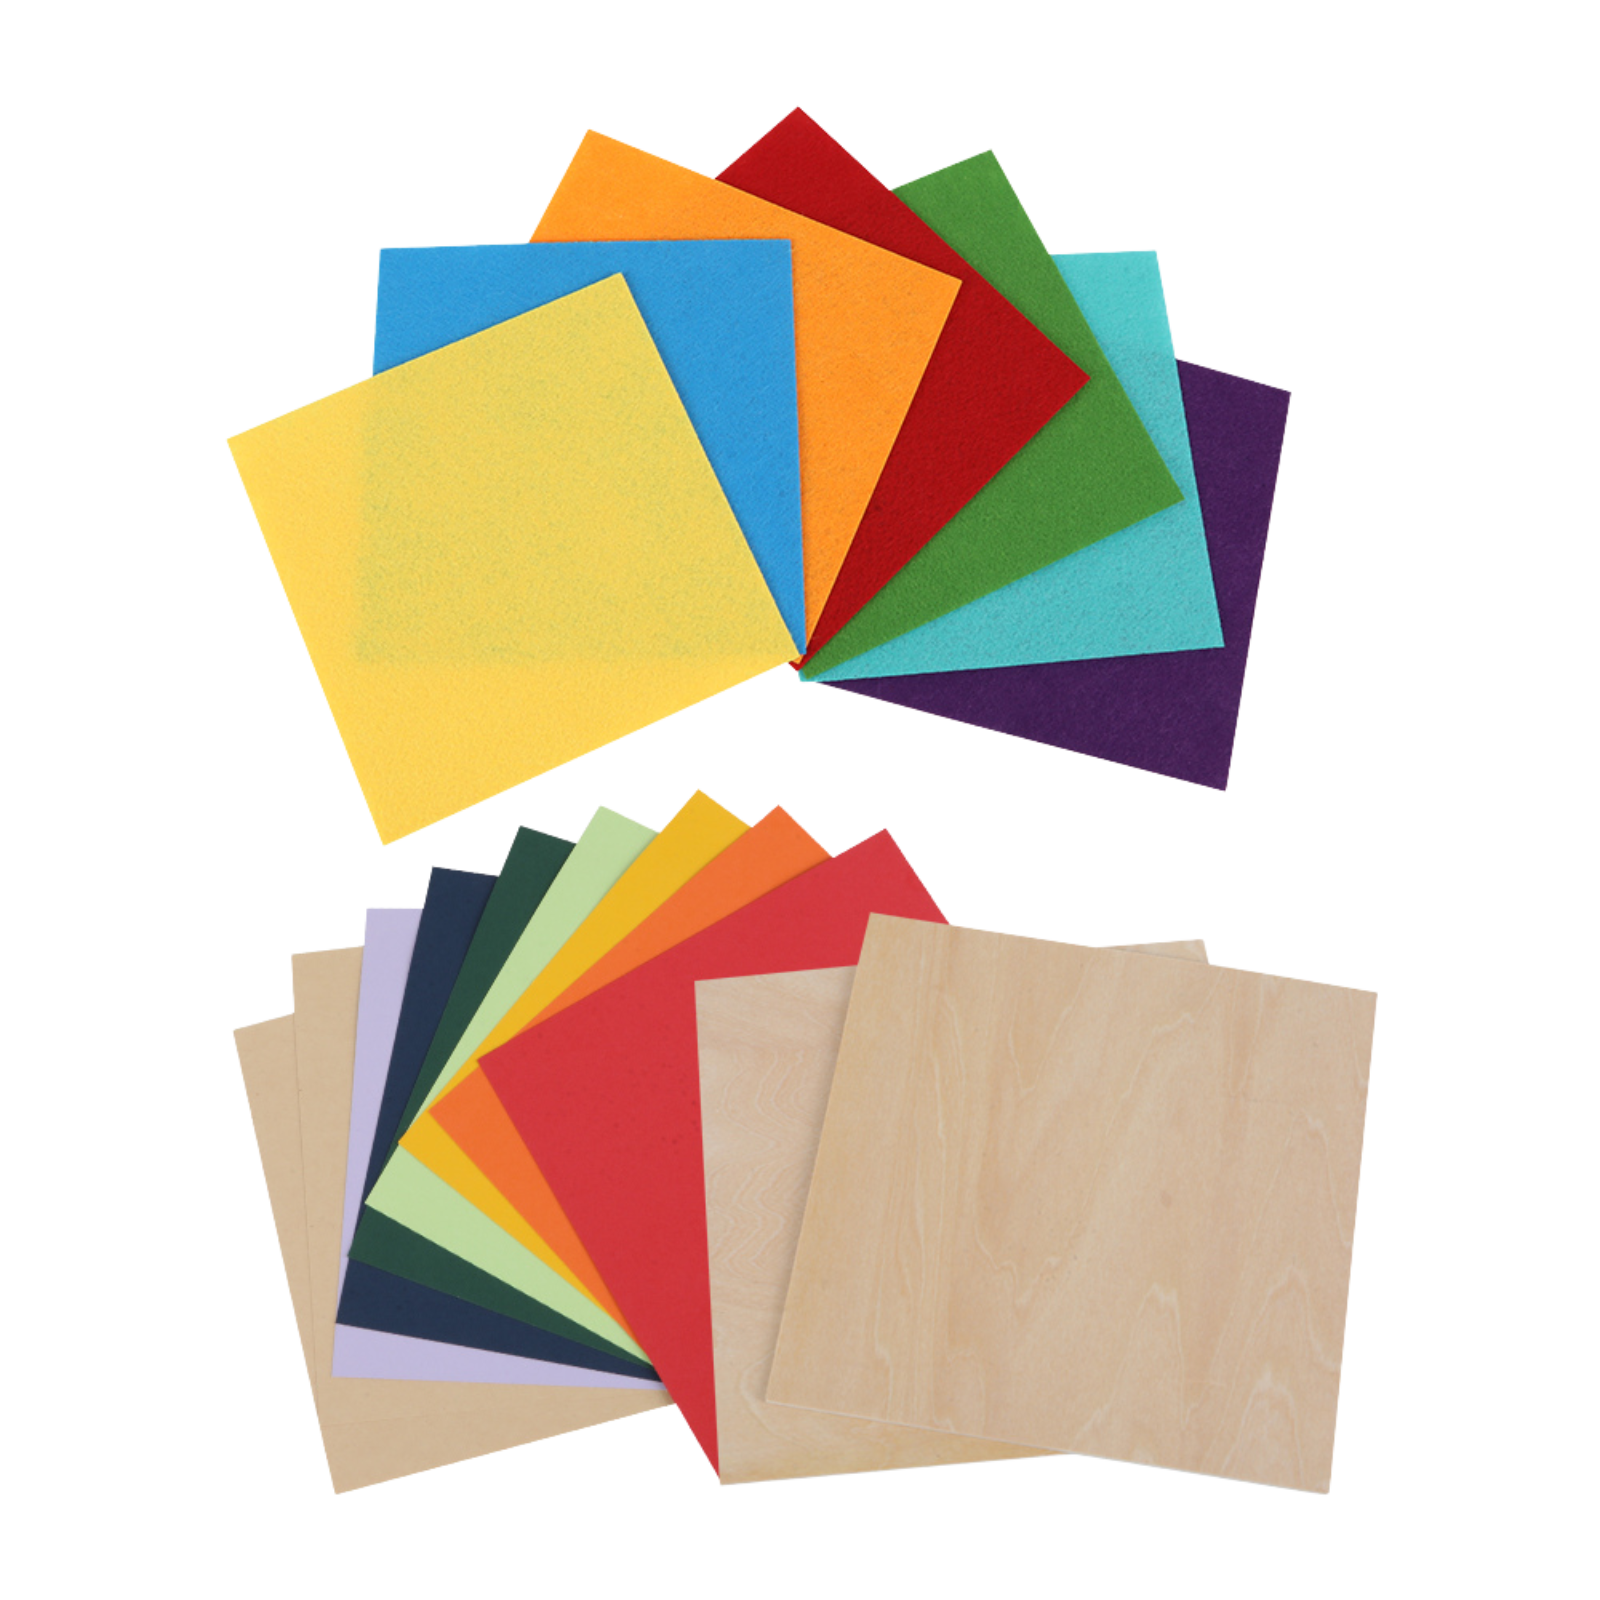
| Processing | Material |
Thickness (mm) |
Recommended Power(%) |
Recommended Work Speed (mm/min) |
Passes |
| Engraving | Basswood | 2 | 25 | 6000 | 1 |
| Walnut Plywood | 3 | 20 | 6000 | 1 | |
| Rosewood Plywood | 3 | 20 | 6000 | 1 | |
| Bamboo | 3 | 25 | 6000 | 1 | |
| Kraft Paper | 0.15 | 12 | 6000 | 1 | |
| Red Card Paper | 0.2 | 8 | 6000 | 1 | |
| Red Felt | 0.8 | 7 | 6000 | 1 | |
| Brown Leather | 0.65 | 12 | 6000 | 1 | |
| Black Opaque Glossy Acrylic | 3 | 26 | 4000 | 1 | |
| Purple Opaque Glossy Acrylic | 3 | 26 | 6000 | 1 | |
| Red Opaque Glossy Acrylic | 3 | 26 | 6000 | 1 | |
| Orange Opaque Glossy Acrylic | 3 | 26 | 6000 | 1 | |
| Green Opaque Glossy Acrylic | 3 | 26 | 6000 | 1 | |
| Red Transparent Acrylic | 3 | 12 | 3000 | 1 | |
| Yellow Transparent Acrylic | 3 | 12 | 3000 | 1 | |
| Green Transparent Acrylic | 3 | 12 | 3000 | 1 | |
| Black Frosted Acrylic | 3 | 22 | 3000 | 1 | |
| Orange Frosted Acrylic | 3 | 30 | 1200 | 1 | |
| Green Frosted Acrylic | 3 | 30 | 1200 | 1 | |
| Purple Frosted Acrylic | 3 | 30 | 1000 | 1 | |
| Anodized Aluminum | 3 | 30 | 6000 | 1 | |
| Brushed Stainless Steel | 2 | 40 | 6000 | 1 | |
| White Tile Painted Black | 6 | 28 | 4000 | 1 | |
| Cutting | Basswood | 2 | 100 | 1000 | 1 |
| 3 | 100 | 850 | 1 | ||
| 5 | 100 | 700 | 1 | ||
| 8 | 100 | 400 | 1 | ||
| 10 | 100 | 300 | 1 | ||
| 15 | 100 | 150 | 1 | ||
| Walnut Plywood | 3 | 100 | 750 | 1 | |
| 5 | 100 | 600 | 1 | ||
| Rosewood Plywood | 3 | 100 | 750 | 1 | |
| 5 | 100 | 600 | 1 | ||
| Bamboo | 5 | 100 | 800 | 1 | |
| Kraft Paper | 0.2 | 40 | 4000 | 1 | |
| Red Card Paper | 0.2 | 30 | 4000 | 1 | |
| Red Felt | 0.8 | 35 | 4000 | 1 | |
| Brown Leather | 0.65 | 70 | 4000 | 1 | |
| Black Acrylic | 4.6 | 100 | 180 | 1 | |
| 7.6 | 100 | 120 | 2 | ||
| Purple Opaque Glossy Acrylic | 3 | 30 | 120 | 2 | |
| Red Opaque Glossy Acrylic | 3 | 30 | 120 | 1 | |
| Orange Opaque Glossy Acrylic | 3 | 30 | 120 | 2 | |
| Green Opaque Glossy Acrylic | 3 | 30 | 120 | 3 | |
| Red Transparent Acrylic | 3 | 30 | 120 | 3 | |
| Yellow Transparent Acrylic | 3 | 30 | 120 | 2 | |
| Green Transparent Acrylic | 3 | 30 | 120 | 3 | |
| Black Frosted Acrylic | 3 | 30 | 180 | 1 | |
| Orange Frosted Acrylic | 3 | 30 | 120 | 3 | |
| Green Frosted Acrylic | 3 | 30 | 120 | 3 | |
| Purple Frosted Acrylic | 3 | 30 | 120 | 3 |
- 4. Test Run: Conduct a trial engraving on a scrap piece of wood using the same settings to verify everything is in order.
- 5 .Engraving & Monitoring: Start the engraving process, closely observing to ensure everything is going as planned and no safety issues arise.
- 6. Cleanup & Finishing Touches: Once the engraving is done, clean up any debris from the machine and work area. Carefully remove the engraved wood as it may be hot. Optionally, apply a sealant or varnish to protect the engraving and enhance the wood's appearance. Always adhere to the manufacturer's instructions and safety guidelines while using the laser engraver.
2. Router Engraving
This technique uses a router to carve out the design. It is ideal for larger designs and works well for signs or large plaques. It requires some experience and skill to use a router properly.
Post-engraving, cleaning is essential. Rubbing alcohol and a paper towel or a nail brush can be used, especially if there are shards. Alternatively, application tape is another option to maintain a smooth surface and prevent roughness.
Router engraving allows for greater accuracy and consistency than traditional hand carving, making it ideal for detailed and precise work. The depth of the engraving can be easily controlled by adjusting the router, allowing for a range of effects from fine lines to deep grooves.
This technique is commonly used in woodworking for decorative purposes, such as creating ornate furniture or intricate wooden signs. However, it also has practical applications, such as engraving identification numbers or labels onto wooden items.
3. Wood Engraving by Power Tools
This method, a modern adaptation of hand carving, retains the essence of manual craftsmanship while leveraging electrically powered tools for increased speed, precision, and efficiency. The introduction of power tools has not diminished the skill required but has empowered woodworkers to achieve intricate designs in less time.
Power Tools for Engraving Wood:
- Power Chisel: An electrically driven version of the hand chisel, it operates without manual force and offers adjustable speed settings for detailed work.
- Dremel Rotary Tool: Known for its high-speed rotation, the Dremel comes with various attachments, making it versatile for detailed wood engraving.
- Router: Originally used for hollowing, a router can also be employed for engraving with the right bit, especially for large patterns.
How to Engrave Wood with a Dremel:
- Preparation: Choose a smooth, flat wood piece, preferably softwood for beginners.
- Get a Printed Design: Use a black and white printed design as a blueprint for engraving.
- Transfer the Design: Place the printed design on the wood and outline it using a Dremel or carbon paper.
- Pen Outlining: Go over the initial outline with a pen, connecting holes to form a design. Engrave with the Dremel: Carefully engrave along the pen-outlined design with the Dremel, adjusting depth as needed.
- Engrave with the Dremel: Carefully engrave along the pen-outlined design with the Dremel, adjusting depth as needed.
- Sand Inside Engraving: Switch to a sanding bit and gently sand inside the engraved areas to smooth rough spots.
- Surface Sanding: Smooth the outside with fine grit sandpaper, removing wood dust by inverting the piece.
- Add Acrylic Paint: Paint inside the engraved design with complementary acrylic paint.
- Remove Excess Paint: After drying, use fine-grit sandpaper to remove excess paint outside the engraved areas.
4. Hand Engraving
Wood engraving by hand, often referred to as carving, stands as the oldest and most traditional method of engraving wood. In stark contrast to contemporary machinery-dependent methods, hand carving is a manual process demanding patience, precision, and an intimate knowledge of the wood's grain and texture.
The tools required for hand carving are robust, typically crafted from high-quality metal and devoid of moving parts. This absence of mechanization allows artisans to meticulously remove wood in controlled amounts, crafting intricate designs with a personalized touch. Despite the advent of modern methods, hand carving remains a favored choice for those who value authenticity and uniqueness, finding applications in furniture design requiring pattern carving.
Tools Needed for Hand Engraving:
- Wood Burning Pen: A Heated tool for burning designs onto the wood surface.
- Interchangeable Tips: Attachments for the pen, providing various shapes and sizes for different effects.
- Sanding Paper: Prepares the wood surface for smooth burning.
- Cleaner Brush: Clears away residue and charred wood particles.
How to Perform Wood Burning:
5. Pyrography
Also known as wood-burning, this method uses a heated tool to burn the design into the wood.This method allows for diverse artistic expressions, creating rustic, etched designs that accentuate the wood's natural grain.
Tools Needed for Wood Burning:
- Chisels: Available in various widths and shapes, chisels serve to remove wood precisely. They are marked with sweep and width values, indicating curvature and cut size, respectively.
- Gouge: Featuring a rounded or U-shaped cross-section, gouges are ideal for hollowing or creating rounded cuts.
- Carver’s Mallet: Uniquely round-shaped, this mallet evenly distributes force when striking chisels and gouges, allowing control over depth and direction.
- Veiner: A specialized gouge with a V-shaped blade, veiners create fine lines or veins in a carving, adding intricate details.
How to Perform Wood Burning:
- Wood Surface Preparation: Use sandpaper to ensure a smooth, coating-free, and moisture-free surface.
- Design Sketching: Lightly sketch or transfer a design onto the wood using a pencil or sticker paper.
- Ventilated Workspace: Work in a well-ventilated area, using an exhaust fan, safety goggles, and a dust mask.
- Heat the Wood Burning Tool: Plug in and allow the tool to heat up, indicated by a light.
- Choose the Appropriate Tip: Select a tip based on the desired design effect.
- Trace and Burn: Hold the tool steadily and trace over the design, adjusting temperature for shading.
- Adjustable Temperature: Use lower temperatures for lighter shades and higher temperatures for darker shades.
- Artistic Expression: Utilize dots, lines, and shading to bring the design to life, adjusting burn time for varying shades.
6. CNC Wood Engraving
CNC wood engraving seamlessly merges traditional woodworking with modern technology, relying on computer-controlled movements to guide specialized tools in carving out designs.
Whether for industrial projects or detailed 3D carvings, CNC machines provide precision and efficiency.
Tools Needed for CNC Wood Engraving:
- CNC Machine: Utilizes computer-controlled movements for precise engraving on wood.
- Router Bits: Various shapes and sizes for different engraving effects.
- Clamps & Hold-Downs: Ensure secure wood positioning during engraving.
- Safety Gear: Goggles, ear protection, and dust masks for user safety.
How to Engrave Wood with a CNC Router:
- Design Preparation: Use CAD software to create intricate patterns suitable for engraving, saving in a compatible format.
- Setting Up the CNC Router: Secure the wood, choose an appropriate router bit, and level the piece for precision.
- Machine Calibration: Set the starting point and activate dust collection if available.
- Starting the Engraving Process: Load the design file, initiate the engraving process, and monitor the CNC machine's progress.
- Post-Engraving: Remove the wood, clean away debris, lightly sand the engraved area, and apply a wood finish for protection.
FAQs about Wood Engraving
1. What are the advantages of choosing hand carving over modern methods for wood engraving?
Hand carving, despite being a traditional method, offers authenticity and uniqueness to engraved designs. It allows craftsmen to have a personal touch, understanding the wood's grain and texture, creating intricate patterns with patience and precision.
2. Can power tools like the Dremel be used for both broad and detailed wood engraving, and how do they compare to traditional hand carving
Yes, power tools like the Dremel are versatile, suitable for both broad and detailed wood engraving. While they retain the essence of manual craftsmanship, they enhance speed and precision. Compared to traditional hand carving, power tools empower artisans to achieve intricate designs in less time.
3. How does laser wood engraving achieve detailed 3D designs, and what makes it a pinnacle in modern engraving techniques
Laser wood engraving employs a concentrated laser beam to burn or vaporize the wood's surface with unparalleled precision, resulting in detailed 3D designs. It stands as a pinnacle in modern engraving due to its ability to create intricate patterns with exceptional accuracy, making it suitable for a wide range of applications.
4. What's the Best Way to Engrave Wood at Home
To engrave wood in the comfort of your own home, you can go traditional with chisels and gouges or choose a modern technique with a desktop laser cutter. A laser cutter offers precision and ease of use, akin to operating a standard printer.
5. What Type of Wood Should I Use for Etching
When it comes to etching, opt for lighter woods such as pine, alder, and balsa. These softwoods offer a beautiful contrast once etched and are more user-friendly, accommodating both hand tools and machinery.
Final Thoughts!
From the traditional relief cutting and intaglio engraving to the modern laser engraving, each method provides its unique set of challenges and aesthetic qualities.
Whether you are an aspiring artist or an experienced printmaker, mastering these top six techniques will expand your creative horizons and allow you to express your artistic vision through the timeless medium of wood.
For those keen on embarking on the journey of wood engraving or looking to refine their skills, the Falcon2 40W Laser Engraver comes highly recommended. This state-of-the-art tool allows precision and ease, transforming the way you approach wood engraving.
Recent News

Creality Falcon 12th Anniversary Sale: How to Get the Best Deals
Discover the Creality Falcon 12th Anniversary Sale with up to $1500 off. Compare prices, find the biggest discounts,...

Top 5 xTool Alternatives & Competitors (2026 Edition)
In the market for a laser cutter but not sure about xTool? This Best 5 xTool Alternatives (2026...

Cutting Acrylic with a Laser Cutter: Complete Guide
Learn how to cut acrylic with a laser cutter, including settings, safety tips, cast vs extruded acrylic, and...