


Master Laser Cutting Speed and Power Chart Now
In this blog, we’ll explain how laser cutter speed and power affect your cuts with your laser engravers, what impacts your results, and how to create your go-to cheat sheet for different materials.
Let’s turn you into a laser cutting pro without the guesswork.
How Speed and Power Work Together in Laser Cutting
Think of laser cutting like toasting bread: you can crank the heat (power) or slow down the movement (speed), but the goal is the perfect slice, not a charred mess.
- Speed controls how fast the laser head moves over your material.
- Power controls how intense the laser beam is.
In most cases:
- Higher power + slower speed = deeper cuts.
- Lower power + faster speed = lighter marks or surface engraving.
Balancing these two factors is crucial because the wrong settings can lead to incomplete cuts, burnt edges, or excessive charring.

Diode lasers require more careful tuning since they’re less powerful than CO₂ lasers, but great for fine detail work.
What Really Affects Your Laser Cutting Speed
Your chart is just a starting point; real-world factors can change everything:
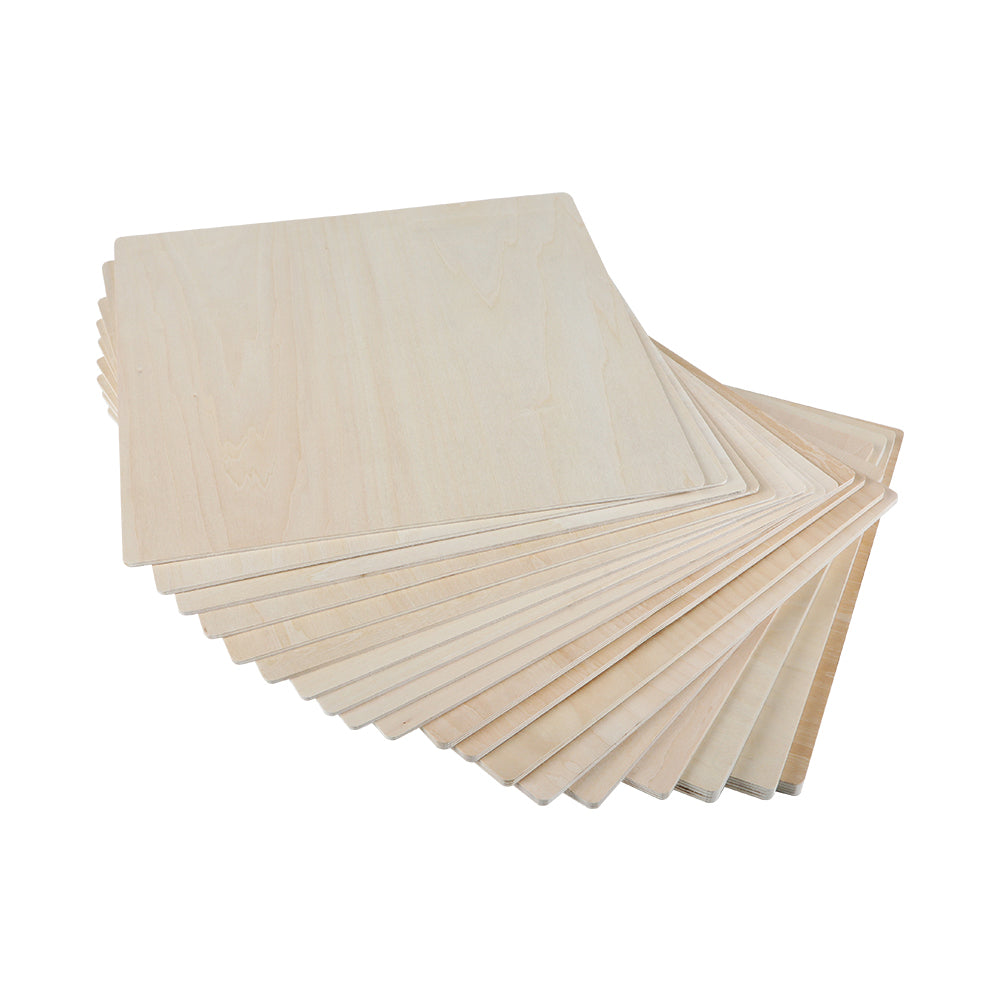
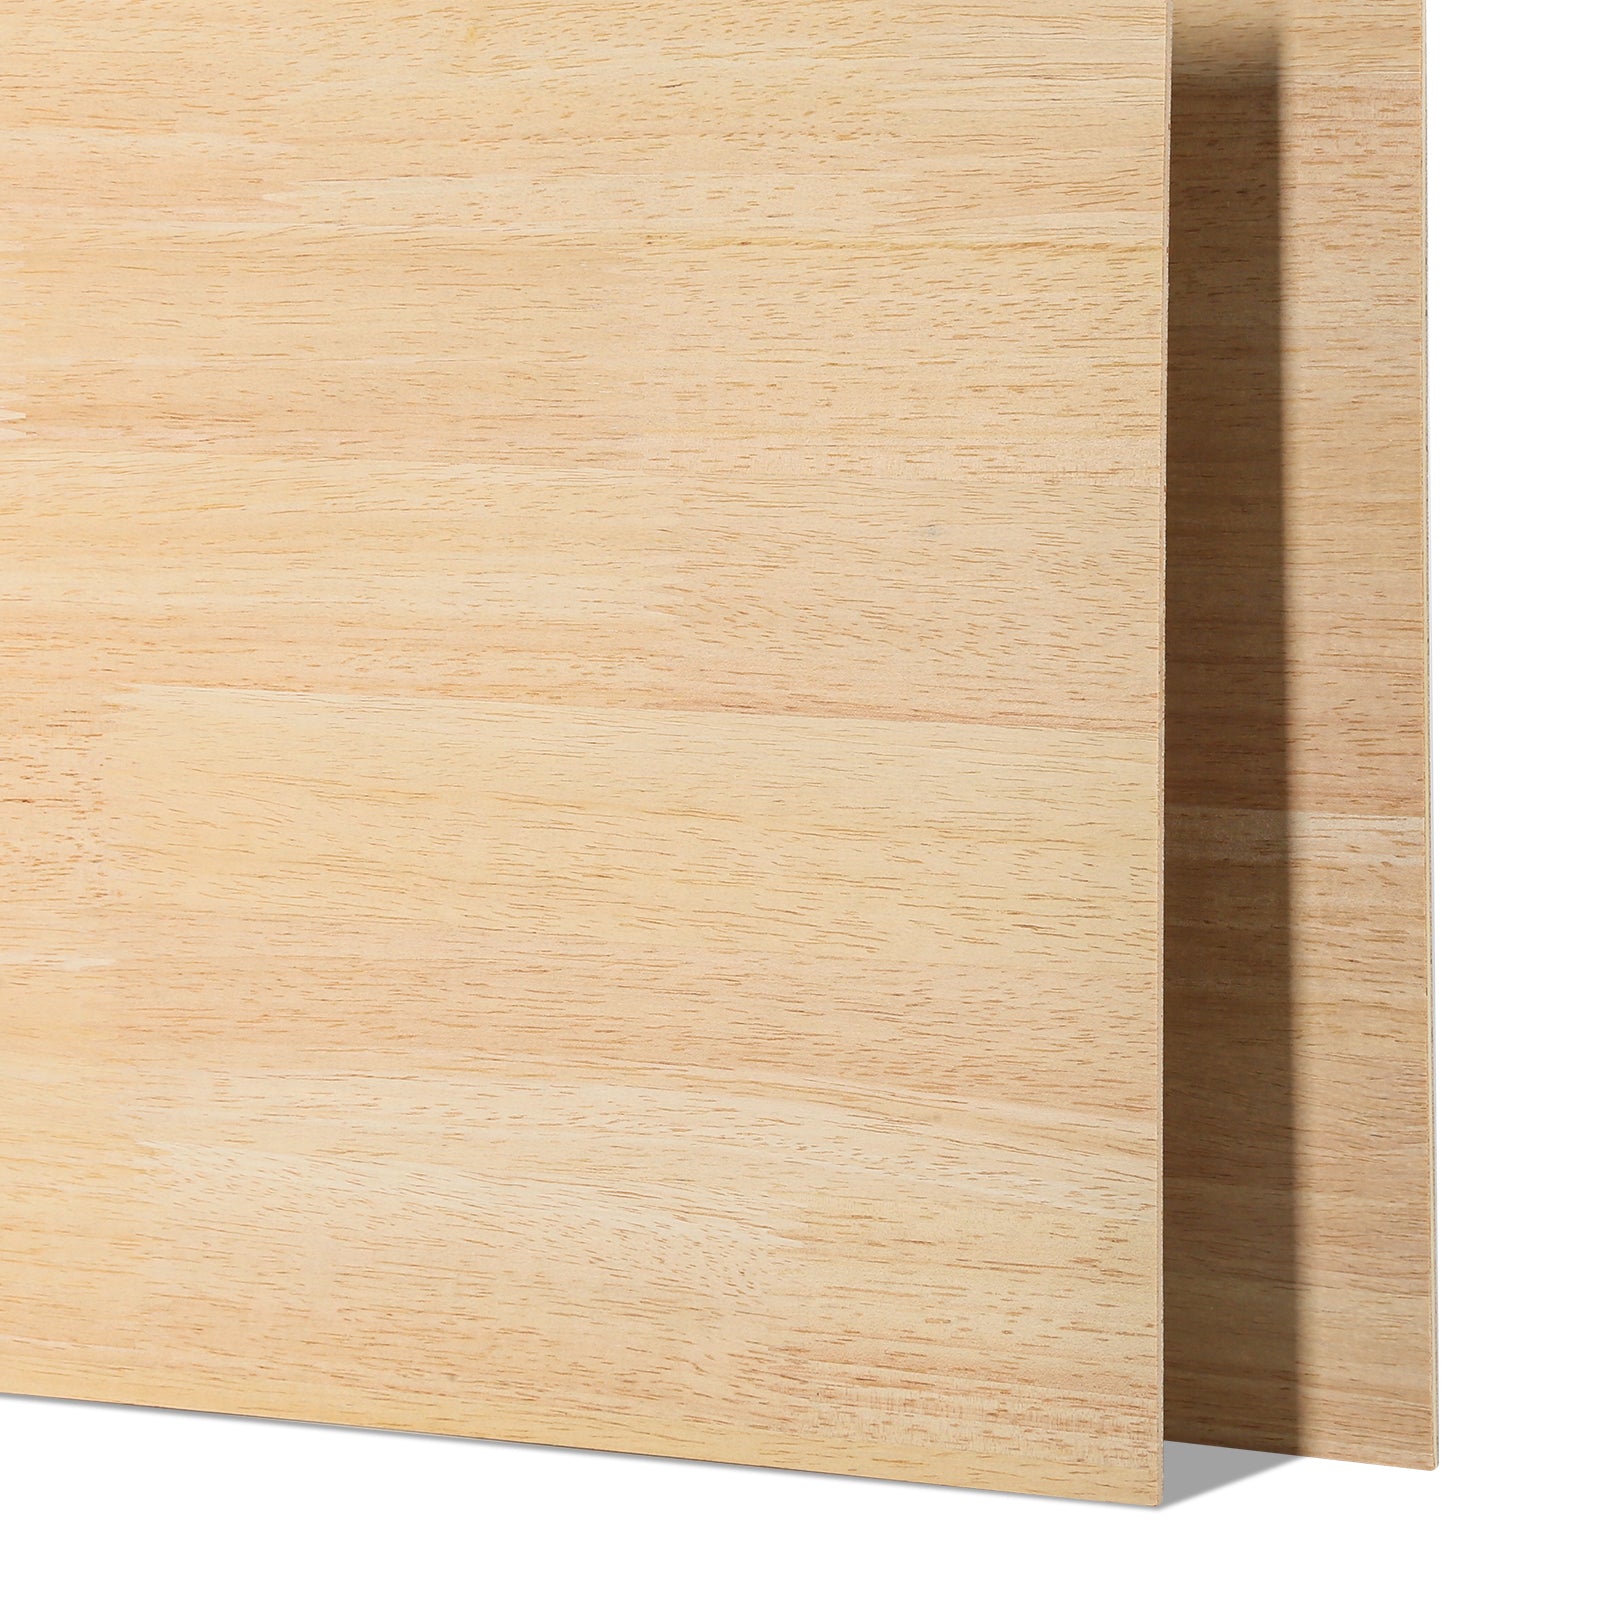
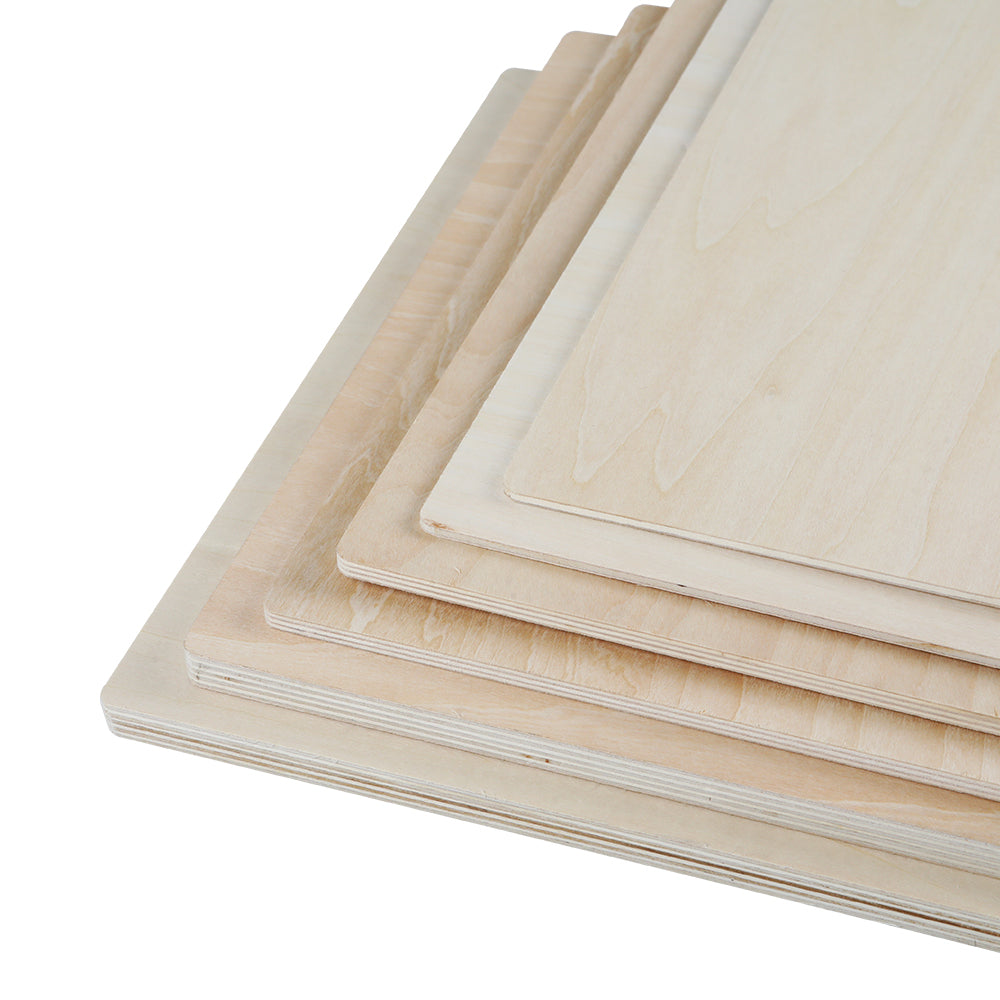
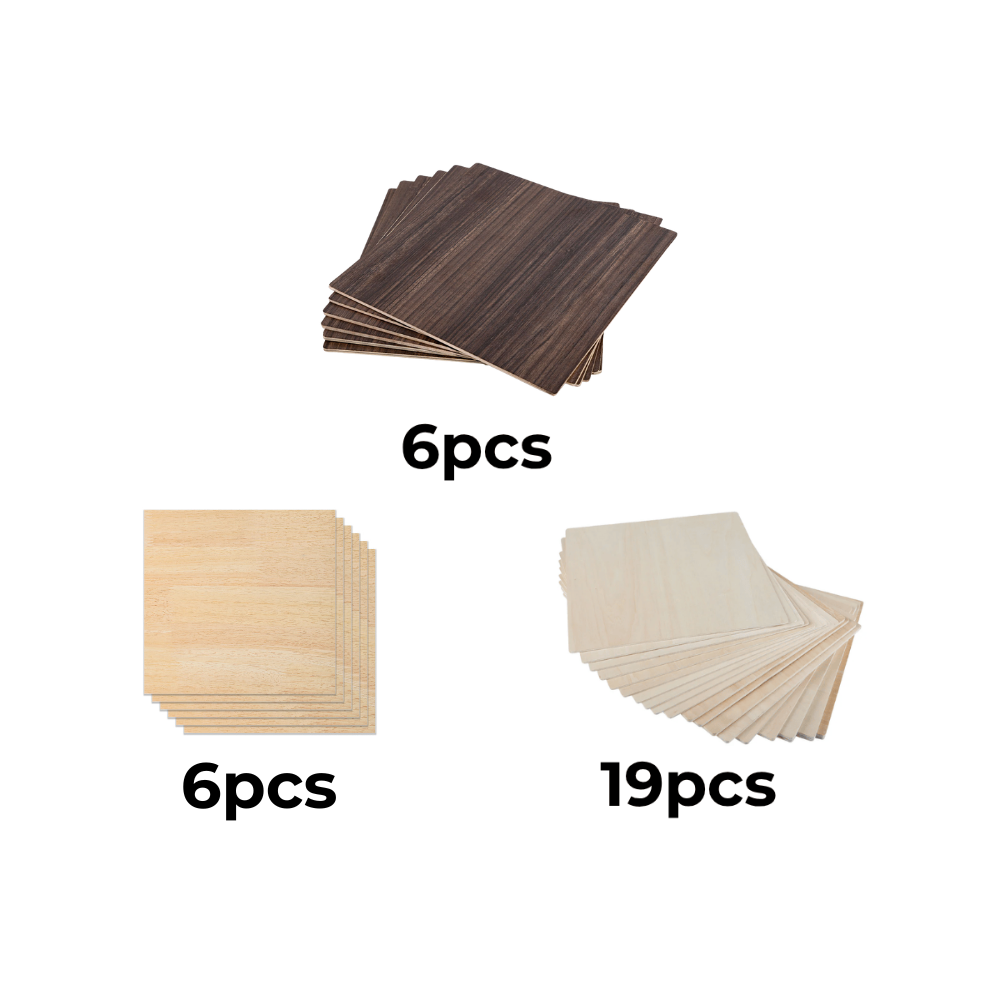
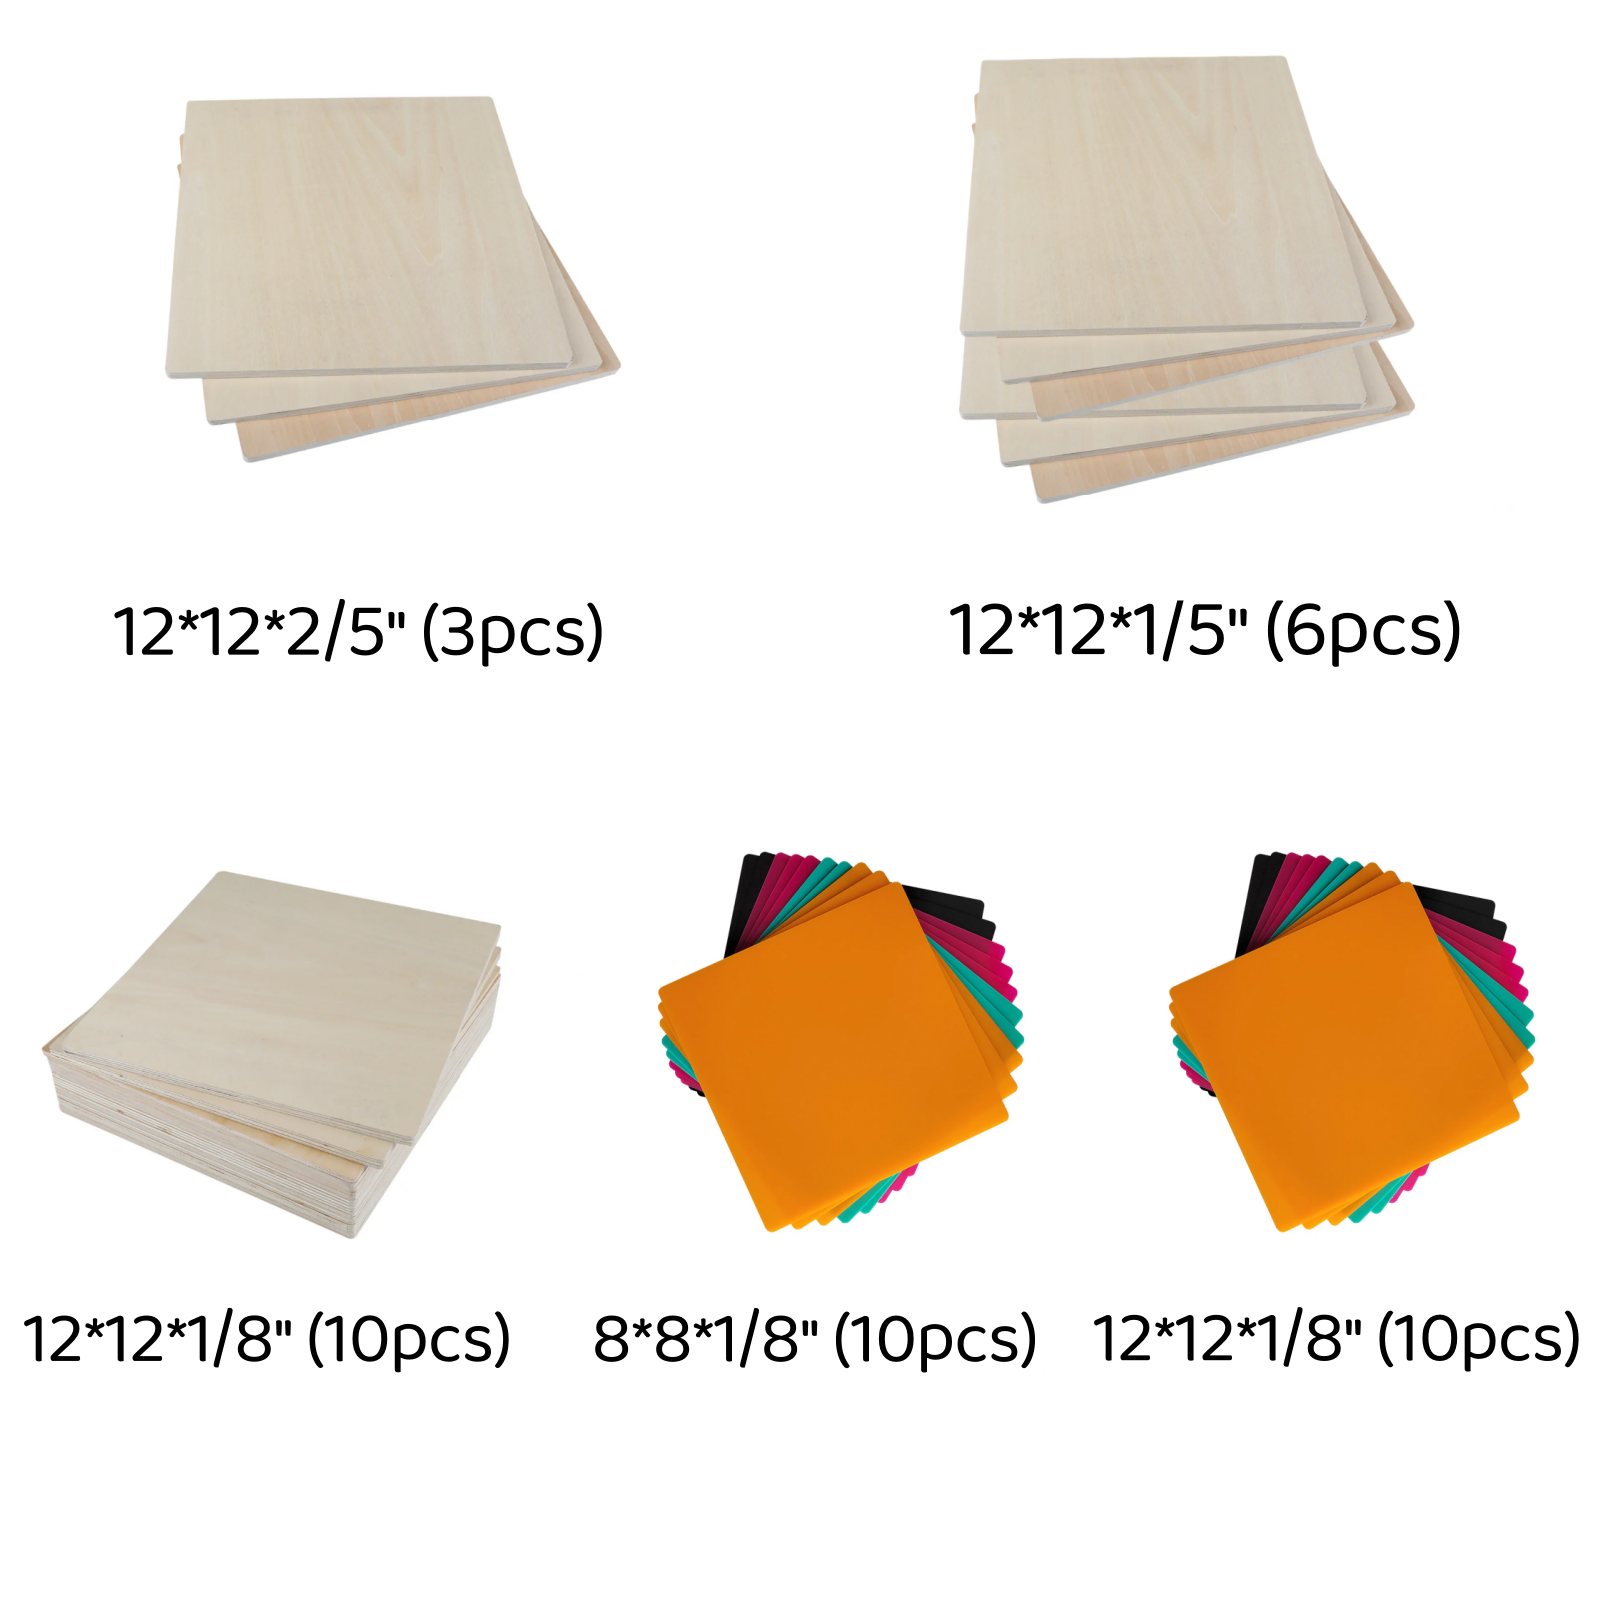
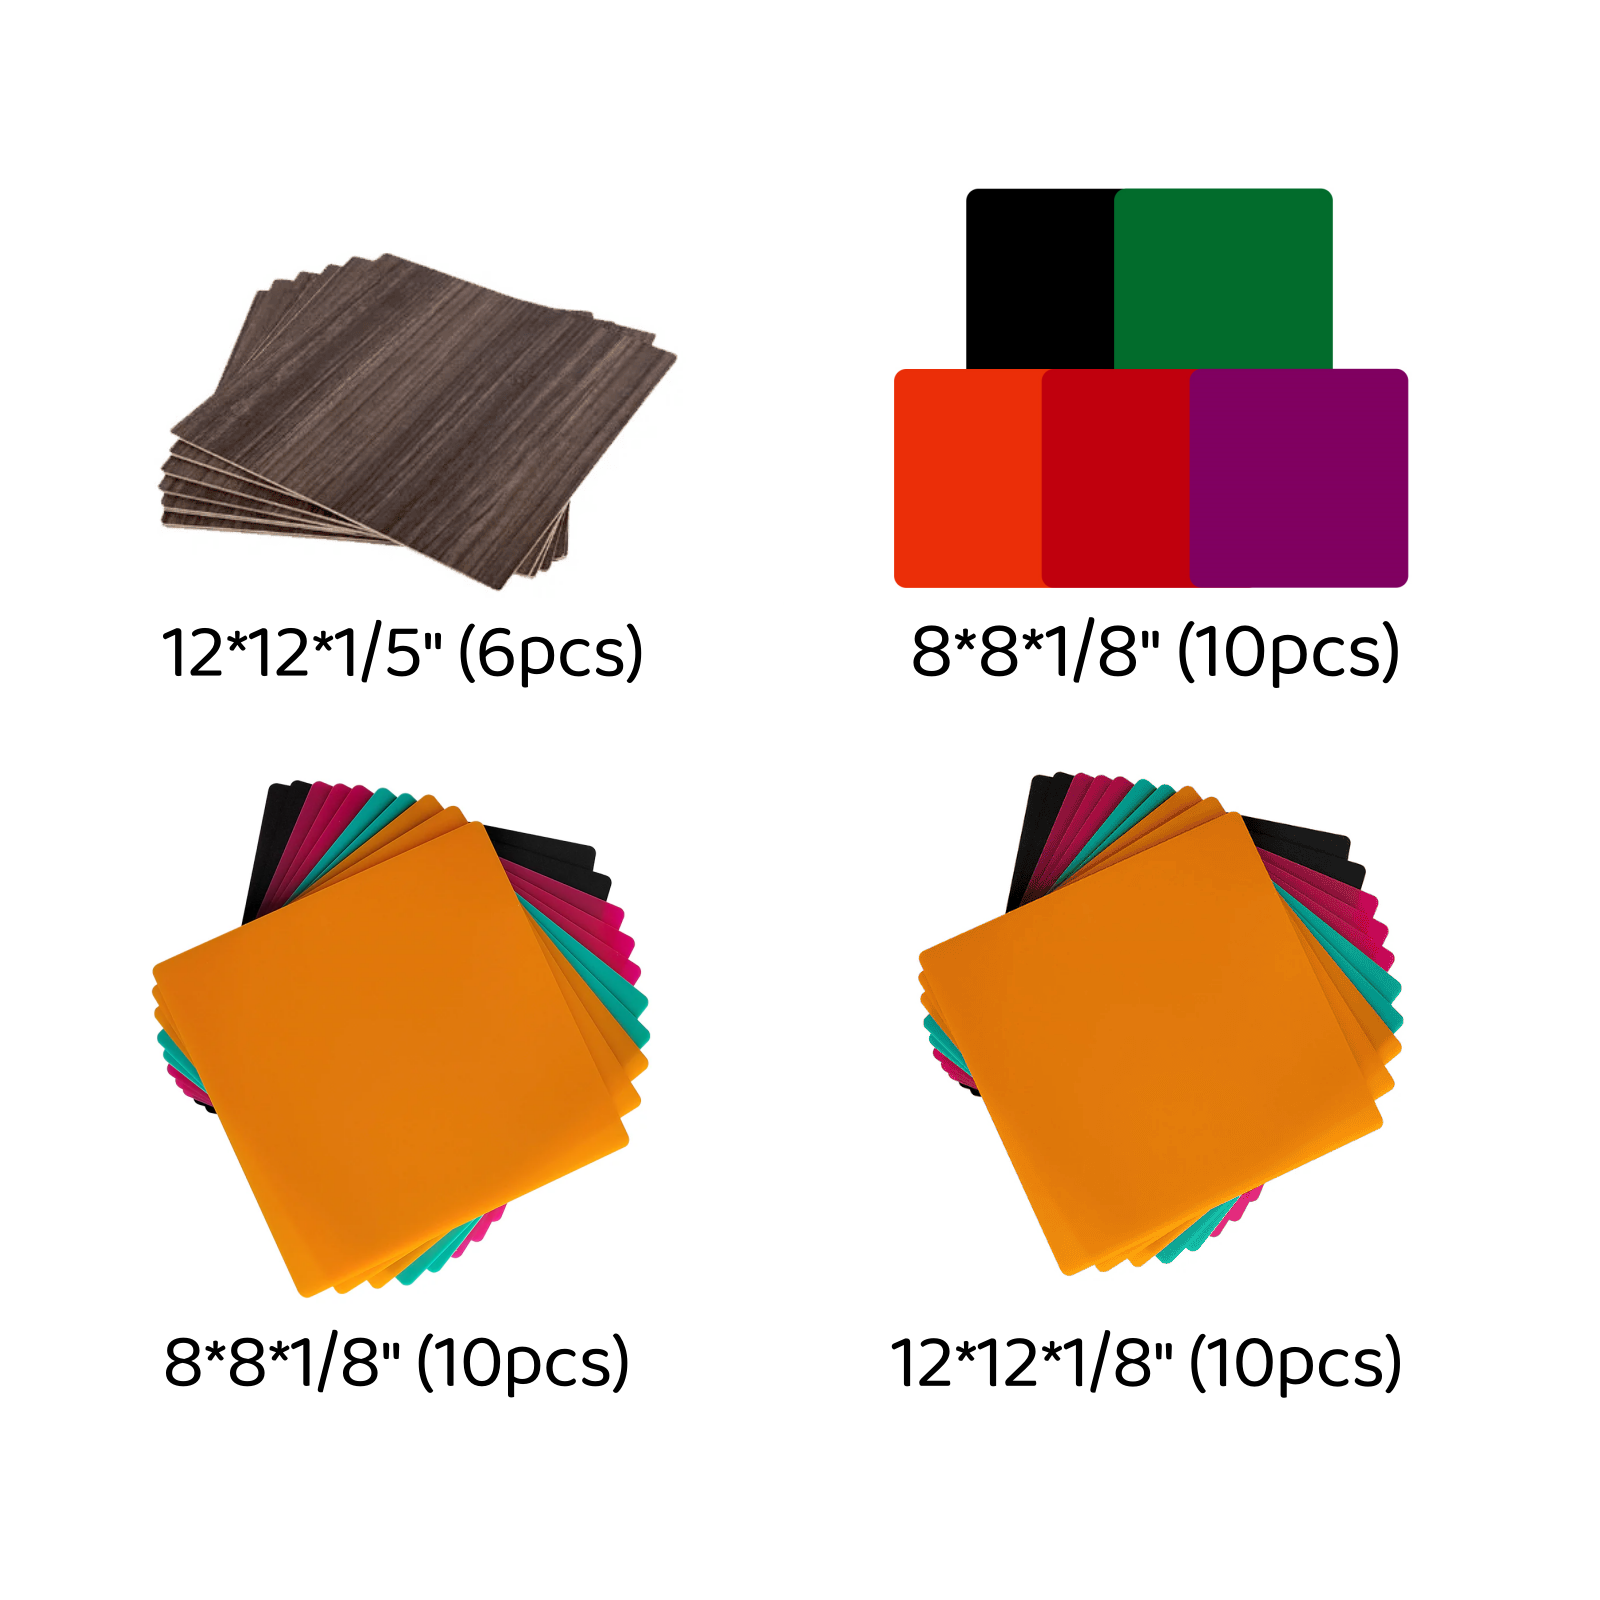
- Material type & thickness – Cutting 3mm plywood? It is totally different from engraving leather.
- Laser wattage – A 10W diode laser will cut slower than a 40W CO₂ laser.
- Focus height – The closer your laser’s focal point is to the material’s surface, the cleaner the cut.
- Air assist – Blowing air into the cutting path helps reduce burn marks and speed up cutting.
- Machine quality – Faster acceleration and smoother motion equal cleaner edges at higher speeds.
The trick is to start with the recommended settings, then tweak speed and power until you get your ideal result.
Pro Tip: Build Your Own Speed and Power Cheat Sheet
No two machines behave precisely the same, so building your own laser cutter speed and power chart will save you time in the long run. Here’s how:
- Pick a test file – A small shape or grid with different speed/power combos.
- Test cut on scrap material – Use the actual material you’ll be working with.
- Label each section – Mark the speed and power used for each cut.
- Record results – Keep a binder or digital file with photos and settings.
- Update often – Whenever you change materials, update your chart.
This way, you’ll spend less time guessing and more time making perfect cuts.
Find the Perfect Settings for Each Material You Cut
Not all materials are created equal, and neither are your laser settings.
If you want clean cuts without scorching, fraying, or wasting time, you must tailor your speed and power to the material you’re working with. This means you need to run a test whenever you start a new type of material.
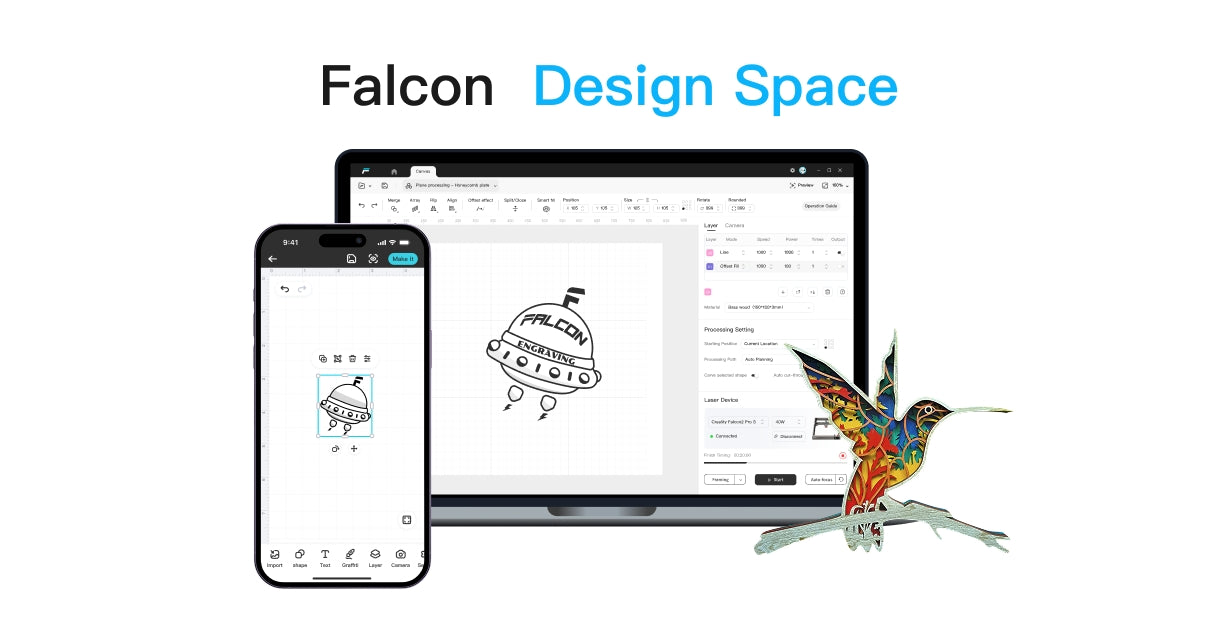
Always run a small test cut before committing to your final project, as even minor changes in material density or moisture can affect results. You can try a free laser engraving design tool like Falcon Design Space to make your own material test sheet.

Key Laser Cutting Parameters You Should Know
If laser cutting were a recipe, these parameters would be your core ingredients. Mastering them means getting consistently clean, precise, and efficient cuts every time.
Essential Laser Cutting Parameters:
- Power (%) – The strength of the laser beam. Higher power cuts deeper but may cause burns if overdone.
- Speed (mm/s) – How quickly the laser head moves. Slower laser cutter speed allows deeper cuts, while a faster speed is ideal for engraving.
- Frequency/Pulse Rate – How often the laser fires per second. Affects cut smoothness and edge quality.
- Passes – The number of times the laser retraces the same cut. Multiple passes reduce scorching on thicker materials.
- Focus – The laser's focal point relative to the material’s surface. Proper focus ensures maximum cutting efficiency.
- Air Assist – Blows away debris and cools the material to reduce burn marks and fire risk.
Mastering these, along with your chart, will make your results more consistent and professional.
Wrapping Up
Dialing in your laser cutting speed and power chart settings isn’t just about following a generic chart; it’s about learning how your specific machine, material, and project interact. Start with recommended settings, tweak as you go, and keep a record for future reference. Once you master your speed and power chart, you’ll spend less time troubleshooting and more time creating amazing projects.


