


Laser Tips & Tricks: How to CrossHair for Laser Engraver

|
Tutorial Creation
|
Ralph Marius
|
|---|---|
|
Original Model Design
|
Eric Grand
|
|
Model Remix and Adaptation
|
Ralph Marius
|
| Faclon Corsshair Files |
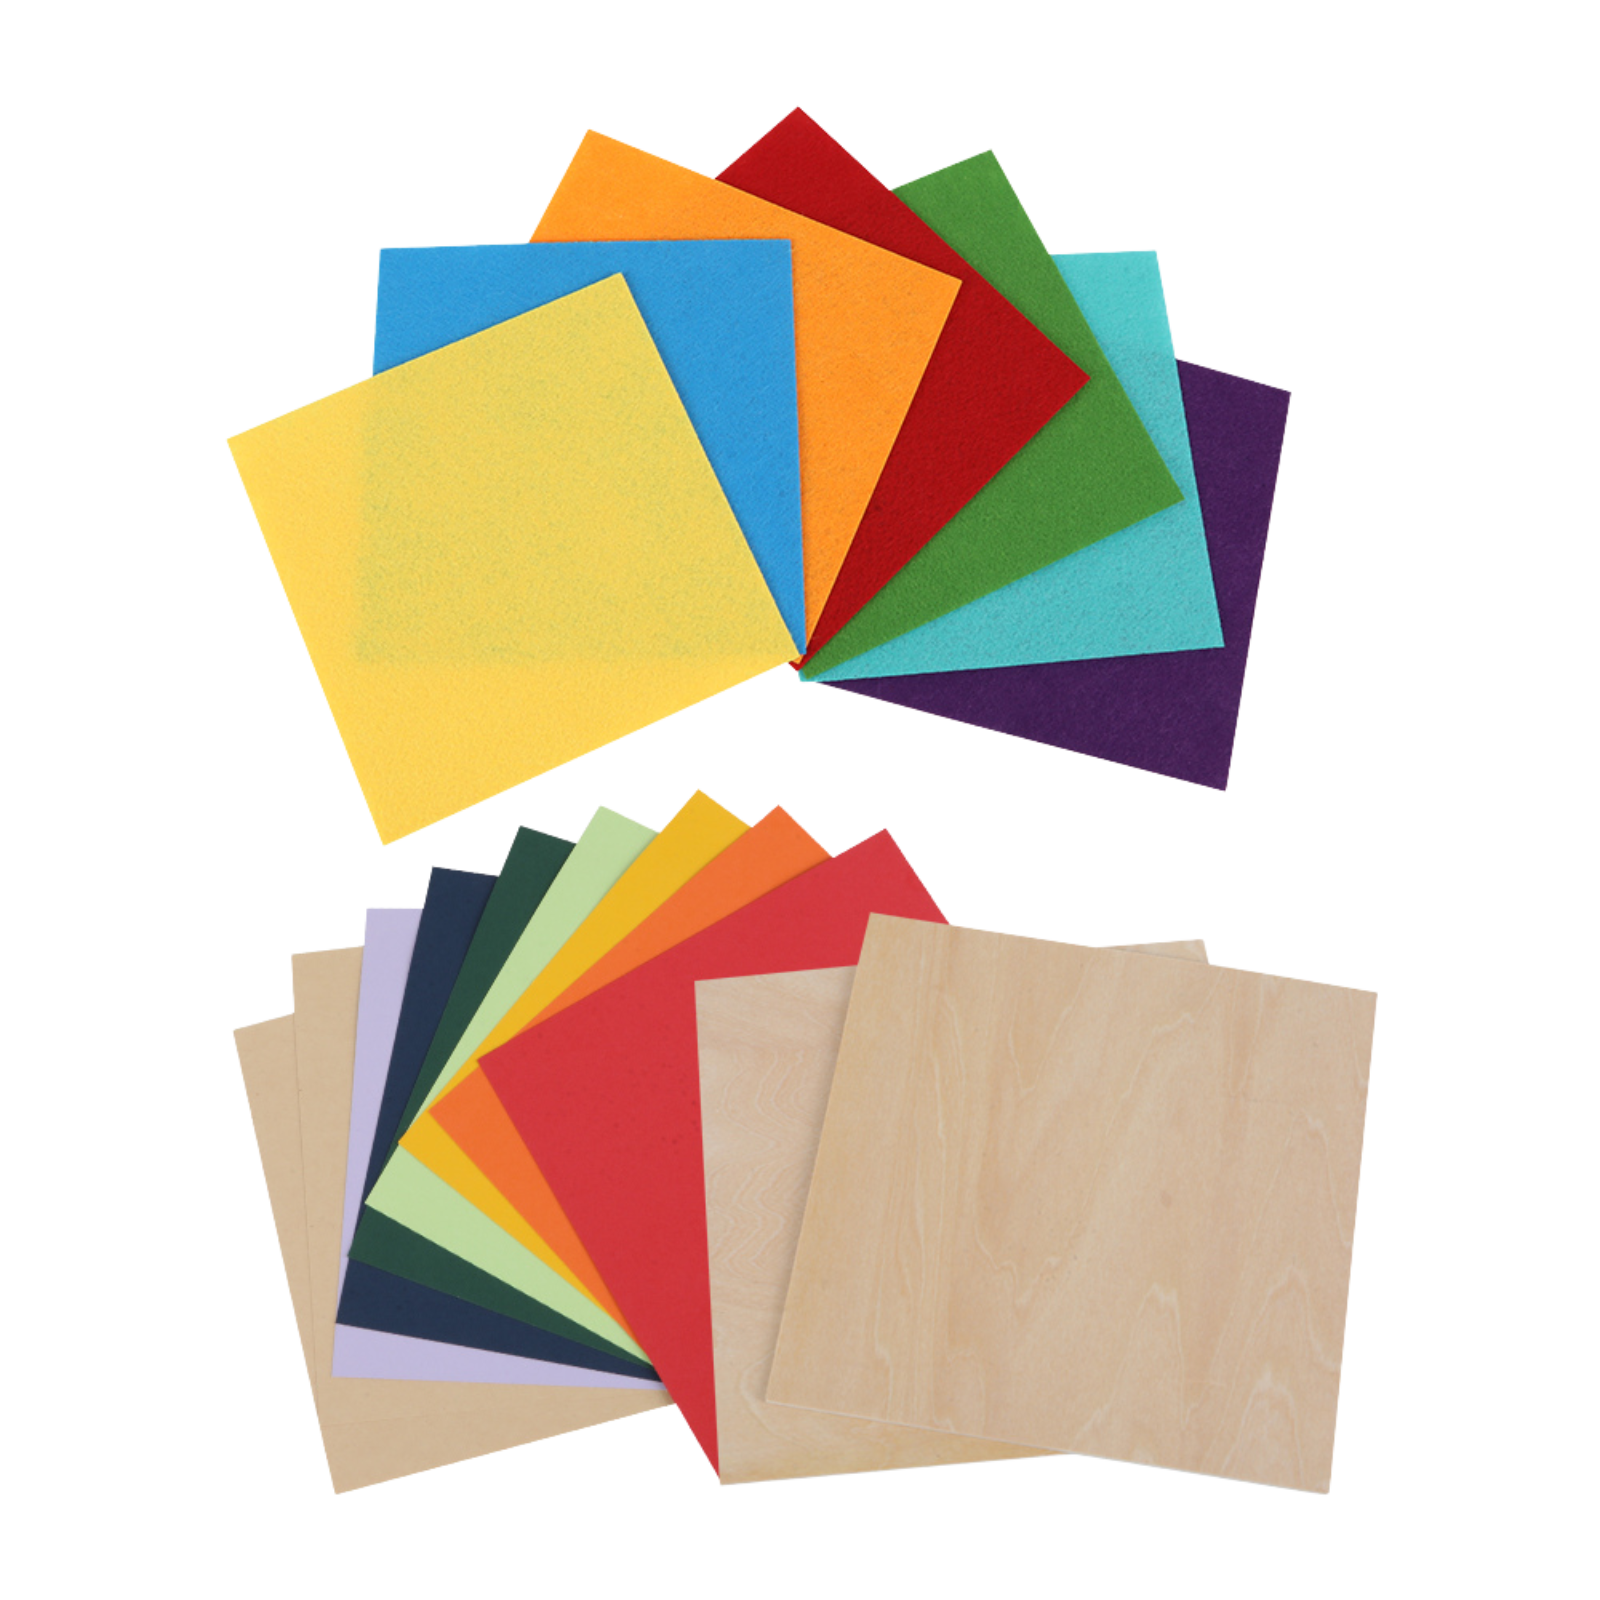
Crosshairs serve as an exact reference point on your material, crucial for aligning your design with precision. This tool is especially beneficial for detailed designs or materials that demand accurate placement. By using crosshairs, you not only achieve precise alignment but also reduce material wastage by allowing for exact positioning before the laser starts its work. Let’s delve into how crosshairs can transform your laser engraving and cutting process with your laser engraver, ensuring each project is as precise as it is efficient.
Crosshair Build and Set up

Parts List
1. 5v Crosshair 12mm

2. USB C to 2 pin Bare

3. Download and 3D print holder
4. KCD1 2 Pin 250V 3A SPST Black Boat Switch 21*15/15*10

5. 2 M3*8 screws (for top) If you can get flat over hex that’s fine. I had hex on hand.

6. 1 M3*10 screw
7. 1 M3 nut

8. Heat Shrink

You will also need a way to solder wire connections
Assemble Steps
Step 1
Print the Crosshair Part if you have not already
Step 2
Push Crosshair though bottom and run wires as pictured

Step 3
Cut the black wire about an inch above the Printed holder.

Step 4
Solder the Black cable to the one prong of the switch and solder the piece you cut off to the other prong of the switch. Push Switch in slot. Run Black and red wire as shown

Step 5
Solder USB C wires to the red and black wires. Don’t forget to put the heat shrink on!

Step 6
Install M3*10 with nut in hole to secure laser from falling out

Step 7
Remove top front 2 sliver screws from laser. Add laser crosshair mount and install the 2 new M3*8 screws to secure

Step 8
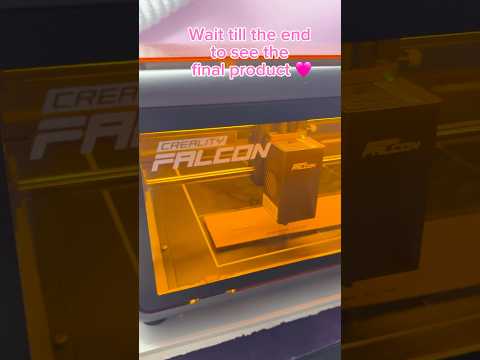
Plug USB-C cable in on top and power up laser. The crosshair will need to be focused by spinning the bottom tip. Once focused (Thin Lines) I added some glue to keep from spinning.

Setting Up Lightburn to use Crosshair
Step 1
Open Lightburn and create a 20mm x 20mm square

Step 2
Set start from (Bottom right of my screen) to Current Position and set to bottom left

Step 3
Take some cardboard or scrap wood and put under the crosshair. Take a pencil or marker and put a small dot in center of cross.
Step 4
Open Device settings on Lightburn and turn on Laser Offset. Change X to 39.0 mm and Y to -40.0mm
These setting may be +1 or 2 mm so you will need to measure to make sure.

Step 5
Print the Line Square. I am using 6000 / 20 power. This should make a square starting at the dot you made before as seen here

If its off some, just measure the difference from the dot to the square and adjust X & Y till you are good.
That’s it!! Enjoy!
Recent News

Creality Falcon 12th Anniversary Sale: How to Get the Best Deals
Discover the Creality Falcon 12th Anniversary Sale with up to $1500 off. Compare prices, find the biggest discounts,...

Top 5 xTool Alternatives & Competitors (2026 Edition)
In the market for a laser cutter but not sure about xTool? This Best 5 xTool Alternatives (2026...

Cutting Acrylic with a Laser Cutter: Complete Guide
Learn how to cut acrylic with a laser cutter, including settings, safety tips, cast vs extruded acrylic, and...