


Beginner's Guide to Laser Etching Stainless Steel

Whether you're customizing tumblers or labeling tools, laser etching stainless steel opens up a world of creative potential.
Not sure where to begin? This beginner’s guide has your back with simple steps, gear tips, and real-world advice.
Part 1: Etching Stainless Steel at Home — Is It Possible
Yes, absolutely — you can etch stainless steel at home, and it's more accessible than ever thanks to modern desktop laser engravers.

In the past, marking stainless steel required industrial-grade machines or messy chemical methods.
But today, with a diode or fiber laser engraver (even CO₂ with special coatings), home users can etch detailed designs, logos, or text onto stainless steel—right from a garage, workshop, or even a craft room.
That said, it does come with a few important considerations:
What You Need
1. A laser engraver that supports metal marking
- Best options: Infrared/fiber lasers (ideal), or diode lasers with marking spray (like LaserBond or Thermark).
2. Proper ventilation (etching metal produces fumes).
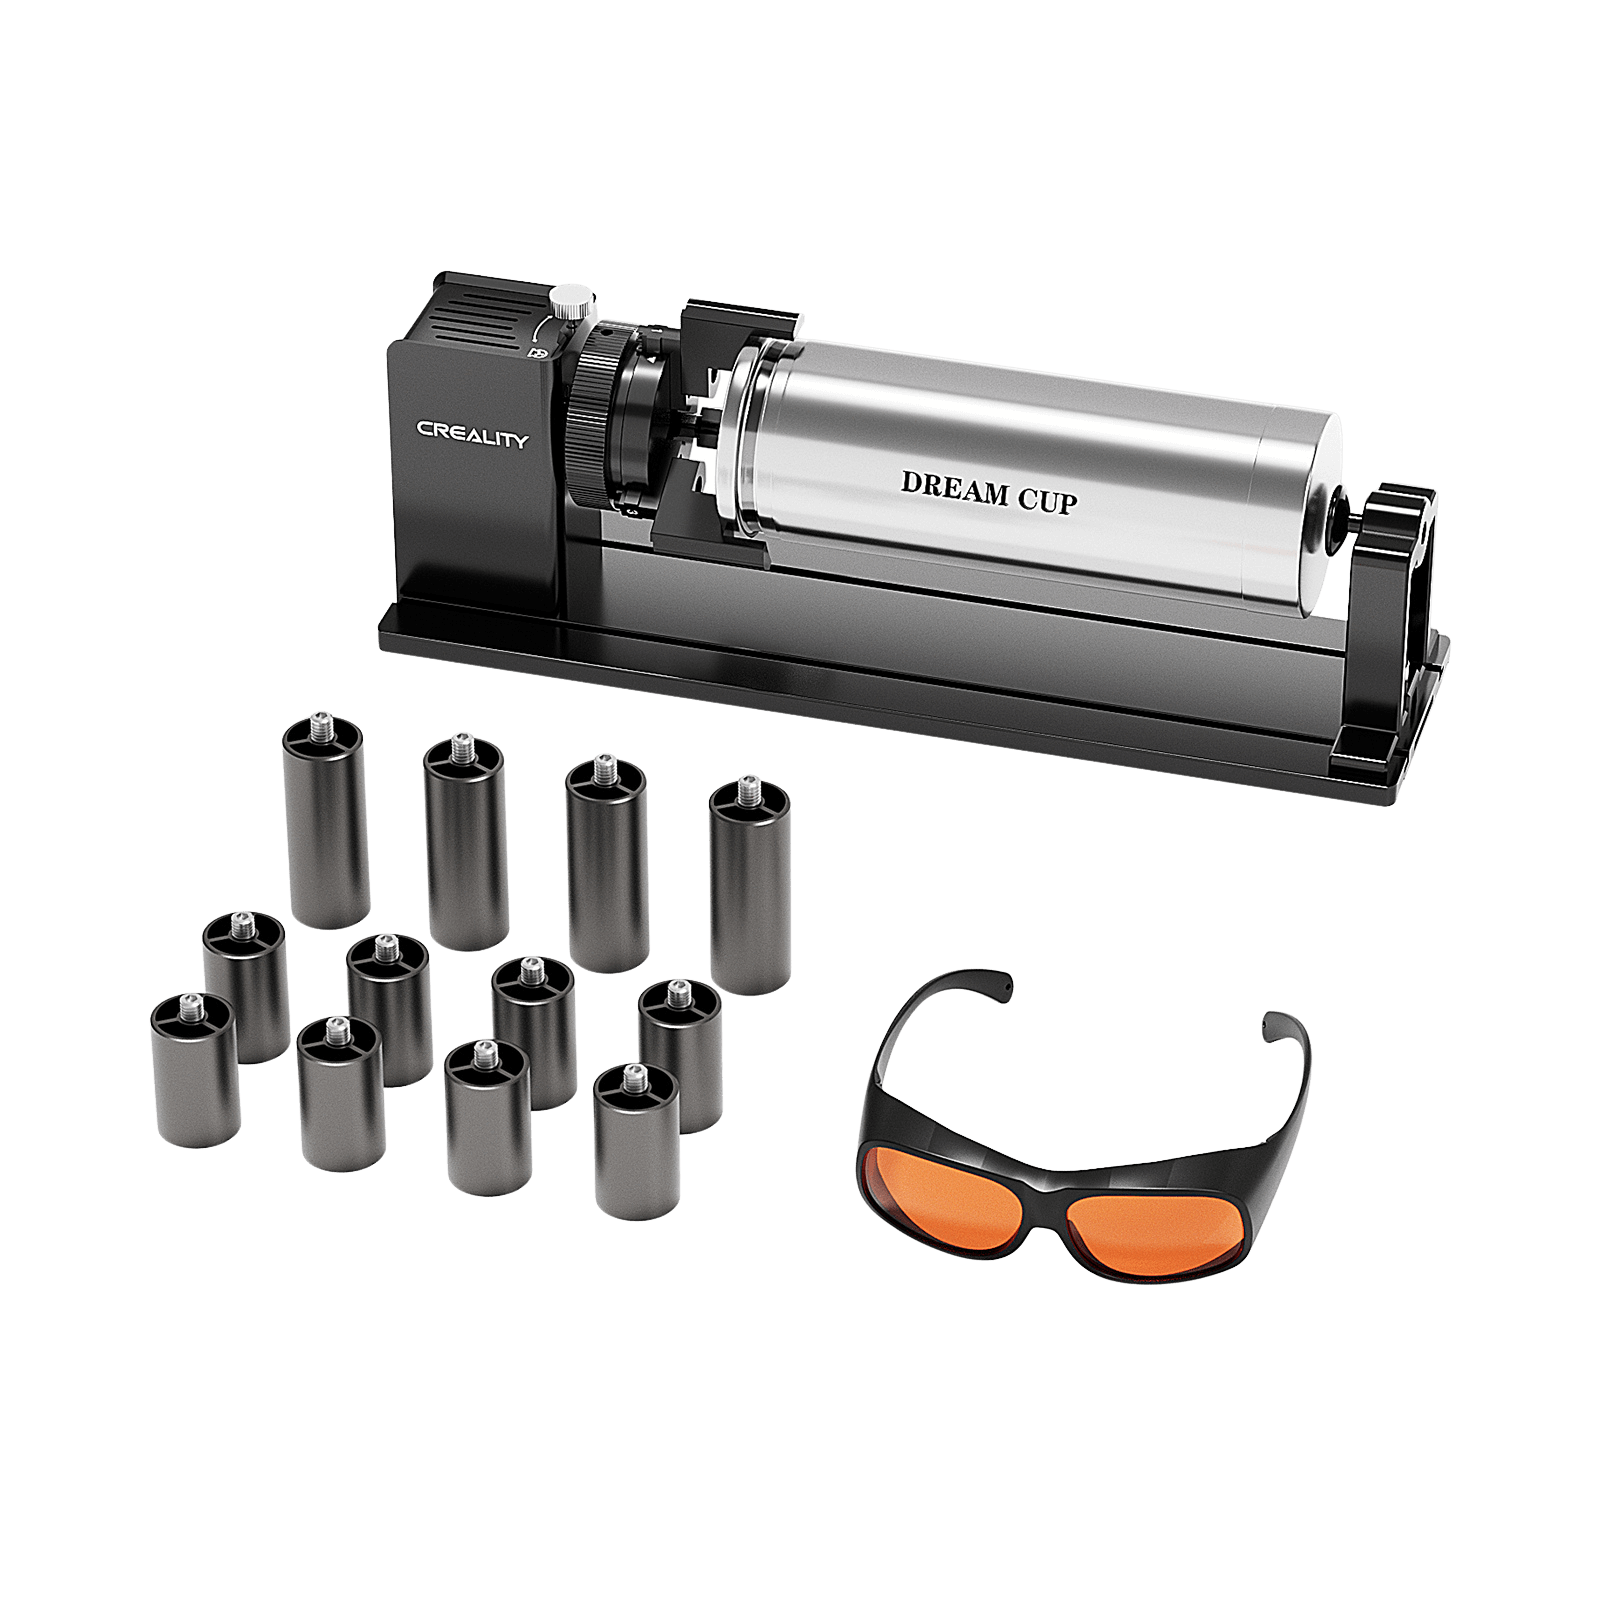
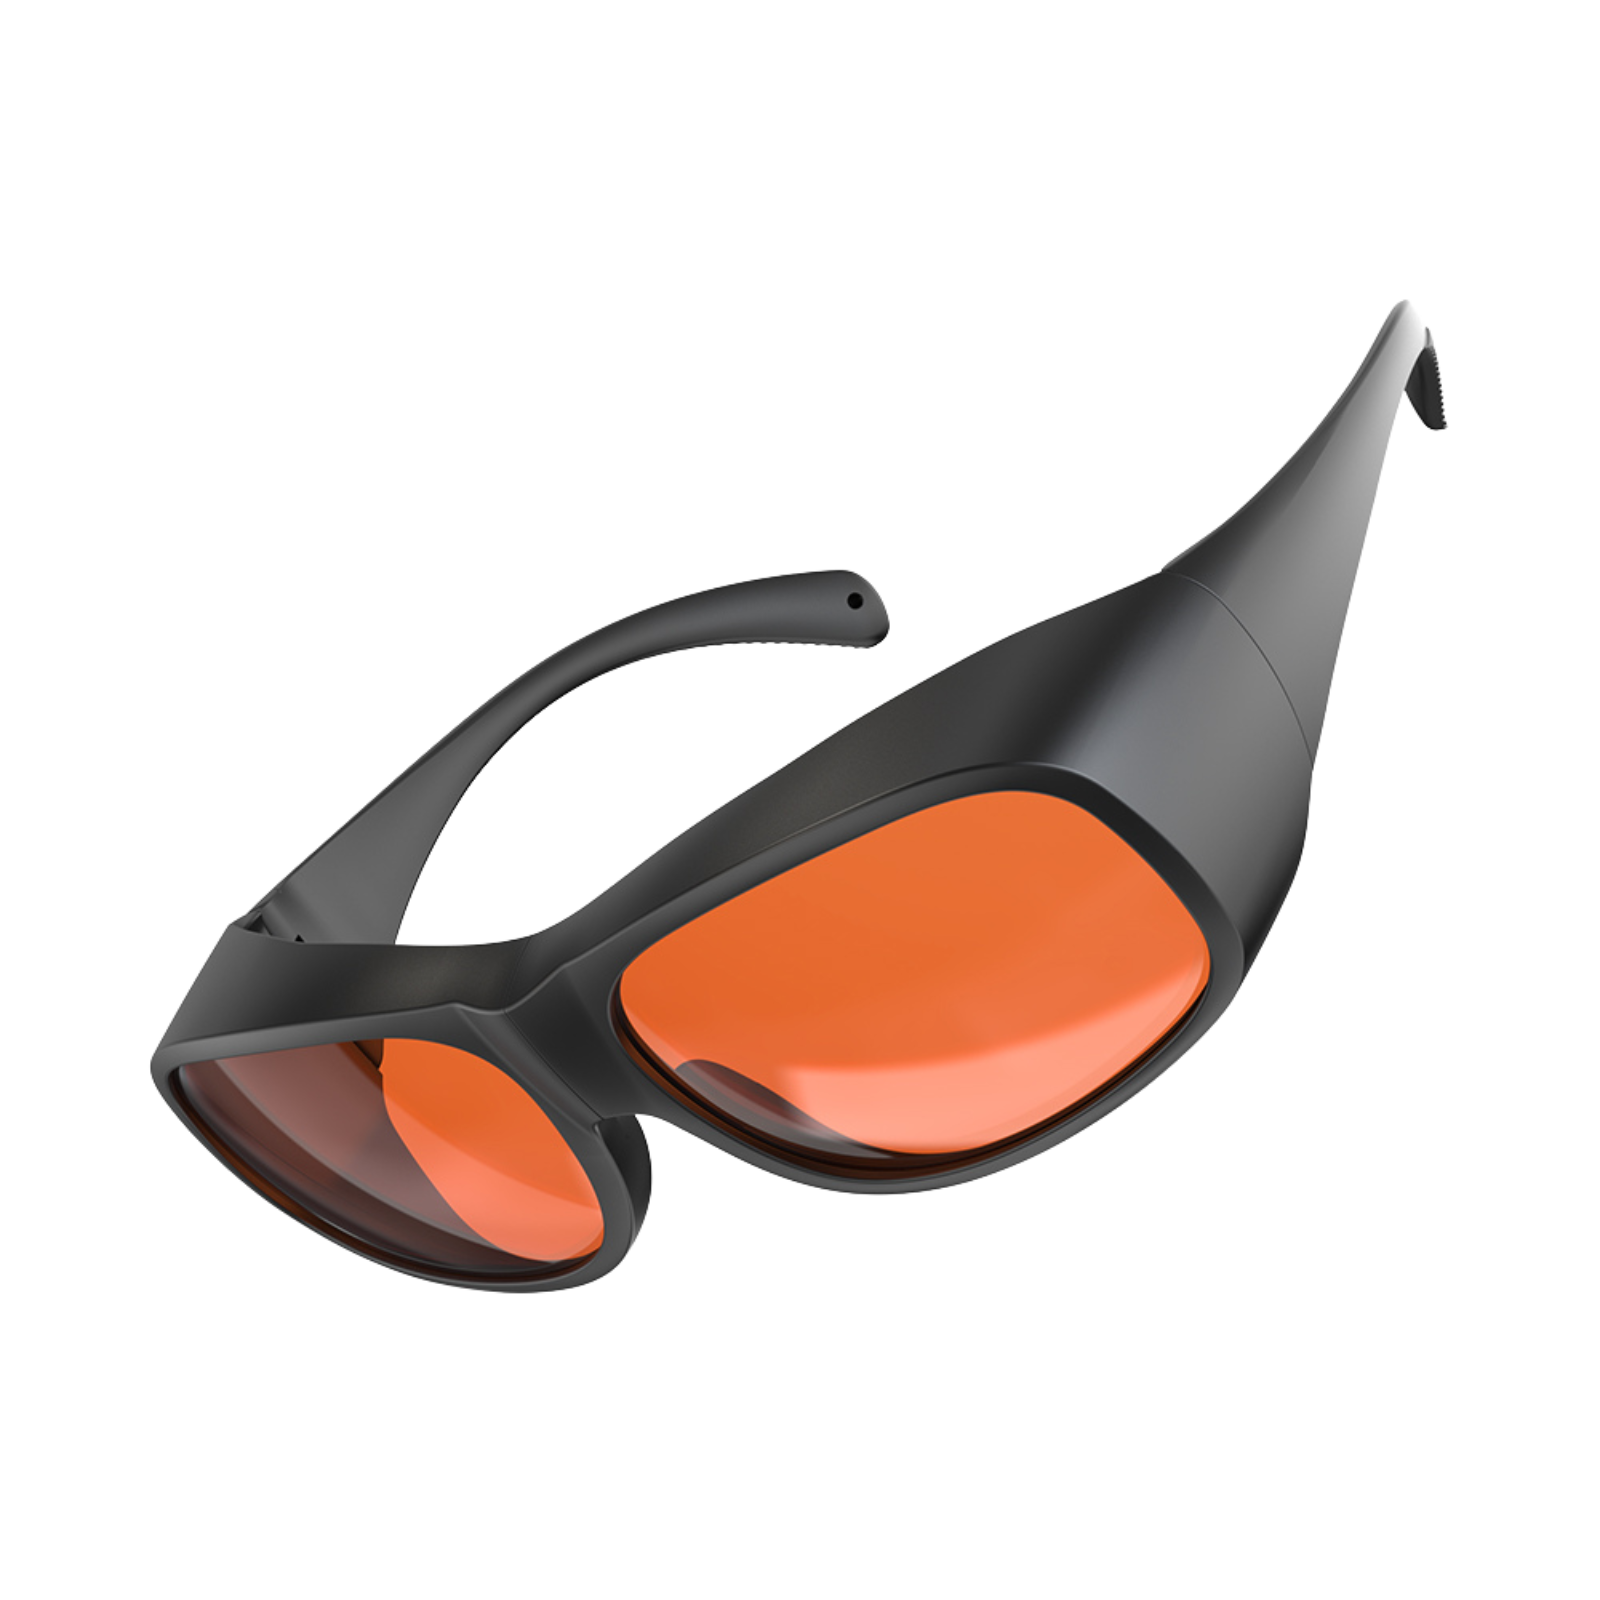
3. Safety gear: Laser goggles and fire-safe work area.
Things to Keep in Mind
- Diode lasers (5W–20W) can’t cut stainless steel but can mark/etch it if prepped with spray or paint.
- Fiber lasers (more expensive) can engrave raw stainless directly with high precision.
- Results vary based on power, speed, focus, and prep.
Part 2: Best Laser Types for Stainless Steel Etching
Not all lasers are created equal, especially when engraving stainless steel. The material is durable, corrosion-resistant, and requires focused heat to make a lasting mark.
Here are the most suitable laser types:
1. Fiber Lasers
These are the top-tier choice for stainless steel. They work without sprays or coatings and create crisp, clean marks. They're used in professional settings and offer unmatched precision and speed. However, they come with a higher price tag.

2. Diode Lasers
More affordable and beginner-friendly, diode lasers can etch stainless steel, but they typically require a marking spray. They’re great for home users and small businesses just starting out.

3. CO2 Lasers
Generally not ideal for direct stainless steel engraving without additives or coatings. They’re better for organic materials, but can be adapted with spray-on solutions for basic metal marking.

So, which should you choose? If the budget isn’t a concern and you want pro-level results, go with fiber. For affordability and entry-level engraving, a high-power diode laser (like Falcon or xTool) paired with marking spray is a solid start.
Part 3: Top 5 Laser Engravers for Stainless Steel
Looking to buy your first stainless steel engraving machine? These five options balance power, affordability, and user-friendliness.
1. xTool F1 Portable Dual Laser
The xTool F1 is a premium pick for stainless steel etching enthusiasts who want both power and portability. It features both diode and infrared lasers, making it highly versatile.

Pros:
- Dual-laser system: switch between diode and IR laser
- Compact and lightweight
- Clean, high-contrast engravings on metal
- Great for detailed logos or text
Cons:
- Higher price range for hobbyists
- Small working area
With excellent support, safety features, and speed, the xTool F1 is perfect for creators who want compact performance.
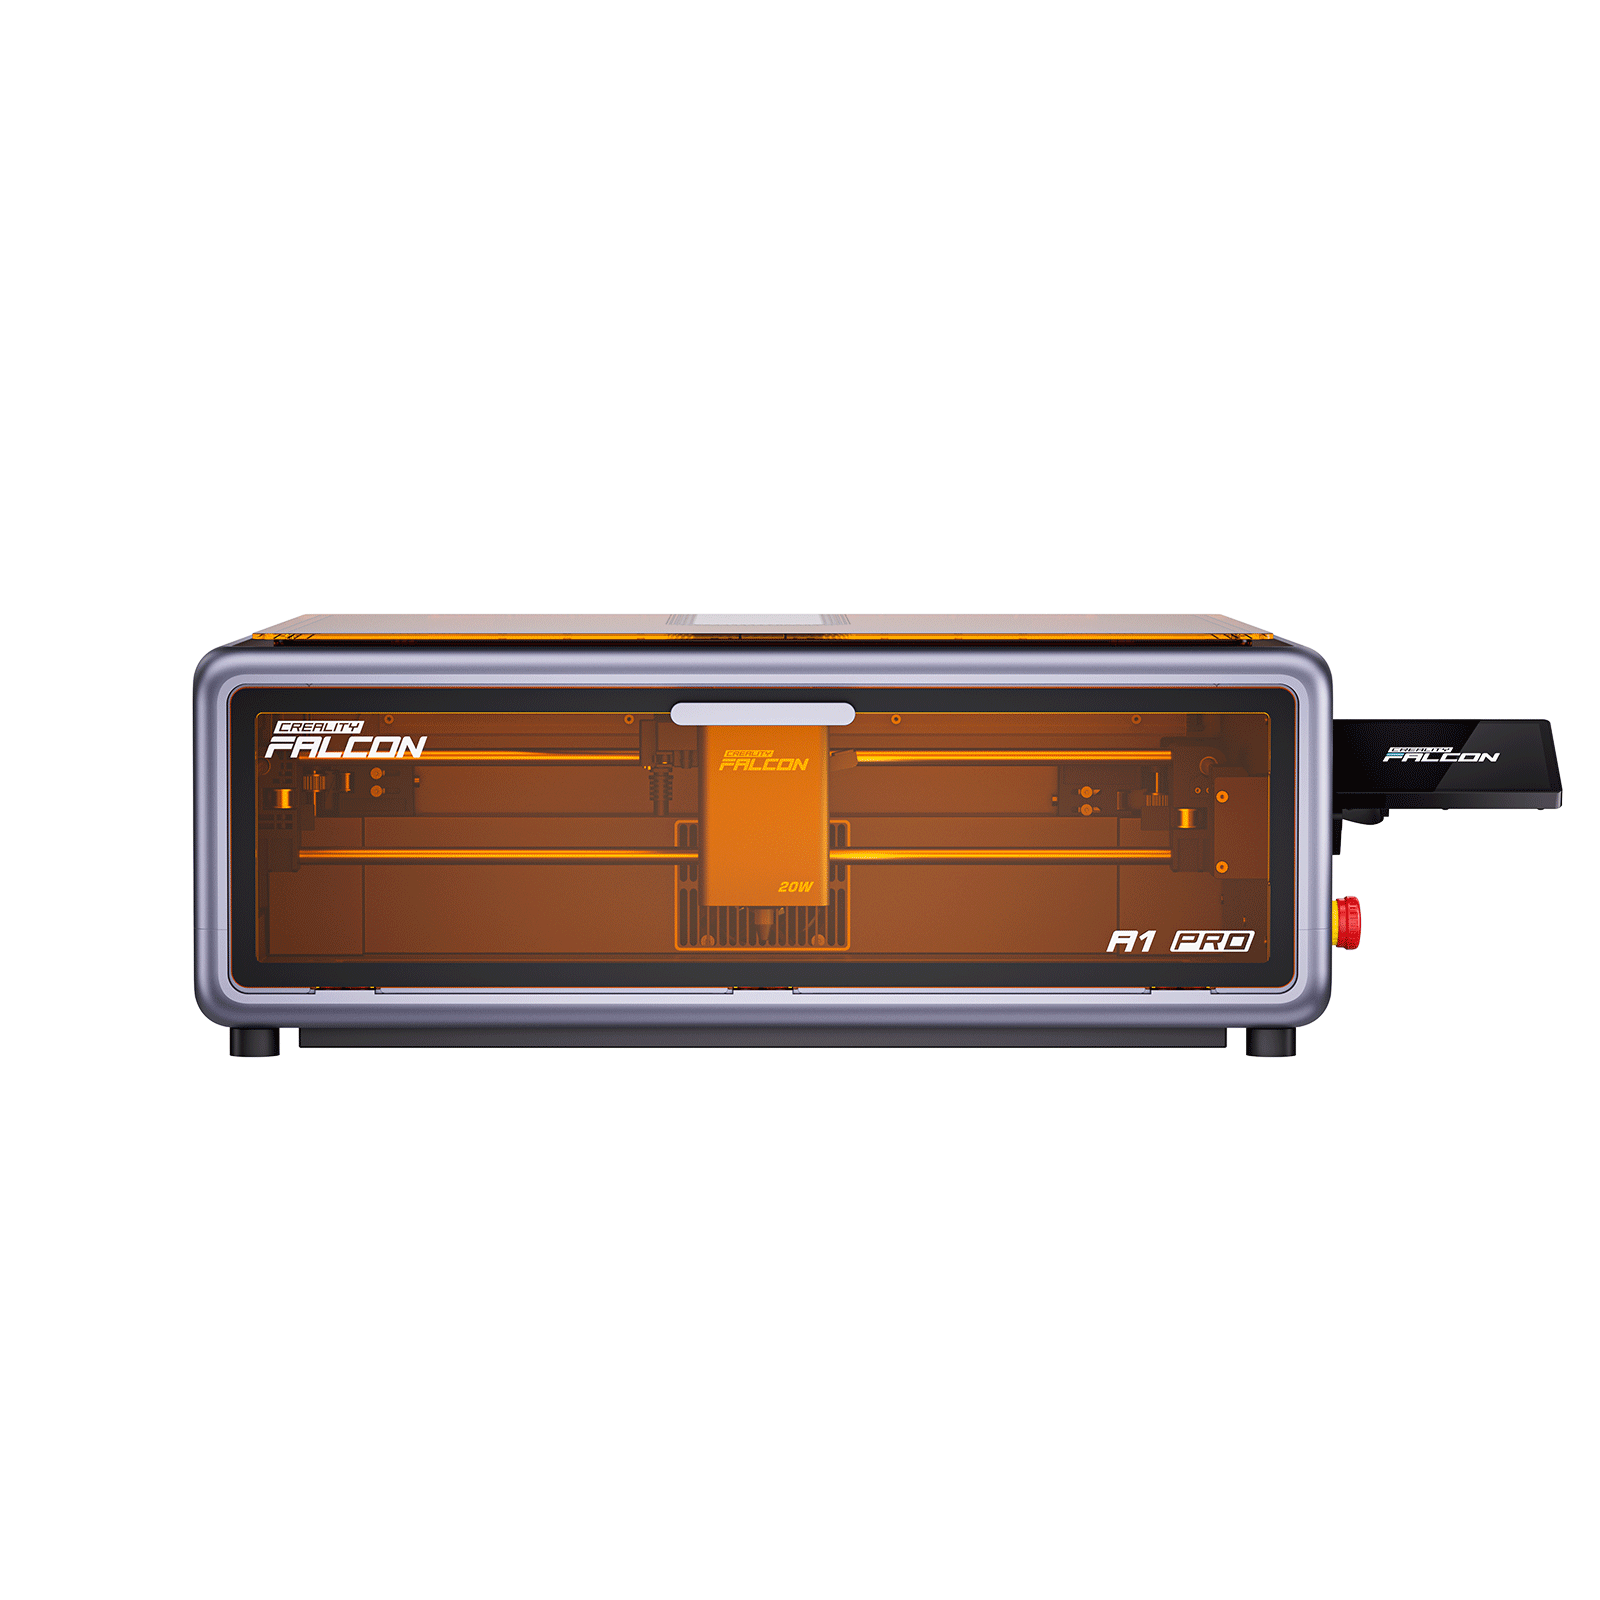
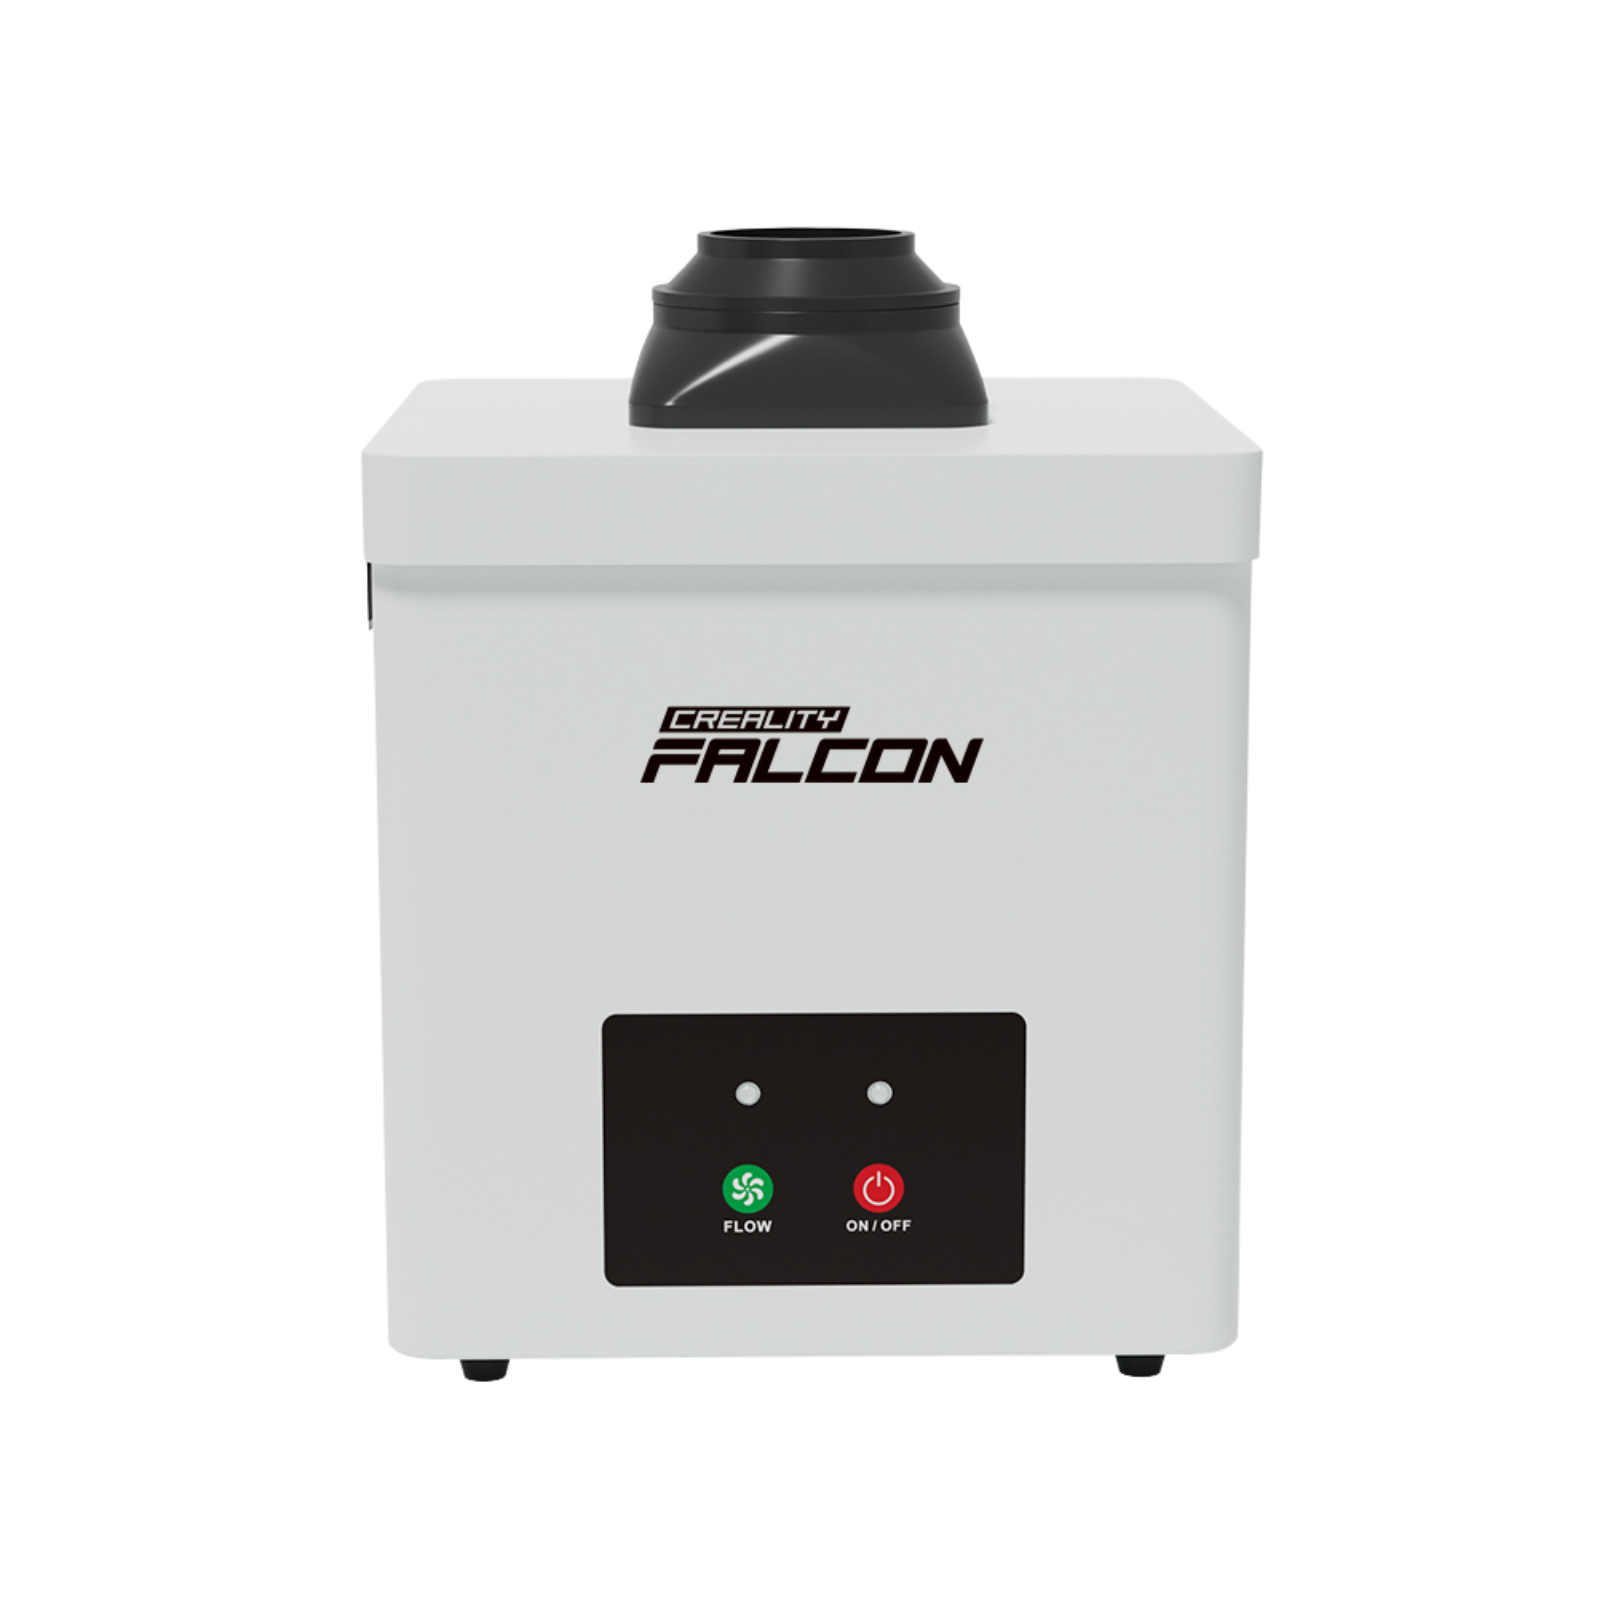
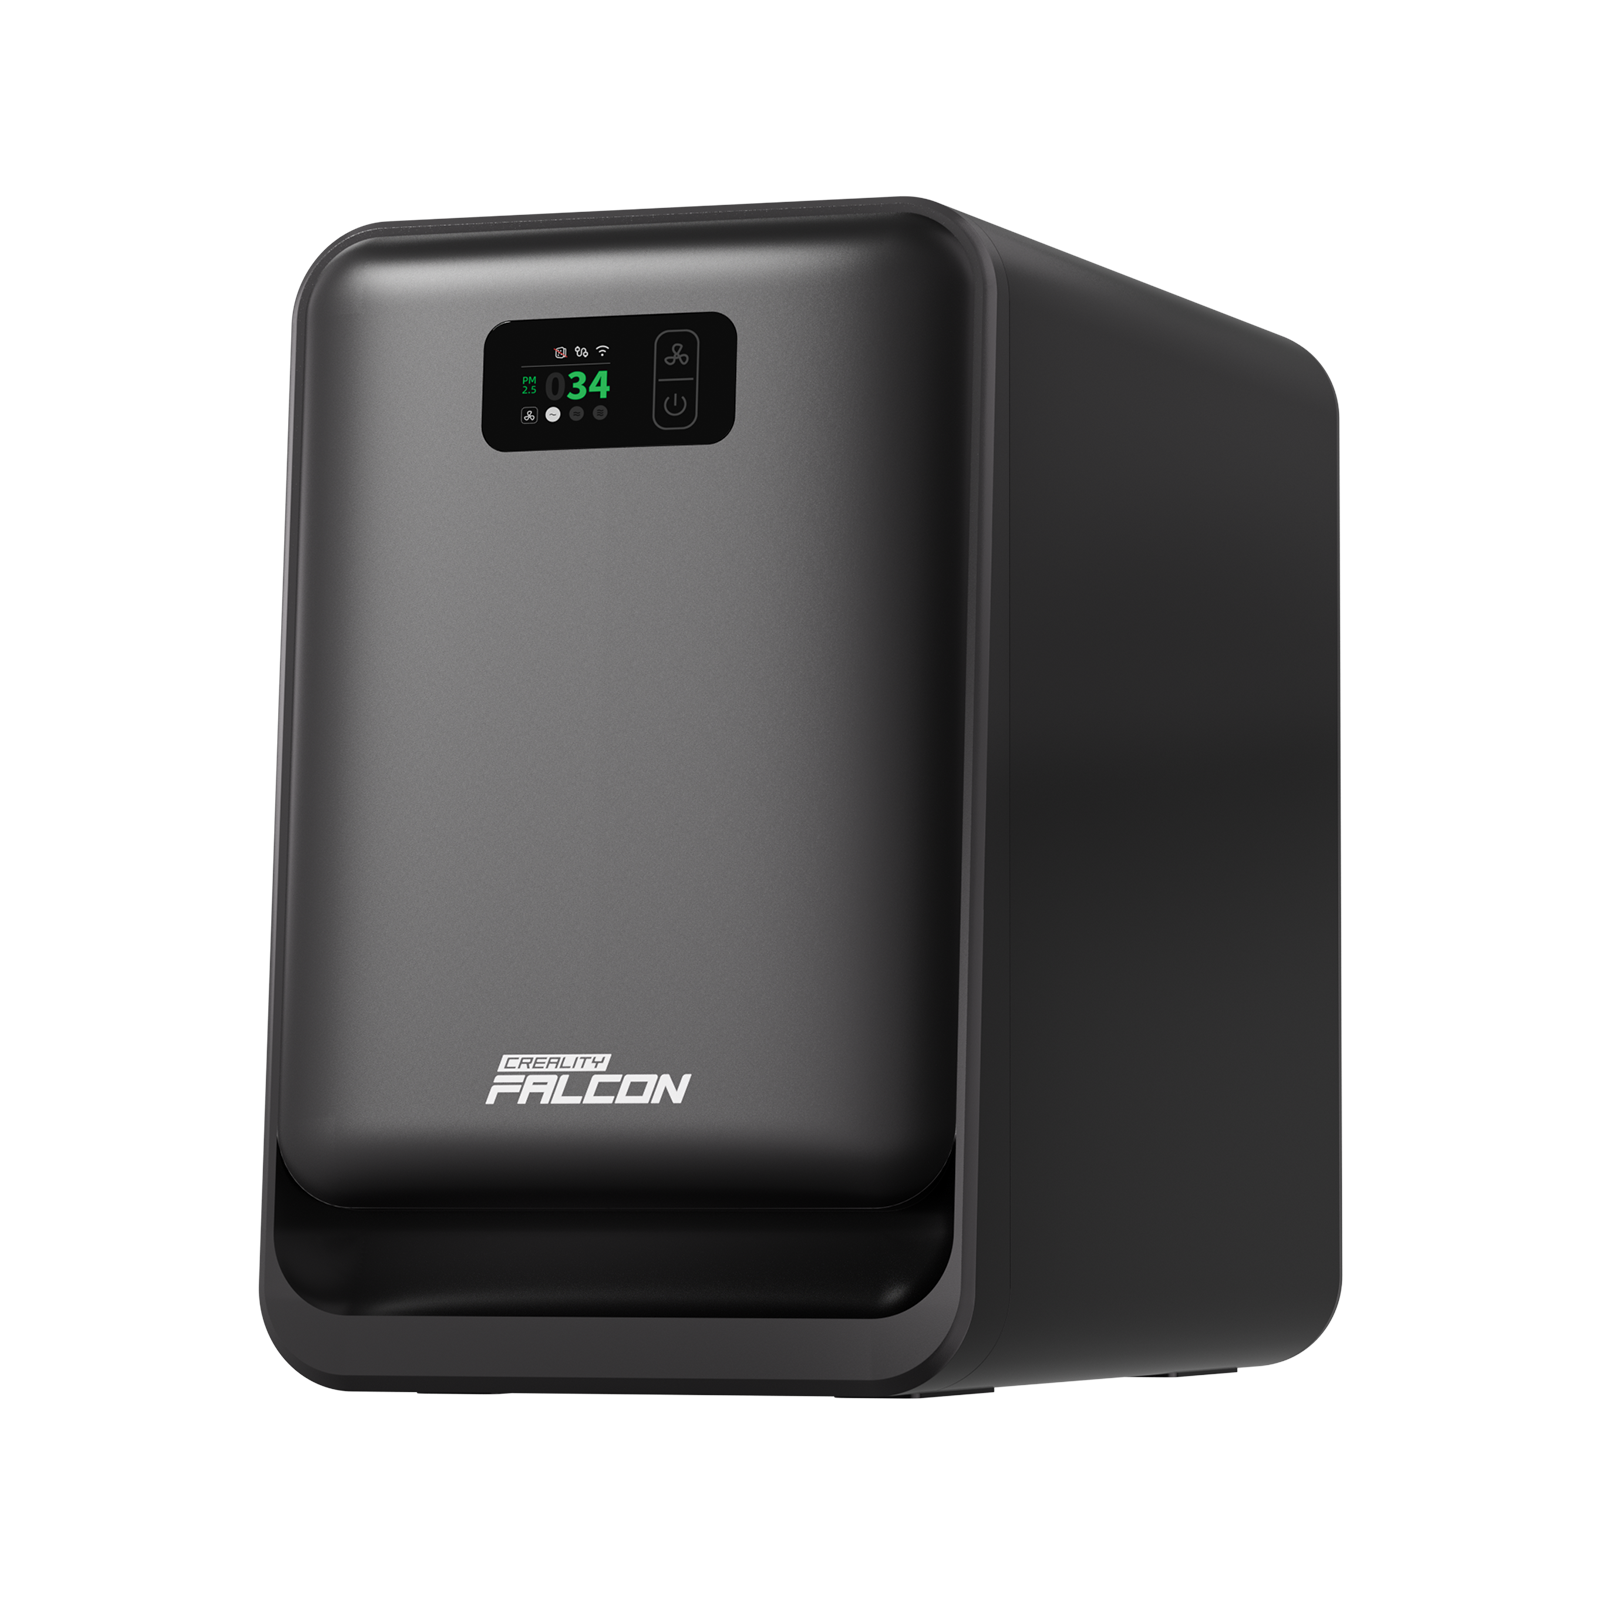
2. Falcon A1 10W
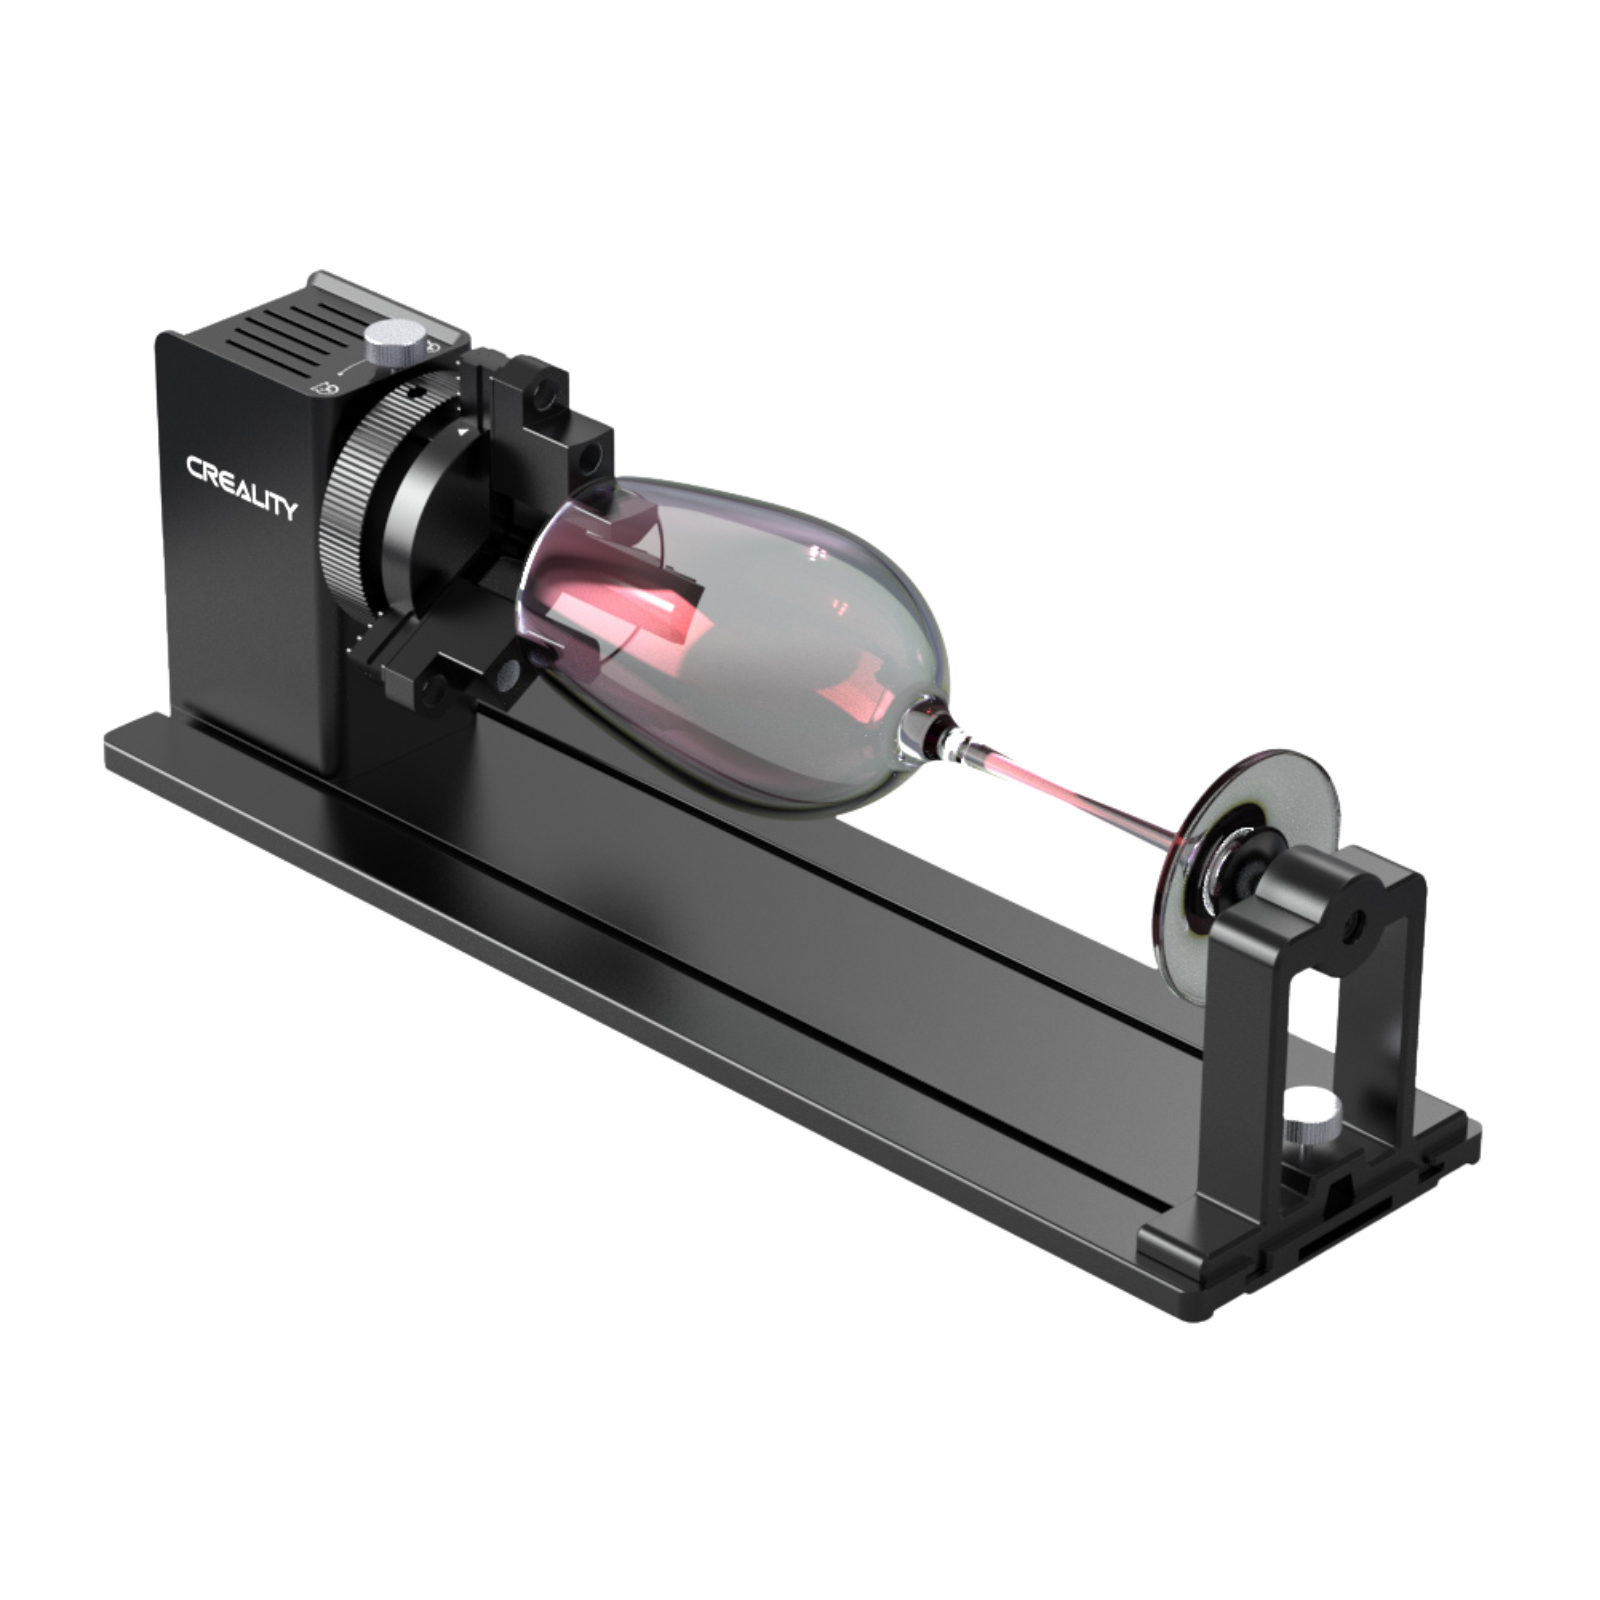
The Falcon A1 10W from Creality Falcon is a budget-friendly powerhouse for beginners and small businesses looking for professional-level laser marking on a dime.

Pros:
- Affordable without compromising quality
- Good power for stainless steel (with marking spray)
- Easy to set up
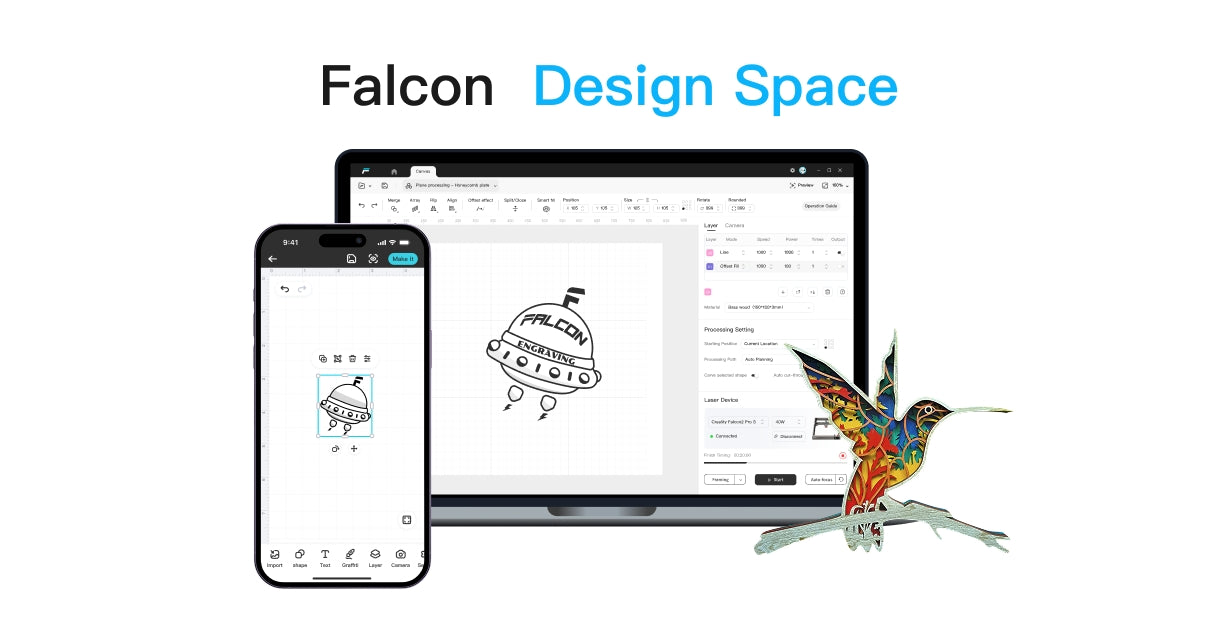
- User-friendly Falcon Design Space software
Cons:
- Needs a spray to etch stainless steel clearly
- Not suitable for industrial-scale work
With a solid 10W diode laser, the Falcon A1 is an excellent low-cost entry point. It hits the sweet spot between affordability and reliability.
3. LaserPecker LP4 Dual-Laser
LaserPecker LP4 is a high-tech gadget for those who love features. With dual-laser support and auto-focus tech, it's great for home use.

Pros:
- Dual laser (Diode + IR)
- App-controlled with smart UI
- Lightweight and stylish
- Great for DIY and crafts
Cons:
- Pricey for casual users
- Not designed for large batches
If you want fun meets function, LaserPecker LP4 delivers. It’s ideal for personalized gifts or small etching projects on stainless steel.
4. Longer Ray5 20W
The Longer Ray5 20W by Longer is another budget contender. It’s beginner-friendly, with enough power to etch stainless steel (with spray).

Pros:
- Affordable
- Touchscreen controls
- Great support for engraving software
- Ideal for first-timers
Cons:
- Lower power compared to others
- Slower marking on harder metals
Perfect for hobbyists and beginners, the Ray5 5W gets you started without breaking the bank.
5. Atomstack X20 Pro 20W Diode Laser
Looking for serious power? The Atomstack X20 Pro packs a punch with its 20W diode laser, one of the strongest in its class.

Pros:
- Ultra-powerful 20W laser
- Can engrave faster and deeper
- High-quality build
- Large engraving area
Cons:
- Bulky setup
- Slight learning curve for beginners
The X20 Pro is great for users who want to quickly and efficiently step up their stainless steel engraving game.
Part 4: Laser Etching Costs & How to Save
Laser etching stainless steel can cost anywhere from a few cents per piece (if DIY) to several dollars per item (if outsourced).
Here’s how the costs break down:
Initial Investment:
- Low-cost diode lasers: $150–$500
- Mid-range combo lasers: $600–$1000
- Fiber lasers: $2000+
Running Costs:
- Power usage is minimal
- Occasional need for laser marking spray ($30–$50 per can)
- Maintenance is low, mostly lens cleaning and calibrations
Money-Saving Tips:
- Buy during sales (Black Friday, Prime Day)
- Look for refurbished models (like Falcon or xTool)
- Choose engravers with bundled software to avoid extra costs
- Join online forums and groups for second-hand deals
- Starting with a budget model and leveling up as your needs grow is the smartest way.
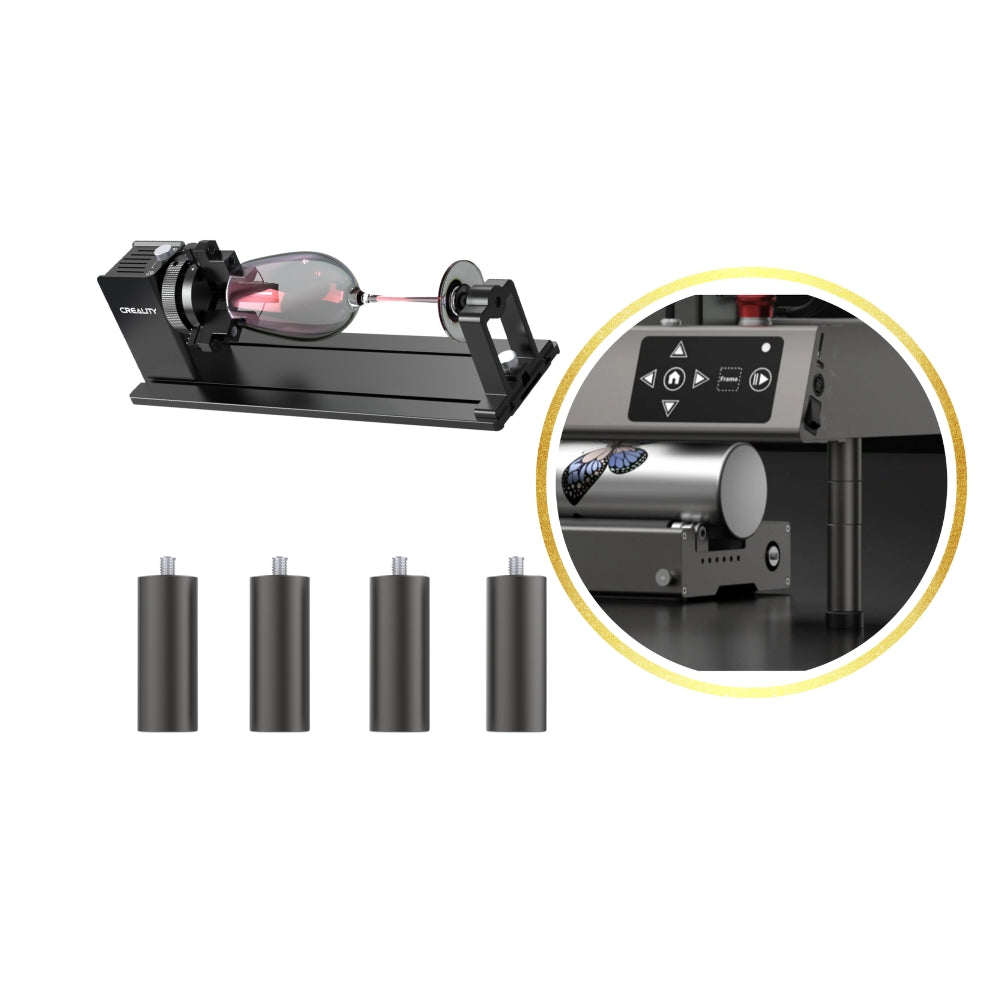
Part 5: Beginner Setup Guide: From Box to Etch
Getting your laser up and running is easier than you think. Here’s a quick beginner-friendly roadmap for laser marking stainless steel:
Step 1: Unboxing & Safety Check
- Wear protective goggles
- Place the machine on a stable surface
- Ensure proper ventilation
Step 2: Install Software
- Use software recommended by the brand (like Falcon Design Space or xTool Creative Space)
- Install drivers
Step 3: Test on Scrap
- Always test on spare metal before engraving your final piece
- Adjust power and speed based on results
Step 4: Apply Marking Spray (if needed)
- Shake well and spray a thin, even coat on the metal
- Let it dry before engraving
Step 5: Start Etching!
- Import your design
- Set parameters
- Hit go and watch the magic happen
Practice makes perfect. Don’t rush and enjoy the process!
Wrapping Up
Laser etching stainless steel isn’t just for the pros—it’s easier (and cooler) than you think. Whether you're launching a side hustle or crafting custom gifts, all it takes is the right machine and a little curiosity.
The Creality Falcon A1 shines for beginners—powerful, affordable, and surprisingly intuitive. Start small, stay safe, and let the sparks of creativity fly. Happy etching!


