


The Ultimate Guide to CO₂ Laser Cutter Acrylic Success

Cutting acrylic with a CO₂ laser cutter looks simple at first—load the material, press start, and wait for clean results.
In reality, achieving crystal-clear, flame-polished edges takes more than just power.
Acrylic is sensitive to heat, airflow, and laser settings, and small mistakes can lead to melting, frosting, or uneven cuts.
This guide brings together real-world experience and proven best practices to help you master CO₂ laser cutting acrylic.
Whether you’re making signs, letters, or precision parts, you’ll learn how to get professional results consistently.
Understanding Acrylic: Cast vs. Extruded for Laser Cutting
Before adjusting any laser settings, it’s essential to understand the type of acrylic you’re working with.
Acrylic behaves very differently depending on how it’s manufactured.
- Cast acrylic is produced by pouring liquid acrylic between glass sheets and allowing it to cure slowly. This process creates a stable internal structure, making cast acrylic ideal for CO₂ laser cutting. When cut correctly, it produces smooth, glossy, flame-polished edges. When engraved, cast acrylic turns frosty white, which is perfect for backlit signs and decorative projects.
- Extruded acrylic is made by pushing molten acrylic through a die. It’s cheaper and more consistent in thickness, but it contains internal stress and melts more easily. When laser cut, extruded acrylic often produces rougher, cloudy edges and is more prone to gumming and warping. Engraving typically results in a clear or gray finish instead of white.

For most CO₂ laser acrylic projects—especially where edge quality matters—cast acrylic is strongly recommended.
A quick identification tip: cast acrylic usually has paper masking, while extruded acrylic typically uses plastic film.
4 Essential CO₂ Laser Settings for Acrylic Cutting
Correct settings are the difference between a clean, polished edge and a melted mess. When dialing in a CO₂ laser for acrylic, focus on four core parameters:
1. Power
Power controls how much energy reaches the acrylic.
Too much power causes excessive melting and edge deformation; too little won’t cut through.
The goal is to use just enough power to cut in one clean pass.
2. Speed
Speed determines how long the laser dwells on the material.
- Slower speeds increase heat buildup and can cause melting.
- Faster speeds reduce heat but may leave incomplete cuts.
Finding the balance is critical.
Tips: Running a material test will save you time when finding the best balance.

3. Frequency (PPI / Hz)
For acrylic, higher frequencies generally produce smoother edges.
A higher PPI means more closely spaced pulses, which helps “polish” the cut edge as the laser moves.
4. Air Assist
Air assist is essential when cutting acrylic.
A focused air stream clears molten material from the kerf, prevents flare-ups, and improves edge clarity.
Without proper air assist, clean cuts are nearly impossible.
Starting reference (for 1/8" cast acrylic on a 60W CO₂ laser):
- Power: 20–30%
- Speed: 15–20 mm/s
- Frequency: 20,000 Hz or higher
- Air assist: On, focused and consistent
These values are only a baseline—always test on scrap material and fine-tune based on results.
How CO₂ Lasers Create Polished Acrylic Edges
One of the biggest advantages of a CO₂ laser cutter is its ability to create flame-polished edges on cast acrylic.
This happens when the laser melts the acrylic cleanly and the edge re-solidifies instantly, leaving a smooth, glossy finish.
To maximize edge clarity:
- Use a single-pass cut whenever possible
- Balance power and speed to avoid over-melting
- Keep frequency high
- Ensure air assist is strong but not excessive
Too much air can cool the acrylic too quickly, leading to frosted edges, while too little air allows molten material to redeposit.
Small adjustments make a big difference.
Extruded acrylic rarely achieves the same polished result due to its lower melting point and internal stress.
While sanding or flame polishing can improve edges afterward, cast acrylic remains the best choice for clean CO₂ laser cuts.
Troubleshooting Common Acrylic Laser Cutting Problems
Even with good settings, issues can happen.
Here’s how to identify and fix the most common ones.
1. Excessive Melting or Warping
Usually caused by too much power, slow speed, or weak air assist.
Reduce power slightly, increase speed, and ensure the material lies perfectly flat on the bed.
2. Frosted or Cloudy Edges
Often related to air assist imbalance or low frequency.
Adjust airflow, clean the nozzle, and try increasing PPI/Hz.
3. Flare-Ups or Fire
A serious warning sign. Common causes include poor air assist, dirty honeycomb beds, or cutting too slowly.
Always keep air assist active, clean the cutting area, and never leave the machine unattended.
4. Inconsistent Cutting Depth
Check focus, lens cleanliness, and material flatness.
Even minor contamination on mirrors or lenses can drastically reduce effective power.
5. Rough or Burned Edges
Usually solved by fine-tuning speed and power.
Slightly faster speeds or reduced power often improve edge quality on cast acrylic.
Choosing the Right CO₂ Laser Cutter for Acrylic
If acrylic cutting is a priority, your machine choice matters.
- Wattage: Lower-power CO₂ lasers can cut thin acrylic, but 60W or higher provides faster, cleaner cuts and better results on thicker sheets like 1/4" or 1/2".
- Bed Size: Larger beds allow for signage, lettering, and batch production without repositioning material.
- Optics & Focus: A 2.0" lens is a versatile all-around choice. Shorter focal lengths offer finer detail for thin acrylic but less depth.
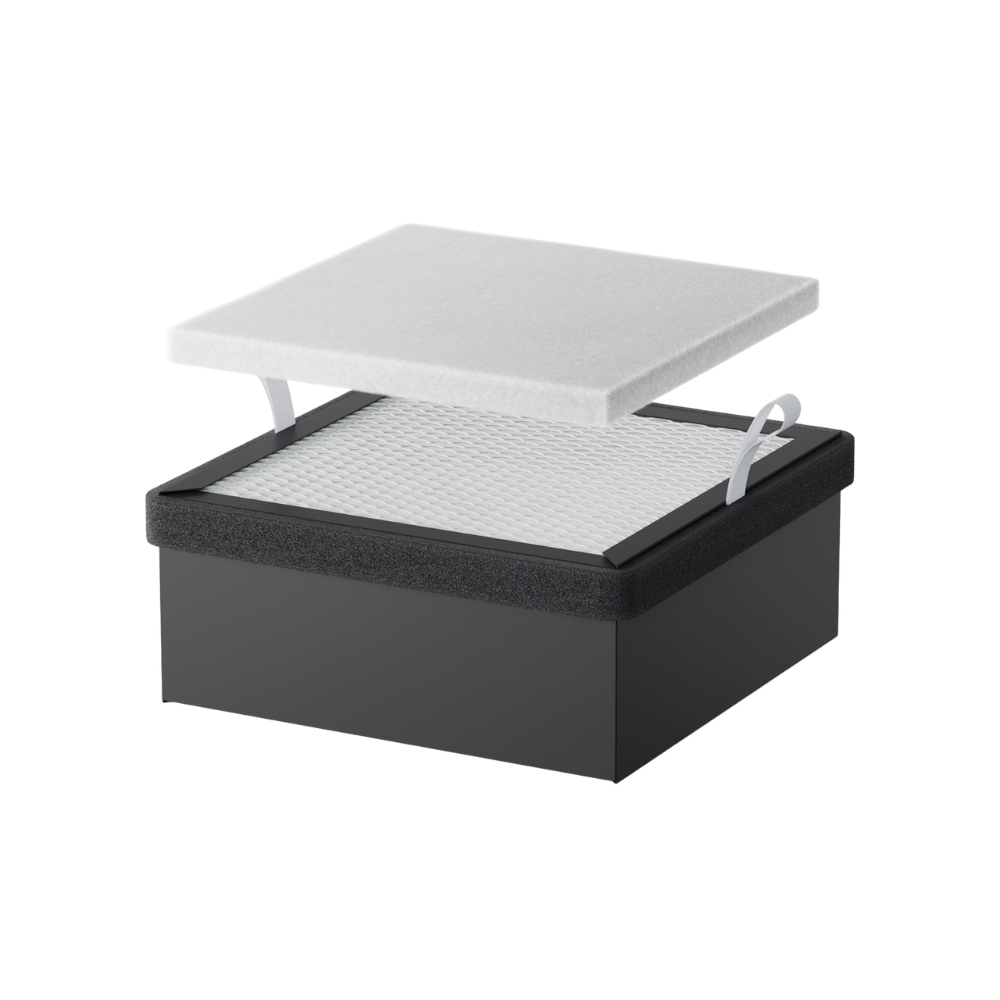
- Exhaust & Ventilation: Acrylic fumes are strong and unhealthy. Proper exhaust and filtration are non-negotiable.
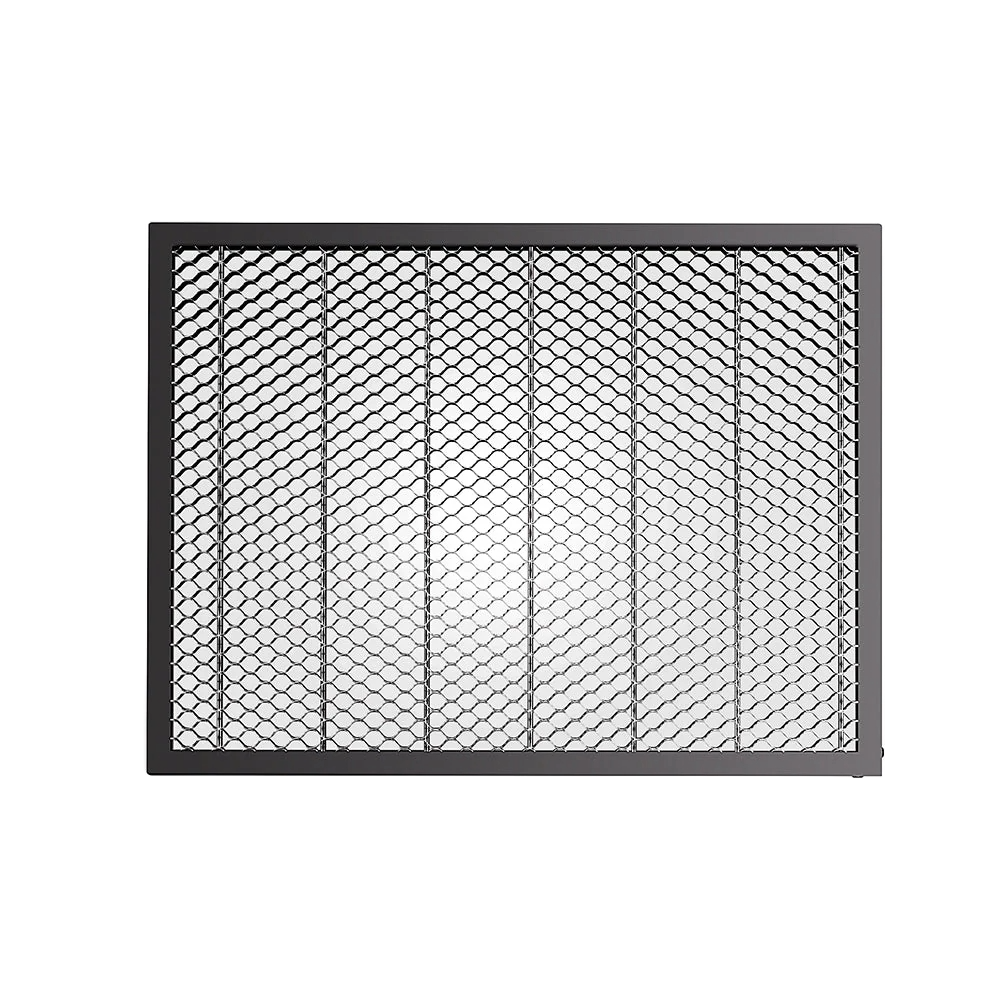
- Cutting Bed: Blade beds are often preferred for acrylic because they reduce backside flashback and improve airflow compared to honeycomb beds.
While diode lasers can engrave dark or opaque acrylic, they are not suitable for clean cutting of clear acrylic.
For polished edges, consistent results, and thicker material, a CO₂ laser cutter is the correct tool.
Safety and Maintenance When Cutting Acrylic
Acrylic is flammable and produces harmful fumes.
Always follow these safety practices:
- Never leave the laser unattended
- Use proper ventilation or filtration
- Keep a fire extinguisher nearby
- Clean lenses, mirrors, and the cutting bed regularly
Routine maintenance keeps cuts consistent and extends the life of your laser tube.
After each job, allow the exhaust to run briefly to clear remaining fumes.
Final Takeaway
If your goal is clean, precise, polished acrylic cuts, a CO₂ laser cutter is unmatched.
With the right material, balanced settings, and proper airflow, you can achieve results that look factory-finished straight off the machine.
Master the process, and acrylic becomes one of the most rewarding materials a CO₂ laser can handle.
Recent News

12 World Cup Laser Engraving Ideas for Fans
Explore world cup laser engraving ideas for fan gifts, tumblers, coasters, signs, and safe soccer-inspired designs makers can...

What Materials Does a Laser Cutter Cut Safely
Find out what materials does a laser cutter cut, which plastics to avoid, and how CO2, diode, and...

7 Best Laser Engravers Under $1000
Quick Answer:The best laser engraver under $1000 should be chosen by total setup cost, not machine price alone.For most...