


Tutorial: Mastering Laser Engraving with Laser Cutter

Welcome to the exciting world of laser engraving, where creativity meets precision.
This powerful technology transforms ordinary objects into personalized masterpieces, opening up a universe of possibilities for hobbyists, DIY enthusiasts, and small business owners alike.
Whether you're looking to add intricate designs to wooden keepsakes, personalize leather goods, or create custom signage, understanding the nuances of engraving with laser cutter technology is your first step to success.
Let's delve into the core principles and practical steps that will empower you to bring your visions to life with remarkable detail and accuracy.
Understanding the Core Principles of Laser Engraving
At its heart, laser engraving uses a focused beam of light to vaporize or melt material from a surface, creating a permanent mark. Unlike simple printing, this process alters the material itself, producing depth and texture.
Laser cutters are versatile machines capable of both cutting through materials and engraving their surfaces.
The key distinction lies in power and passes: cutting typically requires higher power and slower speeds to penetrate, while engraving utilizes lower power and faster speeds to remove a thin layer, revealing the material beneath or altering its color.
Mastering these settings is fundamental to achieving desired results.

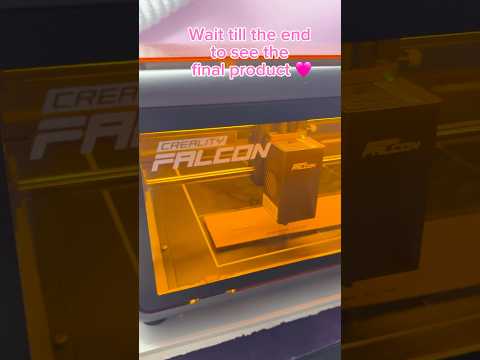
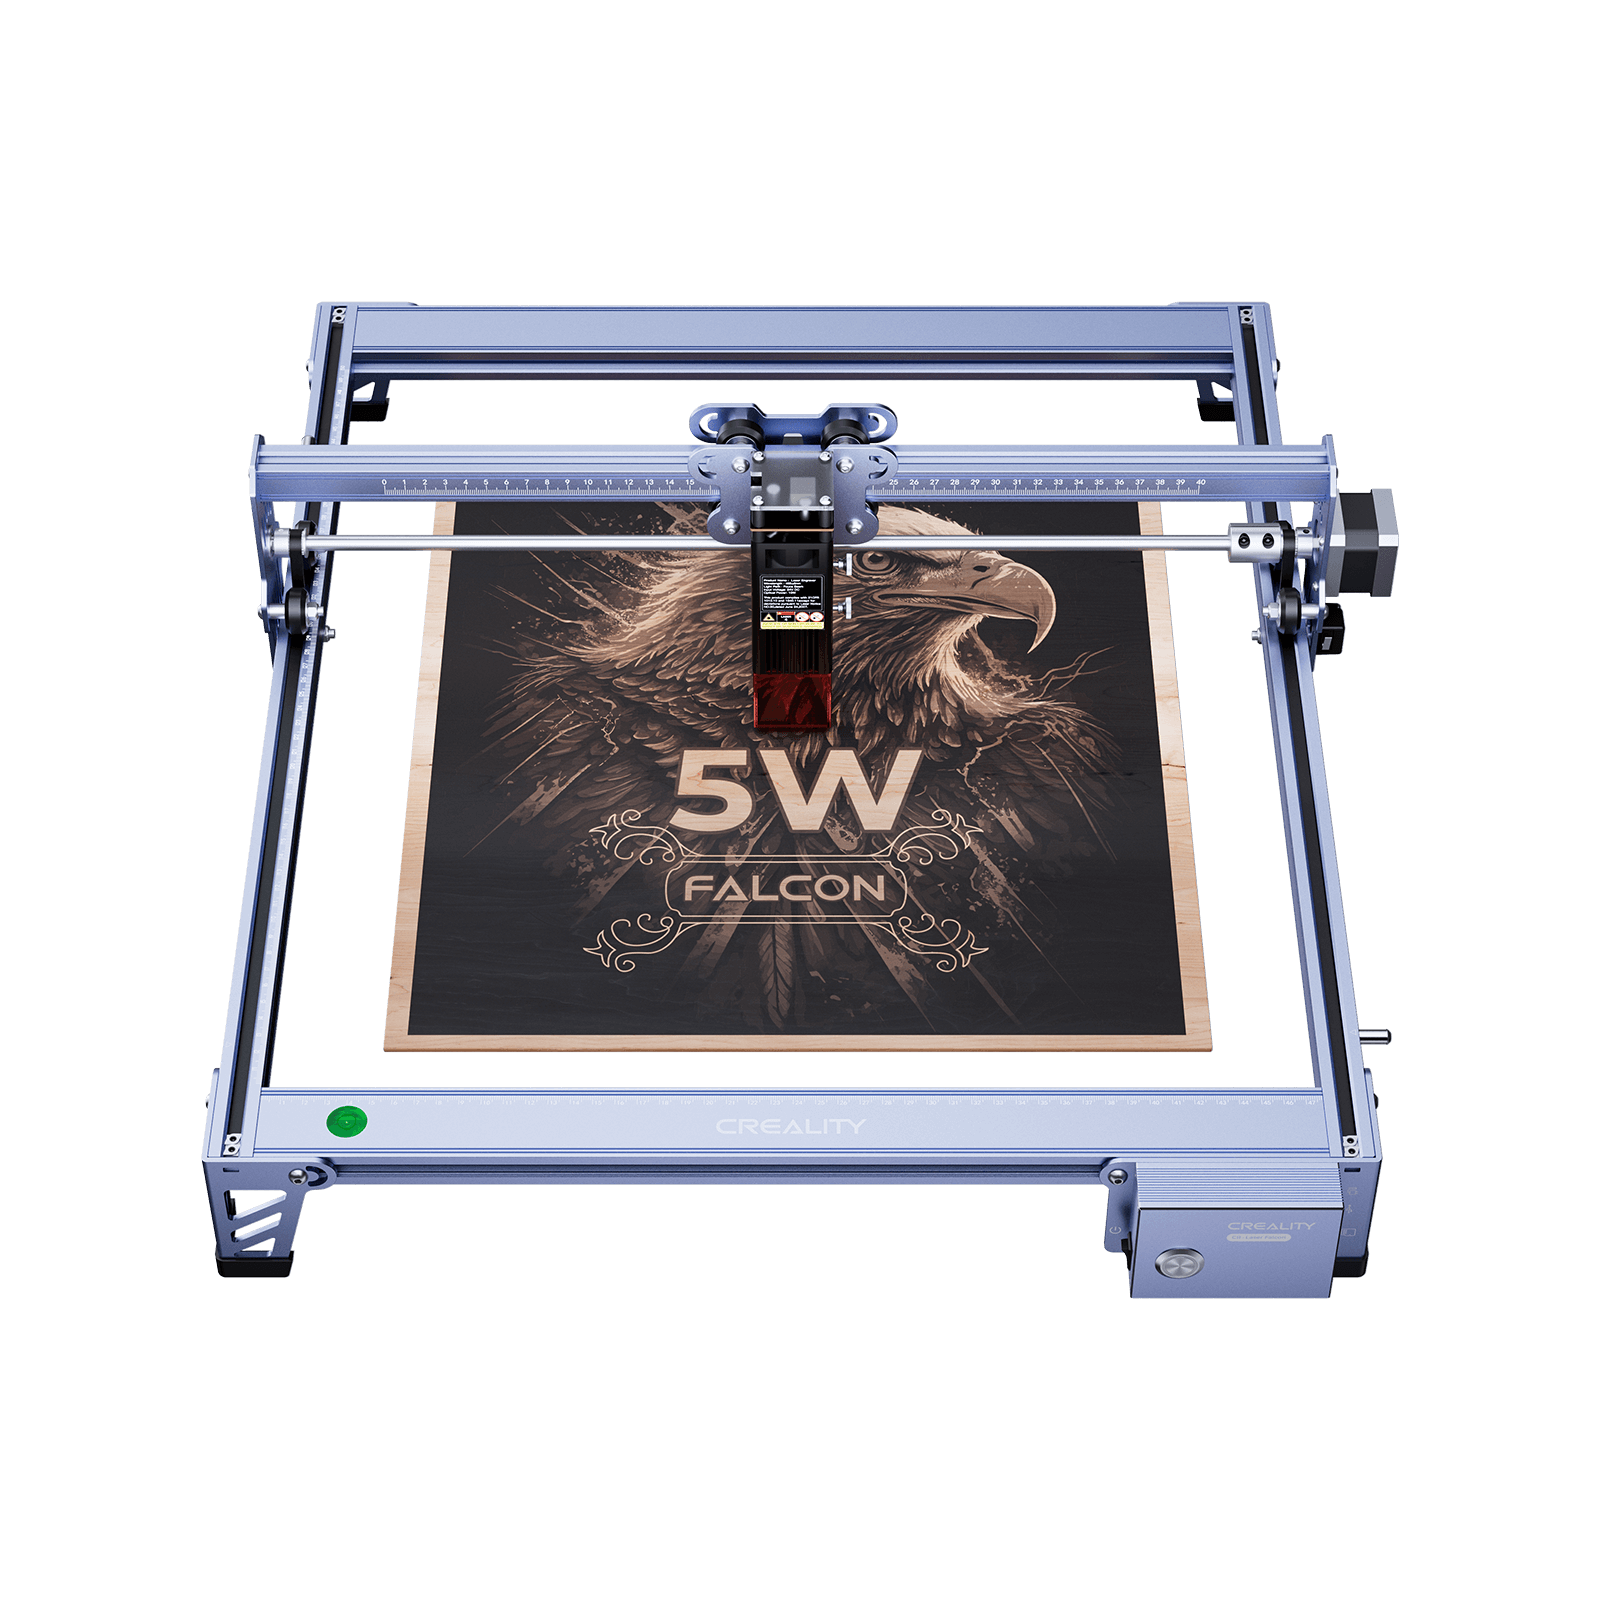
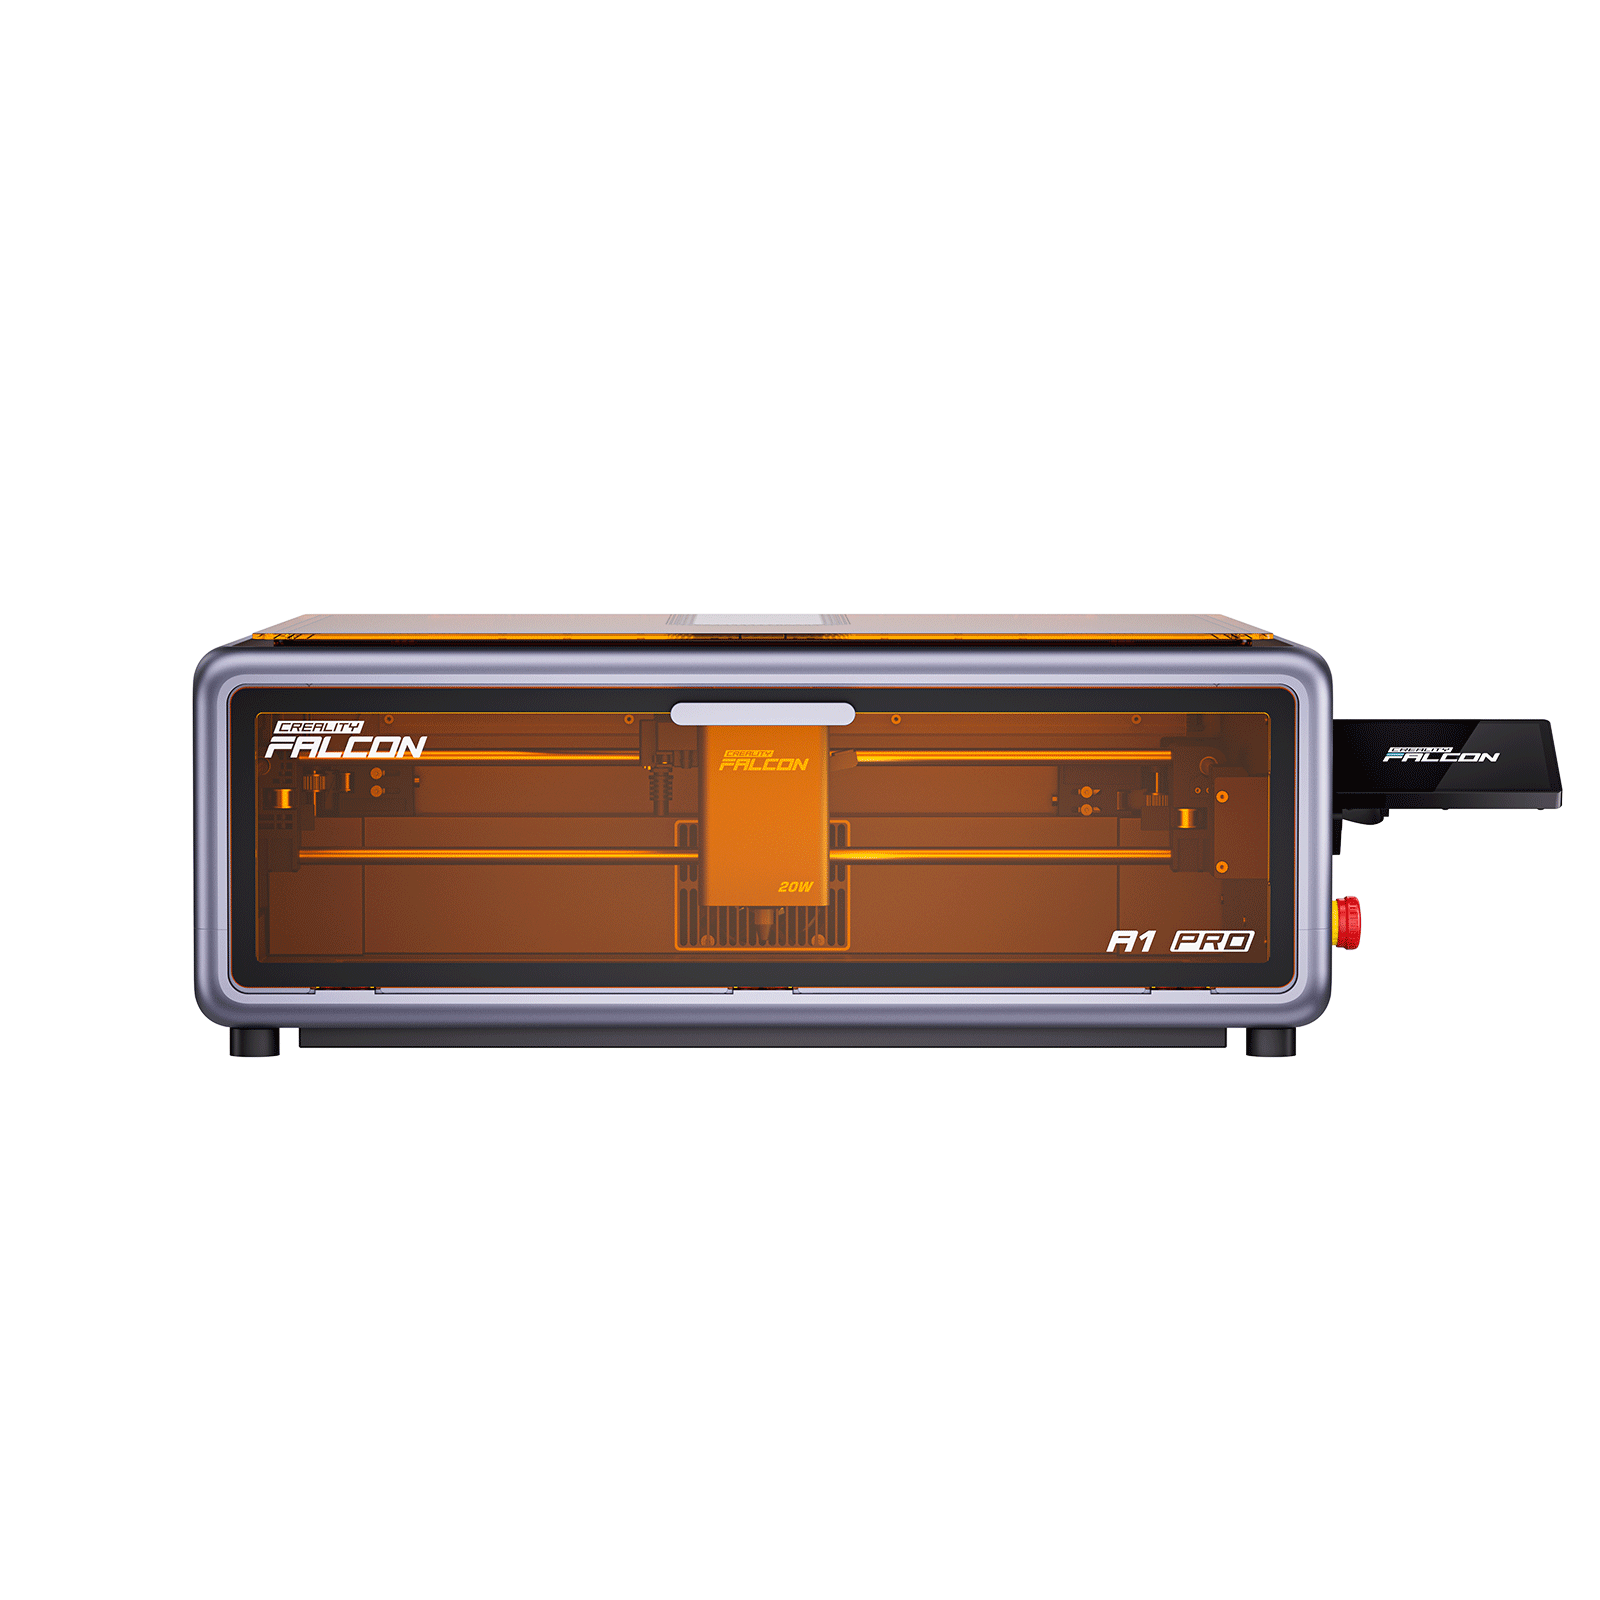
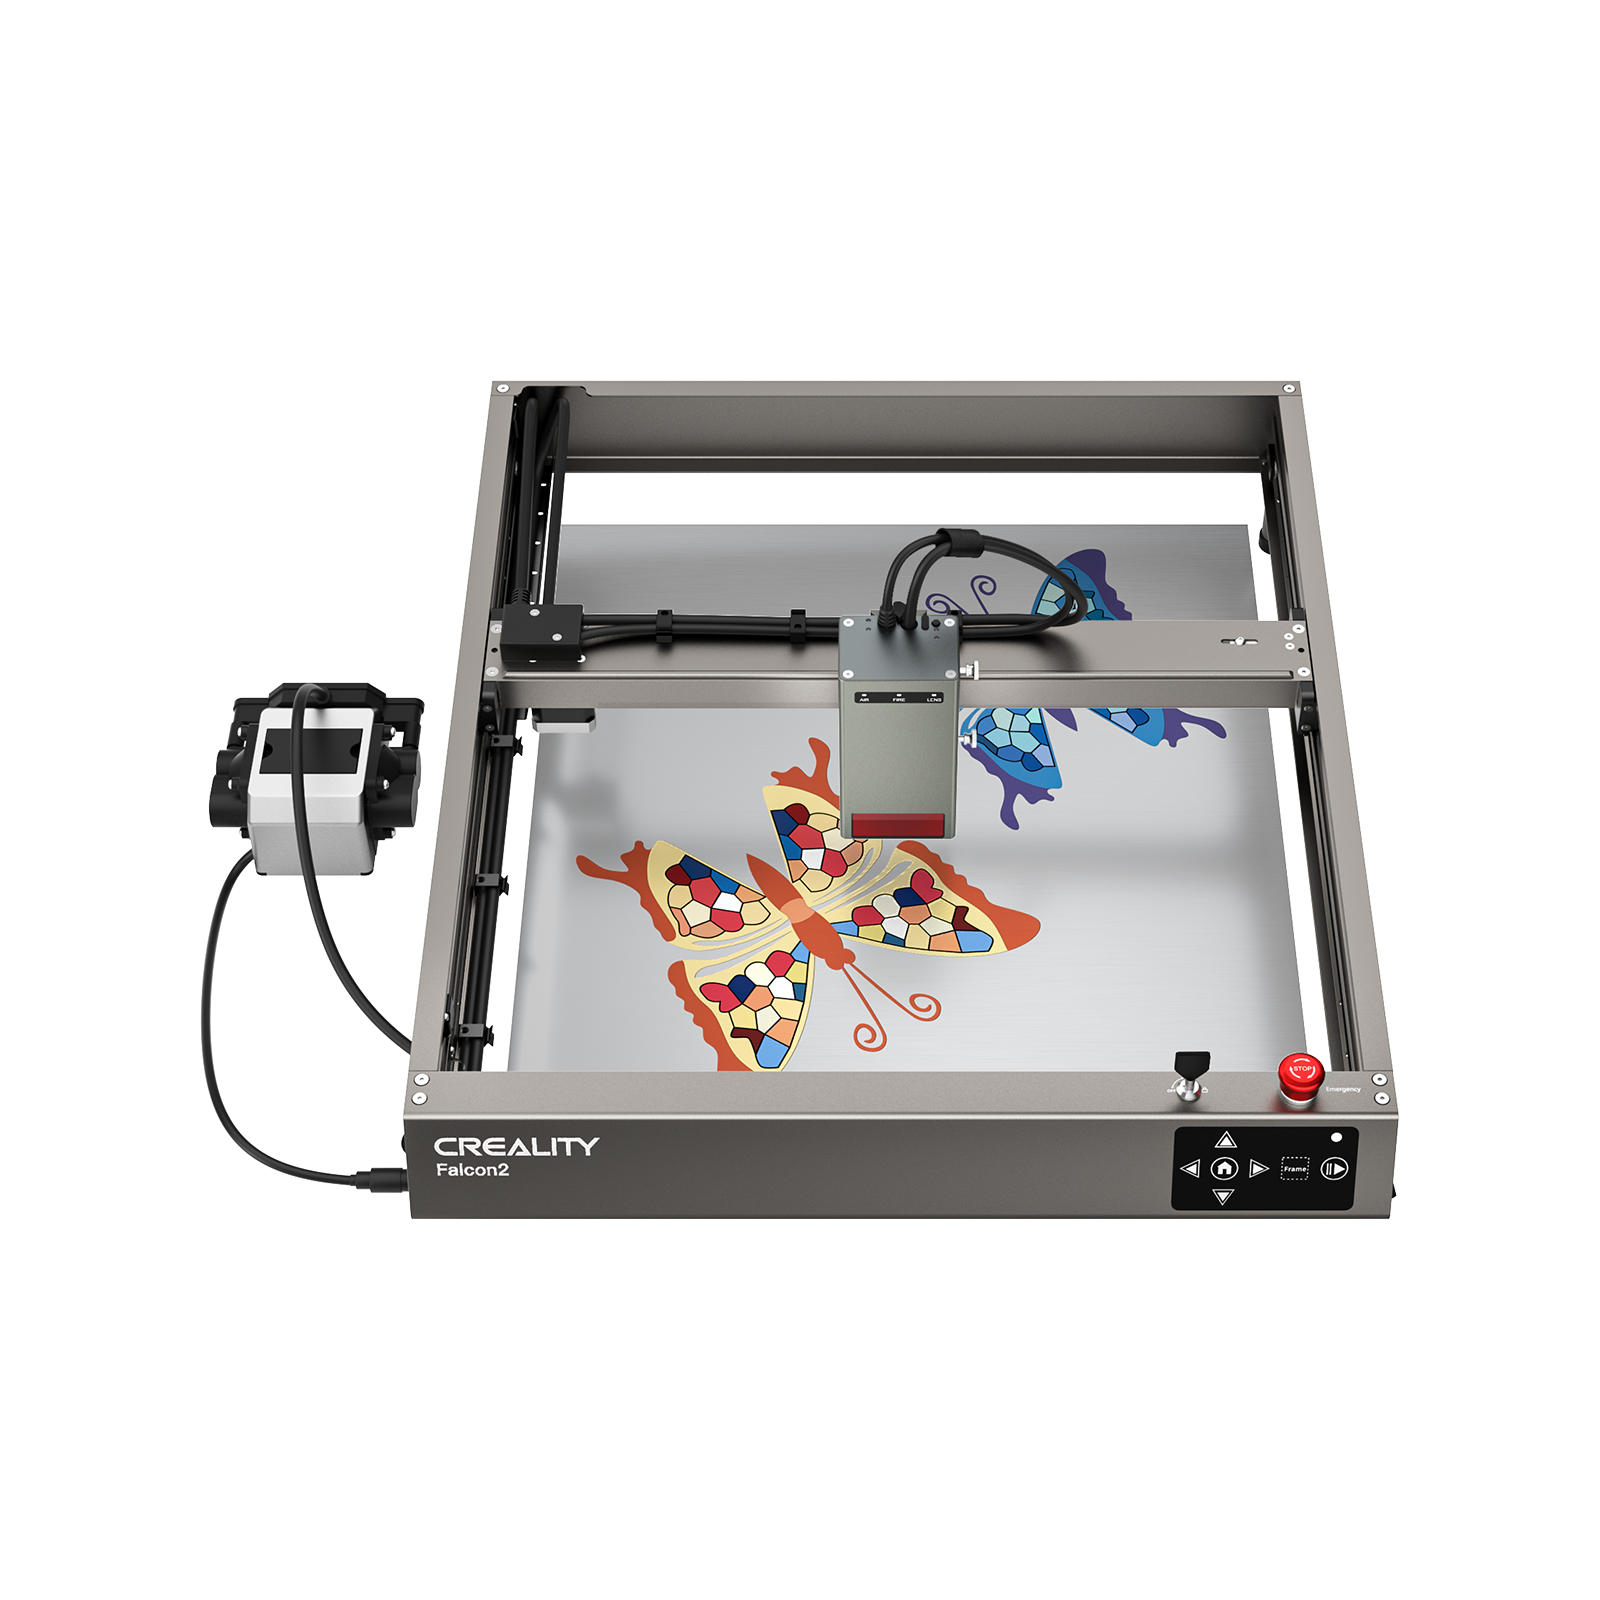
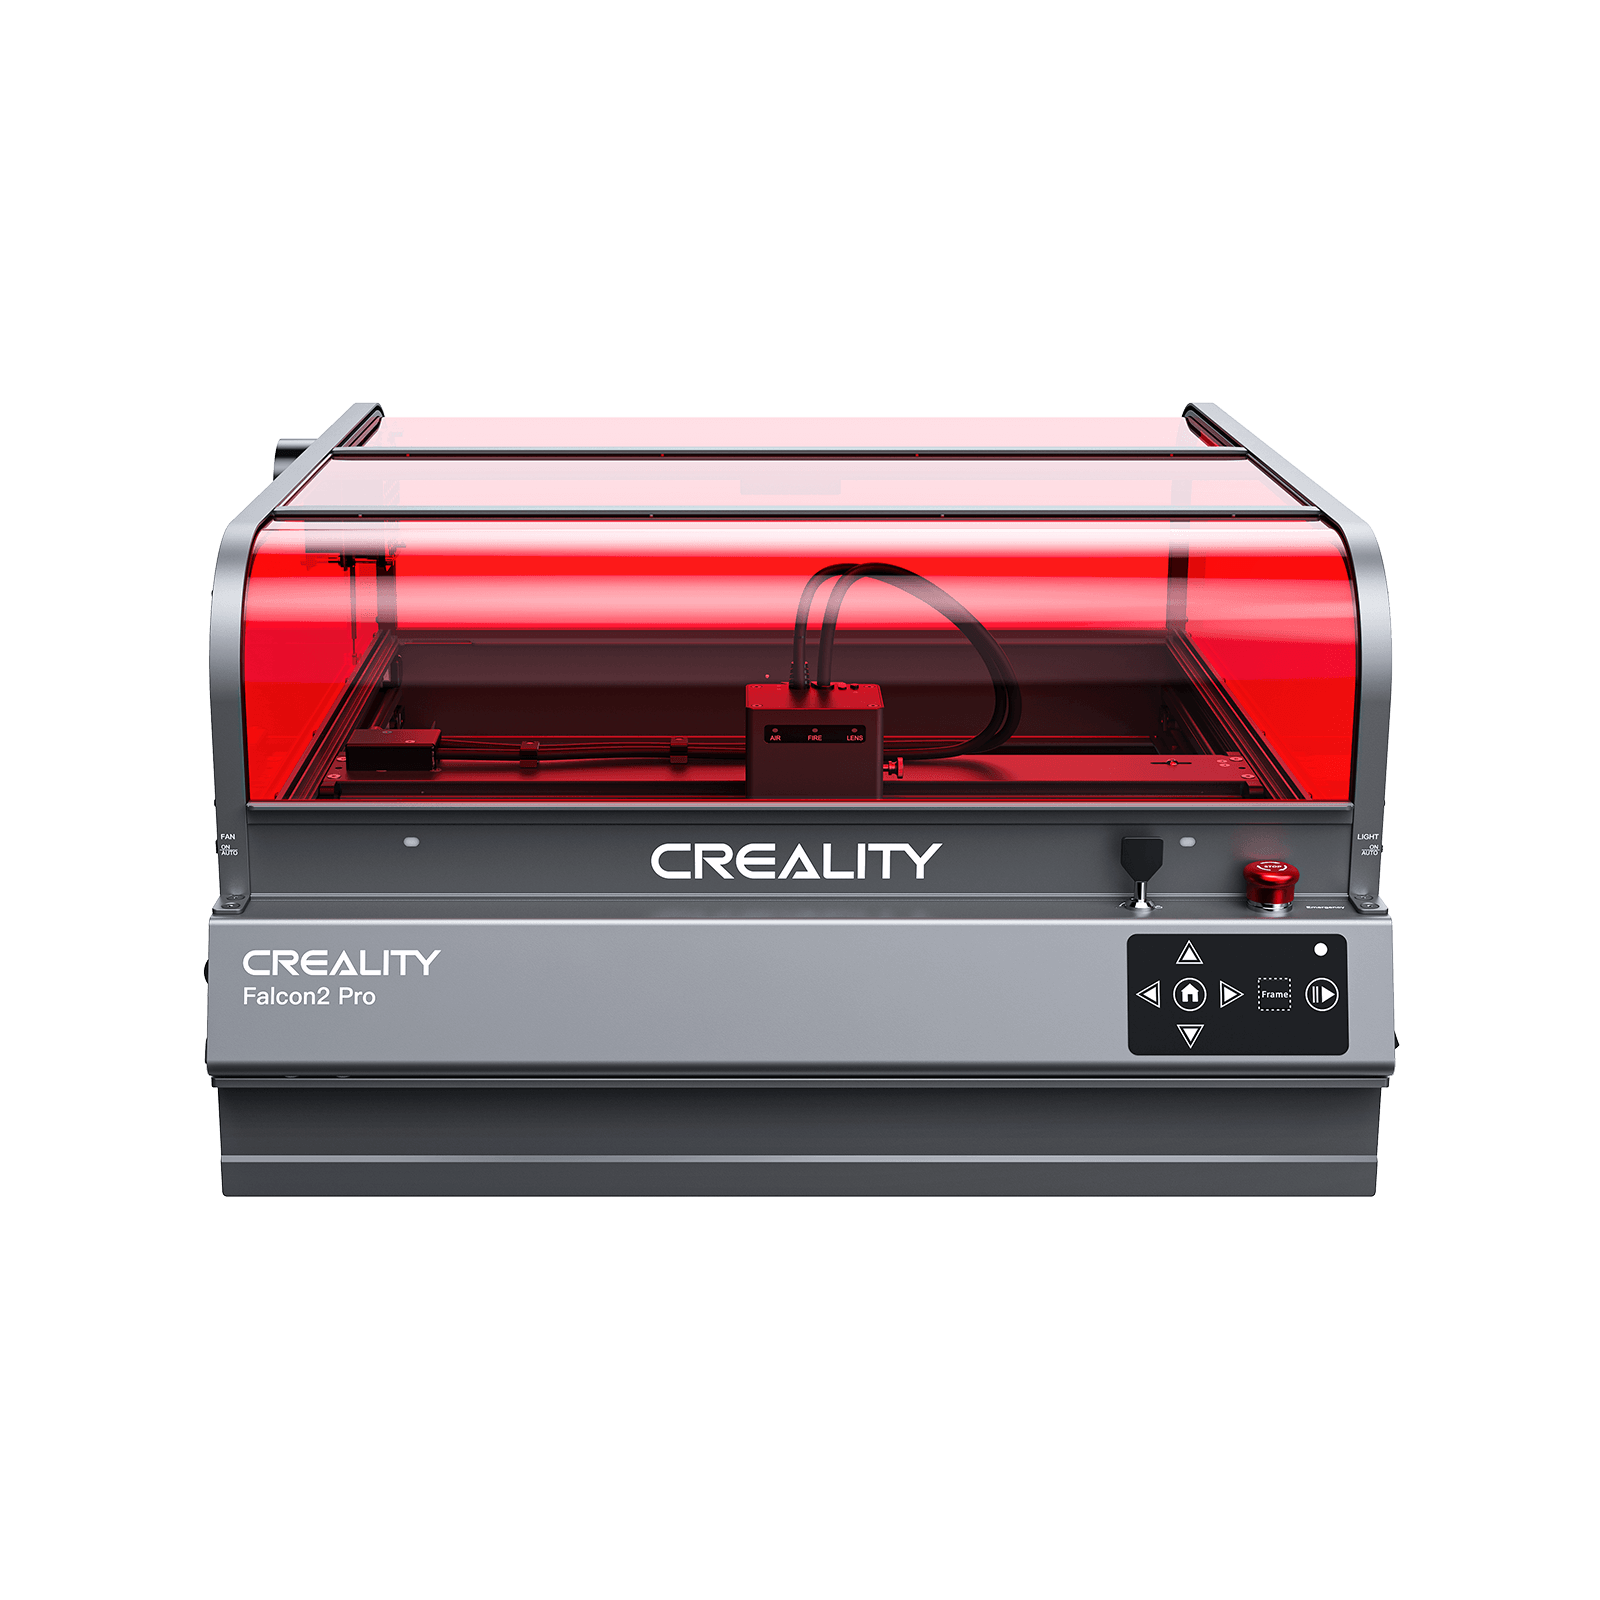
Selecting Your Engraving Companion: Choosing a Laser Cutter
The market offers a diverse range of laser cutters, from desktop units ideal for home workshops to more robust industrial models. When selecting a machine for engraving with laser cutter projects, consider factors such as laser wattage (which influences speed and material capability), working area size, ease of use, and software compatibility.
Brands like xTool, Glowforge, Creality Falcon, TwoTrees, ComMarker, and AtomStack represent different segments of this market, each offering unique features. Your choice will depend on your budget, the types of materials you intend to engrave, and the scale of your projects.
Crafting Your Vision: Designing for Laser Engraving
Successful laser engraving begins with a well-prepared design.
While laser cutters can interpret various file types, understanding the difference between vector and raster graphics is crucial.
- Vector files (such as SVG, AI, or DXF) are defined by mathematical equations, allowing the laser to trace precise lines and shapes, ideal for sharp, clean engravings and cutting.
- Raster images (like JPEGs or PNGs) are made up of pixels. For engraving, these are typically converted to grayscale, where the darkness of each pixel dictates the laser's power or speed, creating nuanced tonal variations and detailed images.

Setting Up for Success: Preparing Your Laser Cutter
Before the laser meets your material, meticulous setup is paramount. Ensure your material is securely placed on the laser cutter's bed to prevent movement during operation. Accurate focus adjustment is critical; the distance between the laser lens and the material surface directly impacts the beam's intensity and the engraving's sharpness.
Consult your machine’s manual for specific focusing procedures. Initial test engravings on scrap material are highly recommended to fine-tune parameters like laser power, speed, and frequency, ensuring you achieve the desired depth and clarity without damaging the workpiece.
The Engraving Journey: From Design to Finished Piece
With your design prepared and your laser cutter calibrated, you're ready for the engraving process. Upload your design file into the laser cutter's control software. Here, you’ll assign settings for each element – whether it’s a line to be engraved or an area to be filled. Most software allows you to preview the engraving path.
Once you're confident, initiate the engraving. The laser will meticulously trace or scan across the material, layer by layer, creating your design. The entire engraving process is automated, allowing for intricate detail that would be impossible to achieve by hand.
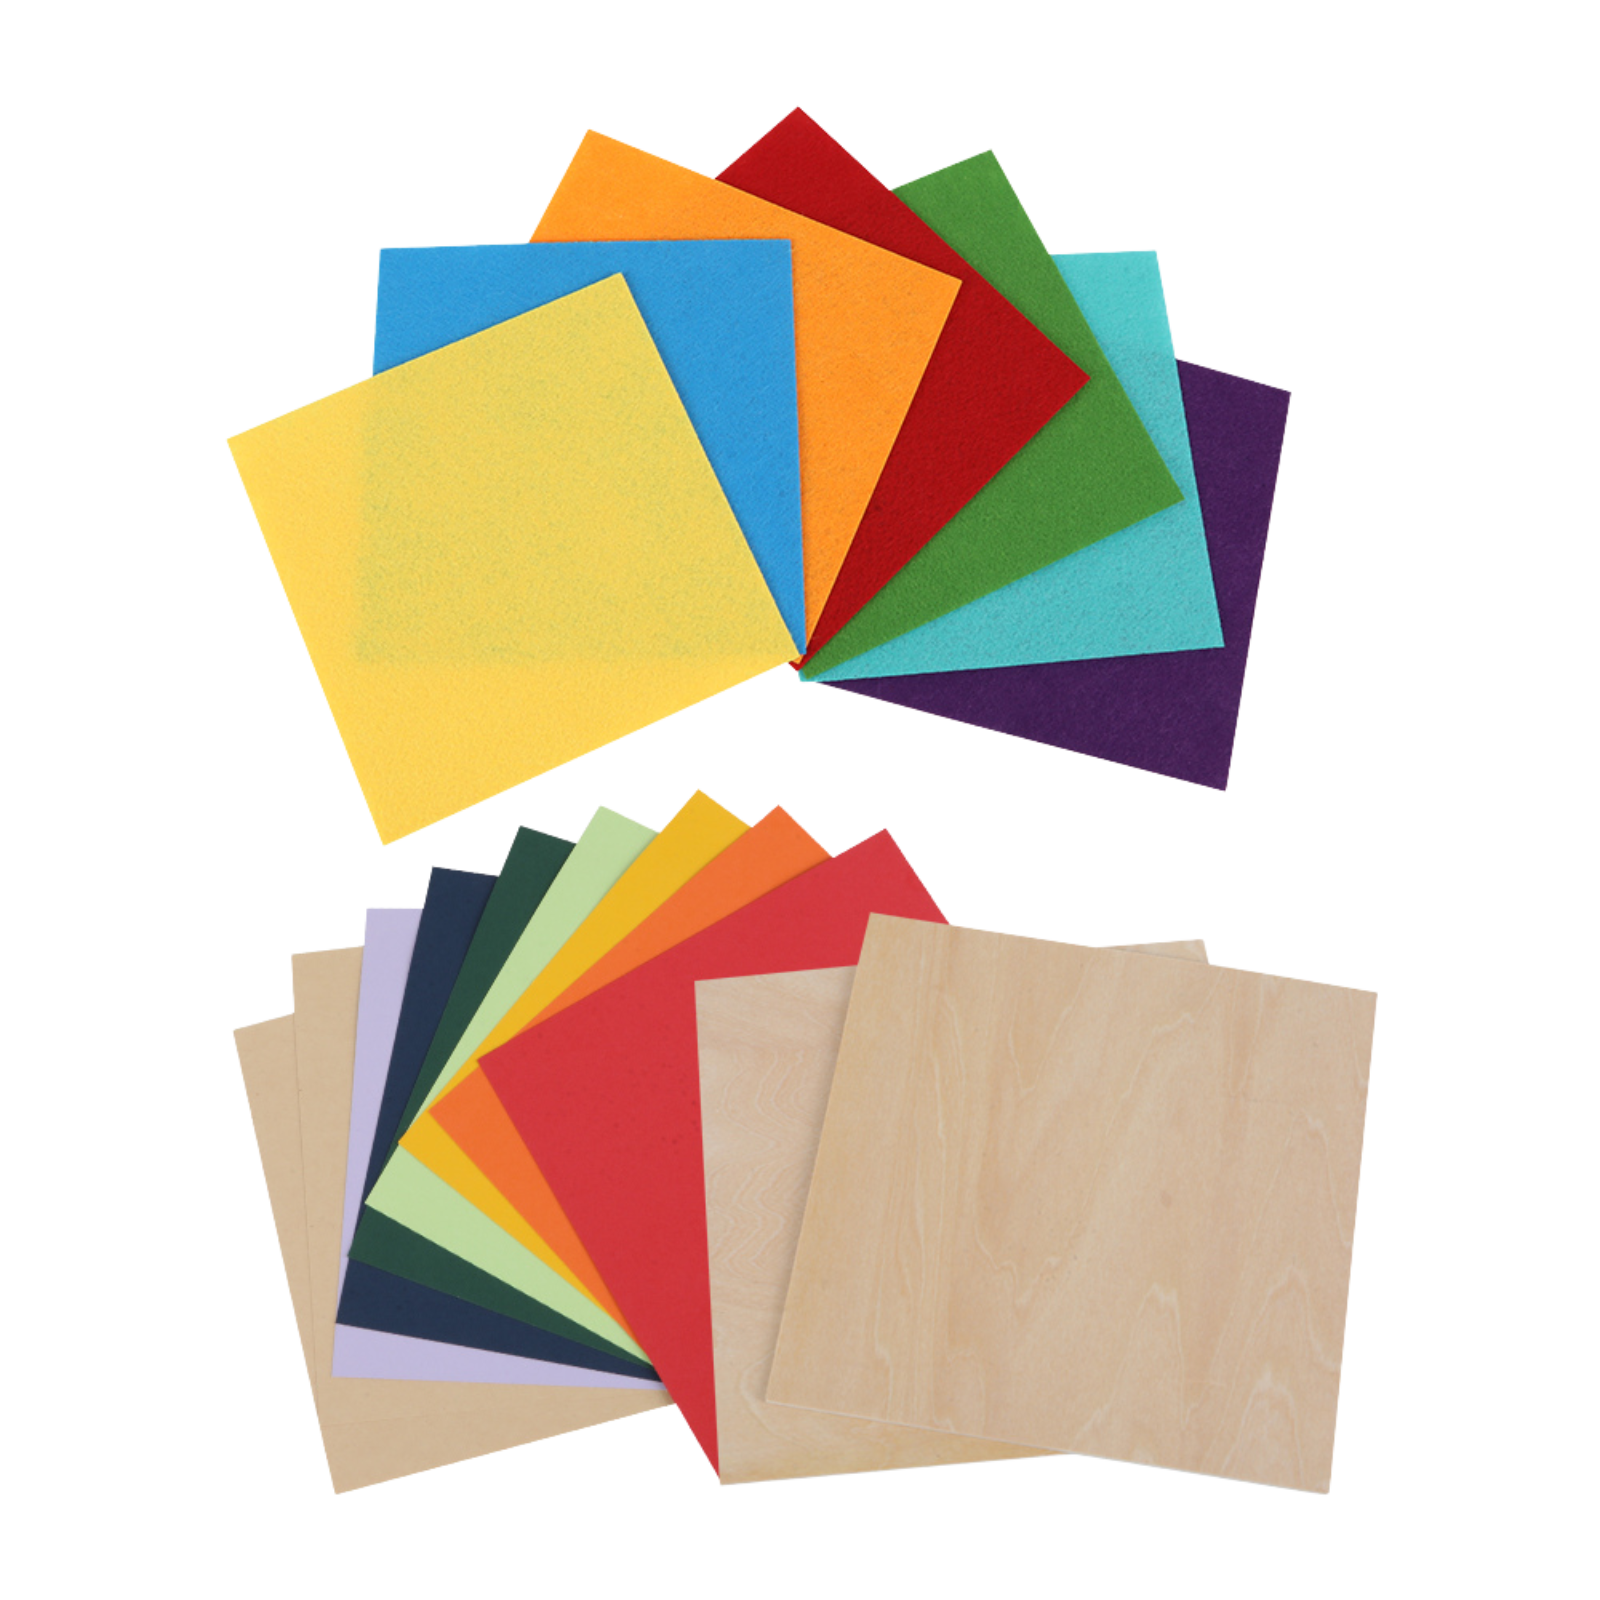
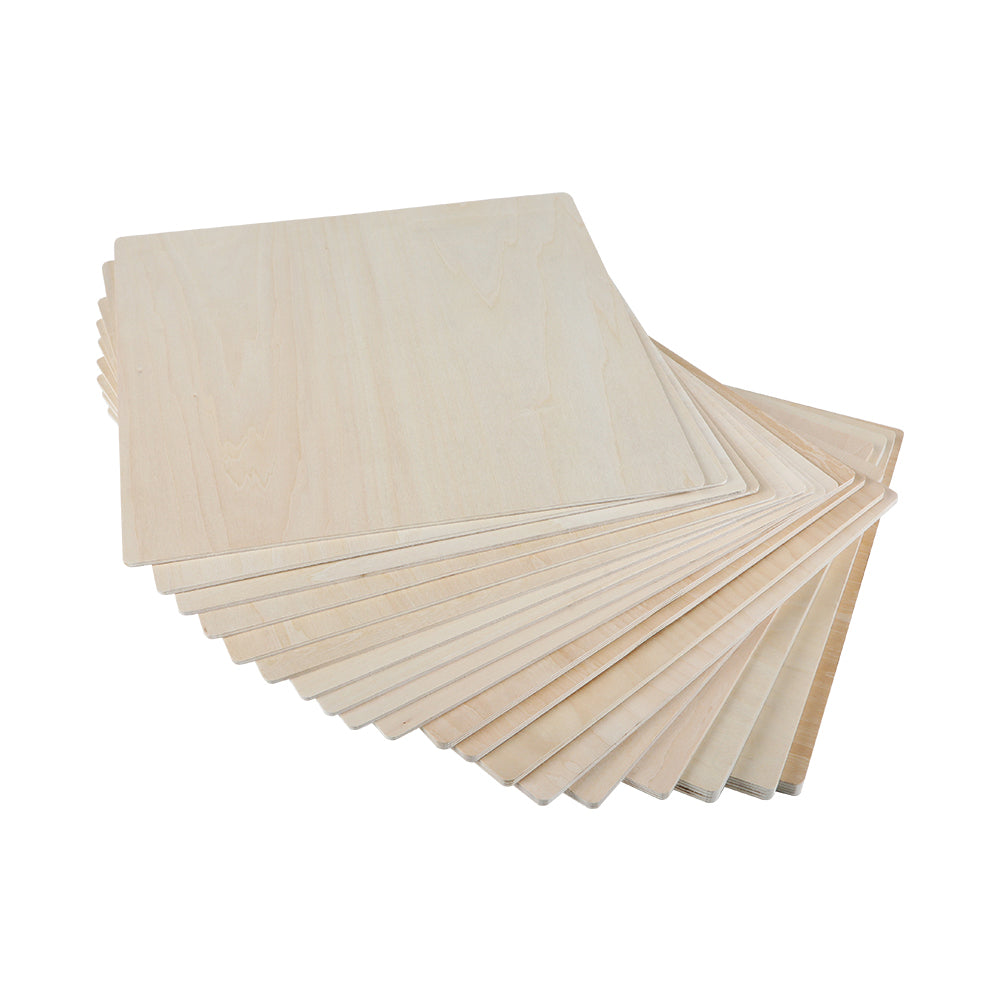
Exploring Material Possibilities: What Can You Engrave?
The versatility of laser engraving extends to a wide array of materials, each offering unique aesthetic qualities.
- Wood: From fine hardwoods to plywood, engraves beautifully, revealing contrasting grain patterns and subtle color changes.
- Acrylic: Can be engraved to create frosted effects or deeply etched designs.
- Leather: Yields elegant, darkened marks, perfect for personalized accessories.
- Coated metals: Such as anodized aluminum or powder-coated surfaces, allow for precise removal of the coating to expose the metal beneath.
- Even plastics and stone can be engraved, expanding your creative horizons.
Overcoming Hurdles: Troubleshooting Common Engraving Issues
Even with careful preparation, challenges can arise. Uneven engraving might stem from an uneven surface, improper focus, or inconsistent material density. Solutions include ensuring a perfectly flat material surface, re-checking focus, and performing material calibration tests.
Charring or excessive burning, particularly on wood, often indicates settings are too slow or too high in power; adjust these parameters downwards. If your engraving lacks depth, increase laser power or decrease speed. Persistent issues may require consulting your machine’s documentation or online maker communities for specific advice.
Inspiring Innovations: Real-World Applications
The impact of laser engraving is evident across numerous applications. Makers and crafters use it to personalize gifts, create intricate home decor, and produce custom jewelry. Small businesses leverage laser engraving for branded merchandise, custom signage, prototyping, and unique product lines that stand out in the market.
From detailed architectural models to sentimental photo engravings on wood, the possibilities are truly boundless. This technology empowers individuals and businesses to add a unique, professional touch to their creations, fostering a sense of craftsmanship and individuality.
Embarking on Your Engraving Adventure
Laser engraving with a laser cutter offers a powerful and rewarding avenue for creative expression and business innovation. By understanding the fundamental principles, carefully selecting your equipment, mastering design preparation, and adhering to best practices for setup and execution, you can unlock a world of possibilities.
Experimentation is key; embrace testing different materials and settings to discover the full potential of your laser cutter. For those looking to deepen their understanding of the design software aspects of laser engraving, we recommend exploring tutorials on creating vector graphics and preparing high-resolution raster images for optimal engraving results.
Recent News

12 World Cup Laser Engraving Ideas for Fans
Explore world cup laser engraving ideas for fan gifts, tumblers, coasters, signs, and safe soccer-inspired designs makers can...

What Materials Does a Laser Cutter Cut Safely
Find out what materials does a laser cutter cut, which plastics to avoid, and how CO2, diode, and...

7 Best Laser Engravers Under $1000
Quick Answer:The best laser engraver under $1000 should be chosen by total setup cost, not machine price alone.For most...