
























The Simple Guide to Glass Bottle Cutting and Easy DIY Projects

Ever look at an empty glass bottle and think, “I could make something cool out of this”?
Good news—you absolutely can.
With a basic glass bottle cutter and a few simple steps, you can turn old bottles into cups, vases, planters, candle holders, and tons of other fun DIY projects.
You don’t need fancy tools or special skills.
Just follow a safe process, take your time, and you’ll get great results.
This guide will walk you through everything you need to know, using simple and practical steps.
What a Glass Bottle Cutter Is (And Why It Makes Life Easier)
A glass bottle cutter is a small tool that helps you score—meaning lightly scratch—the bottle in one clean line.
After scoring, you use hot and cold water to “shock” the glass so it breaks along that line.
Old tricks like burning a string or tapping the bottle are messy and unsafe.
A proper cutter makes the job way easier, safer, and more predictable.

Why Upcycling Glass Is Worth It
We throw away so many bottles.
Cutting and reusing them is a simple way to turn trash into something useful.
It saves money, reduces waste, and gives you custom décor you won’t find in stores.
How a Bottle Cutter Works (Super Simple Explanation)
The cutter has a small cutting wheel (usually carbide).
- You press the bottle against it and rotate the bottle one time.
- This creates a thin score line.
- Switching between hot and cold water makes the glass split along that line.
That’s it. No magic. Just basic physics.
Why People Love This Craft
- It’s eco-friendly
- It’s cheap to start
- Projects look professional
- Bottles become unique gifts
- It’s honestly very satisfying
How to Choose a Good Bottle Cutter
The right cutter makes everything easier. Here’s what to look for.
Two Common Types
Manual Cutters (Most Popular)
- Use a scoring wheel
- Cheap, easy, great for beginners
- Most DIYers use this type
Electric/Heated Wire Cutters
- More advanced
- Expensive
- Not needed unless you cut bottles every day
How to Cut a Glass Bottle (Easy Step-by-Step)
Here’s the simplest safe method.
What You Need
- Bottle cutter
- Gloves
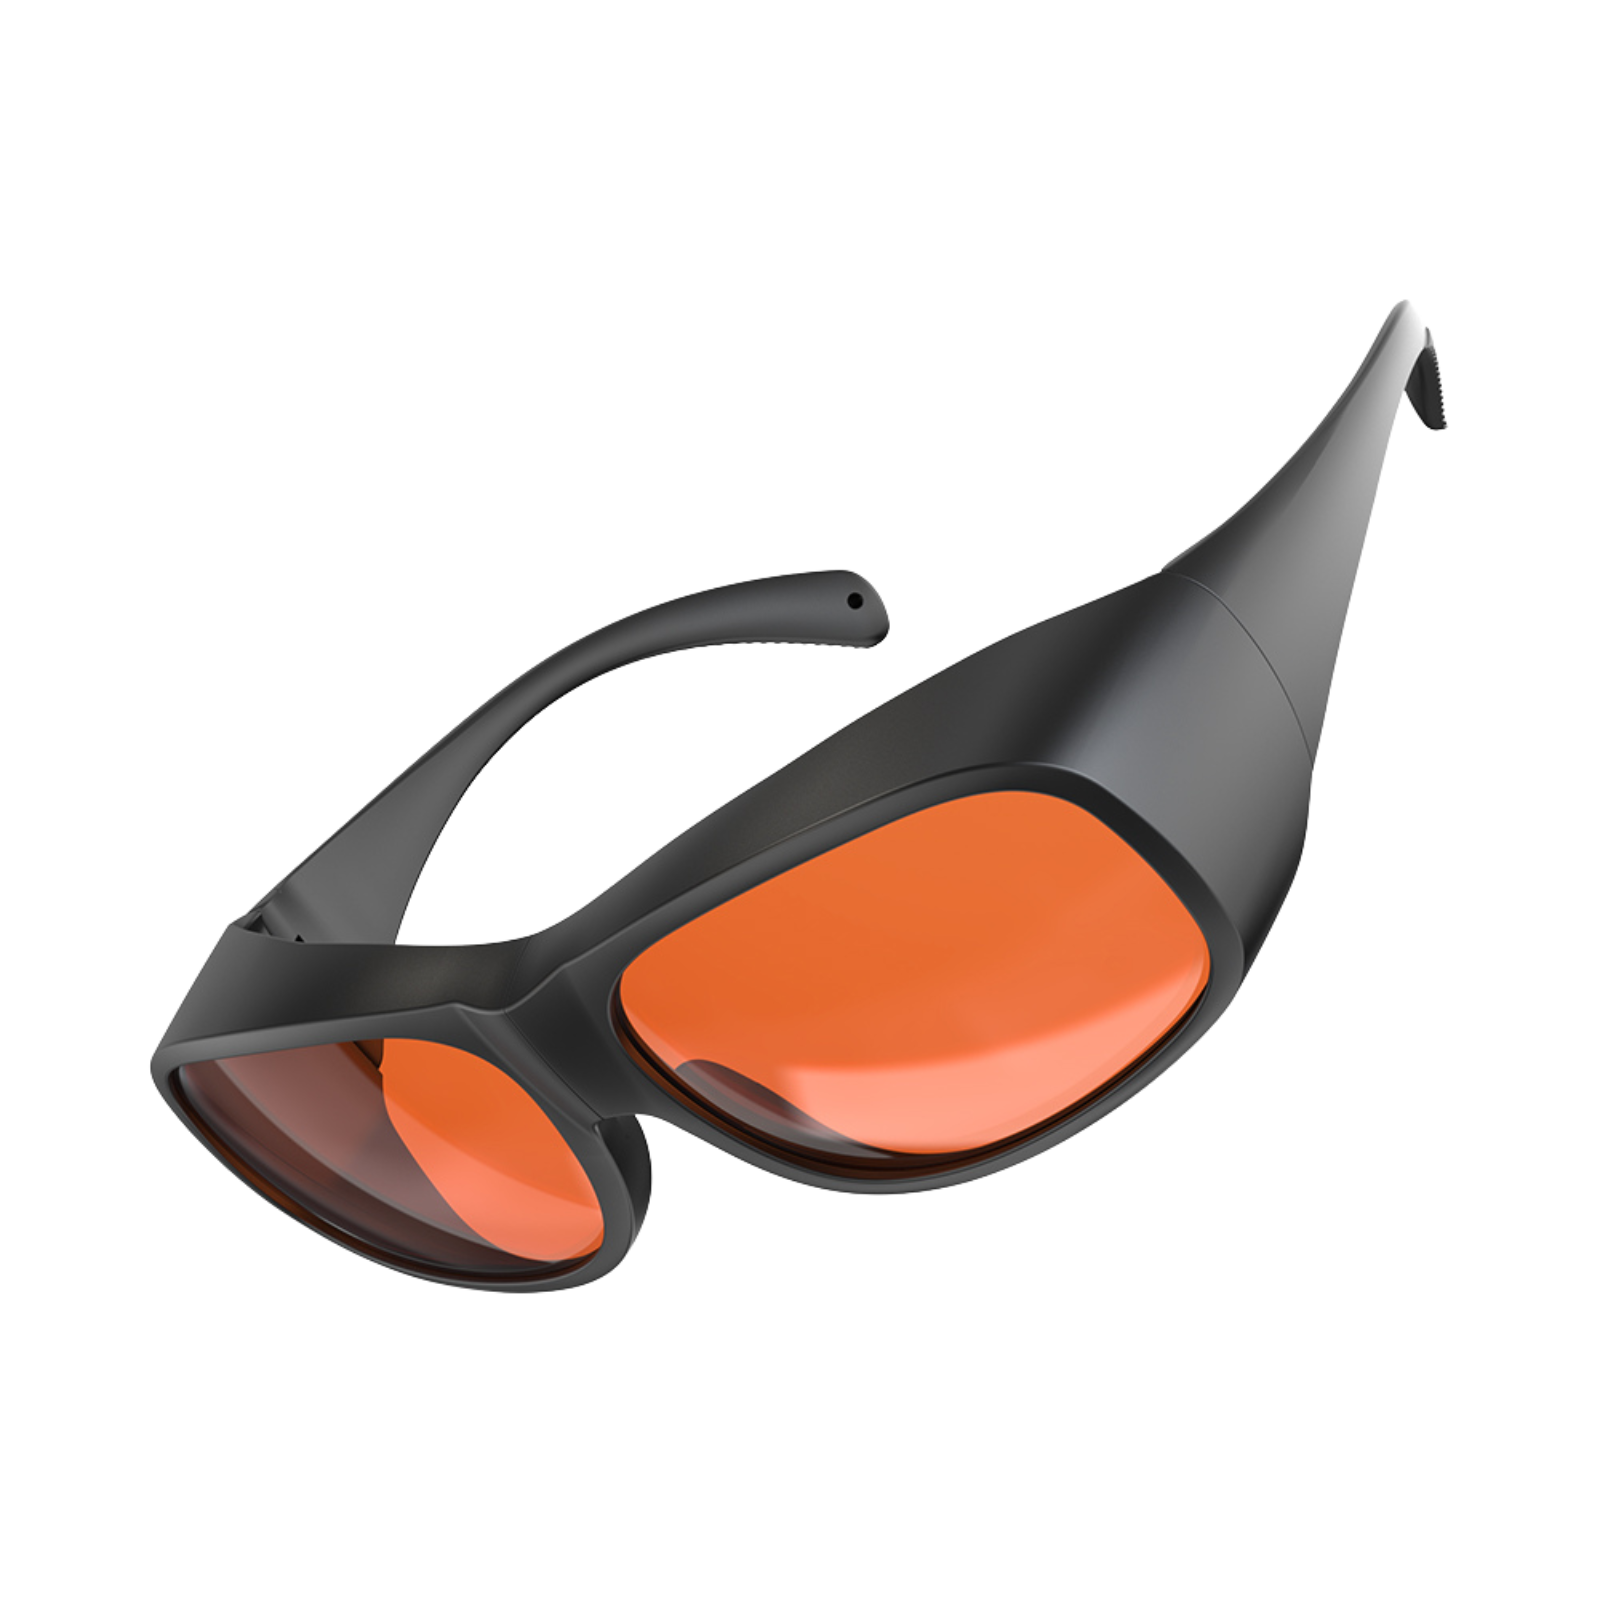
- Safety glasses
- Clean bottles with labels removed
- Boiling water
- Ice water
- Sandpaper (80, 120, 220 grit)
Prep the Bottles
- Wash the bottle
- Remove labels and sticky residue
- Check for cracks
- Round bottles with thicker glass are easiest for beginners
Step 1 — Score the Bottle
- Adjust the cutter to where you want the cut.
- Press the bottle gently but firmly against the wheel.
- Rotate the bottle 1 time only.
- You should hear a soft scratching sound.
- Stop exactly when the line meets your starting point.
- Do NOT score twice.
- One clean line works best.
Step 2 — Separate the Bottle Using Hot/Cold Water
- Pour boiling water slowly over the score line while rotating the bottle.
- Then dip the bottle into ice water.
- Repeat hot → cold until the bottle separates.
- Most bottles come apart within a few cycles.
Step 3 — Sand the Edges Smooth
- Your edges will be sharp, so sanding is a must.
- Keep everything wet (safer + less dust)
- Start with 80 grit
- Move to 120
- Finish with 220 for a smooth, safe edge
- You're aiming for a slight rounded edge you can touch without risk.
Important Safety Tips
Cutting glass is safe when you follow a few rules.
Always Wear Gloves and Eye Protection
- Glass shards are unpredictable.
- Gloves + safety glasses = non-negotiable.
Handle Glass Carefully
- Don’t grab broken edges with bare hands
- Set pieces down gently
- Never rush
Create a Safe Workspace
- Work on a sturdy table
- Good lighting
- Keep kids and pets away
- Have towels ready for spills
Dispose of Scrap Glass Properly
Wrap broken glass in thick paper or cardboard.
Label it “BROKEN GLASS” before throwing it away.
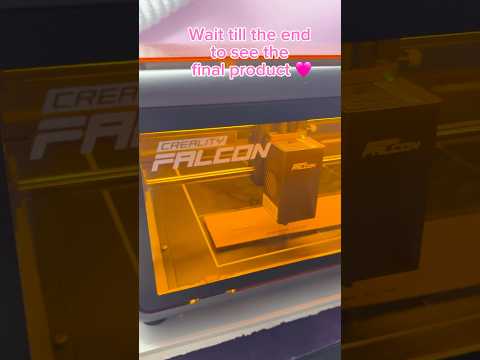
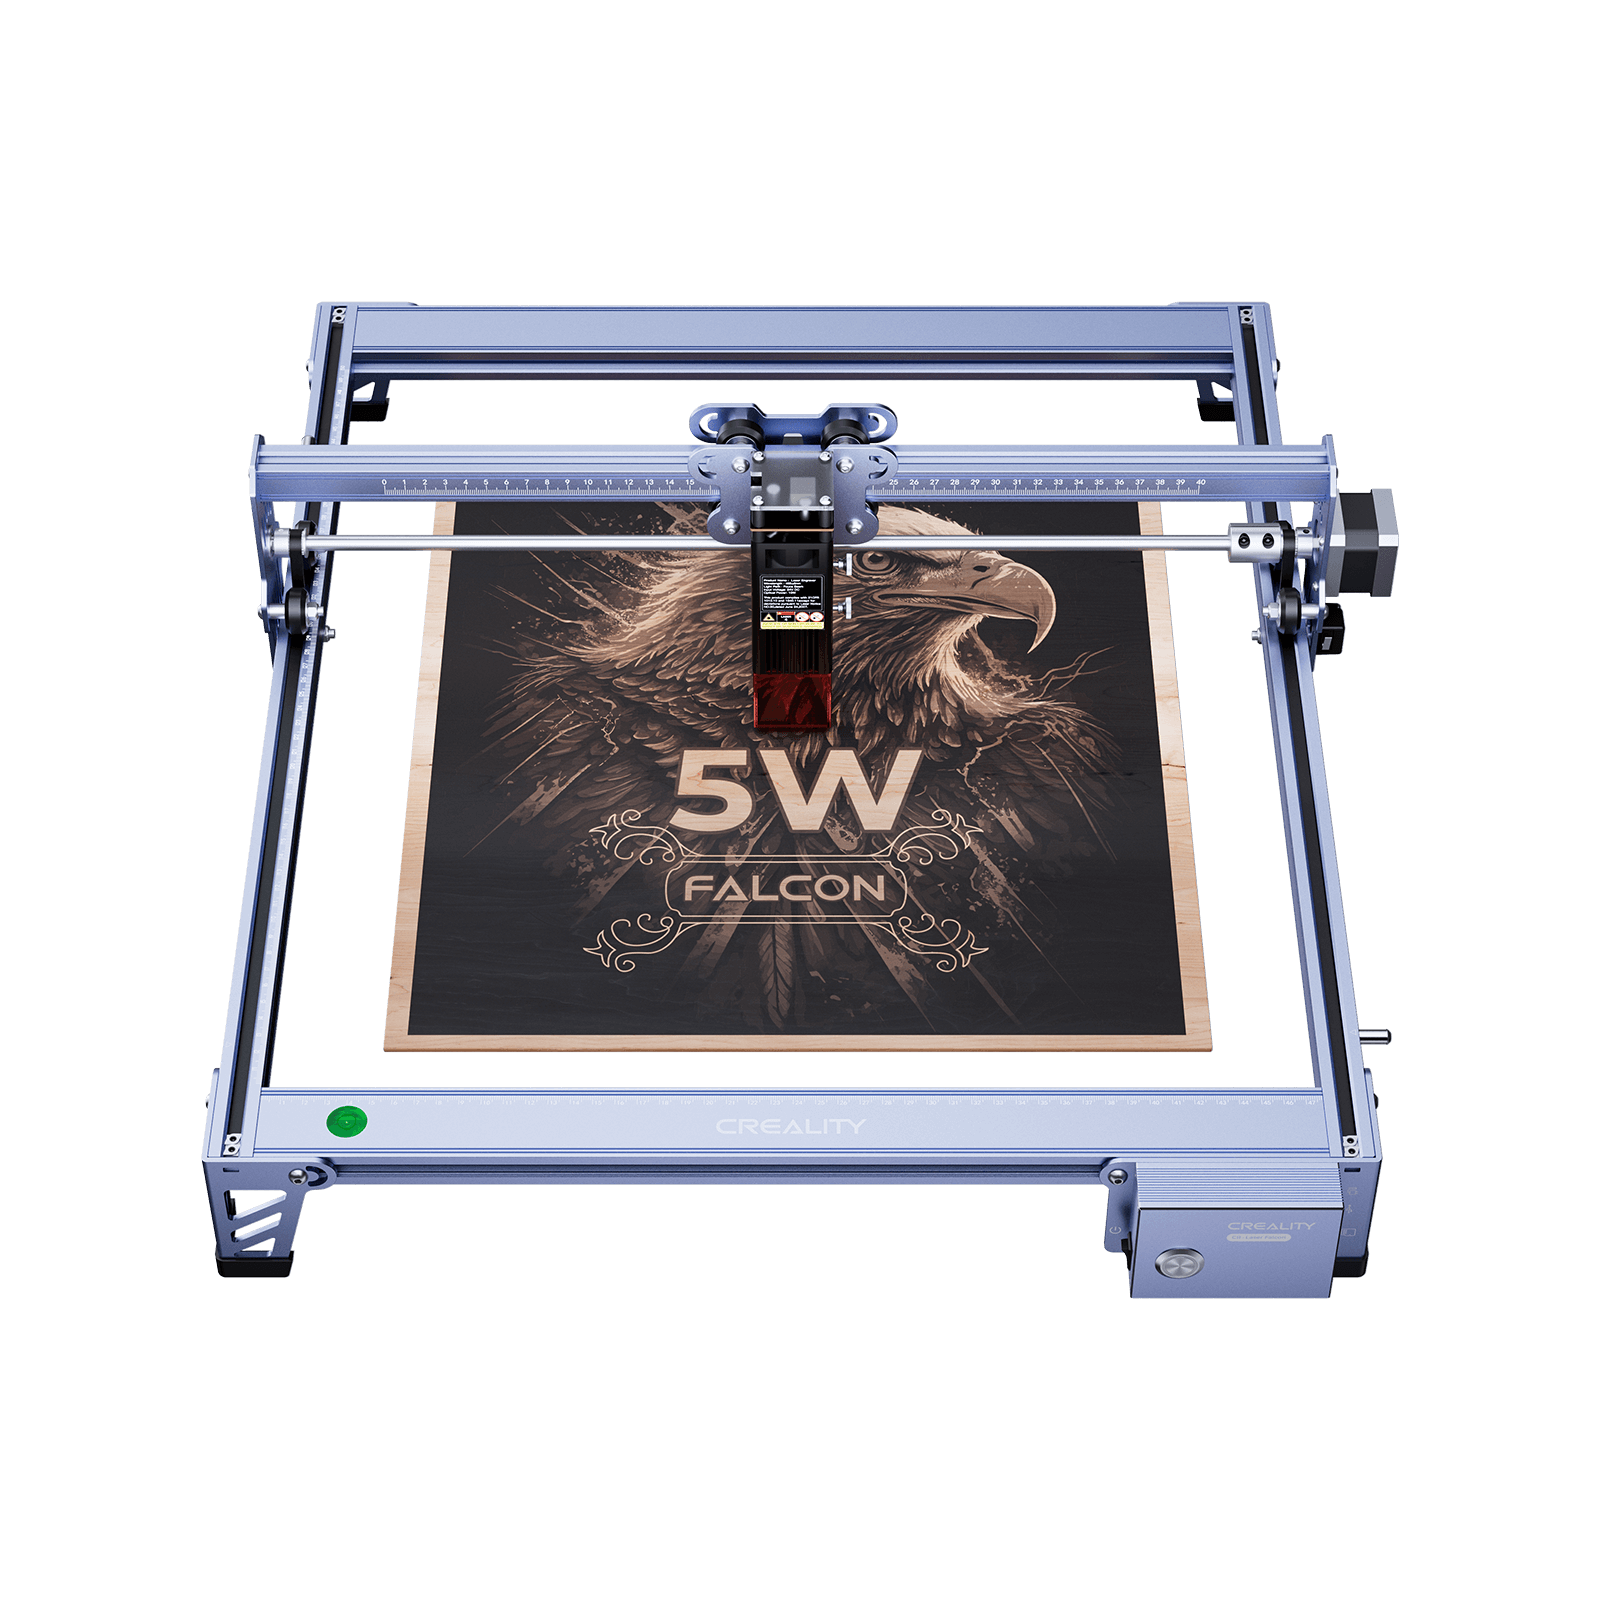
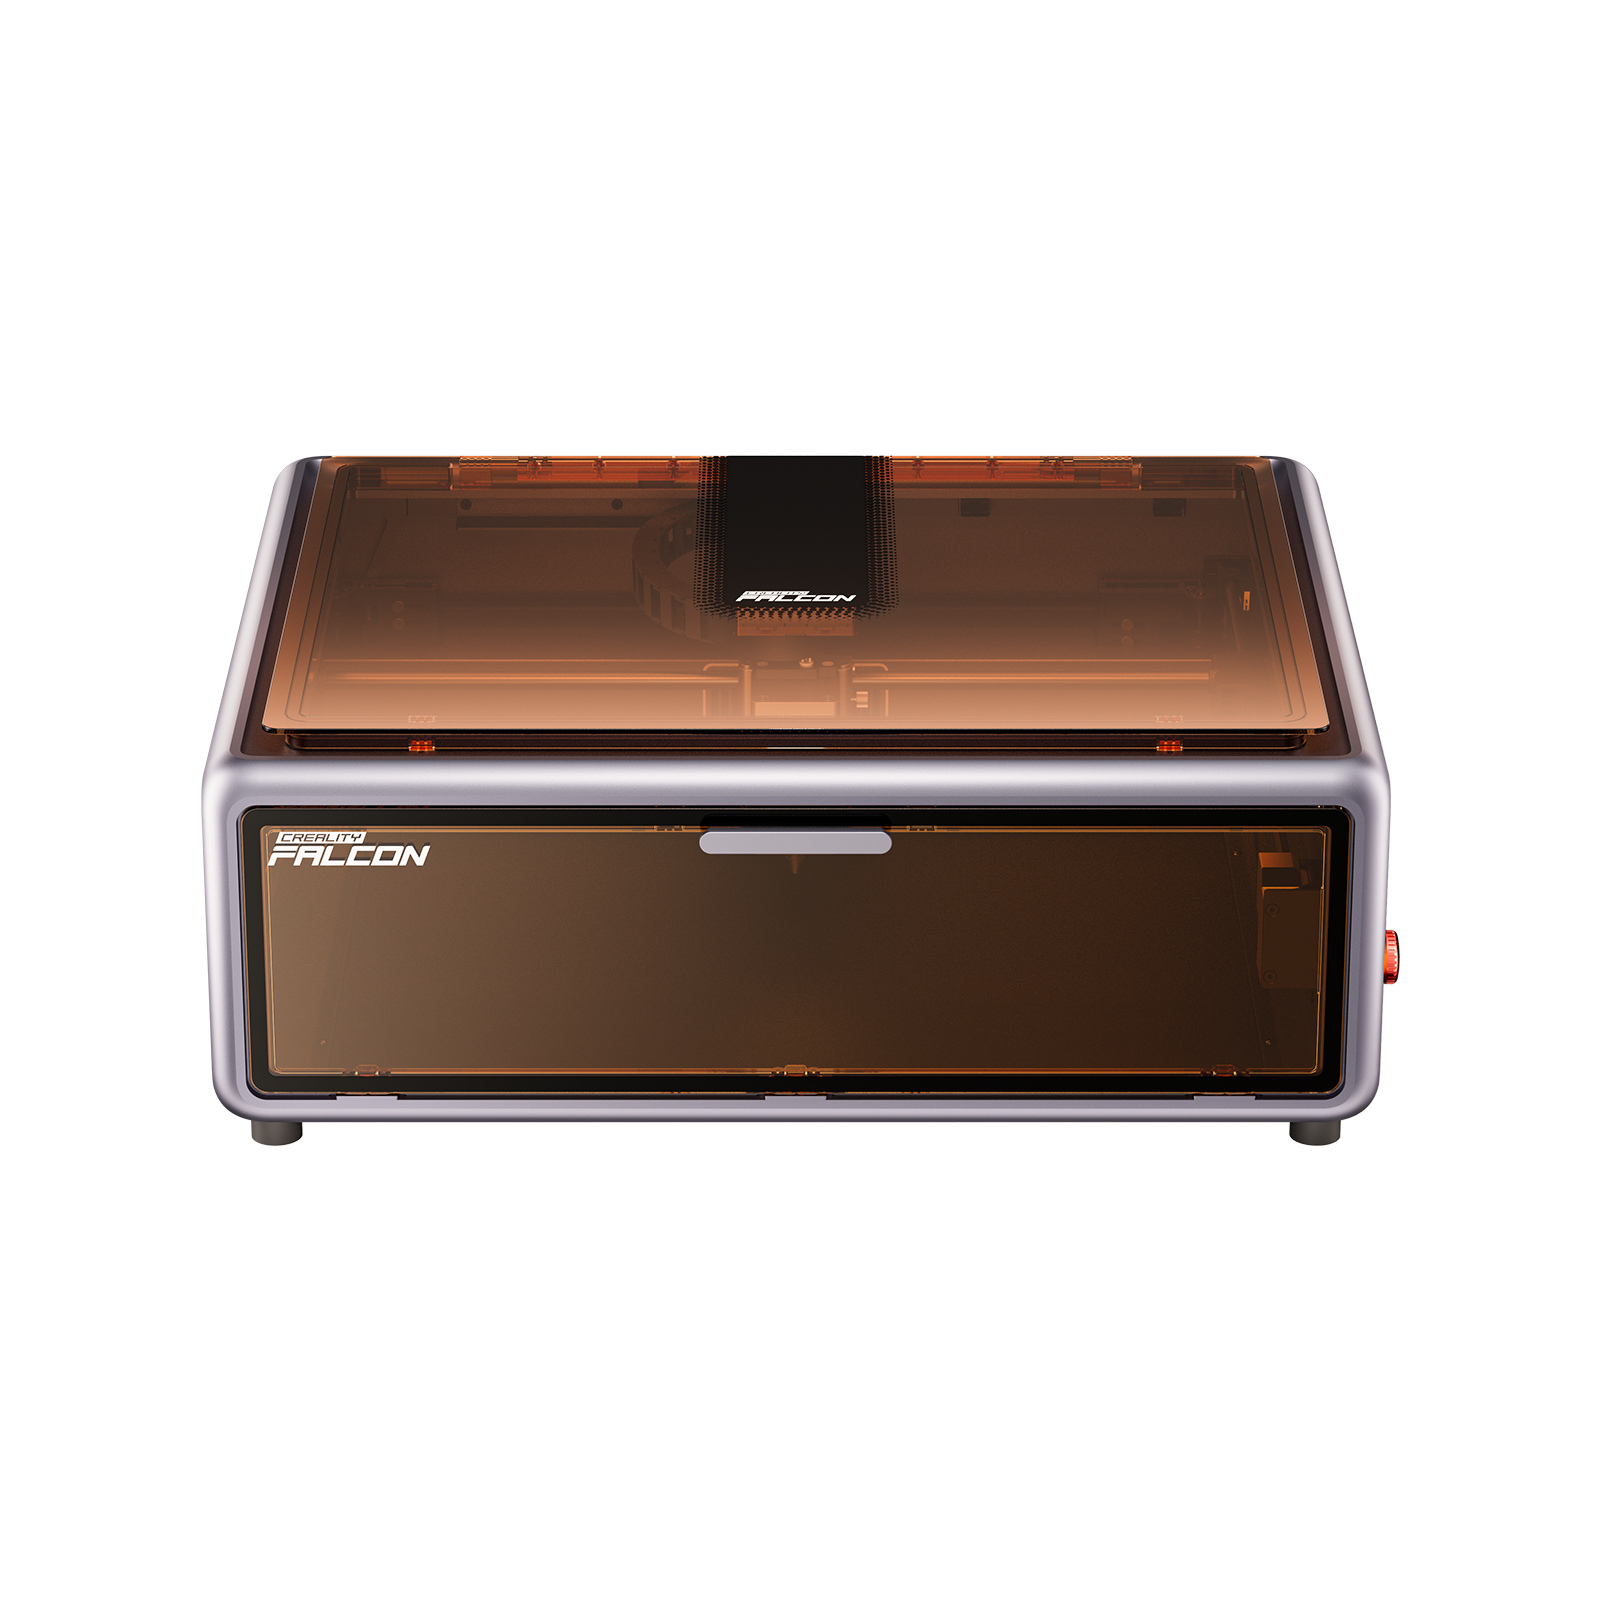
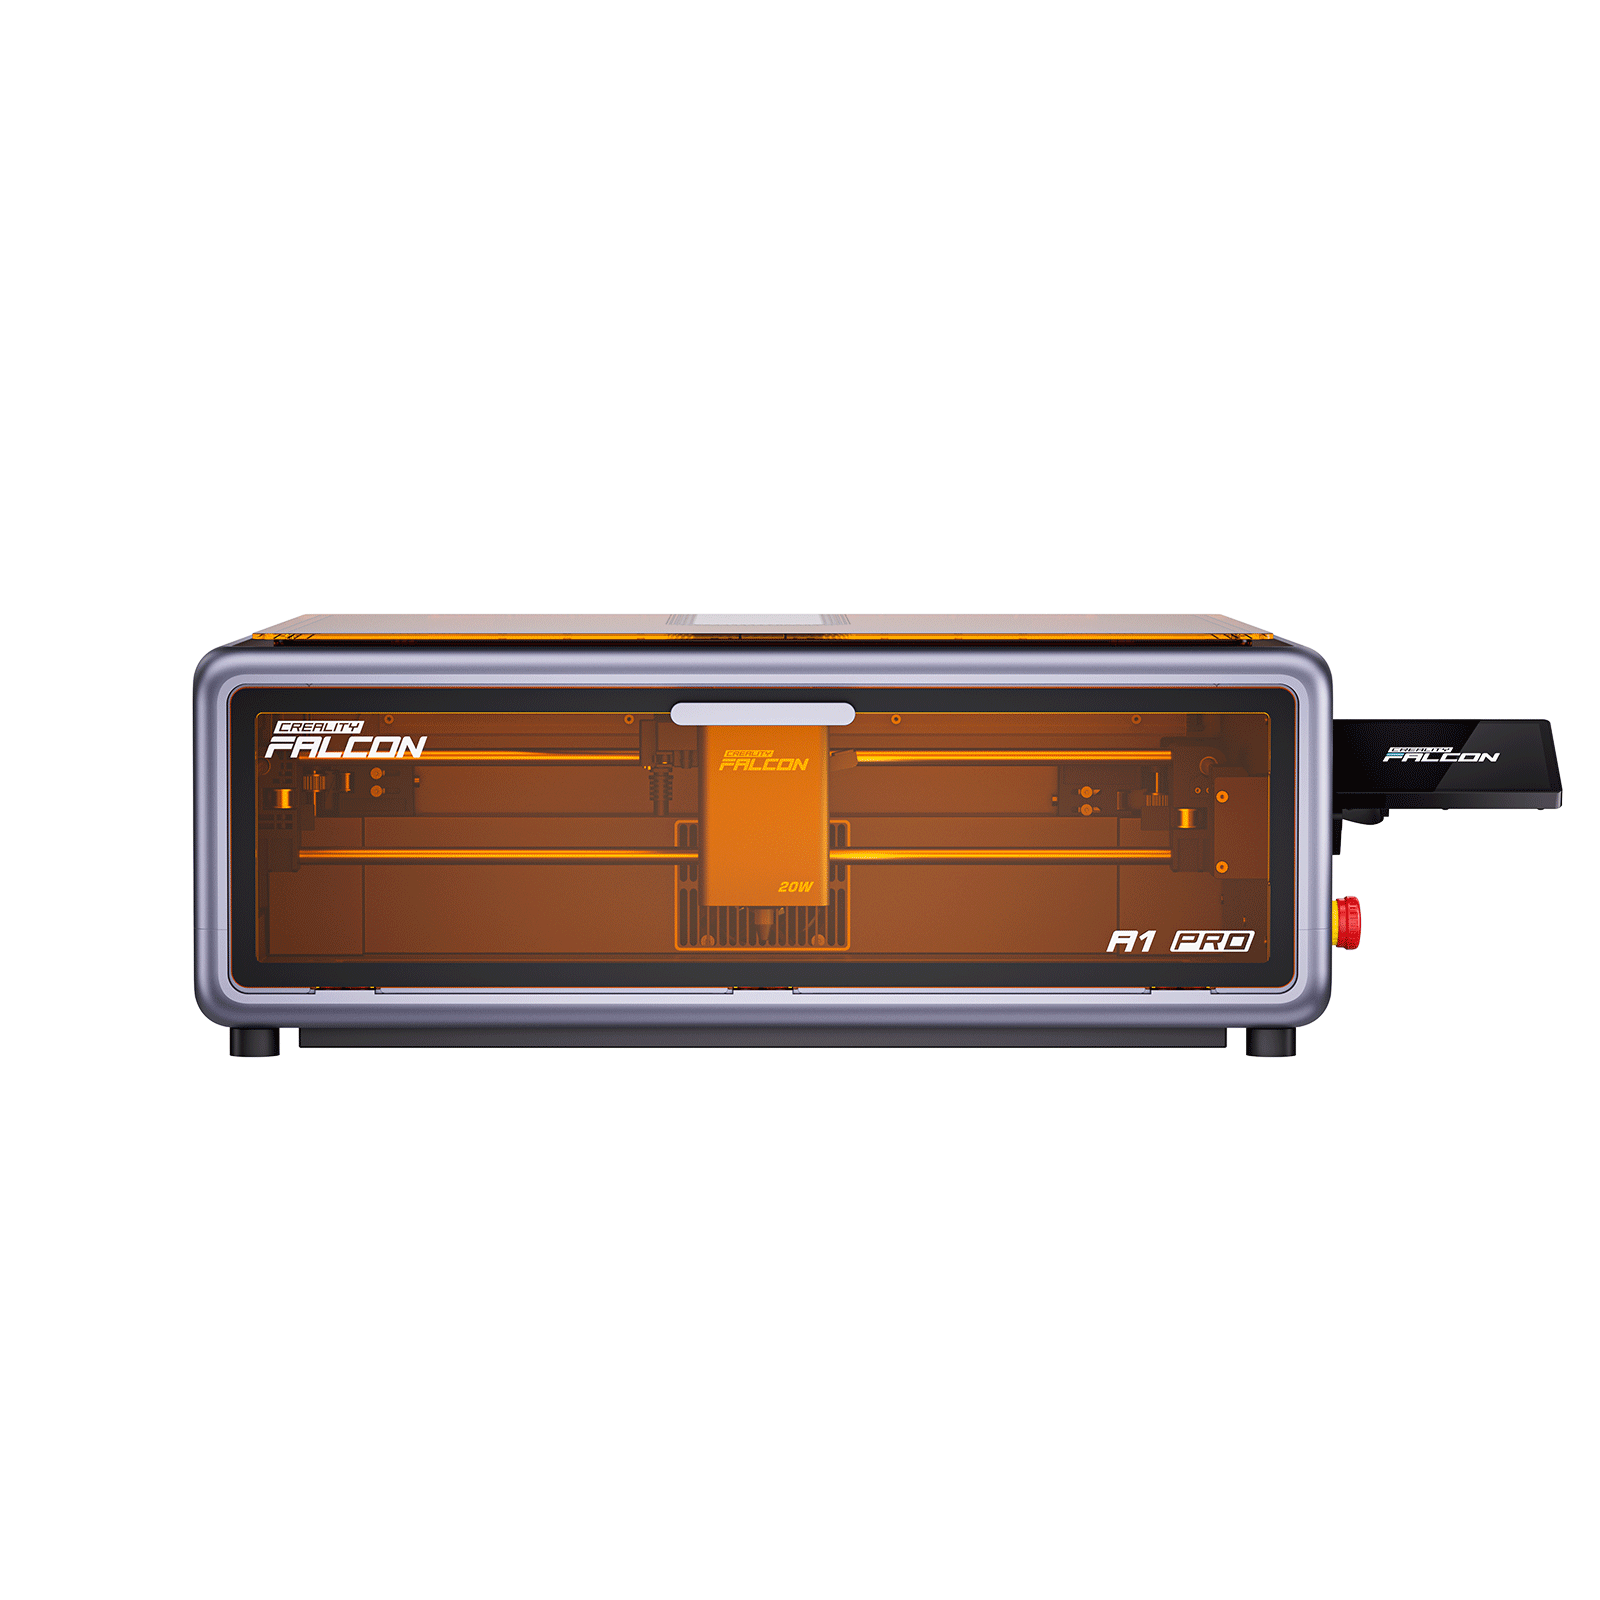
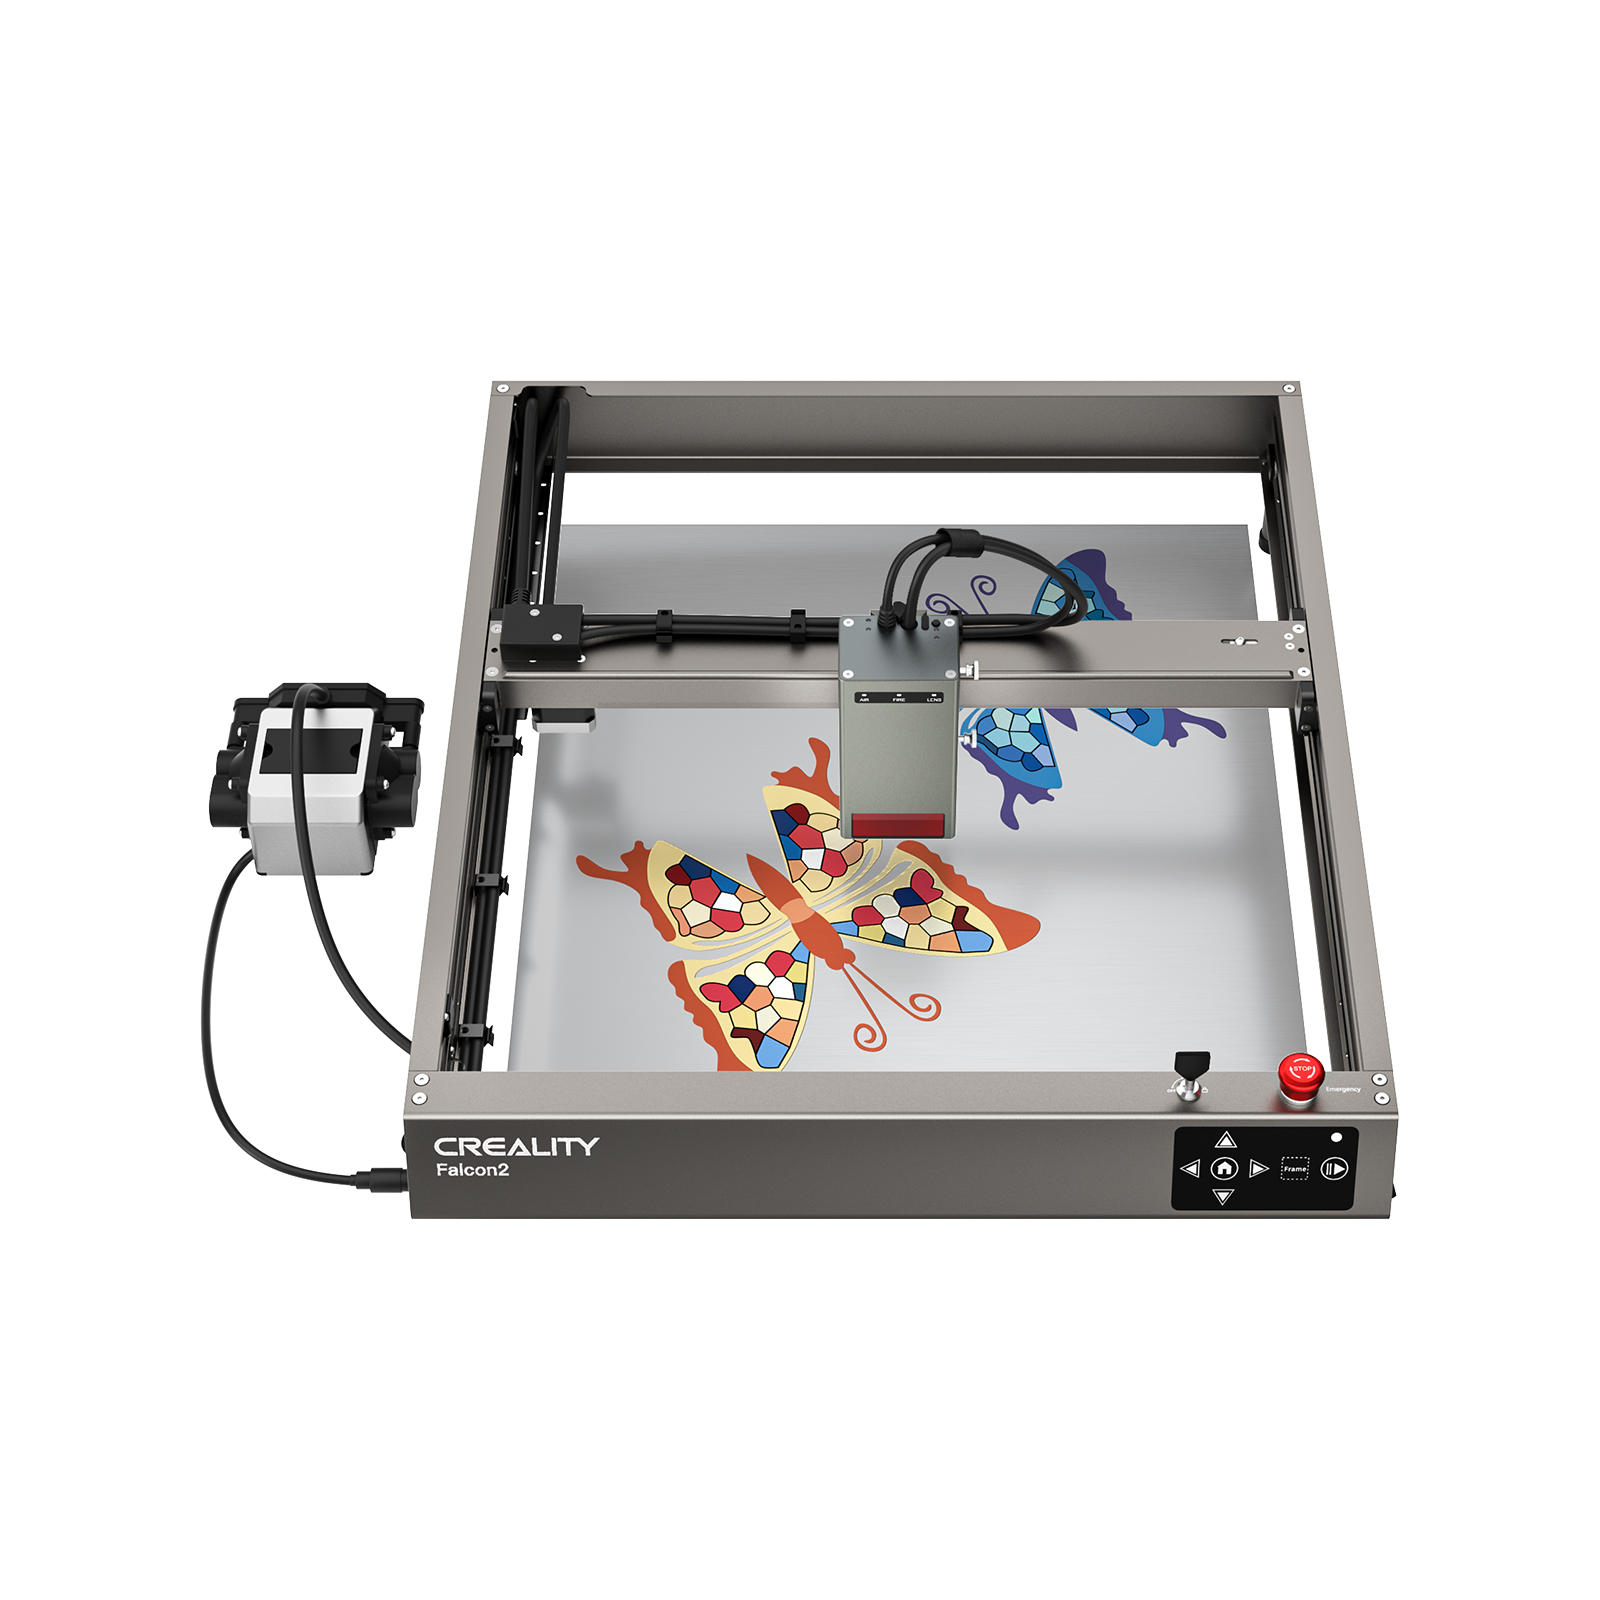
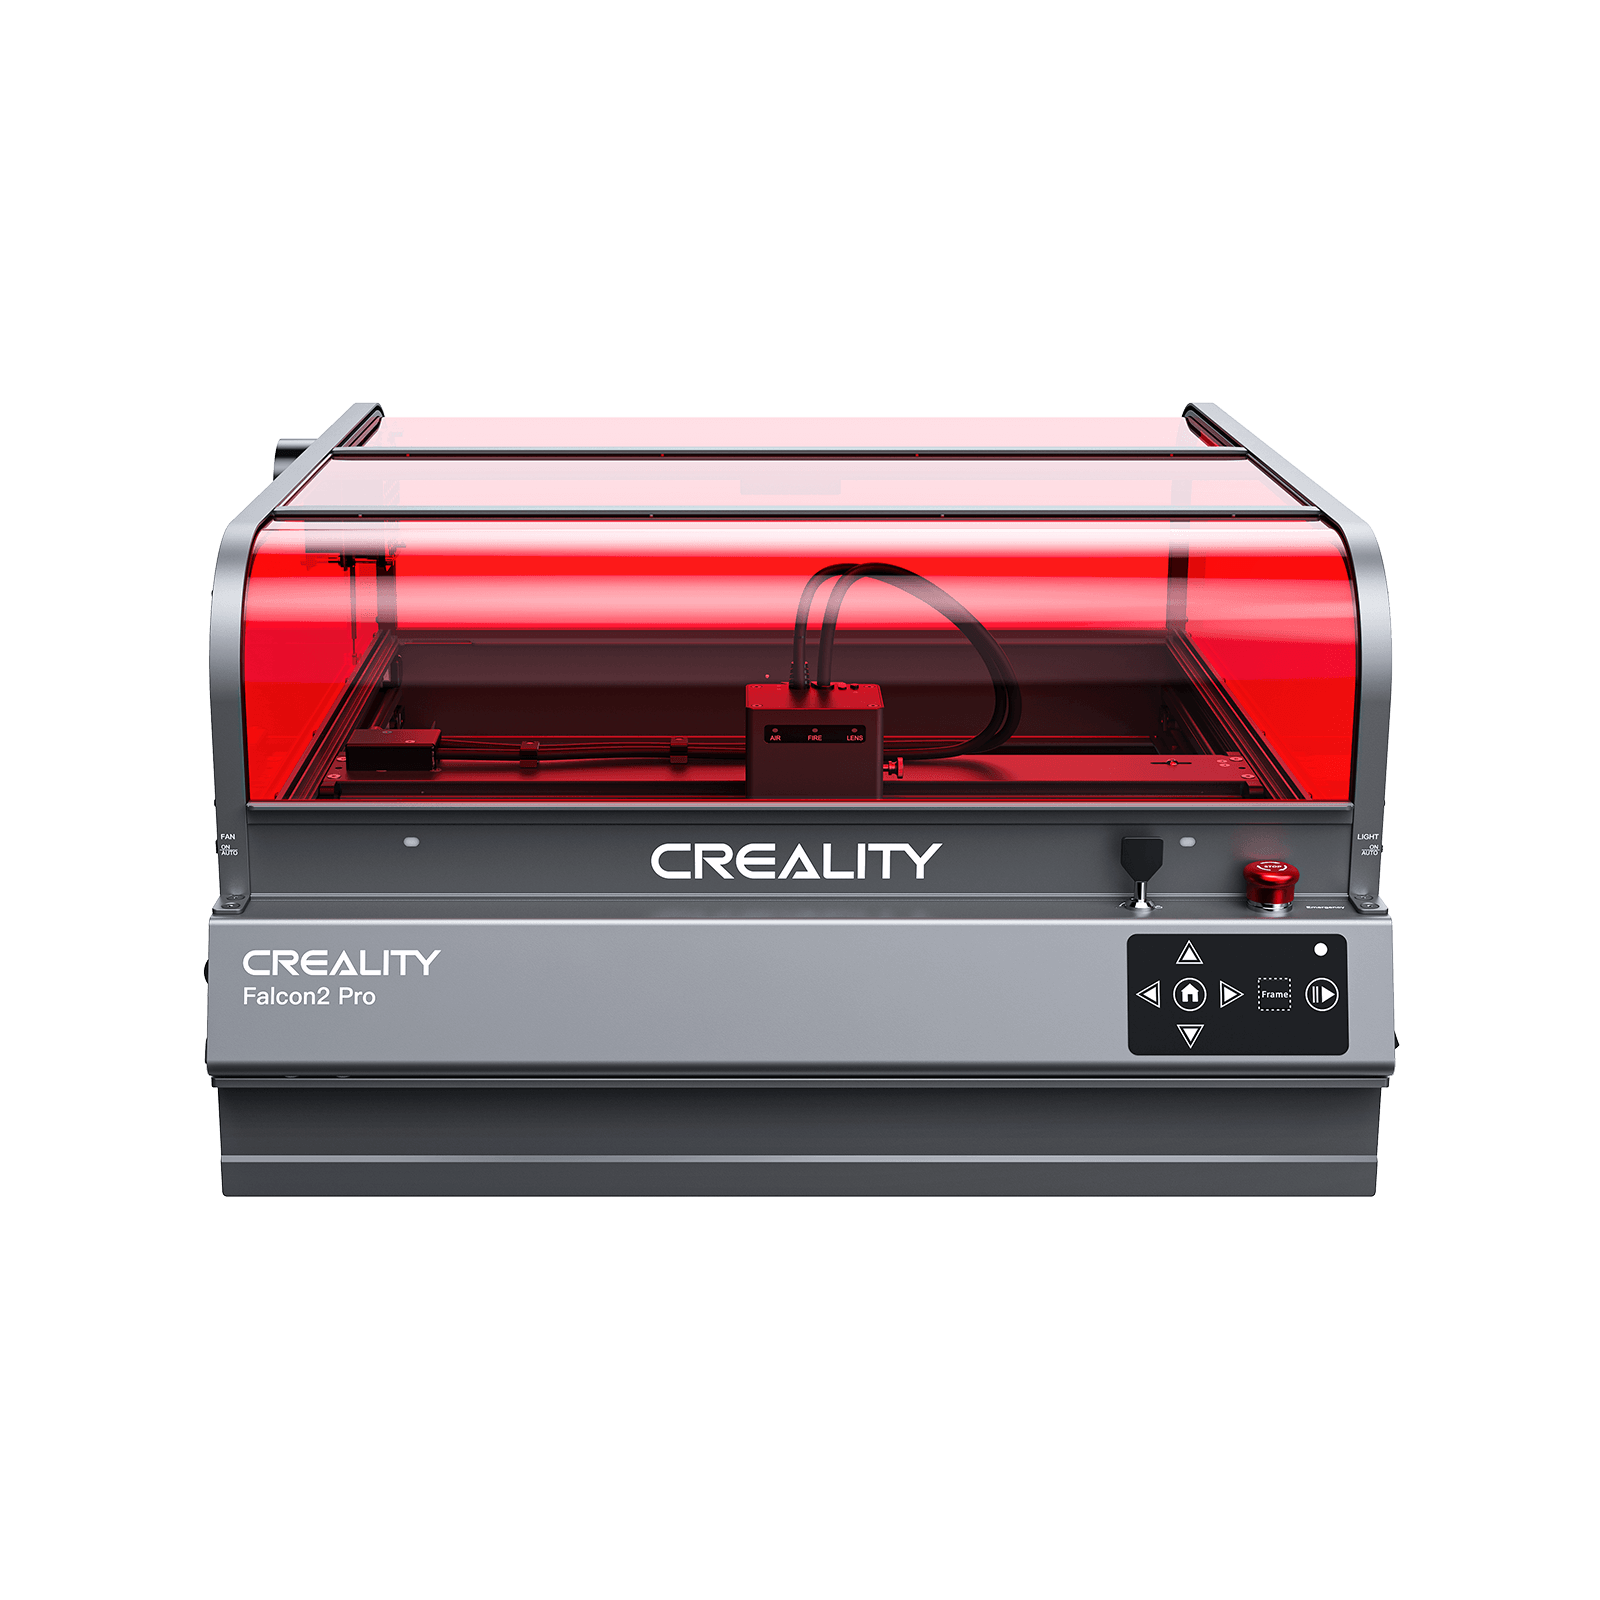
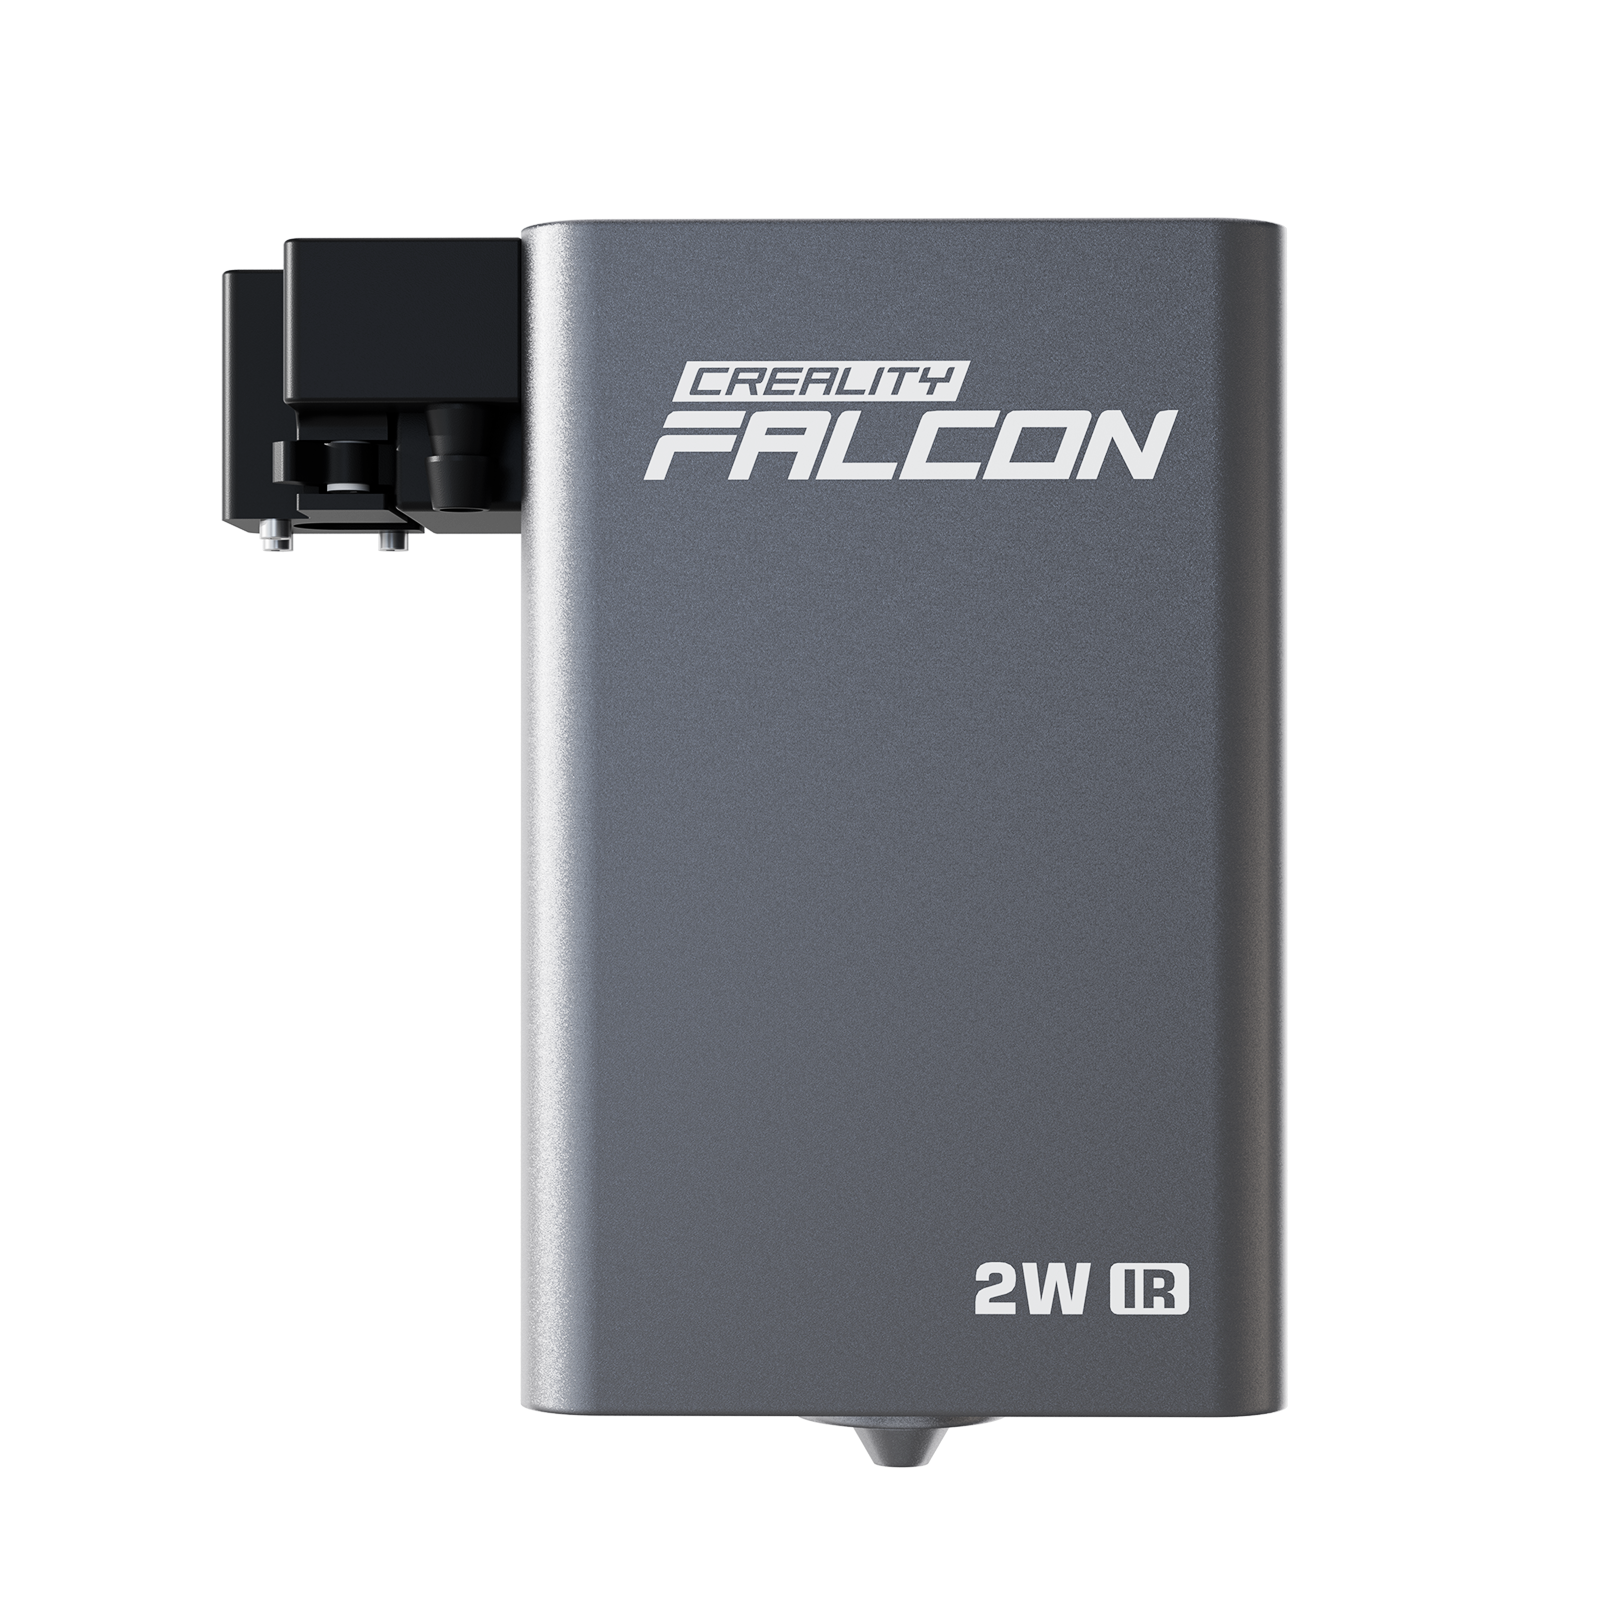
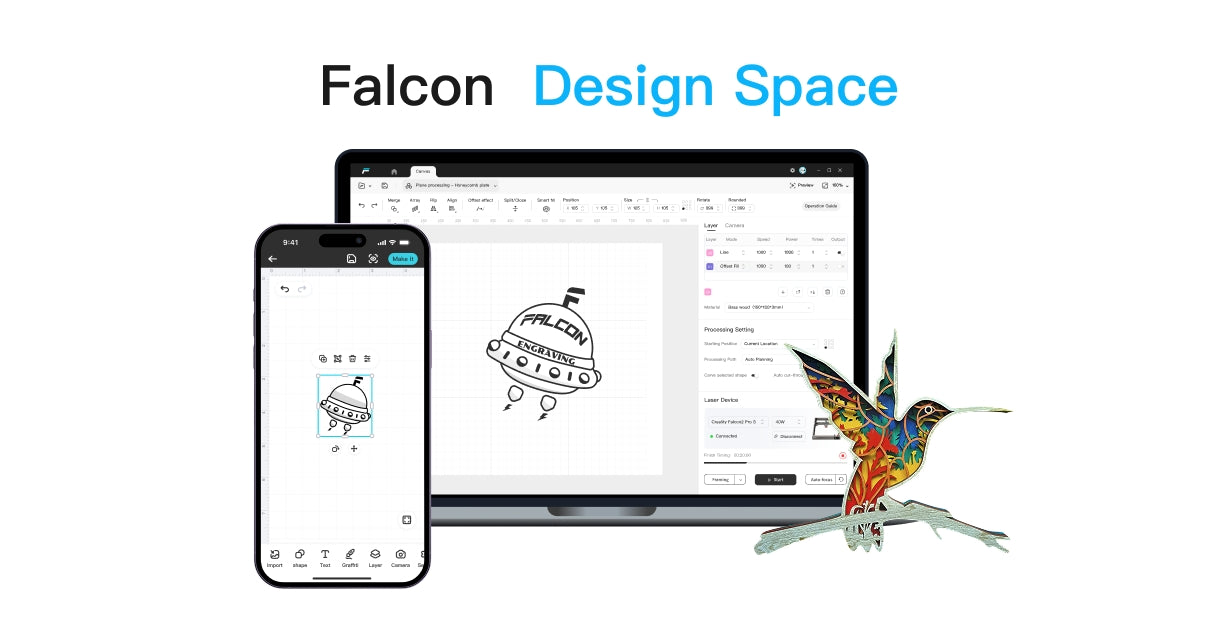
Tips: Why a Laser Engraver Makes Your DIY Bottle Projects Even Better
Cutting a bottle is only half the fun—engraving is where your creativity really shows.
A laser engraver lets you add names, dates, patterns, logos, textures, or simple artwork onto the bottle surface.
It doesn’t replace cutting; it enhances it, letting you turn a plain recycled bottle into something personal and professional-looking.

What makes laser engraving so useful?
It gives your projects a clean, finished look
- You can customize every bottle you cut
- Designs are precise and repeatable
- No paint, no chemicals, no mess
- Perfect for gifts, décor, or small DIY businesses
Whether you're making cups, vases, candles, planters, or decorative pieces, a laser-engraved detail instantly makes it feel like a real product—not just a recycled bottle.
If you already enjoy bottle cutting, adding engraving takes your projects to the next level.
Ready to Start Cutting?
Now you know the basics: how the cutter works, how to cut safely, and how to fix common problems. Bottle cutting is fun, creative, and a great way to reuse something you already have.
So grab a cutter, gear up, and start experimenting.
Don’t worry about mistakes—that’s how you learn. And most of all, have fun turning old bottles into something new and awesome.
Happy cutting!
Recent News

12 World Cup Laser Engraving Ideas for Fans
Explore world cup laser engraving ideas for fan gifts, tumblers, coasters, signs, and safe soccer-inspired designs makers can...

What Materials Does a Laser Cutter Cut Safely
Find out what materials does a laser cutter cut, which plastics to avoid, and how CO2, diode, and...

7 Best Laser Engravers Under $1000
Quick Answer:The best laser engraver under $1000 should be chosen by total setup cost, not machine price alone.For most...