


How to Make Island Maps for Laser Cutting Free (Video Guide)

Creating laser-cut island maps is one of the most satisfying projects for a desktop laser cutter.
By combining real-world geography with layered vector design, you can turn flat map data into a physical, multi-layered artwork—using only free tools.
This guide focuses on practical execution, not theory.
By the end, you’ll know exactly how to create laser-ready island maps (SVG/DXF) suitable for wood, acrylic, or MDF.
Why Island Maps Work So Well for Laser Cutting
Island maps are ideal for laser cutting because they naturally lend themselves to layered construction:
- Clear coastlines define clean cut paths
- Elevation and terrain translate well into stacked layers
- Islands are self-contained, avoiding complex borders
Laser-cut island maps are commonly used for:
- Home décor and wall art
- Educational geography models
- Tabletop gaming terrain
- Personalized gifts
Most importantly, they can be made entirely with free software and open data.
What You Need (All Free)
Before starting, make sure you have:
Free Software
- Inkscape – vector design (core tool)
- (Optional) GIMP – raster cleanup if needed
Free Map Data
- OpenStreetMap (OSM) – coastlines, land shapes
- Natural Earth Data – simplified geographic boundaries
- Government GIS portals – elevation or contour data (optional)
Laser Cutter Requirements
- Desktop laser cutter
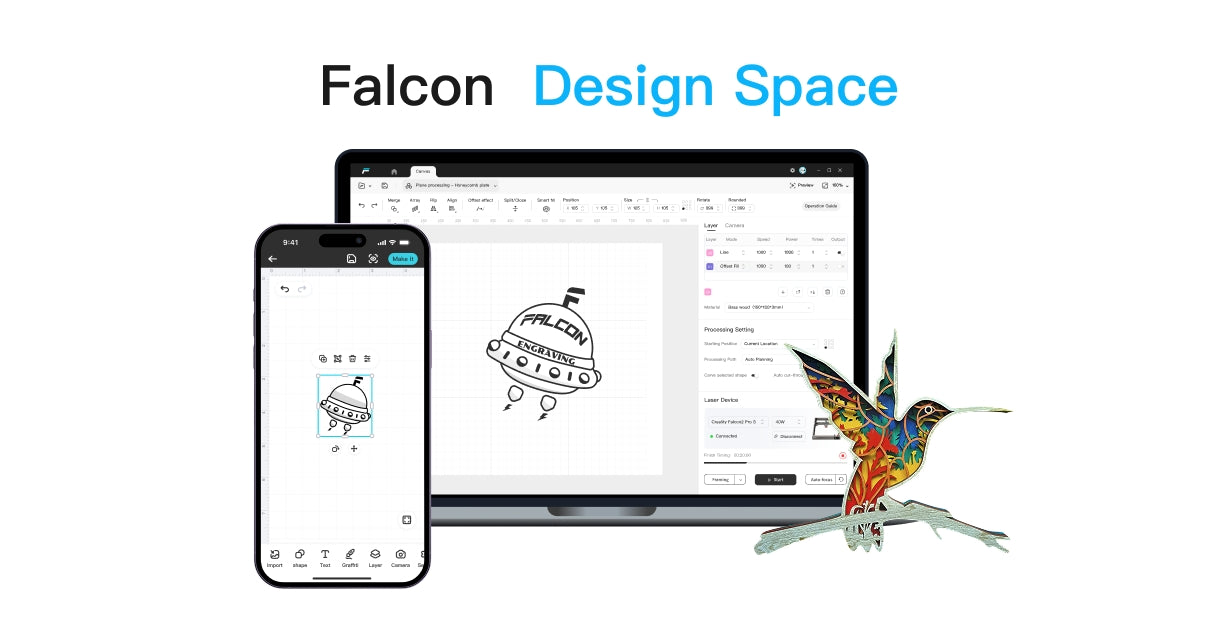
- Software that accepts SVG or DXF (e.g., LightBurn)
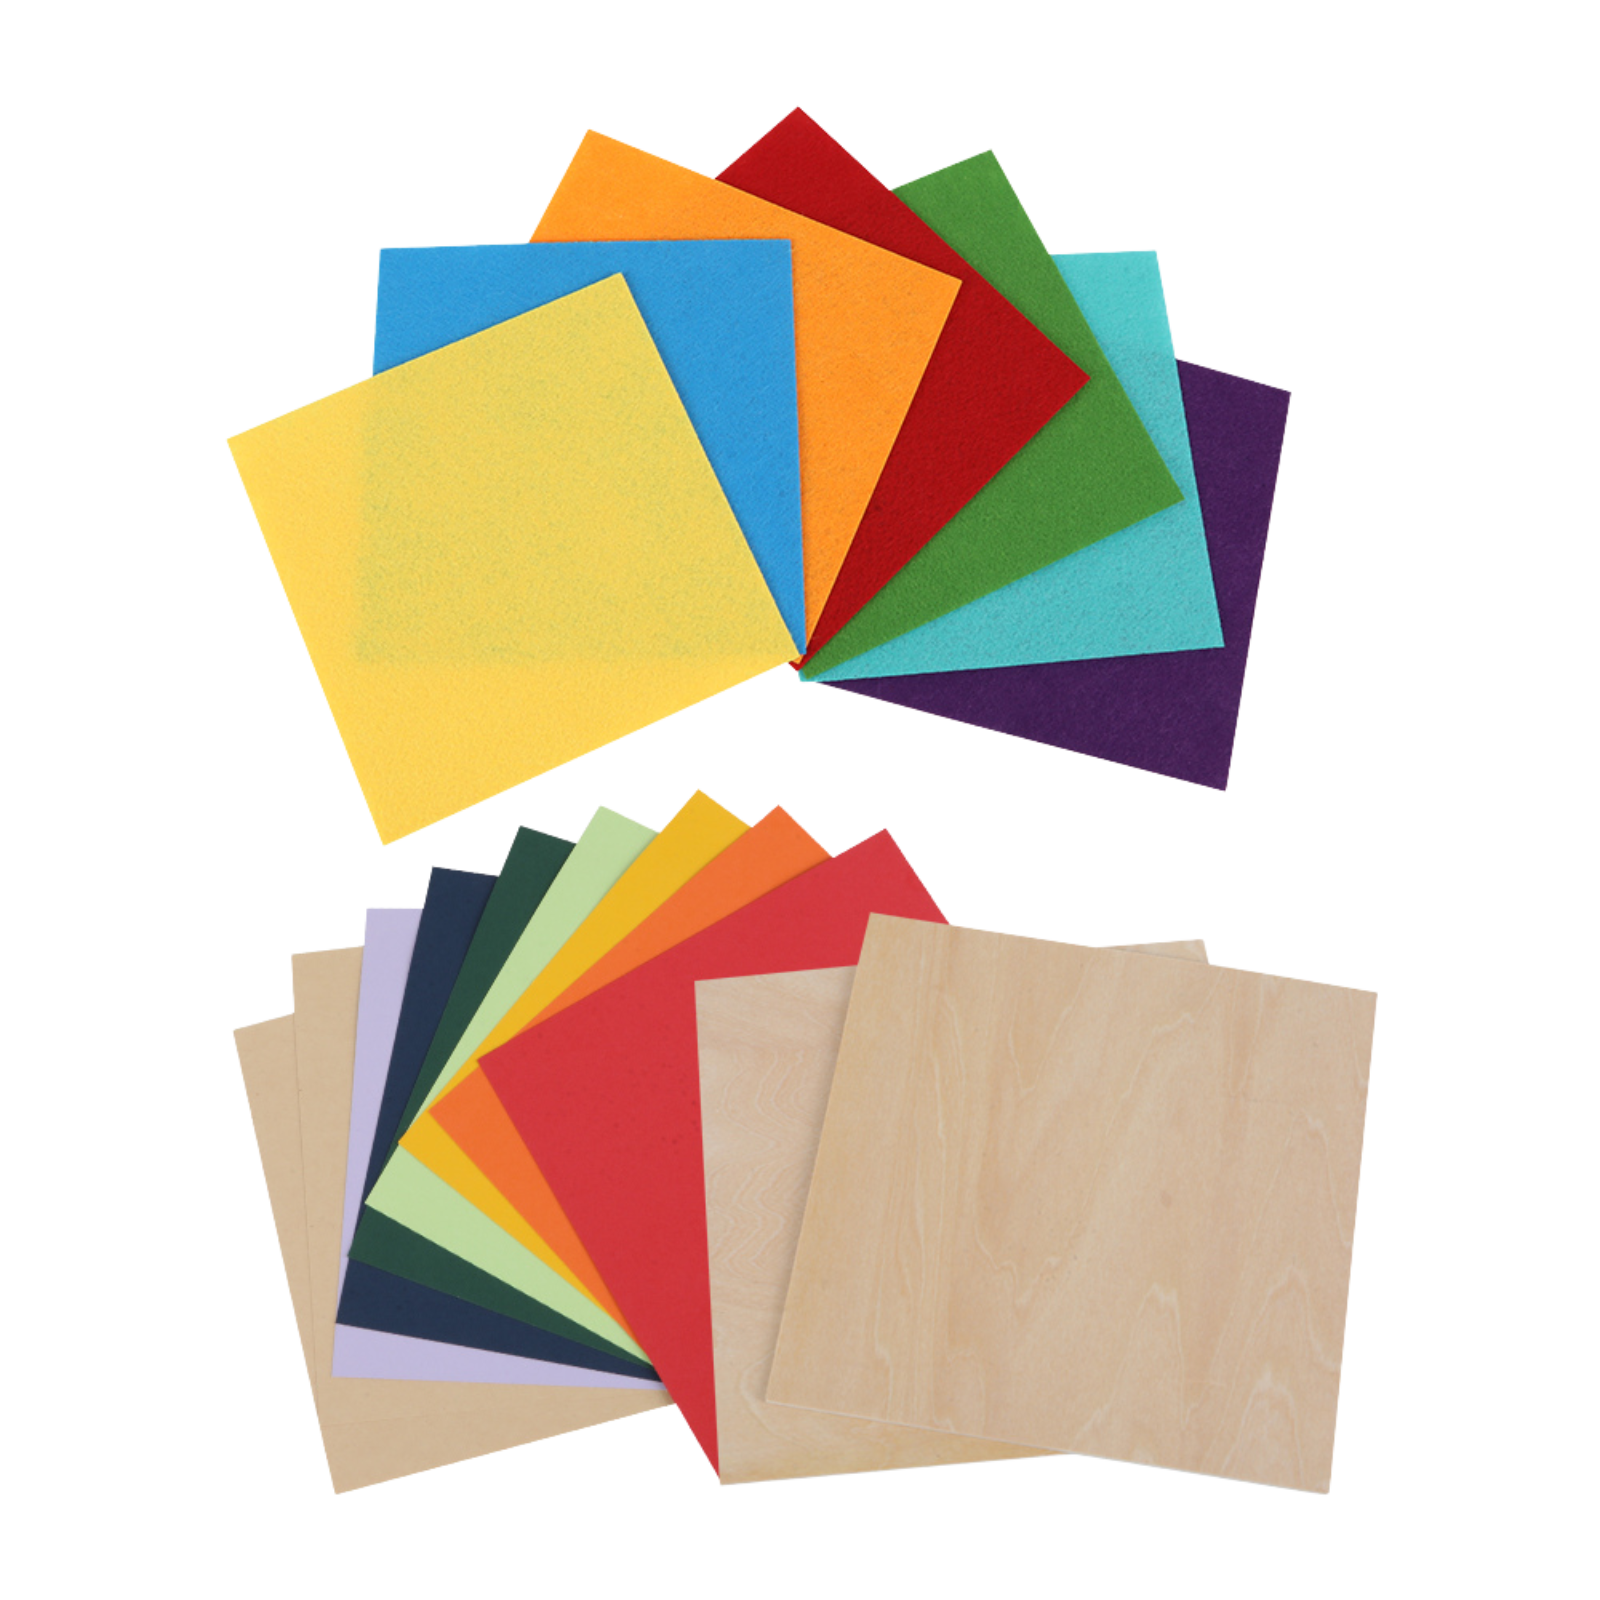
- Basic materials: plywood, MDF, or acrylic
Key Design Rules for Laser-Cut Maps (Read This First)
Before designing anything, keep these laser-specific rules in mind:
- Use vector paths only (no raster images for cutting)
- Closed shapes are mandatory for cut lines
- Minimum line thickness must match your laser’s kerf
- Each layer = one material thickness
- Avoid extreme detail that will burn away
Designing with these constraints early prevents failed cuts later.
Step-by-Step: Making an Island Map for Laser Cutting (Free Workflow)
Quick video guide:
Step 1: Get the Island Shape (Free Data)
Start with a clean coastline:
- Export coastline data from OpenStreetMap
- Or download island outlines from Natural Earth
Save or convert the shape into a vector format (SVG preferred).
Step 2: Clean and Simplify in Inkscape
Open the file in Inkscape and:
- Remove unnecessary nodes
- Simplify jagged coastlines
- Ensure the island outline is a single closed path
This step is critical for smooth laser cuts.
Step 3: Create Elevation Layers (Manual but Effective)
For a layered map:
- Duplicate the island shape
- Scale each copy slightly inward
- Stack them as elevation layers
Each layer will later be cut from a separate piece of material.
Tip: Fewer layers = cleaner results on desktop lasers.
Step 4: Add Geographic Details (Optional)
You can add:
- Rivers and lakes (engrave or score)
- Place names (engrave only)
- Compass rose or scale bar
Keep all text and fine details engrave-only, not cut.
Step 5: Organize Laser Layers
In Inkscape:
- One layer = one laser operation
- Use colors to separate actions:
-
Red: cut
-
Blue: score
-
Black: engrave
This maps perfectly to most laser software workflows.
Exporting a Laser-Ready File (Critical Step)
Before exporting:
- Remove duplicate paths
- Convert strokes to paths if needed
- Confirm real-world scale (mm or inches)
Export as:
- SVG (recommended)
- DXF (if your laser software prefers it)
Your file should now be drop-in ready for a desktop laser cutter.
Laser Cutting & Assembly Tips
Cutting Tips
- Start with test cuts
- Use air assist to reduce charring
- Ensure material is flat and focused
Assembly Tips
- Stack layers from lowest to highest elevation
- Use wood glue or acrylic cement
- Clamp lightly while drying
Finishing
- Light sanding on edges
- Optional staining or painting
- Frame or mount for display
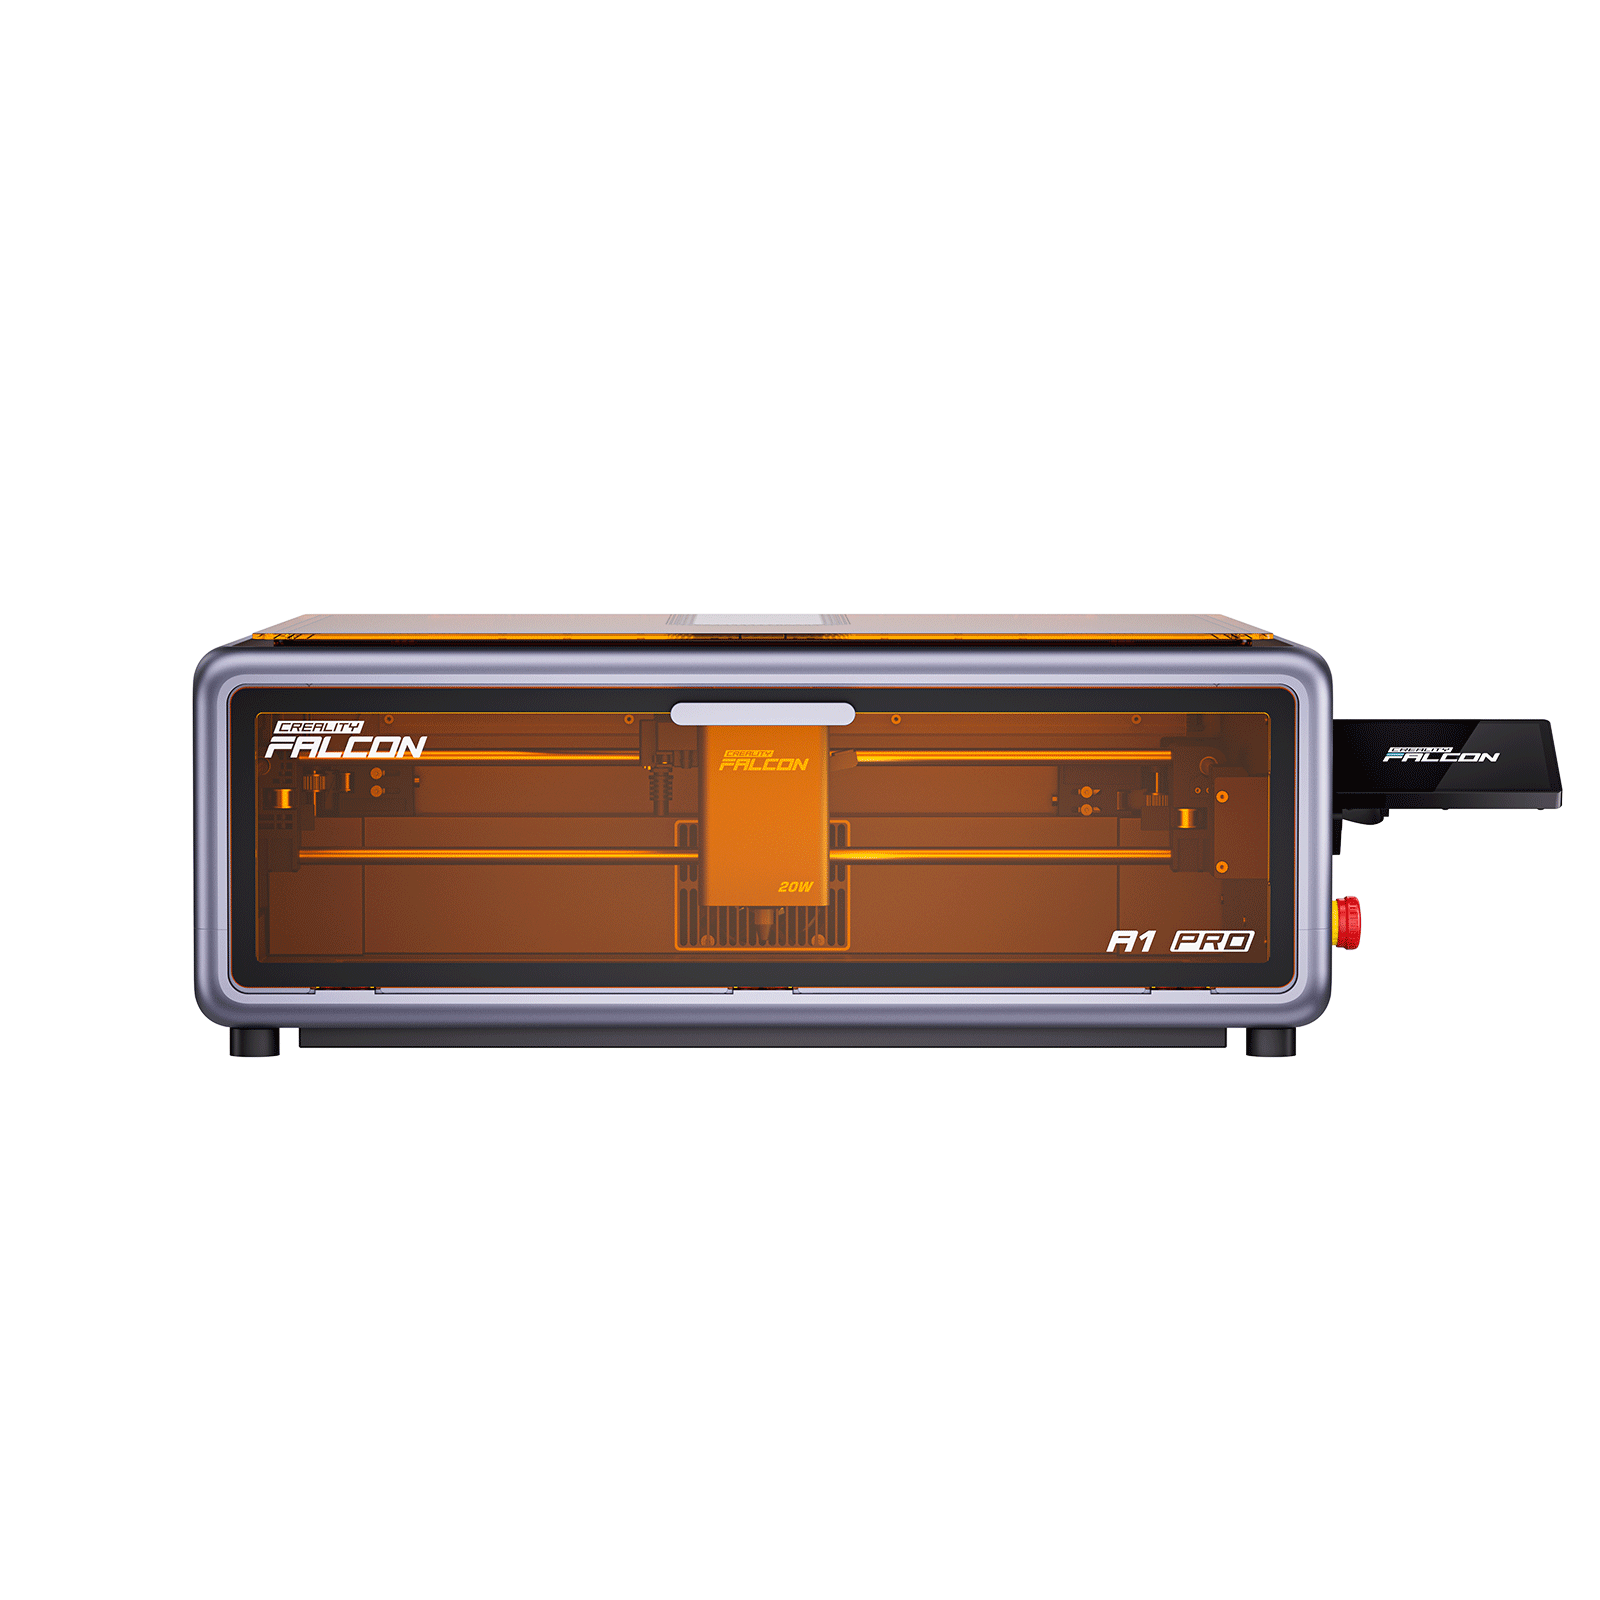
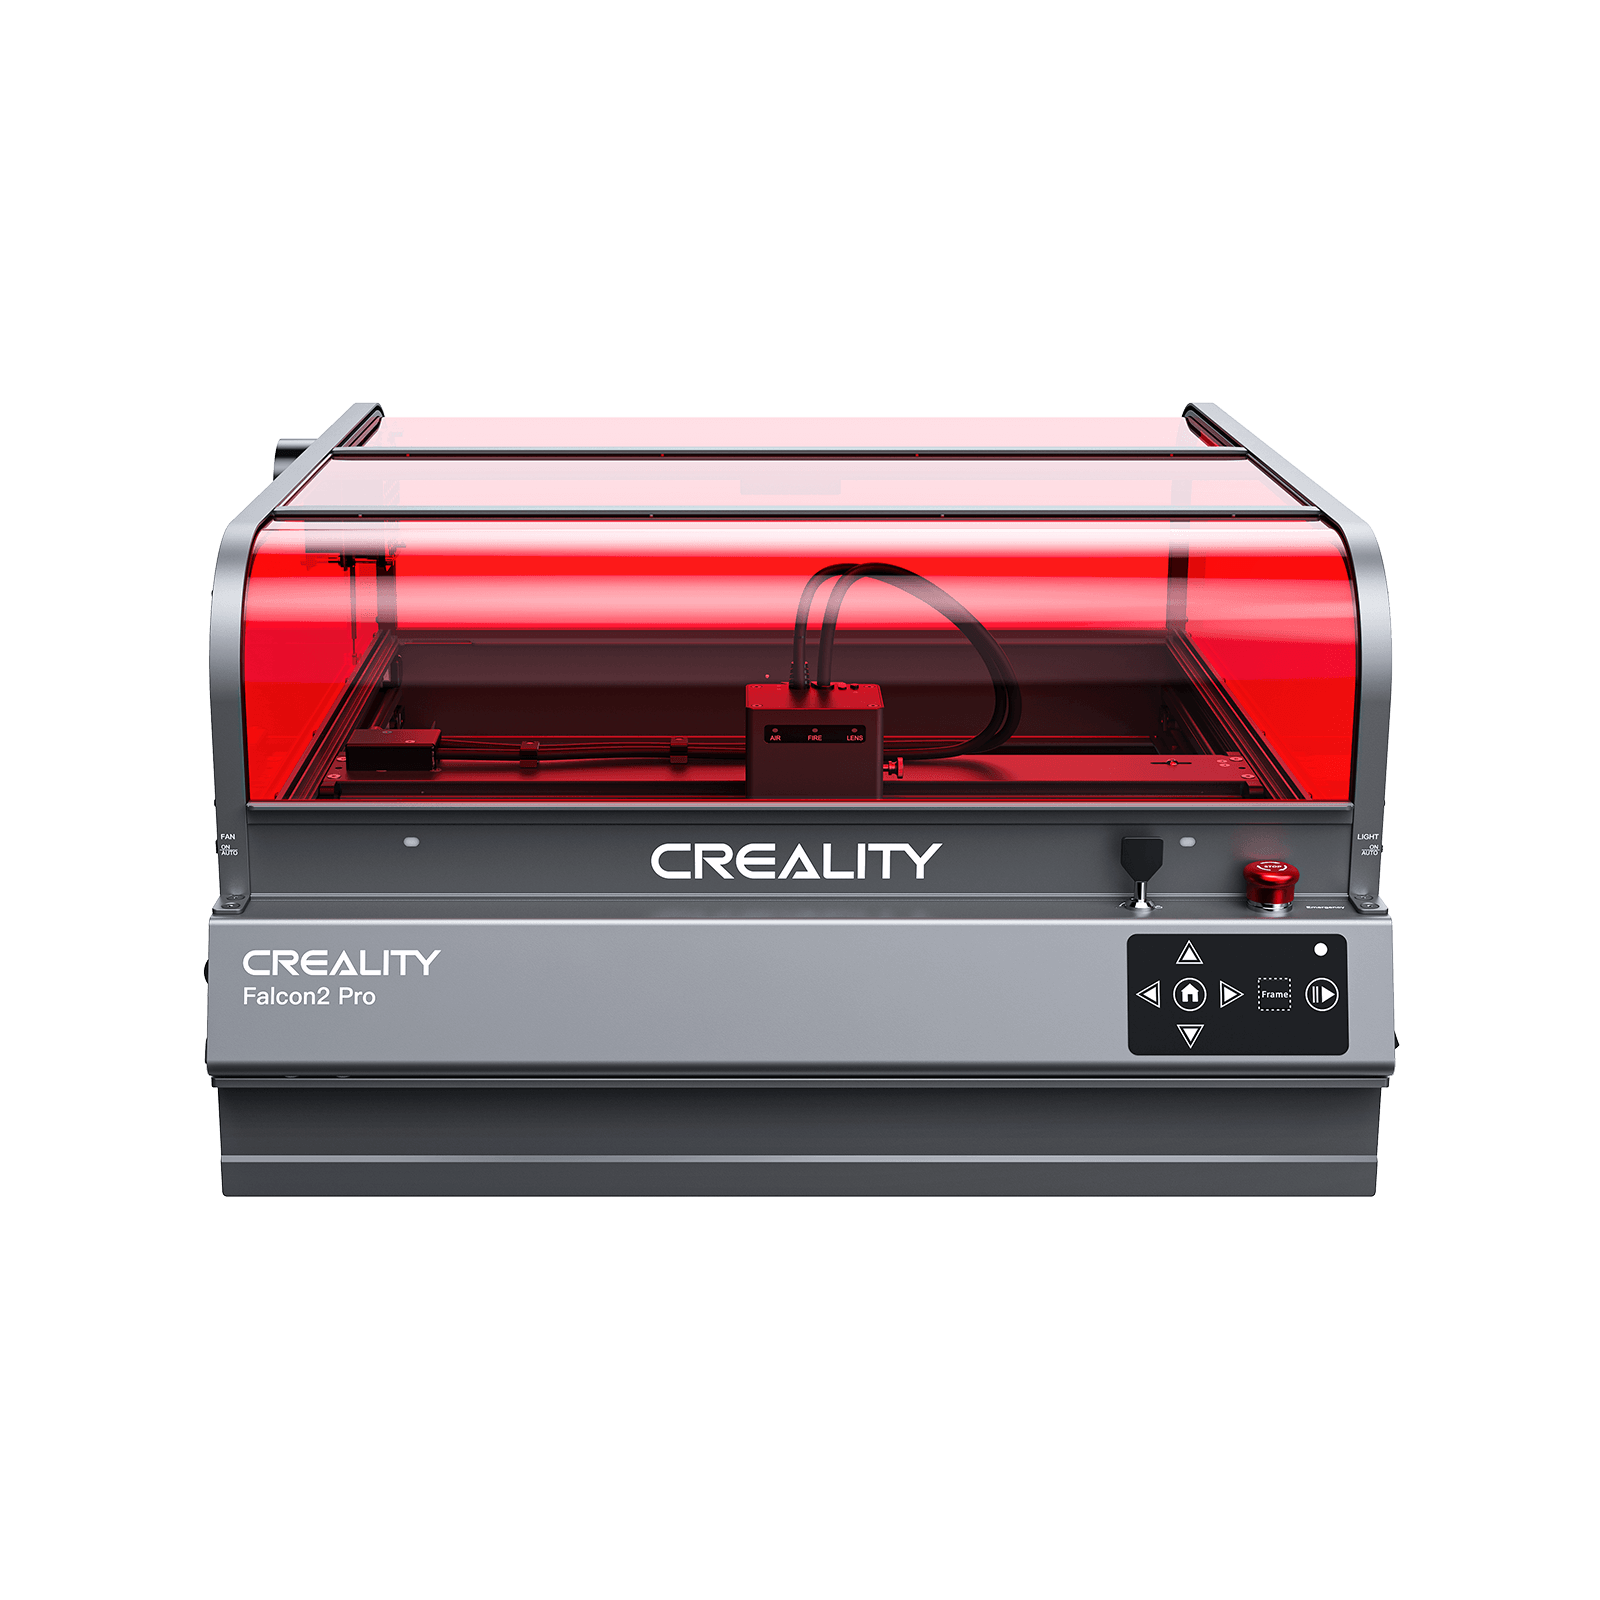
Best-Fit Machine for This Project (Desktop Use)
Product: Creality Falcon A1 Pro
Why it works well for island maps:
- High precision for coastline details
- Reliable cutting for thin plywood and MDF
- Air assist improves edge clarity
- Beginner-friendly desktop workflow
This type of project benefits far more from precision and consistency than raw power.
Free Resources for Map Data & Inspiration
- OpenStreetMap – free global map data
- Natural Earth – simplified geographic datasets
- Government GIS portals – elevation data
- Laser maker communities (Reddit, forums) for inspiration
All are legal, free, and suitable for personal projects.
Conclusion
Making island maps for laser cutting doesn’t require expensive software or paid design files.
With free tools like Inkscape and open map data, you can create fully laser-ready, layered island maps that look professional and cut cleanly on a desktop laser cutter.
By focusing on clean vectors, simple layers, and laser-friendly design rules, you can turn real-world geography into a physical artwork—completely free and entirely your own.
Recent News

CNC Vs Laser Cutter Which Tool Is Right For You
Compare CNC vs laser cutter tools for wood, acrylic, metal, 3D carving, precision, safety, and beginner projects to...

Best Woodworking Laser Cutter Buyer's Guide
Compare the best woodworking laser cutters for 2026, including CO2 and high-power diode machines for wood signs, engraving,...

How Much Is A Laser Cutter In 2026 Cost Guide
Learn how much a laser cutter costs in 2026, from diode and CO2 machines to hidden costs, beginner...