





























How to Use a Laser Engraver: 7 Steps for Beginners

A laser engraver turns a digital design into a permanent mark on a physical object. You can use it to personalize wooden coasters, create leather accessories, make custom gifts, or produce small-batch products for your business.
If you're new to laser engraving, the process is easier to understand when you break it into a few practical steps: prepare your workspace, choose a compatible material, create or import a design, configure your settings, run a test, and start engraving.
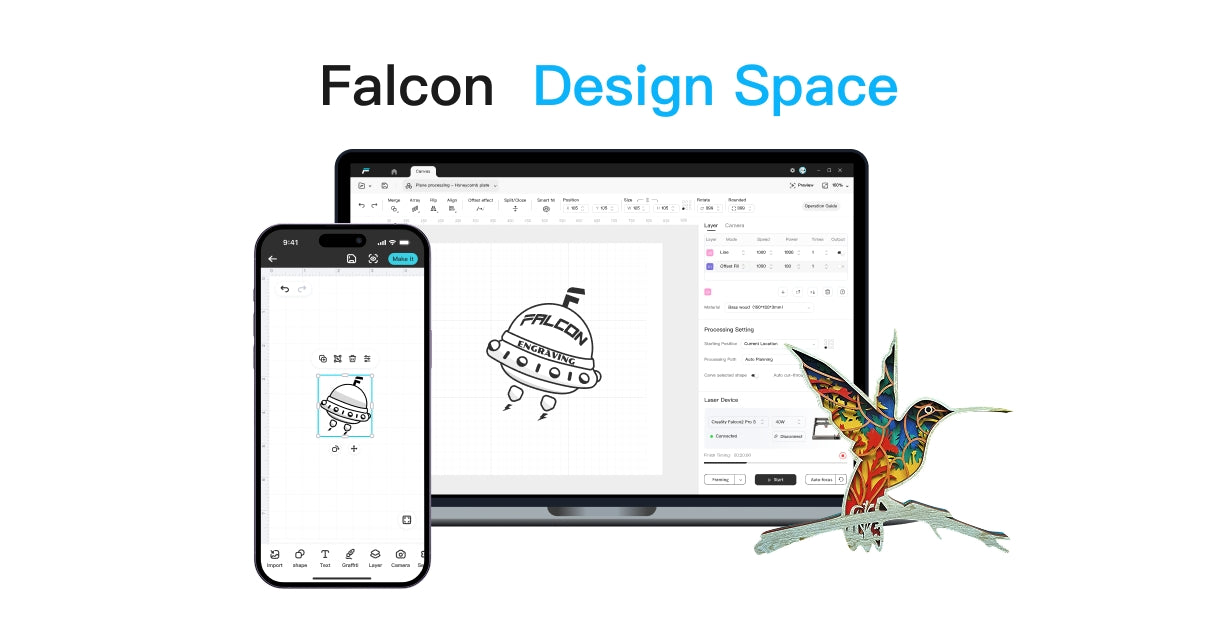
In this guide, you'll learn how to use a laser engraver, how to prepare your first project in Falcon Design Space, when to consider LightBurn, and how to troubleshoot common beginner mistakes.
Note: Exact setup procedures, software features, compatible materials, and operating instructions vary by laser engraver. Always follow the user manual for your specific machine.
What Do You Need to Use a Laser Engraver?
Before starting your first project, prepare the following:
-
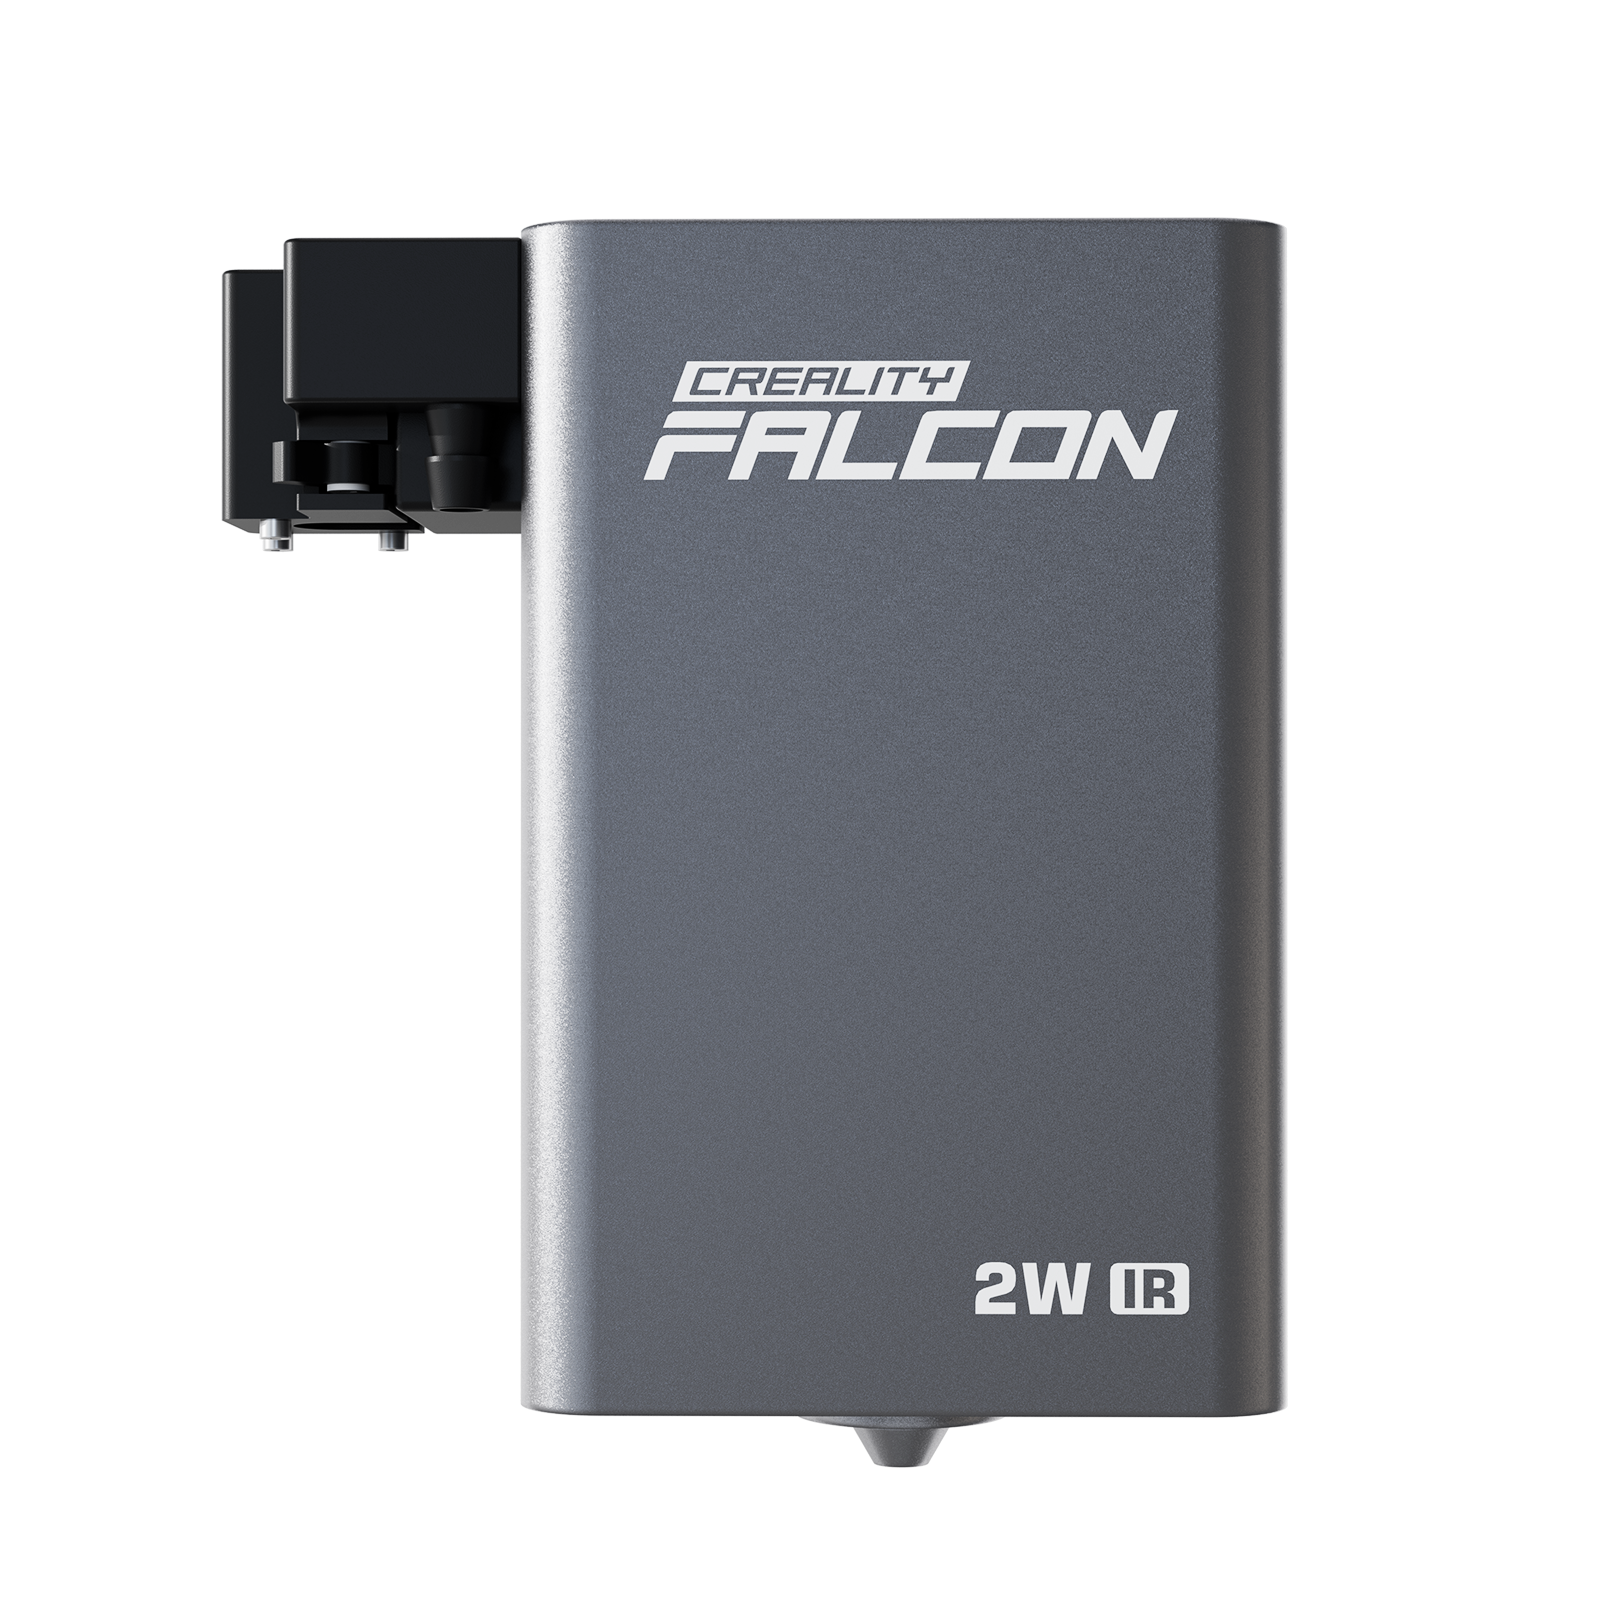
A laser engraver: Choose a machine suitable for your intended materials, project size, and engraving or cutting requirements.
-
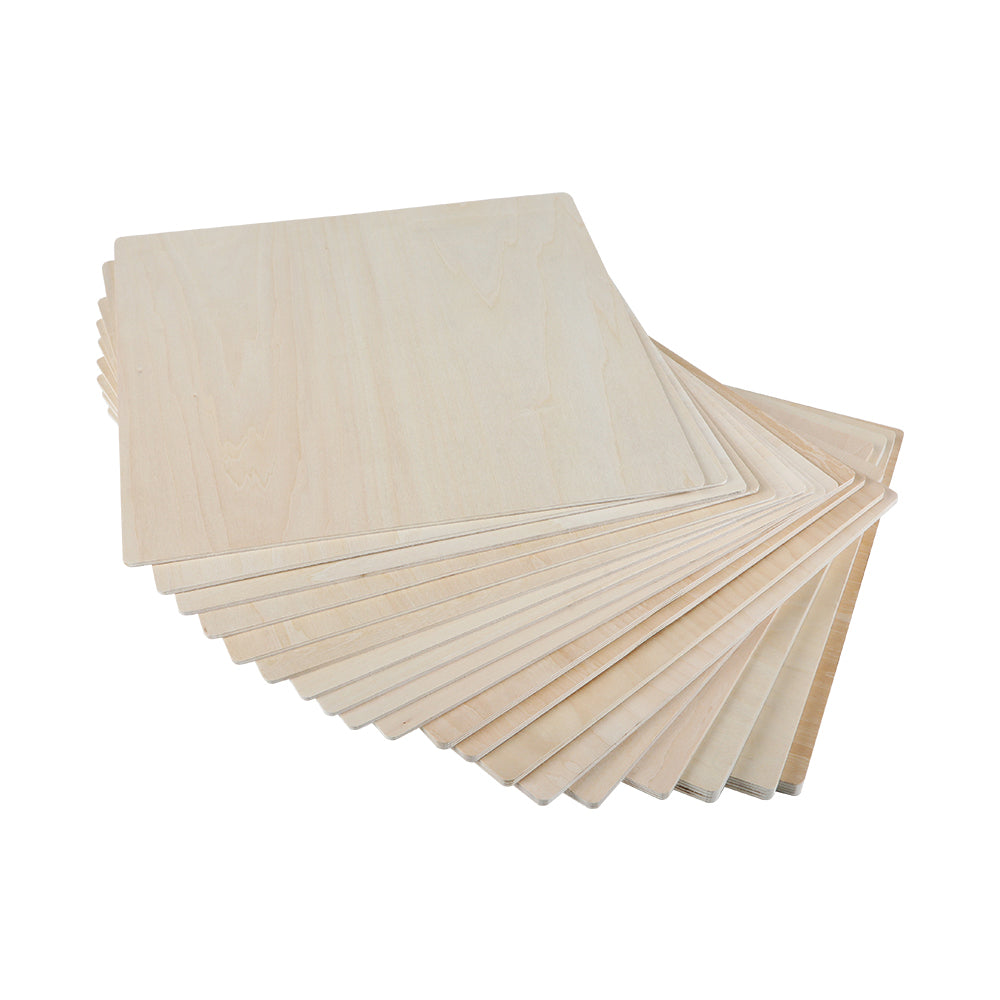
Compatible material: Start with a material explicitly approved for your machine, such as a suitable piece of wood.
-
Design software: Falcon Design Space is an option for compatible Falcon machines. LightBurn is another option for supported devices.
-
A design file: Use simple text, a logo, a line drawing, or a ready-made template.
-
A safe workspace: Arrange appropriate ventilation, keep the work area clear, and follow the machine's safety instructions.
You don't need an elaborate design to begin. A name, a simple icon, or a small line-art pattern is enough to learn the basic workflow.
Step 1: Set Up Your Laser Engraver Safely
Start by preparing the machine and workspace before opening your design software.
Check the machine and workspace
-
Follow the manufacturer's instructions to assemble and position the machine.
-
Check that the work surface is stable and the material can sit flat.
-
Confirm that the machine, cables, protective components, and any required accessories are correctly installed.
-
Arrange effective ventilation or fume extraction according to the machine's instructions.
-
Keep combustible clutter away from the work area and have appropriate fire-safety equipment available.
Never assume that every laser engraver has the same enclosure, air-assist system, camera, or emergency-stop configuration. Check your model's specifications and manual before operating it.
Choose a laser-safe material
Wood is a practical starting point for many beginners, but the exact wood type, surface finish, thickness, and machine configuration can affect the result.
Before processing any material, confirm that it is suitable for your specific laser. Never engrave PVC, vinyl, or unidentified plastics, which may release hazardous fumes or damage equipment.
Do not rely on appearance alone to determine whether a material is safe.
Step 2: Choose or Create Your Design
Your design determines what the laser will reproduce on the material. For a first project, choose something simple enough to inspect and test easily.
Good beginner projects include:
-
A name or short message on a wooden tag
-
A simple line-art illustration on a suitable wooden blank
-
A small decorative pattern for a coaster
-
A logo or label for a craft product
Create a design or import a file
You can create artwork in compatible design software or prepare it in a separate graphics application before importing it.
Common design formats include SVG for vector artwork and PNG or JPG for raster images. However, the formats available depend on the software and its version.
For your first project, keep these principles in mind:
-
Use readable text and uncomplicated shapes.
-
Avoid extremely small details until you've tested how your material responds.
-
Check the design dimensions against your available work area.
-
Make sure the design is suitable for engraving rather than cutting if you're learning surface marking first.
Falcon Design Space: Start with the current version available through the Creality Falcon Download Center. Check that your machine and operating system are supported.
LightBurn: If you prefer its design and job-control tools, consult the official LightBurn documentation. Confirm device compatibility and the correct configuration before connecting your machine.
Step 3: Prepare Your Design in Falcon Design Space
Once your artwork is ready, prepare it for the machine.
The following is a general workflow. Menu names, available tools, and device-control steps must be verified against the current Falcon Design Space version and the specific machine being used.
Import and position your artwork
-
Open Falcon Design Space and select or connect the supported device using the documented procedure.
-
Import your design or choose an available project template.
-
Adjust the design's size to fit the material and intended engraving area.
-
Position the artwork relative to the material.
-
Review the layout and confirm that the design will not extend beyond the usable work area.
If your machine and software support camera-assisted positioning, you may be able to use the camera to help place artwork. Camera availability and workflow vary by model and configuration, so consult the relevant instructions.
Before starting the job, verify the actual position of the material and the design. A correct digital layout does not guarantee correct physical placement.
Select the appropriate operation
Engraving and cutting are different operations.
-
Engraving marks or modifies the material's surface.
-
Cutting uses the laser to pass through the material along a defined path.
For your first project, begin with surface engraving on a suitable material. If your design includes both engraved areas and cut outlines, confirm the correct operation and settings for each part before running the job.
Step 4: Choose the Right Speed and Power Settings
Speed and power are two important factors in laser engraving.
-
Power controls the laser output level within the machine's supported range.
-
Speed controls how quickly the laser moves along its processing path.
Their effects depend on the laser, material, focus, design, and other processing conditions. A setting that works for one machine or material may not work for another.
Start with recommended settings
Use the material recommendations supplied for your exact machine as a starting point. The Falcon Download Center provides model-specific documentation and recommended parameter resources for supported machines.
Before using any settings, confirm that they match your machine, material, material thickness, and intended operation.
Avoid copying settings from an unrelated machine or assuming that one preset will produce the same result on every material.
Test before engraving the final piece
If the material and workflow permit, use a spare piece of the same material to evaluate the result before processing your final project.
A material test can help you understand how different speed and power combinations affect the appearance of the engraving.
Look for:
-
Whether the mark is visible and consistent
-
Whether fine details remain recognizable
-
Whether the surface shows excessive scorching or unwanted damage
-
Whether the result is suitable for the intended design
Change settings methodically and record what you tested. Avoid making several unrelated adjustments at once, since that makes it harder to understand which change affected the result.
Important: There is no universal speed-and-power combination for all laser engravers. Do not treat example settings from another machine as instructions for your own.
Step 5: Focus the Laser and Position the Material
Focus affects how the laser interacts with the material. Incorrect focus can result in blurred details, inconsistent marks, or poor processing performance.
Follow the focusing procedure in your machine's manual. Different models may use different focusing methods, so do not assume that one machine's procedure applies to another.
Before starting the job:
-
Place the material securely and ensure it is flat where required.
-
Set the focus using the method specified for your machine.
-
Confirm the material's position relative to the design.
-
Check that the material fits within the machine's permitted working area.
-
Review any required positioning or framing procedure in the software and manual.
If your machine supports a framing or preview function, use it according to the manufacturer's instructions to check the intended processing area before engraving.
Never bypass protective features or place your hands in the working area while the laser is enabled.
Step 6: Run Your First Laser Engraving Job
Once the design, material, focus, and settings are ready, review the entire job before starting.
Before you press Start
Use this checklist:
-
The material is confirmed to be laser-safe.
-
The material is positioned and secured correctly.
-
The focus has been set according to the manual.
-
The design size and position have been checked.
-
The speed, power, and operation settings match the material and machine.
-
Ventilation and required safety measures are in place.
-
The machine's protective components are correctly positioned.
Follow the documented procedure to start the job.
Stay with the machine and continuously monitor the engraving. Stop the process if you notice unexpected flames, abnormal behavior, or other unsafe conditions, following the machine's emergency procedures.
Never leave an operating laser engraver unattended.
Inspect the finished engraving
After the job finishes, follow the manufacturer's instructions before opening the work area or handling the material.
Check the finished result for:
-
Clarity and readability
-
Consistency across the engraved area
-
Unwanted scorching or residue
-
Alignment and placement
-
Whether the result matches the intended design
If the result isn't satisfactory, troubleshoot the cause before repeating the job. Avoid immediately increasing power, since excessive power can damage the material and may not solve the underlying issue.
Step 7: Troubleshoot Common Laser Engraving Problems
Your first project may not look exactly as expected. Understanding the likely causes can help you improve the next attempt.
Why is my engraving too light?
Possible causes include unsuitable speed or power settings, incorrect focus, material variation, or a mismatch between the material and the chosen process.
Check the recommended settings for your machine, verify focus, and test a controlled adjustment on spare material.
Why does my engraving look too dark or scorched?
Excessive heat can contribute to dark marks or unwanted scorching. Material characteristics, focus, speed, power, and air-assist conditions may all affect the outcome.
Review your machine's recommended parameters and applicable accessory instructions. Change one variable at a time and compare the results.
Why is the design blurry or uneven?
Check whether the material is flat, the focus is correct, and the design is positioned properly. Uneven material height, inconsistent surfaces, or overly intricate artwork may also affect the result.
Try a simpler design and verify the setup before changing multiple settings.
Why won't the laser engraver connect to the software?
First, confirm that your machine supports the software and that the correct device configuration has been selected.
Then check the documented connection procedure, cables, drivers, firmware requirements, and software version. For model-specific help, consult the machine's manual and the official support resources.
For more troubleshooting guidance, visit the Creality Falcon FAQ.
Falcon Design Space vs. LightBurn: Which Should You Use?
Both software options can be useful, but the right choice depends on your machine, workflow, and experience.
| Consideration | Falcon Design Space | LightBurn |
| Best starting point | A convenient option for supported Falcon workflows | An alternative for users who want its design and job-control tools |
| Machine compatibility | Check supported Falcon models and software requirements | Check the supported-device list and configuration requirements |
| Design workflow | Explore the tools available in your installed version | Explore its design, layout, and processing workflow |
| Learning approach | Start with the workflow documented for your machine | Follow the official documentation for your device and setup |
For a beginner using a compatible Falcon machine, starting with Falcon Design Space is a practical way to learn the basic workflow before deciding whether another application better fits your needs.
You do not need to learn every available software tool before completing your first simple project.
For a deeper software comparison, see our guide to laser engraving software.
What Can You Make with a Laser Engraver?
Once you understand the basic workflow, you can apply the same process to many creative projects, provided the material and operation are supported by your machine.
Personalized gifts
Engrave names, dates, short messages, or simple illustrations onto suitable wooden tags, plaques, or other compatible blanks.
Handmade products
Explore decorative accessories, labels, ornaments, and other small products. Test the material and design before committing to a batch.
Small-business projects
A laser engraver can help makers personalize products and produce repeatable designs. If you're creating items for sale, document your settings and quality-check the results to improve consistency.
Start with one project, learn how your material behaves, and gradually experiment with more complex designs.
Frequently Asked Questions
Is a laser engraver difficult to use?
A laser engraver becomes easier to use when you learn the basic workflow: prepare a design, select a compatible material, set up the machine, choose suitable parameters, test, and engrave. The learning curve depends on the machine, software, and project.
What software do I need for a laser engraver?
You need software compatible with your machine and intended workflow. Falcon Design Space is an option for supported Falcon devices, while LightBurn supports compatible laser machines. Check current compatibility and setup instructions before choosing.
What is the best material for a beginner?
A suitable piece of wood is a practical starting point for many beginners. However, wood type, finish, and thickness can affect the result. Always verify that the material is approved for your laser and follow the manufacturer's instructions.
Do I need to test my settings before engraving?
Testing on spare material is strongly recommended when practical. It helps you evaluate the effect of speed, power, focus, and material variation before working on the final piece.
Can a laser engraver also cut materials?
Some laser engravers support both engraving and cutting, but their capabilities depend on laser type, output, material, thickness, and machine configuration. Check the specifications and recommended parameters for your exact model.
Is laser engraving safe to do indoors?
Indoor use depends on the machine, material, workspace, and ventilation arrangements. Laser processing can produce smoke, particles, and hazardous fumes. Follow the manufacturer's safety guidance, use appropriate fume extraction, and never process unapproved materials or leave the machine unattended.
Start Creating with Your Laser Engraver
Learning how to use a laser engraver is about building a repeatable process, not finding one setting that works for everything.
Start with a simple design and a verified laser-safe material. Follow your machine's setup and focusing instructions, use the recommended parameters as a starting point, test your settings, and inspect the result before moving on to more complex projects.
With practice, you'll develop a better understanding of how design, material, focus, speed, and power work together—and gain the confidence to turn more of your ideas into finished creations.
Ready to start your first project? Explore the Creality Falcon laser engraver collection and find the machine that fits your creative goals.
Recent News

12 World Cup Laser Engraving Ideas for Fans
Explore world cup laser engraving ideas for fan gifts, tumblers, coasters, signs, and safe soccer-inspired designs makers can...

What Materials Does a Laser Cutter Cut Safely
Find out what materials does a laser cutter cut, which plastics to avoid, and how CO2, diode, and...

7 Best Laser Engravers Under $1000
Quick Answer:The best laser engraver under $1000 should be chosen by total setup cost, not machine price alone.For most...


