


2025's Best Rotary Laser Engraver Combos for Hobbyists
In this blog, we’ll cut through the jargon to show you exactly how the rotary attachment works. We'll explore the different types of laser marking rotary attachments and highlight the best machines that come with them.
Whether you're a hobbyist looking for the perfect gift or a side hustler ready to level up your business, this guide will help you find the best laser engravers with rotary attachment options in 2025.
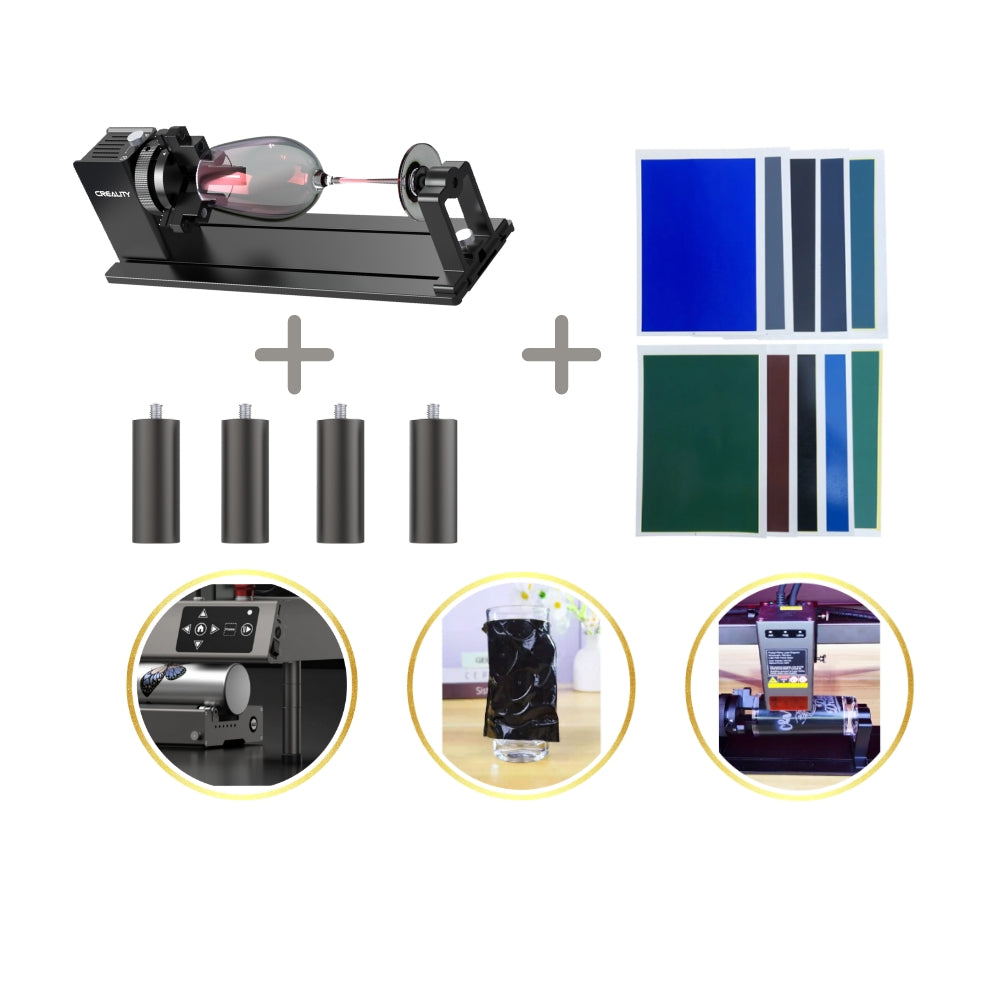
Part 1: Types of Rotary Attachments for Laser Engraving
So, what exactly is a rotary attachment? It is a spinning tool that holds your object while the laser engraves on it. Instead of being limited to flat pieces, you can engrave on cups, bottles, and other round objects.
The type of rotary you choose really depends on what you want to engrave most. Here are the main types of rotary attachments you’ll come across:
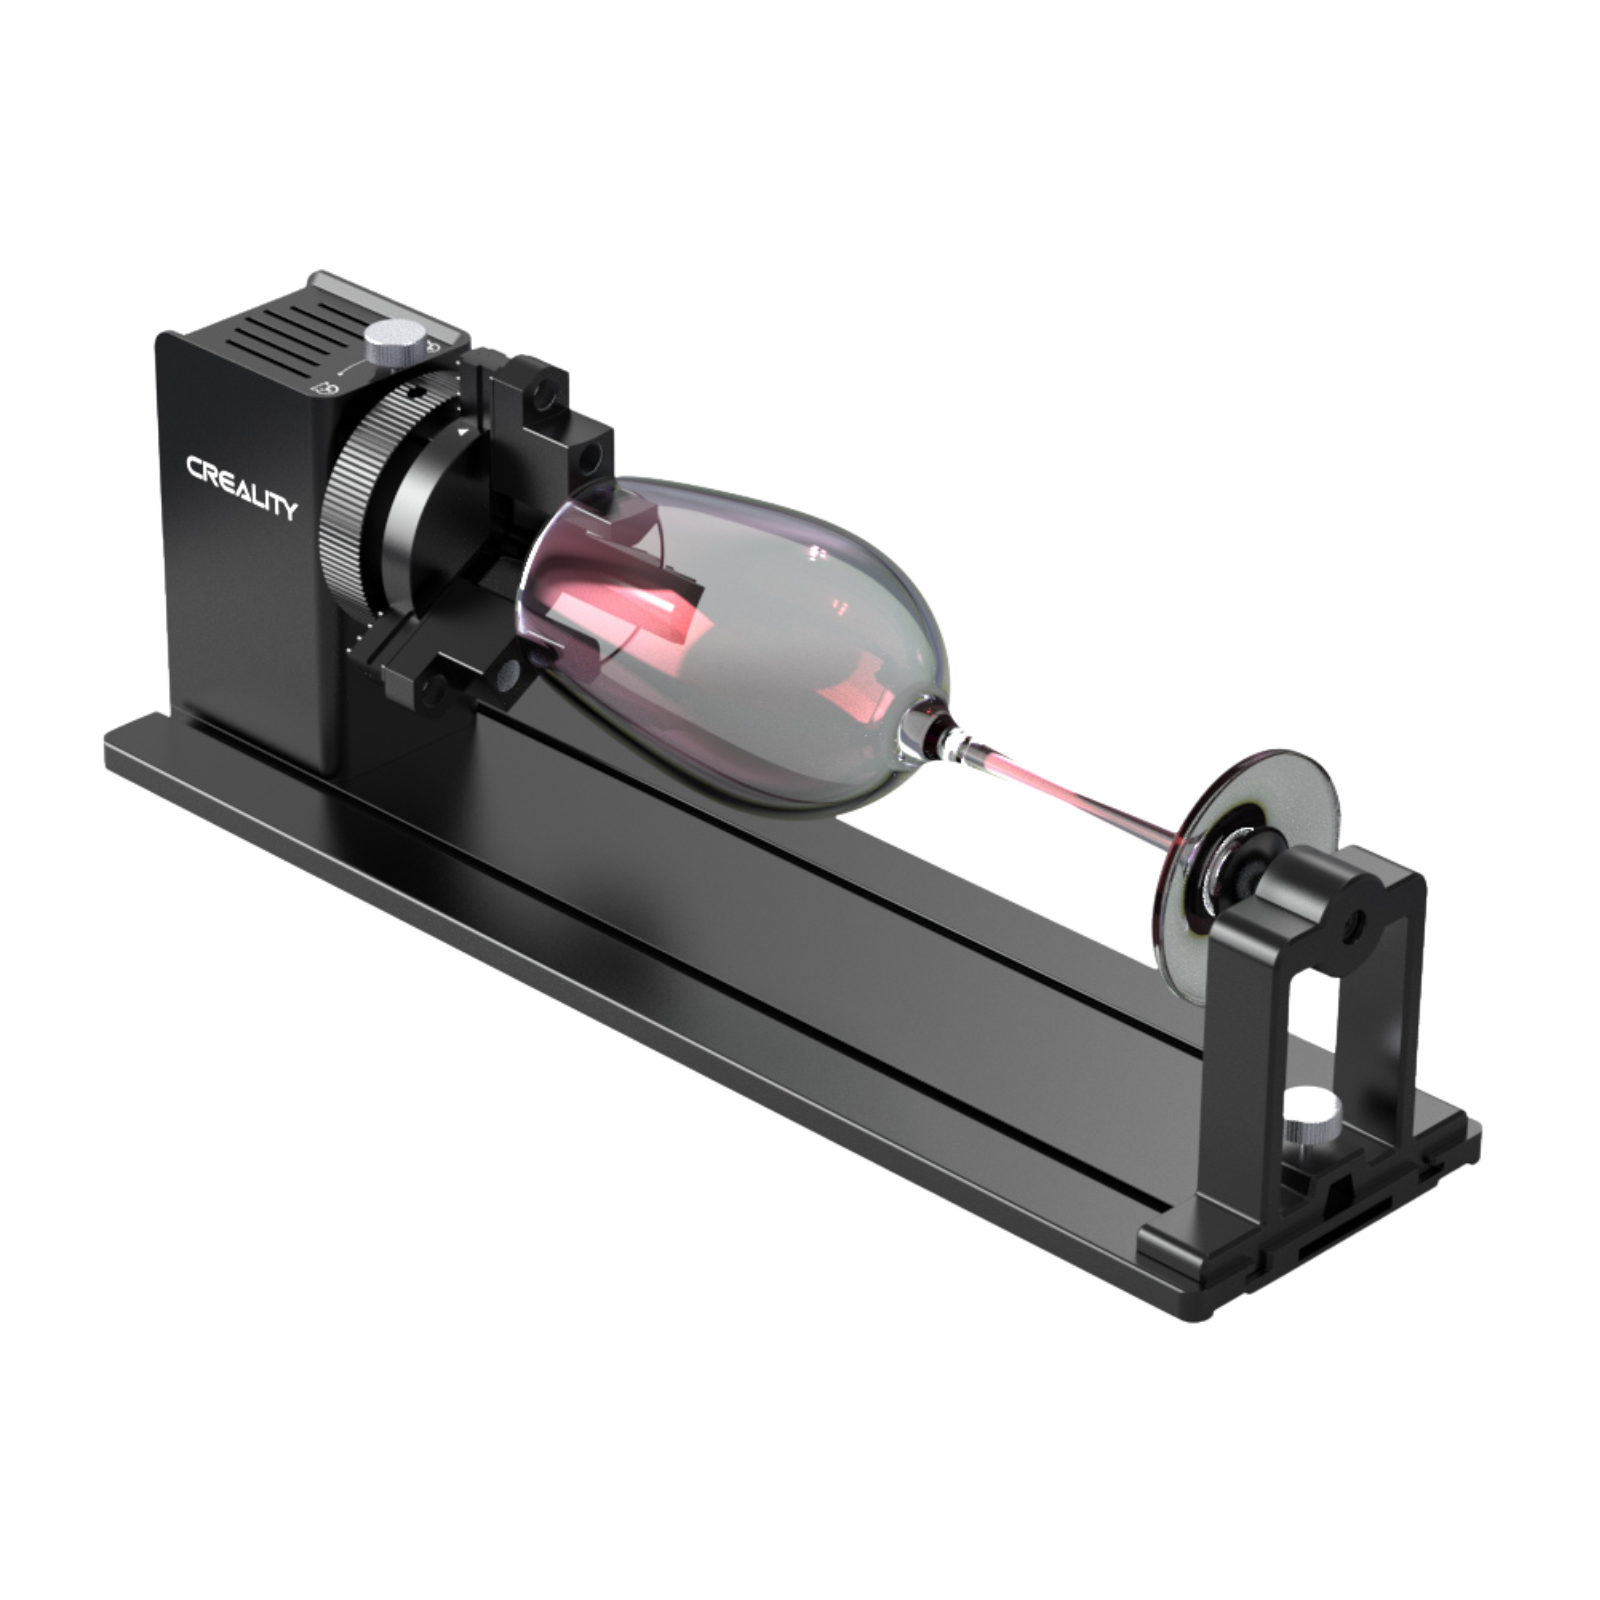
1. Roller Rotary Attachments
- These use a set of rollers to spin your object while the laser works.
- Perfect for items like cups, tumblers, and bottles with straight walls.
- Super easy to set up and beginner-friendly.

2. Chuck Rotary Attachments
- Works like a mini-lathe, clamping onto your object and rotating it with precision.
- Best for irregular shapes, rings, or items with handles.
- It offers better grip and accuracy than roller types.

3. Ring Rotary Attachments
- Specifically designed for engraving jewelry like rings and bracelets.
- They allow very fine, detailed designs on small, round items.
- Great if you’re into custom jewelry or small-scale projects.

4. Sphere Rotary Attachments
- These are made for round items like balls or ornaments.
- They hold the item securely so you can engrave around the curved surface.
- If you mostly want to engrave mugs and bottles, go with a roller. If you need more precision or plan to work with jewelry, a chuck or ring rotary is worth the upgrade.

Part 2: Best Laser Engravers with Rotary Attachments
Now that you know the different types of rotary attachments, let’s check out the best laser engravers with rotary attachment combos you can actually buy in 2025.
Here are four top picks hobbyists love:
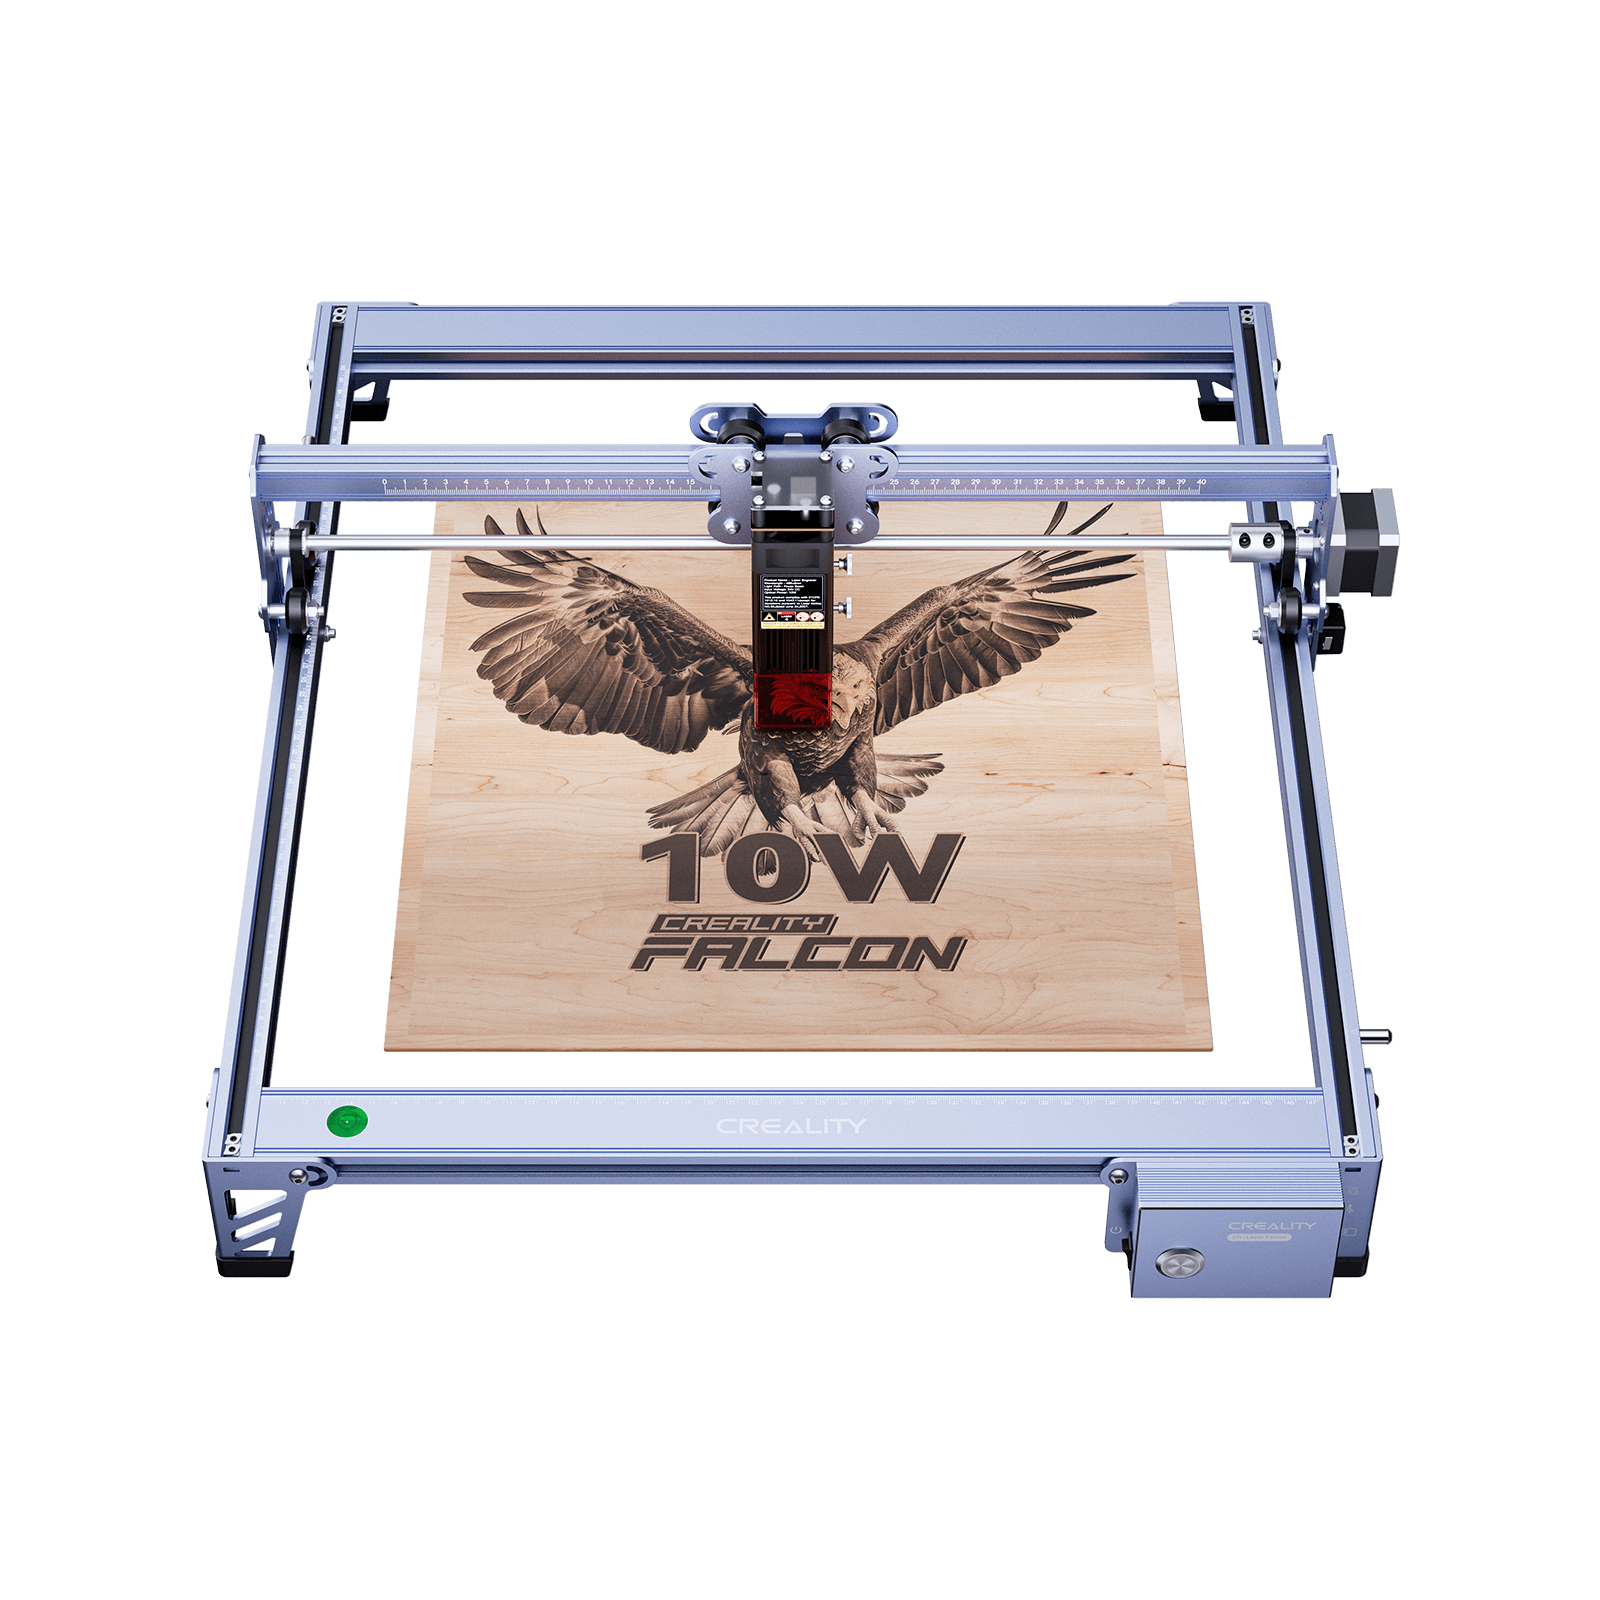
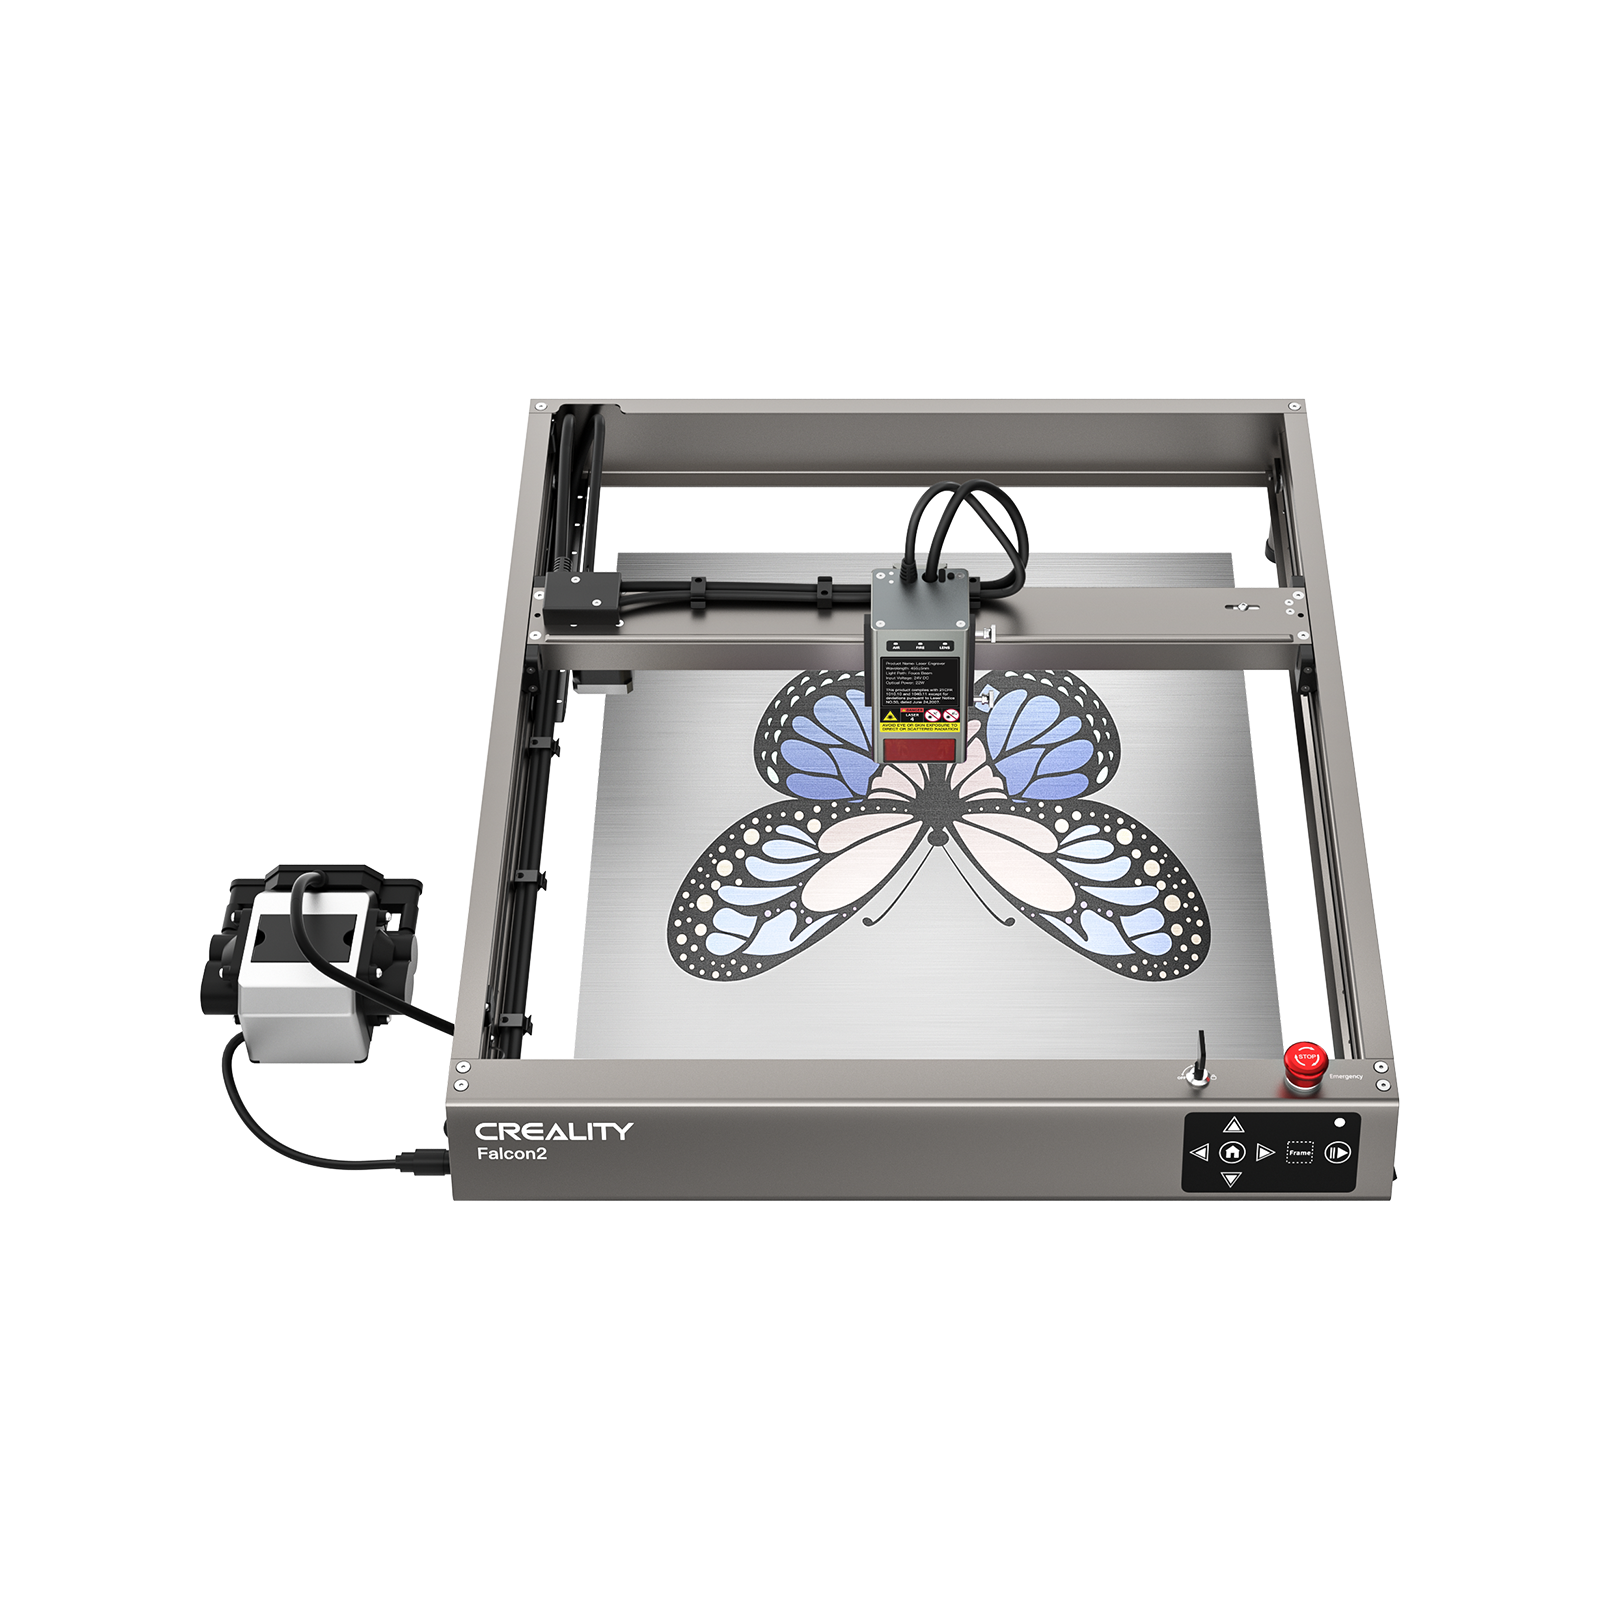
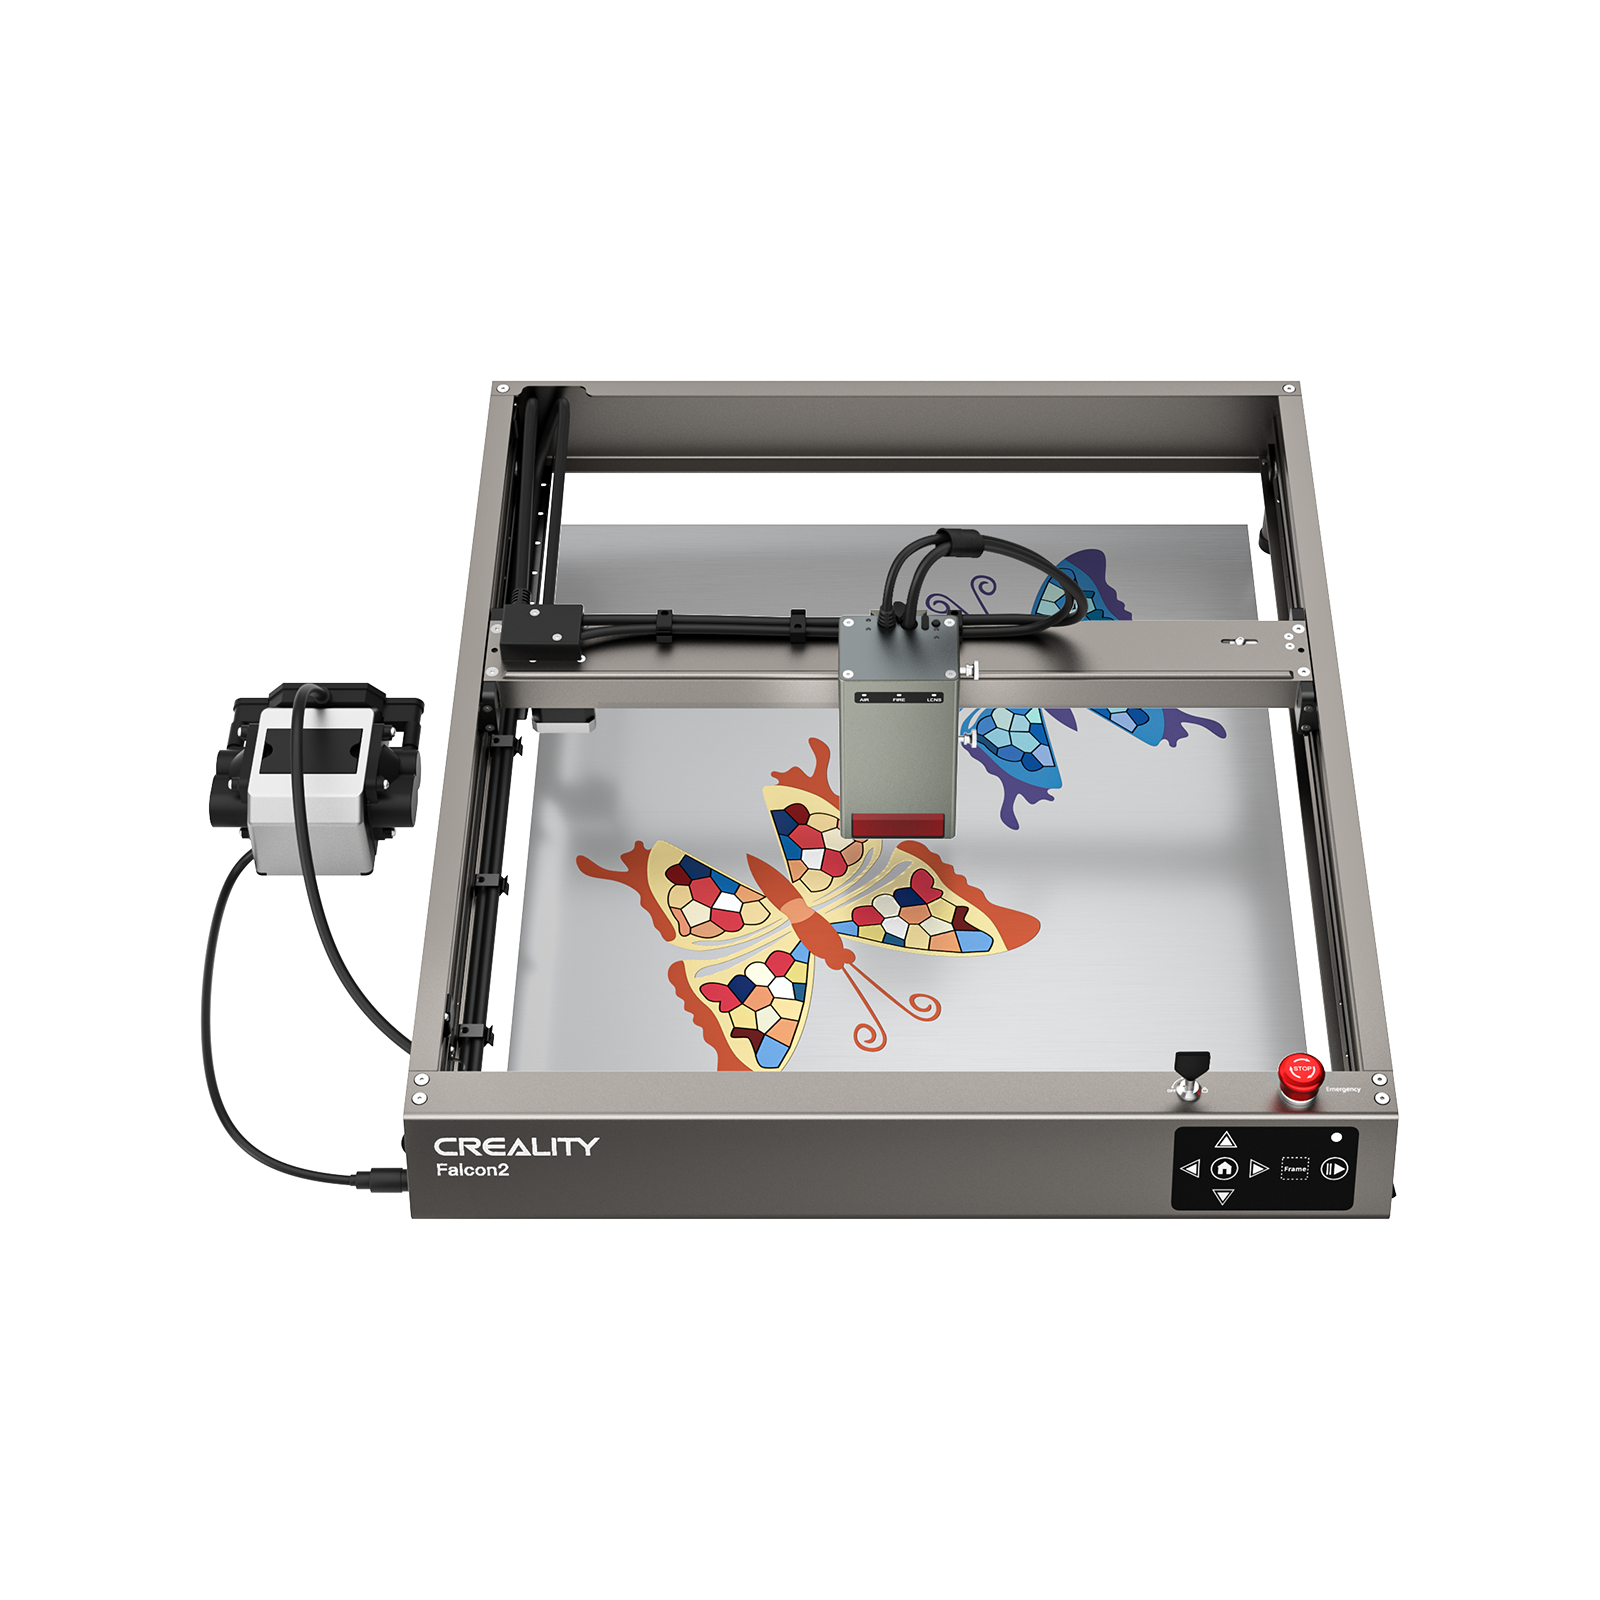
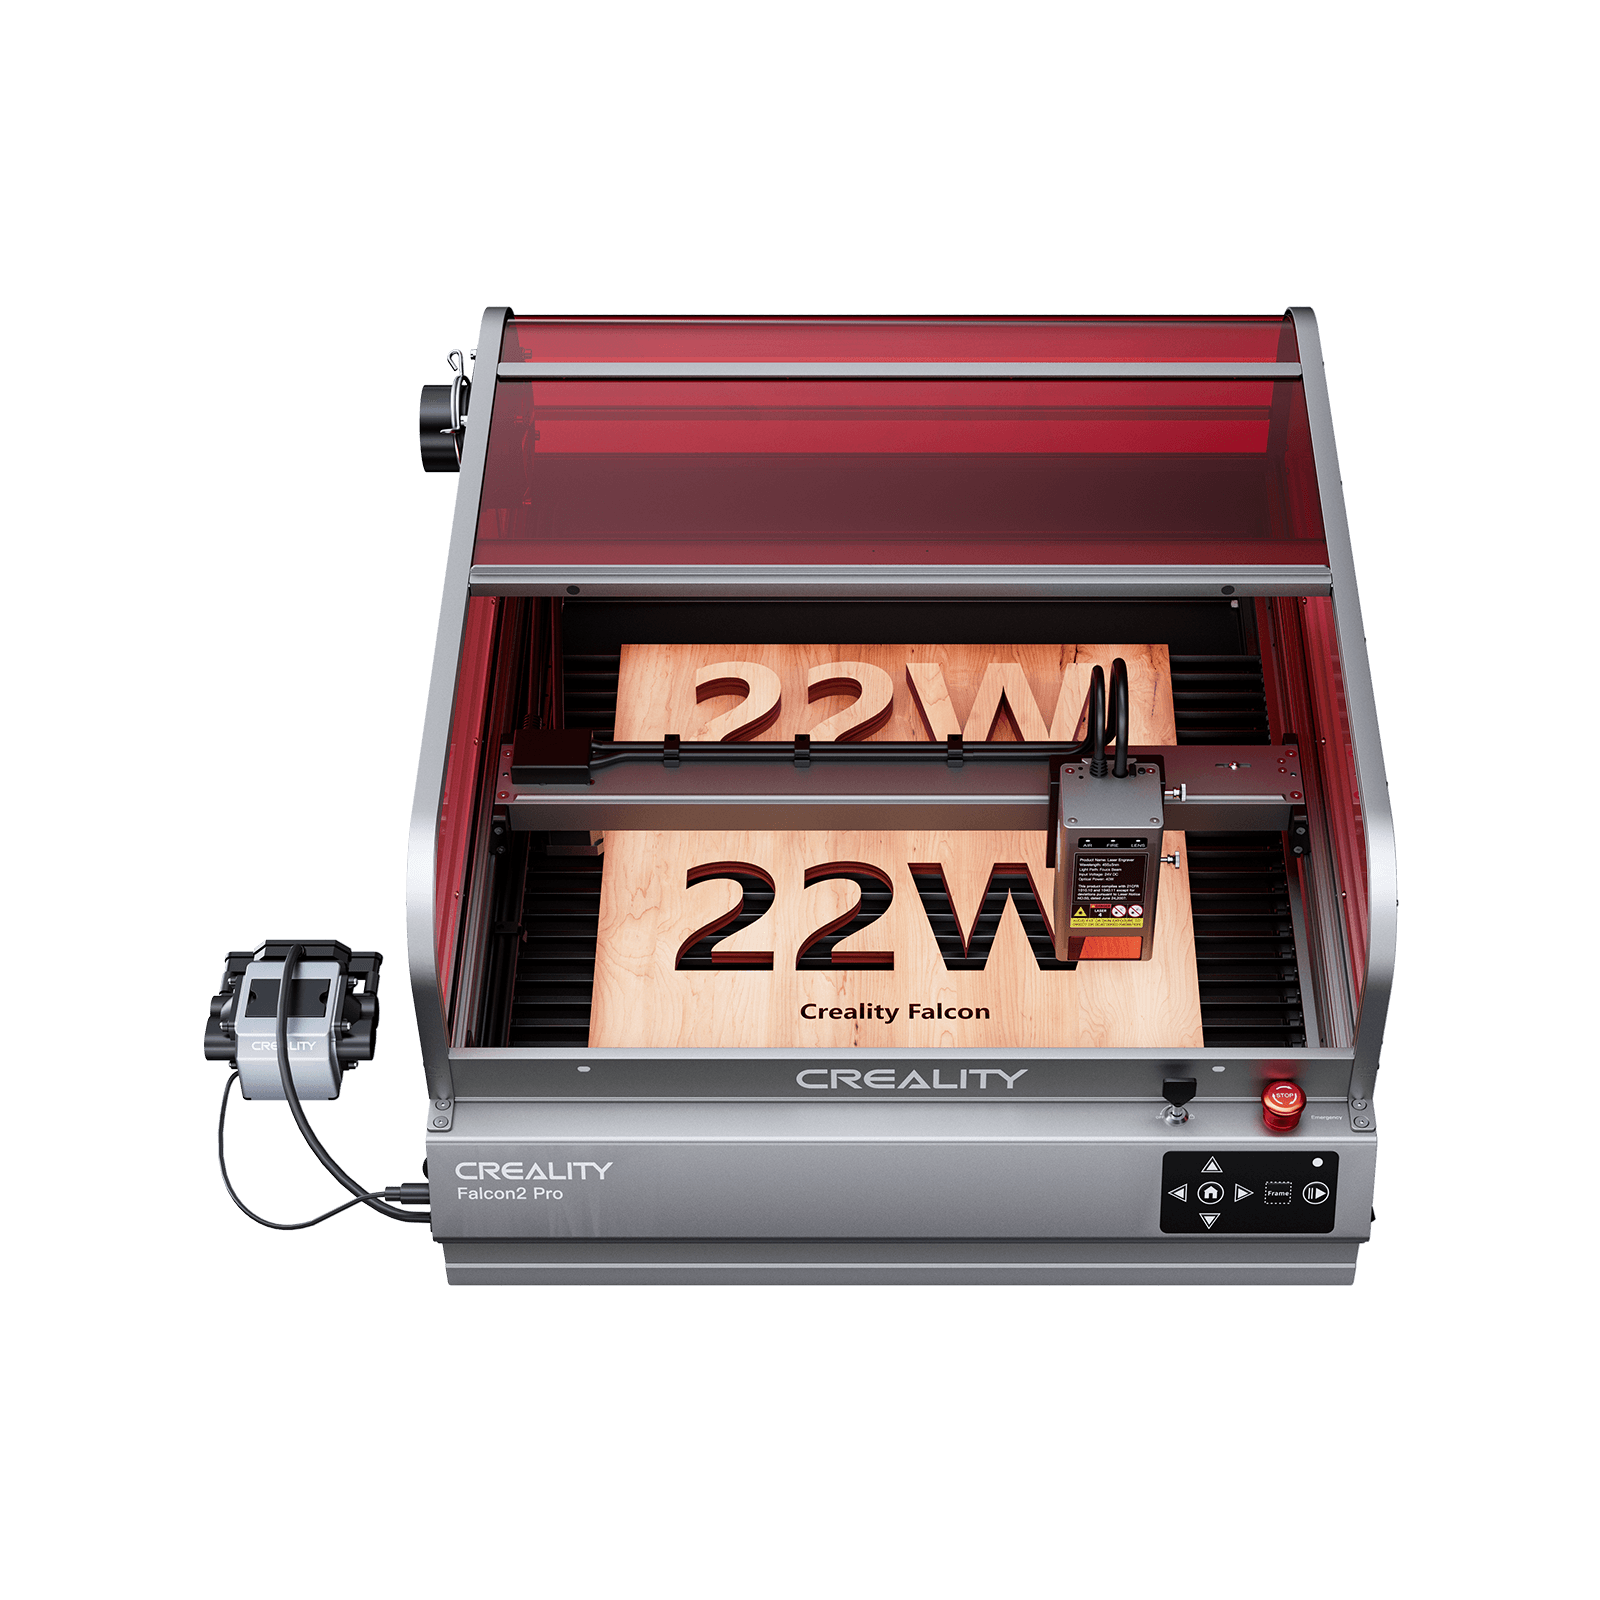
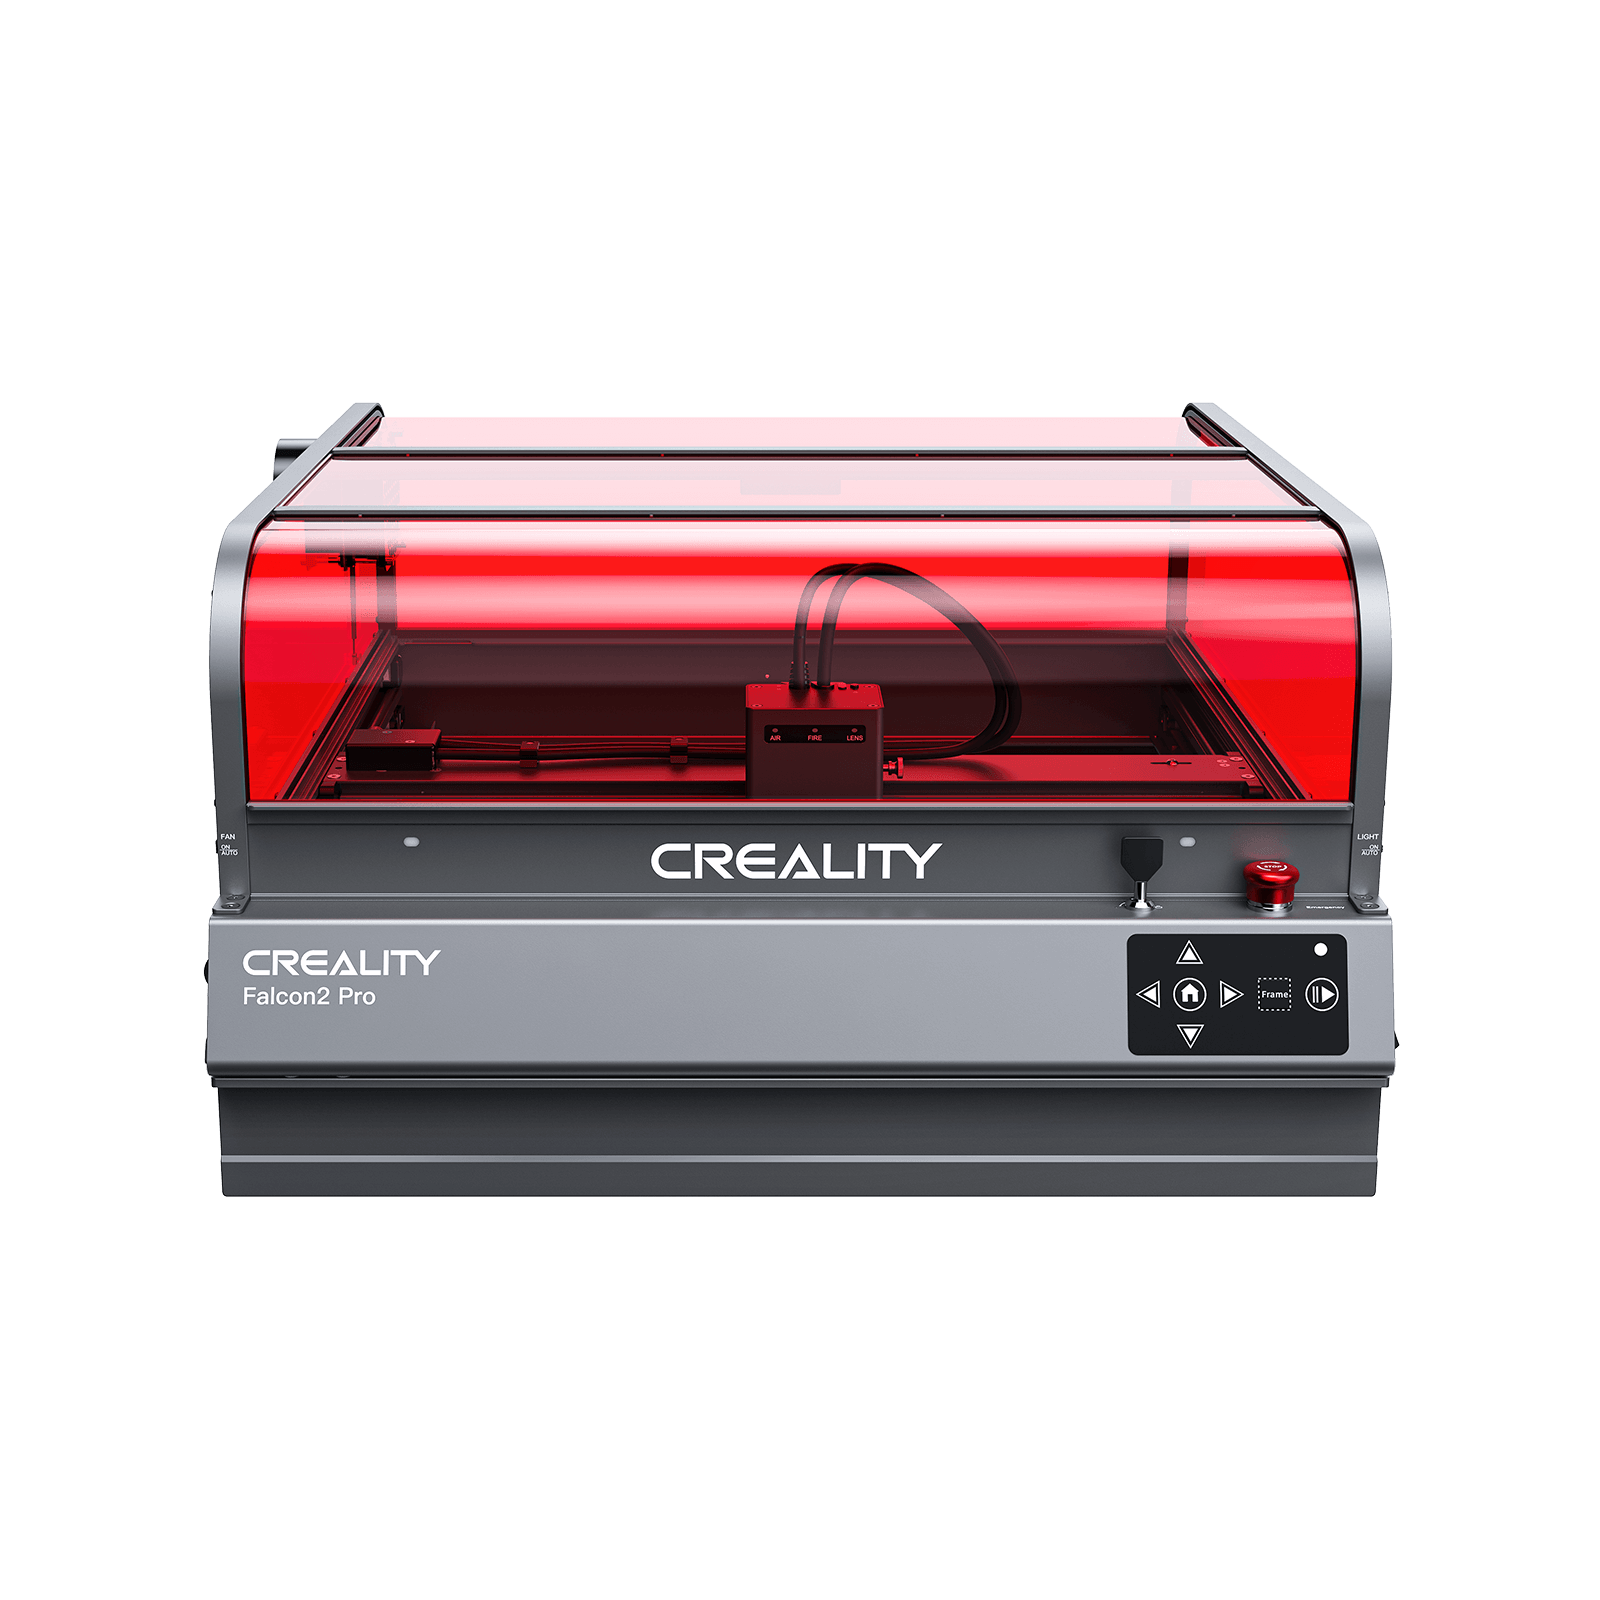
1. Falcon2 22W Extension Kits
The Falcon2 22W is one of the most popular choices for hobbyists who want both power and versatility.
With the rotary extension kit, you can engrave mugs, tumblers, and even irregular items with ease.
The machine is beginner-friendly, compact, and surprisingly powerful for its price point. It’s a solid “do-it-all” choice for metal, wood, glass, and more.
Price: $909.00

Pros:
- High 22W power for fast engraving.
- Comes with a roller-style rotary that’s easy to set up.
- It can engrave multiple materials (metal, wood, glass, acrylic).
- Great engraving depth and precision.
- Compact and desk-friendly design.
- User-friendly software compatibility (LightBurn support).
- Affordable compared to industrial machines.
Con:
- It can have a steep learning curve for beginners.
2. AtomStack Kraft Rotary bundle
AtomStack is known for its budget-friendly engravers, and the Kraft rotary bundle is no exception.
This option is perfect for beginners who want to engrave cups, bottles, and smaller round items without spending too much.
It’s not the most powerful machine out there, but it gets the job done for hobby projects.
Price: $1,599.00

Pros:
- Affordable bundle for beginners.
- Easy to assemble and use.
Cons:
- Lower laser power compared to premium options.
- Build quality isn’t as durable as higher-end machines.
3. OMTech Galvo 20W with Rotary Axis
If you are serious about engraving on metal, the OMTech Galvo 20W is a powerhouse.
Paired with its rotary axis, it’s designed for precision marking on stainless steel, aluminum, and even coated metals with a 20W fiber laser.
It’s a bit more advanced, so it's better suited for users ready to take their hobby or small business to the next level.
Price Range: $1,969.99

Pros:
- Extremely precise metal marking.
- Professional-grade rotary attachment for bottles and rings.
Cons:
- Complicated to handle for beginners.
- Higher upfront investment.
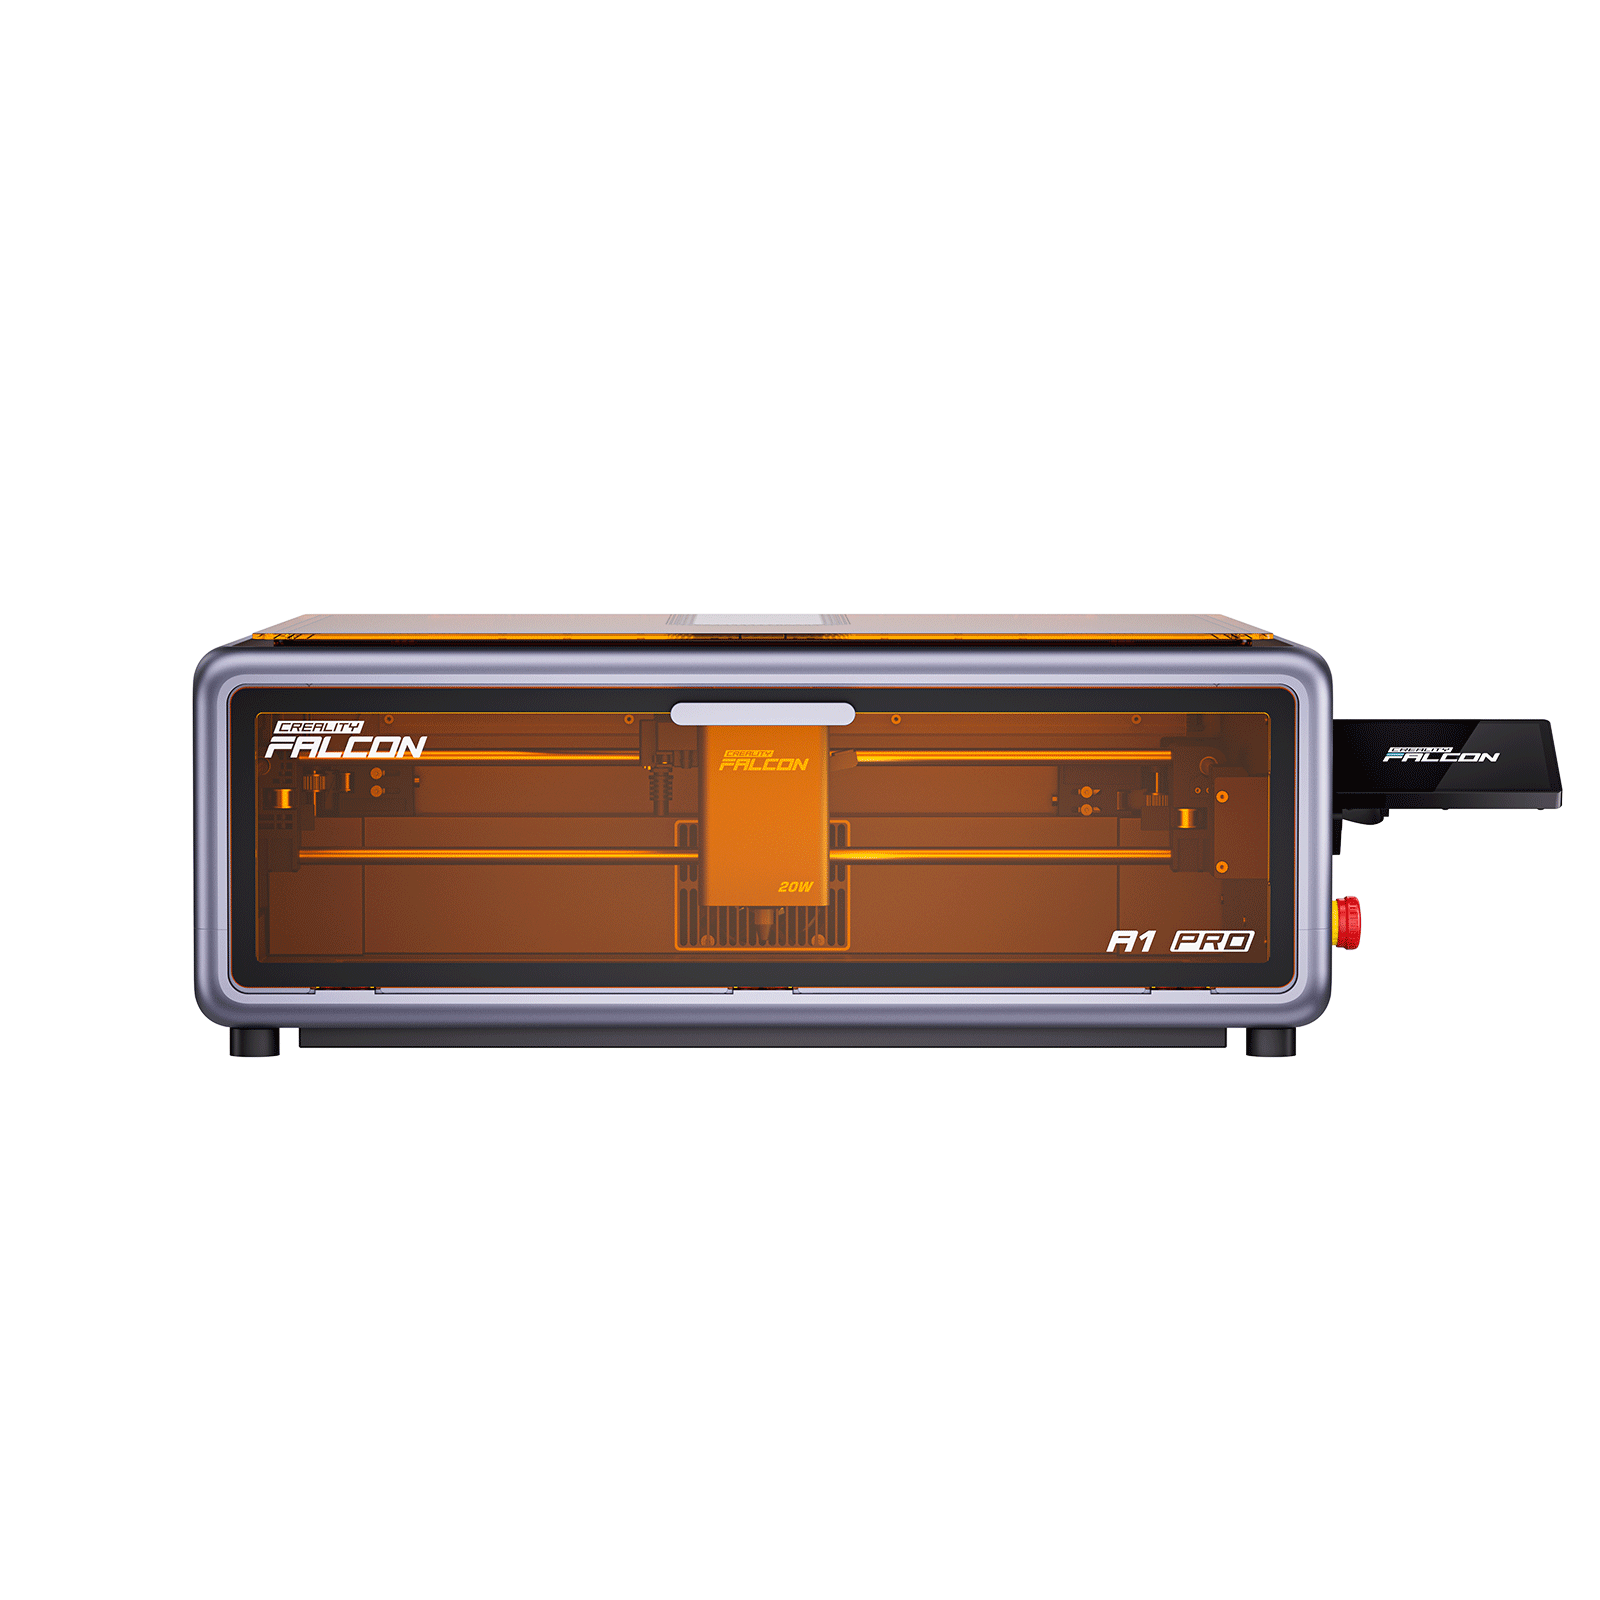
4. WeCreat Vision 20W Rotray Pack
The WeCreat Vision 20W with rotary pack is a stylish, all-in-one setup for hobbyists who want creativity with convenience.
It’s beginner-friendly, has great software integration, and the rotary add-on lets you engrave cups, tumblers, and small round items easily.
Price Range: $1,399.99

Pros:
- Sleek design with an enclosed frame for safety.
- Smooth integration with rotary attachment.
Cons:
- Not as powerful for heavy-duty metal engraving.
- Slightly pricier compared to similar mid-range hobby engravers.
These four laser engravers with rotary attachment combos cover every level, from casual DIYers to serious hobbyists.
If you are looking for the best balance of price, power, and ease of use, the Falcon2 22W with rotary kit is hands down the most beginner-friendly and reliable option.
Part 3: How to Use a Rotary Attachment on a Laser Engraver
So, you’ve got your rotary attachment, and are you ready to start engraving cups, bottles, or tumblers?
Great choice! Using a laser marking rotary attachment might sound technical, but it’s actually pretty simple once you’ve got the hang of it. Here’s how to get started:
1. Set up the attachment
Place the rotary attachment on your engraver’s bed and connect it to the machine. Most hobby engravers have a plug-and-play setup, so it shouldn’t take long.
2. Secure your object
Put your item (like a mug or tumbler) on the rollers or chuck. Make sure it’s balanced and won’t wobble; this ensures clean, even engraving.
3. Adjust the settings
In your software (like LightBurn), switch on “rotary mode.” This tells the machine to rotate your object as it engraves, so designs wrap neatly around.
4. Test and engrave
Always do a test run! A light pass helps you check alignment before you go full power. Then let the machine do its magic.
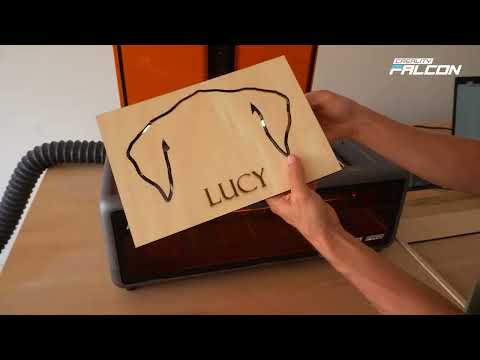
With a bit of practice, you’ll be engraving beautiful designs on all kinds of round objects in no time. Here is also a video tutorial for you:
Part 4: DIY Rotary Attachment for Laser Engraver
Want to try a hands-on project? If you are the type who enjoys tinkering, building your own rotary attachment can be a fun and budget-friendly option. While it won’t always match the precision of professional attachments, it’s great for hobby experiments.
What you’ll need:
- Stepper motor (to control rotation)
- Rollers (can be 3D-printed or sourced online)
- Motor driver and controller
- Some basic wiring and assembly tools
How it works:
- The rollers hold your object, and the motor rotates it as the laser engraves. You can connect the motor to your engraver’s controller (or use a standalone driver). With some adjustments, you can engrave mugs, cups, or cylindrical items.
Pros of DIY:
- Cheaper than buying a professional kit.
- A great learning project for makers.
Cons of DIY:
- More setup time and troubleshooting.
- Precision may not match ready-made kits.
DIY is worth a shot if you love experimenting and don’t mind a bit of trial and error. But if you want plug-and-play reliability, buying a bundle like the Falcon2 rotary kit is much easier.
The End
A rotary attachment expands the creative possibilities of laser engraving beyond flat surfaces. It allows you to engrave cylindrical objects like custom mugs, wine glasses, and metal tumblers, opening up a new world of projects for hobbyists.
Whether you build your own or buy a ready-made kit, a rotary attachment is a valuable tool for anyone looking to advance their craft. Start small, experiment, and soon you'll be creating beautiful engraved pieces.