


LightBurn Test File Download Guide

A LightBurn test file is a diagnostic layout that checks focus, power curve, kerf width, and material behavior before committing to a final project via your laser cutter.
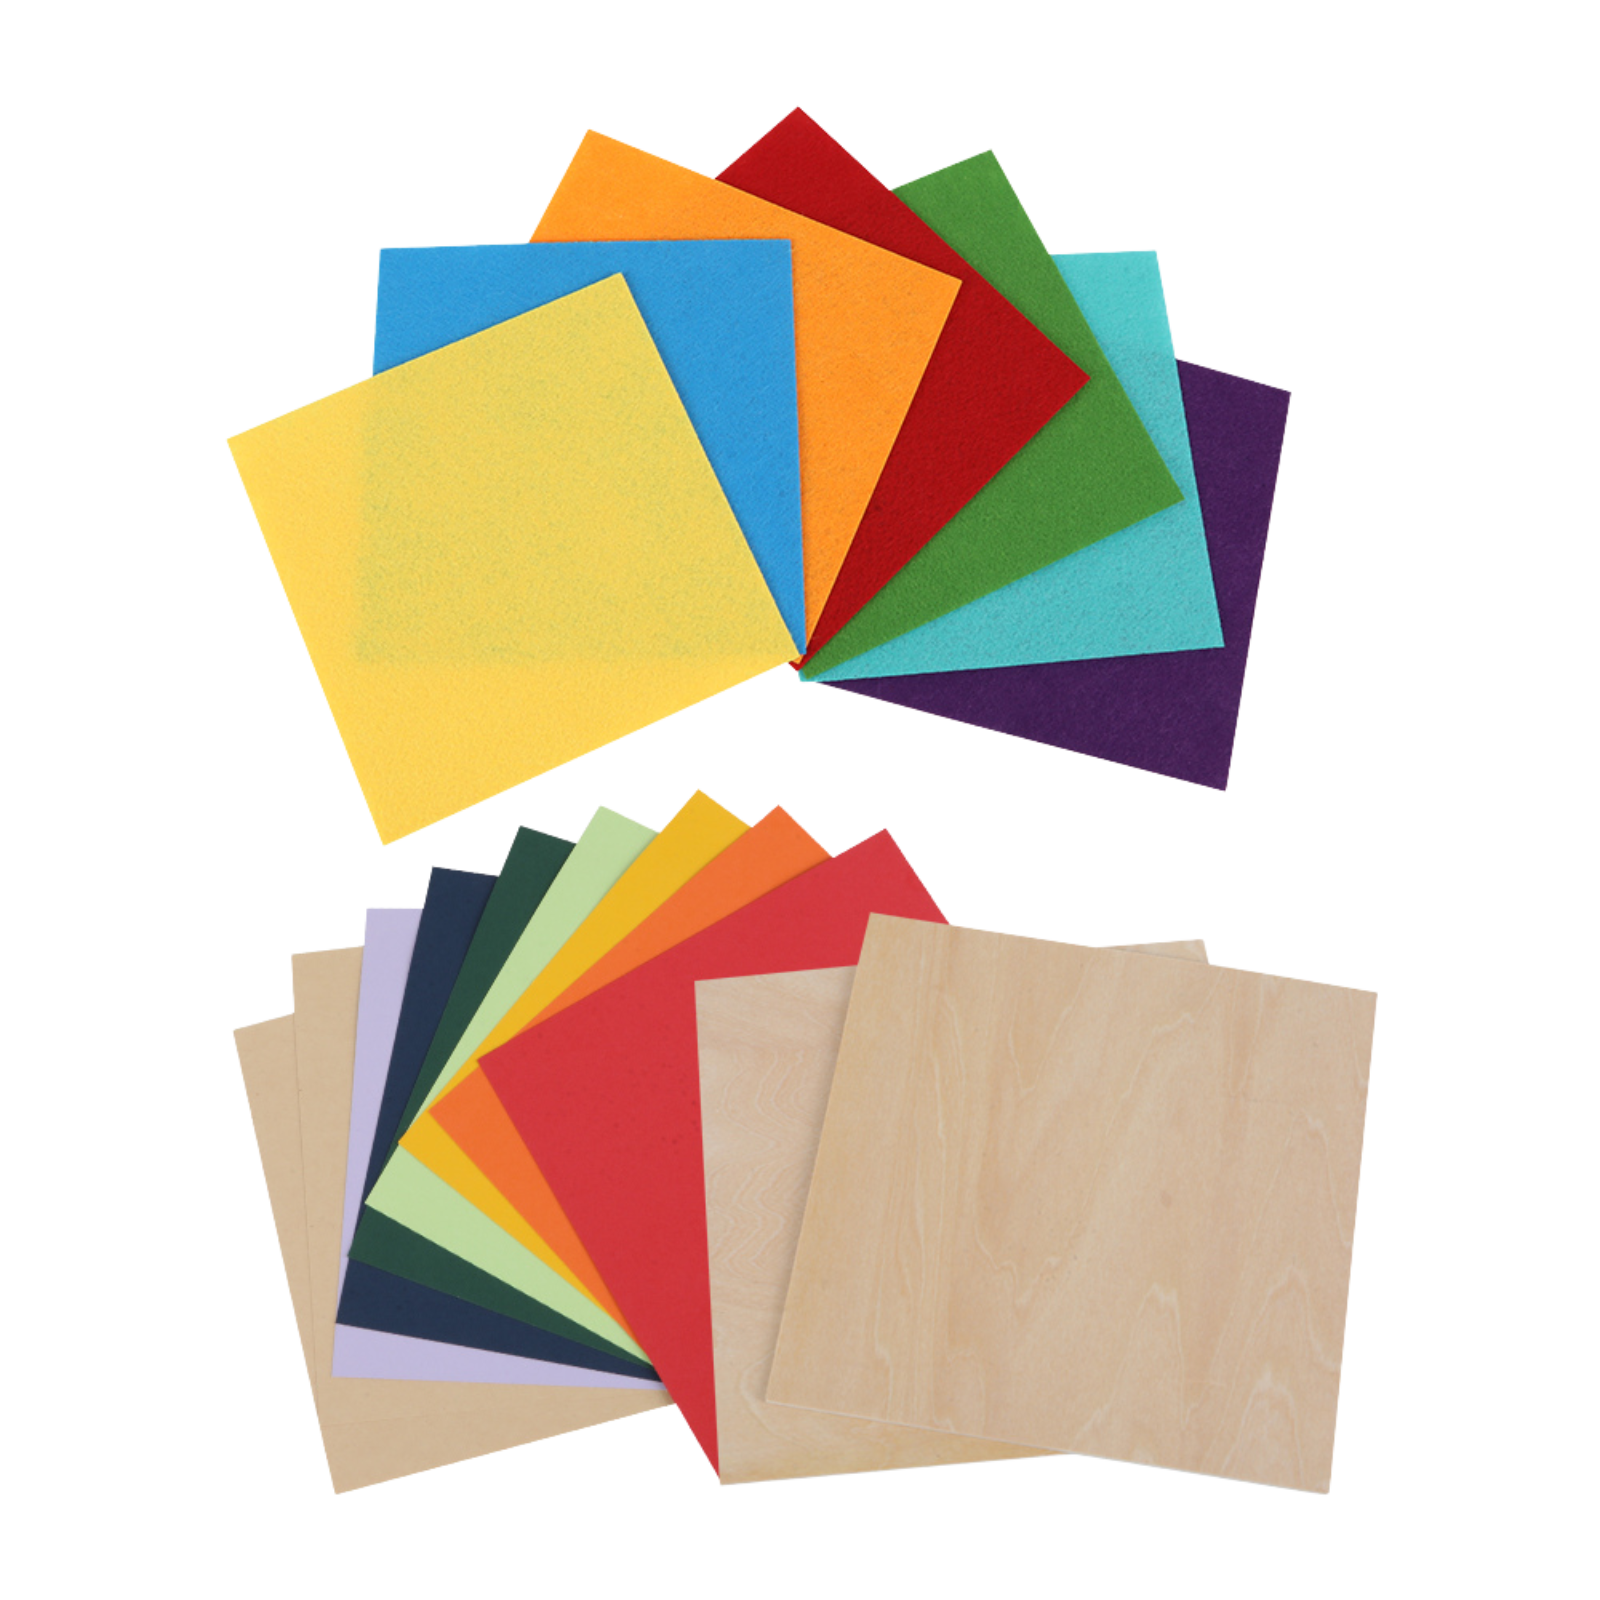
For a wood sign commission, running a test file lets you confirm how maple reacts to a 30% power raster sweep without overheating the grain, saving time and preventing wasted stock.
An engraving strip shows how vector vs. raster shapes melt edges, while a separate cut square reveals whether three passes at 12 mm/s remove the stock cleanly.
After every test, log the power/speed layers, focal height, and bed alignment.
Track these data points in LightBurn’s built-in Material Library so your next project starts from proven numbers instead of guesswork.
Downloading Trusted LightBurn Test Files
Begin with reputable sources such as the LightBurn official forum, Maker Forums, CraftSeek, or xTool community libraries.
These offer verified SVG, DXF, or G-code packs.
- SVG: Best for vector cut paths.
- DXF: Ideal for precise kerf dimensions.
- G-code: Processed files for specific controllers, used when running pre-configured jobs.
Steps to Build a Custom LightBurn Material Test File
You can design a custom test grid using LightBurn's built-in Material Test Generator (found under Laser Tools > Material Test).
A practical layout includes:
- Raster Swatches: To test fill textures and engraving darkness.
- Power/Speed Grid: Rows for increasing power (e.g., 20%, 40%, 60%) and columns for speed (e.g., 10 mm/s, 20 mm/s, 40 mm/s).
- Geometry Checks: Small 5 mm circles or diagonal lines to verify focus and gantry alignment.

Running a LightBurn Cut Test File Safely
Safety is paramount. Clean the bed, secure the material with honeycomb clamps, and ensure active ventilation.
- Diode Lasers: Start with conservative settings (e.g., 20–30% power for 6 mm birch).
- CO2/Fiber Lasers: Use higher speeds and specific power brackets (e.g., 40–50% power for an xTool P2 CO2 laser on acrylic).
Observe the first pass. If the edges melt but don't separate, increase power by 5% or slow the speed by 10%.
Use calipers to measure the kerf width (the material removed by the beam) to adjust your final design offsets.
Free Material Test File Download on CraftSeek
For a streamlined workflow, you can access a variety of high-quality resources via CraftSeek, a dedicated platform for free creative laser files.
By visiting the CraftSeek download center, users can find LightBurn test cards alternatives and material libraries tailored for different machine types and substrates.

These files are professionally designed to include essential diagnostic elements—such as power-speed grids and intricate geometry checks—ensuring you don't have to build your test templates from scratch.
Leveraging these community-vetted files allows you to quickly calibrate your setup, whether you are working with common plywood or specialized materials like powder-coated metals.
Interpreting Results Across Different Lasers
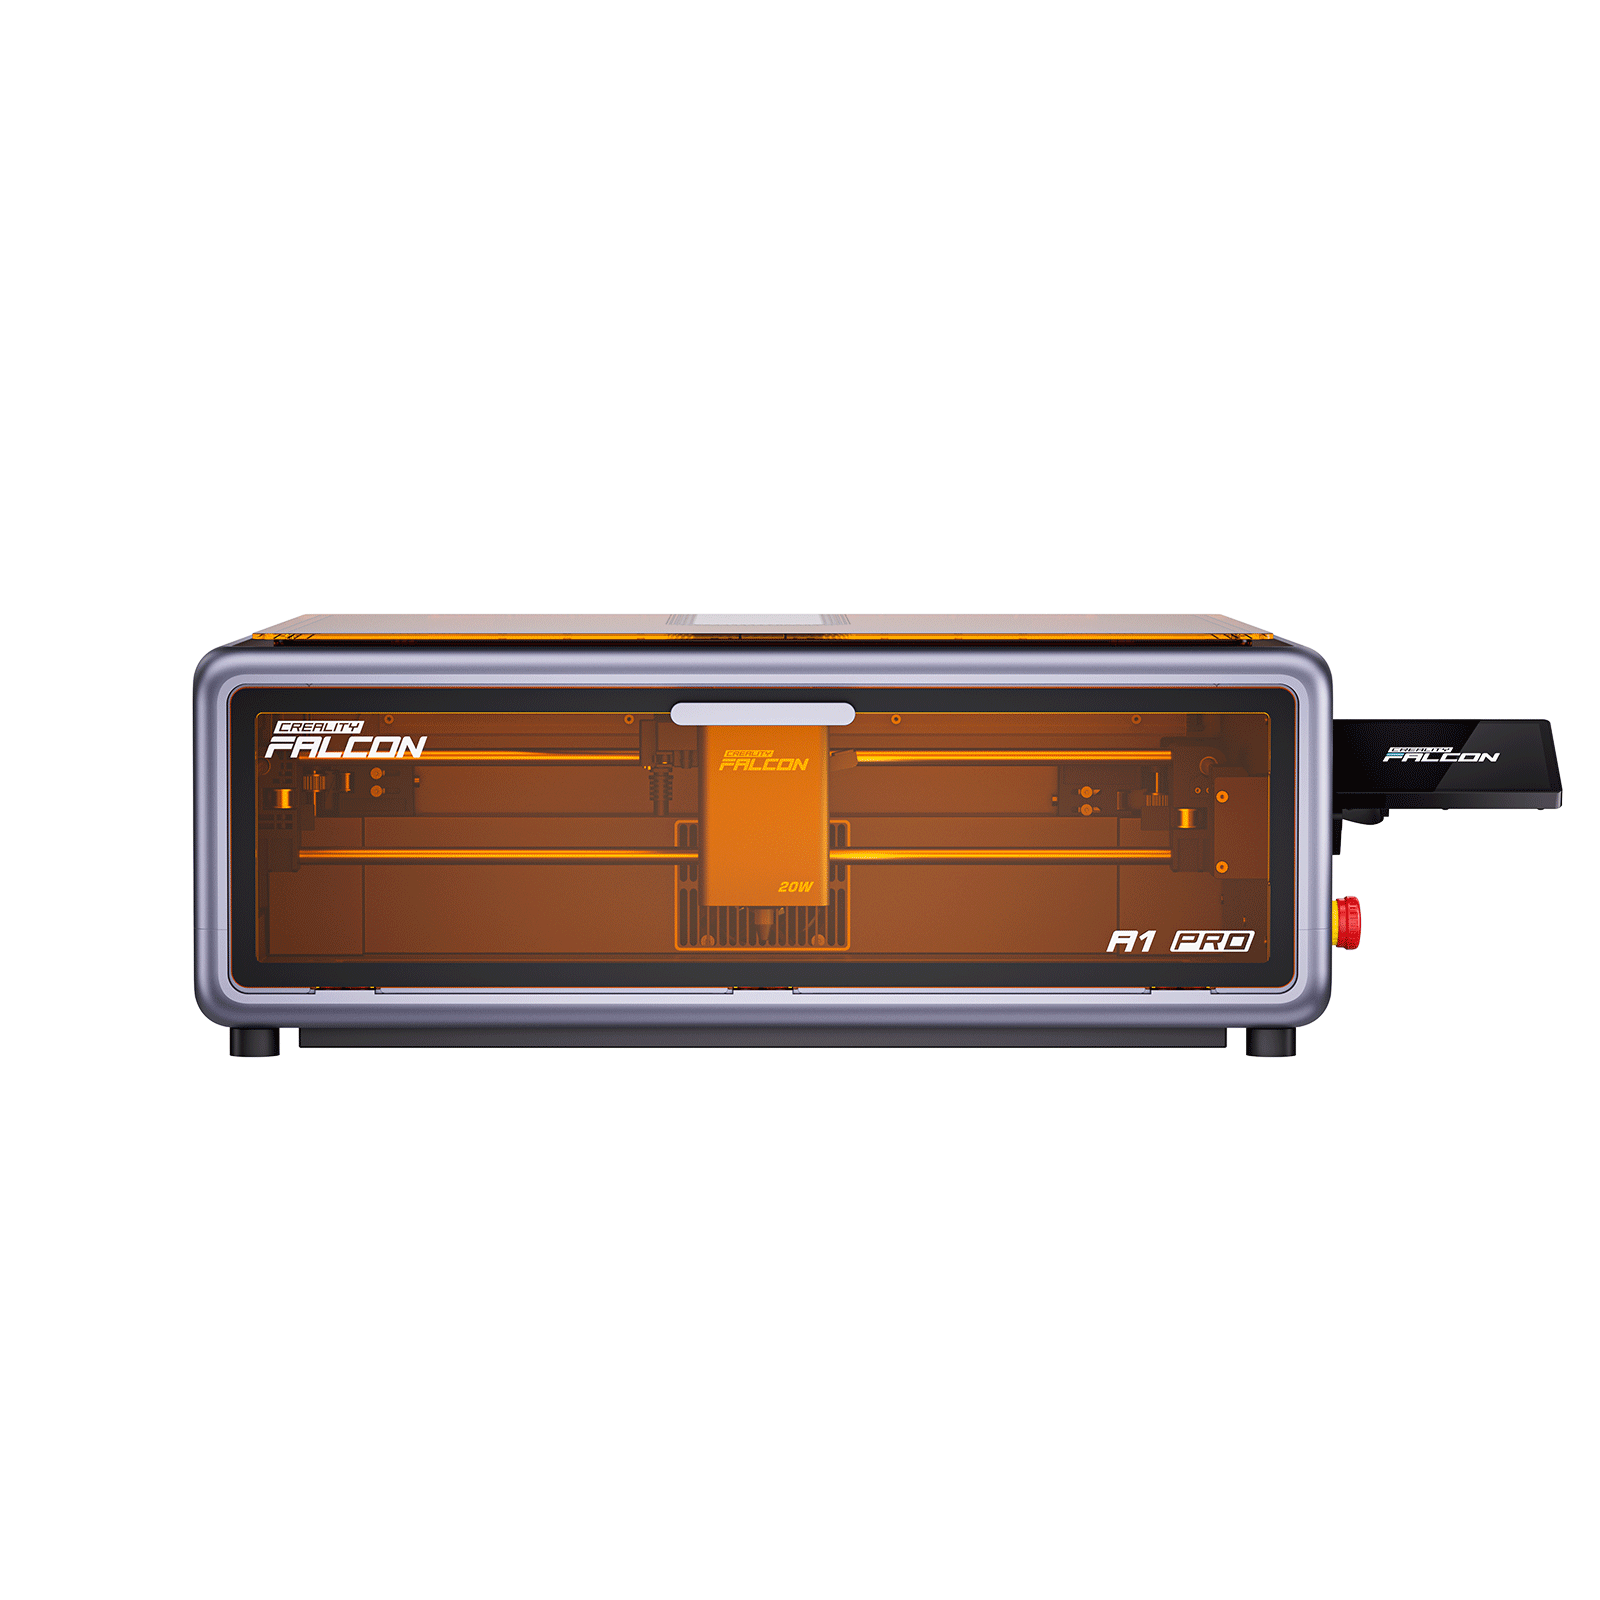
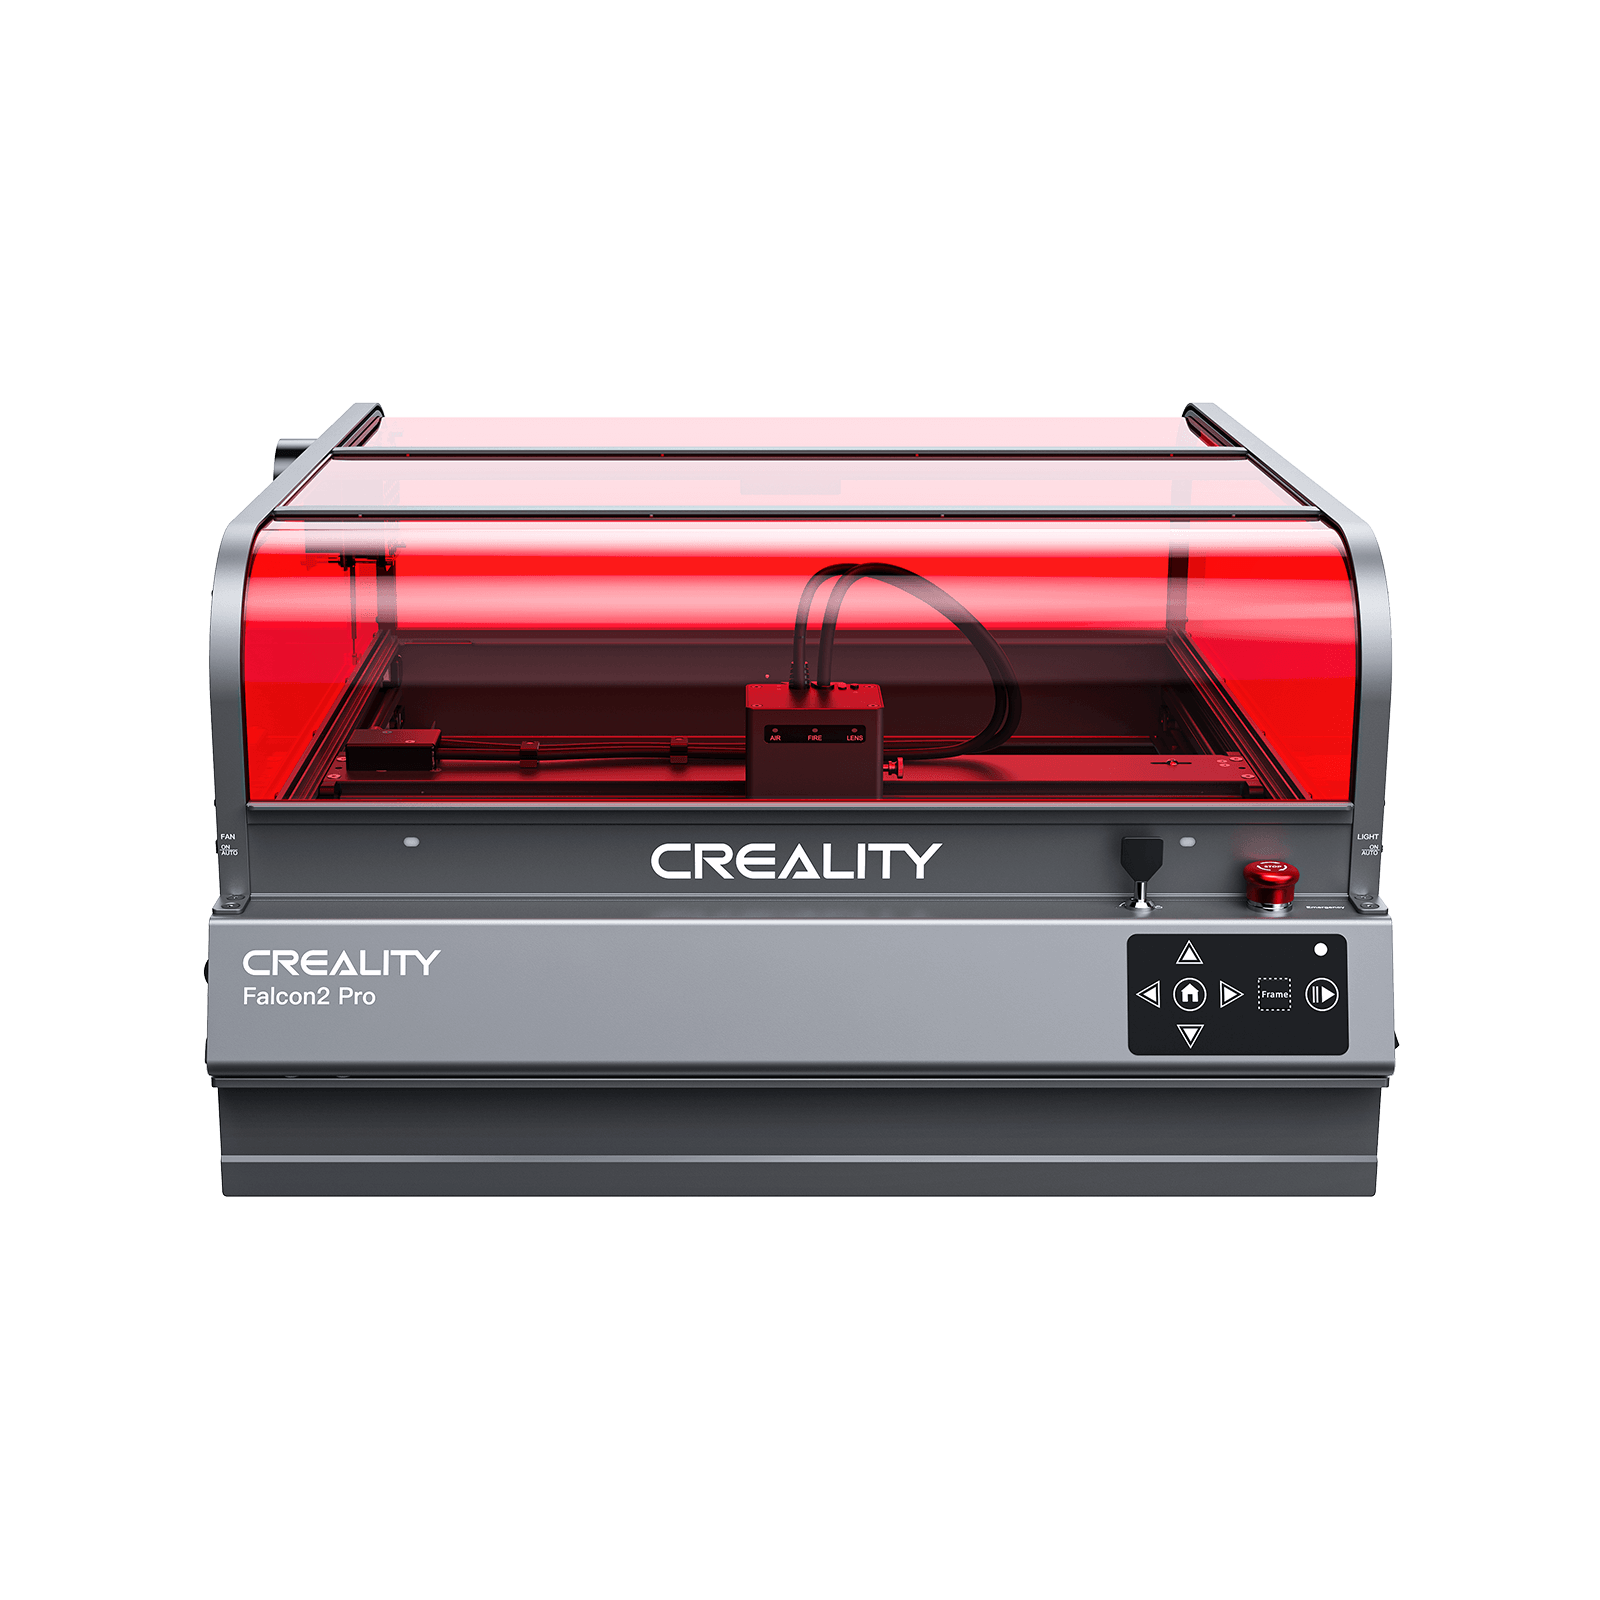
High-power diode lasers like the Creality Falcon A1 Pro behave differently than 5W diode machines.
A setting that cleanly cuts plywood on a high-wattage machine might only scorch it on a lower-power diode.
- Leather: Reacts quickly; use the lowest successful power to avoid charred, smelly edges.
- Acrylic: Thrives at higher speeds (80 mm/s+) to prevent re-melting and achieve a polished edge.
Record these "winning" pairs in your library to ensure consistent depth for personalized gifts or inlay pieces.
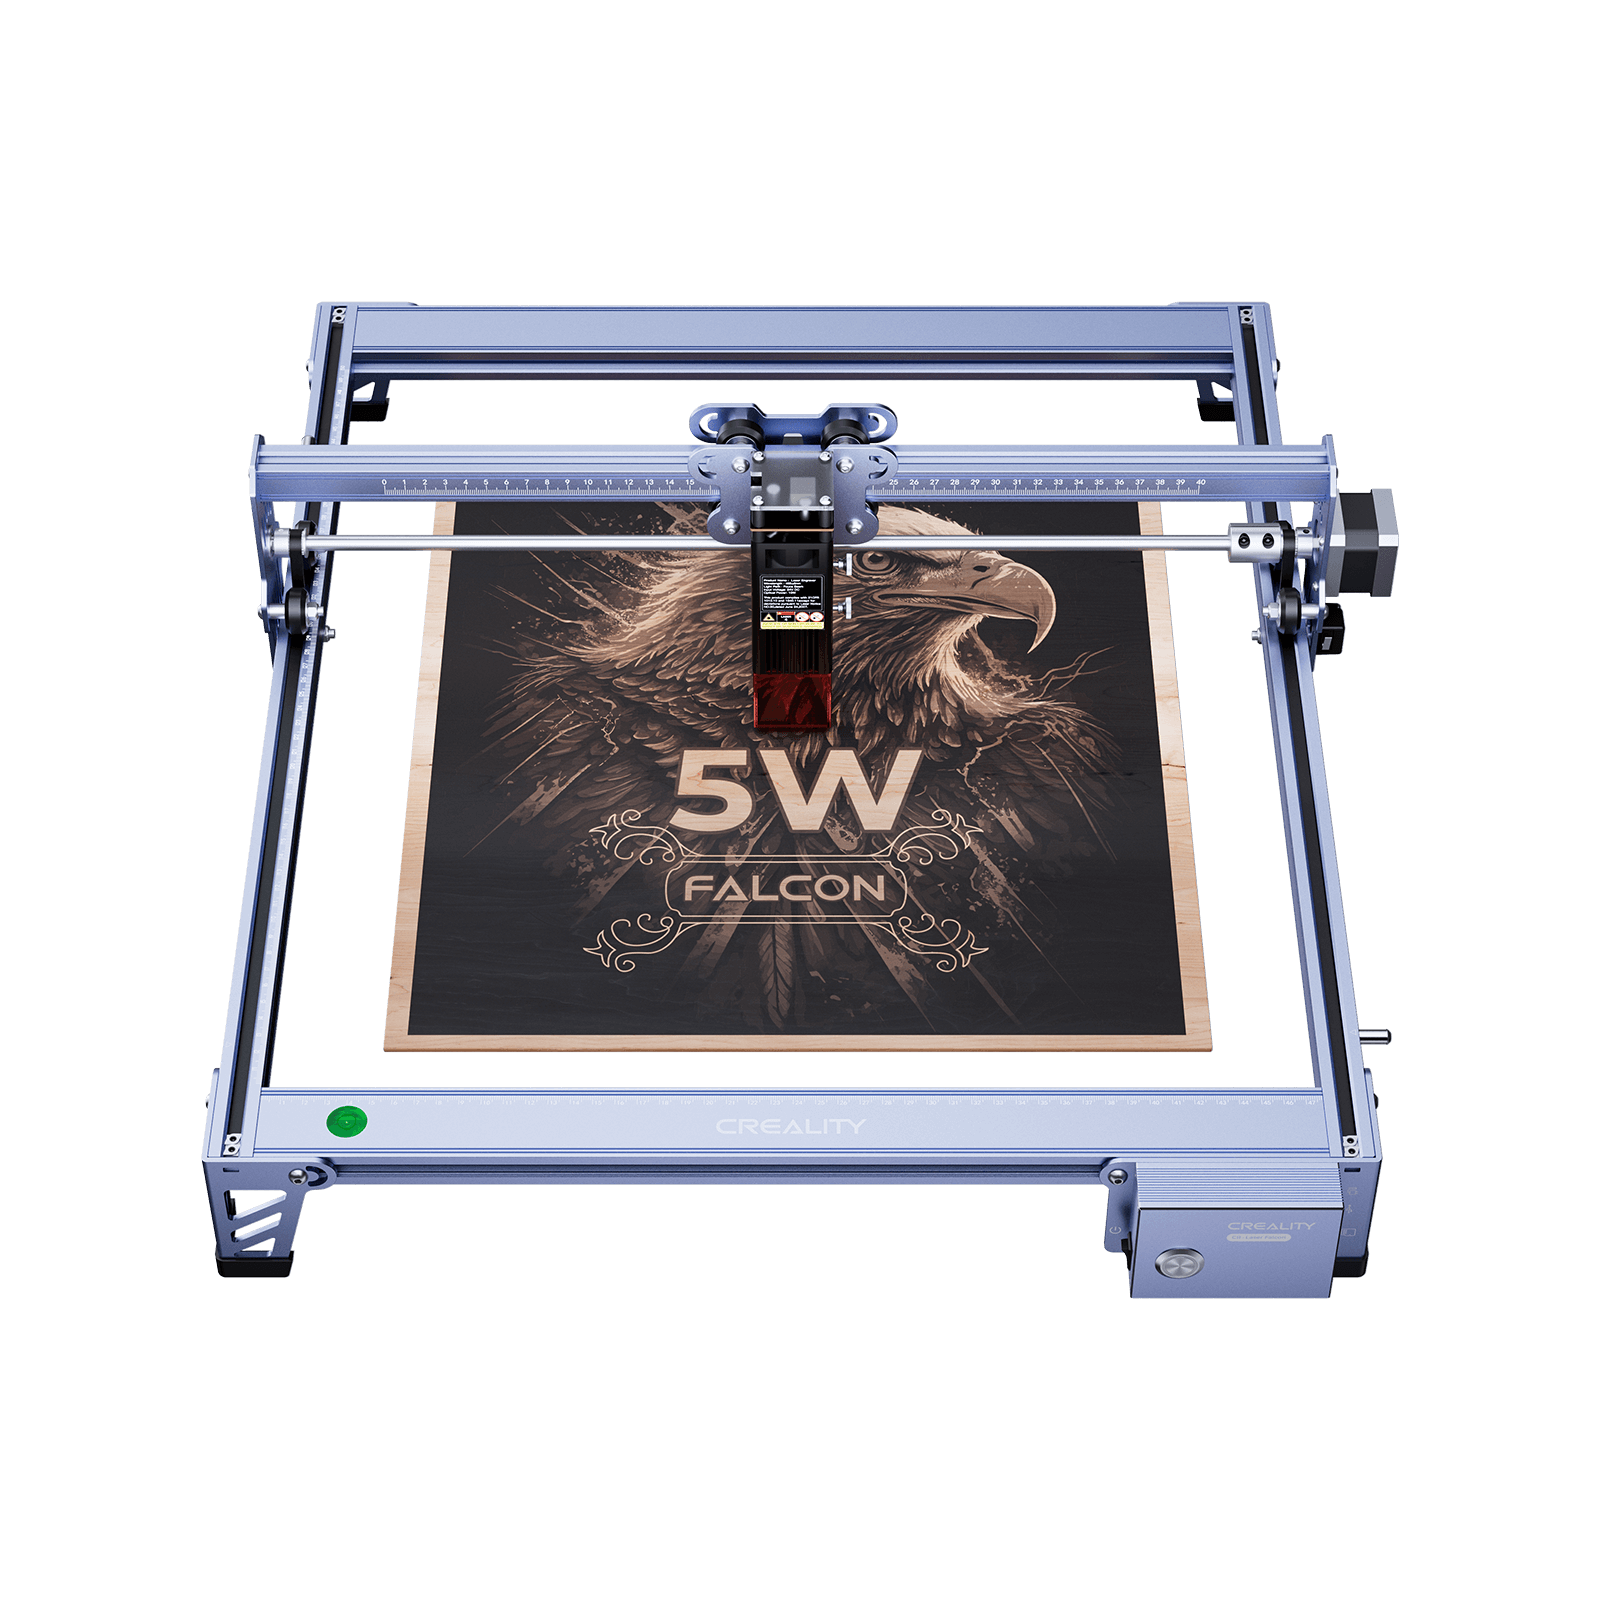
Best Practices for the Creality Falcon Series
The Creality Falcon family benefits from its rigid gantry and motion system.
- Hardwood: Try a raster block at 60% power / 100 mm/s.
- Plywood (1/4"): Try a vector cut at 70% power / 15 mm/s.
- Acrylic (5 mm): Try a softer 40% power pass at 70 mm/s.
Keep a dedicated folder for Falcon-centric templates to jumpstart your workflow whenever new material arrives.
Troubleshooting Common Issues
|
Issue |
Potential Cause |
Solution |
|
Shifted Cuts |
Loose belts or loose gantry |
Tighten hardware and recalibrate origin |
|
Excessive Charring |
Low air assist or high power |
Clean lens, increase air, or increase speed |
|
Incomplete Passes |
Improper focus or dirty mirrors |
Re-check focal height and clean optics |
|
Gaps in Geometry |
Stray nodes in file |
Use LightBurn Preview to find overlapping vectors |
Logging your troubleshooting steps alongside your material tests prevents repeating mistakes and ensures every laser job moves forward with confidence.
Recent News

12 World Cup Laser Engraving Ideas for Fans
Explore world cup laser engraving ideas for fan gifts, tumblers, coasters, signs, and safe soccer-inspired designs makers can...

What Materials Does a Laser Cutter Cut Safely
Find out what materials does a laser cutter cut, which plastics to avoid, and how CO2, diode, and...

7 Best Laser Engravers Under $1000
Quick Answer:The best laser engraver under $1000 should be chosen by total setup cost, not machine price alone.For most...