


How to Laser Engrave Acrylic: A Beginner-Friendly Guide

So you’ve got a laser engraver and a sheet of acrylic—but now what? Whether you're making signs, art, or personalized gifts, engraving acrylic is easier than you might think.
This beginner’s guide covers the basics: what kind of acrylic to use, what settings to try, and how to get that crisp, frosted look everyone loves.
How Laser Engraving on Acrylic Works
Laser engraving on acrylic works by using a focused laser beam to heat and vaporize the surface layer of the material. Here's a quick breakdown:
1. Type of Laser Matters
- CO₂ lasers (~10,600 nm infrared): Best for all types of acrylic—clear, colored, and mirrored.
- Diode lasers (~450 nm blue): Only work on colored acrylic. Clear acrylic does not absorb diode laser light well.
2. Engraving Process
The laser beam is tightly focused on the acrylic surface.
It heats the plastic instantly, causing it to vaporize or melt slightly, forming a frosted or white-etched mark.
Engraving is typically done in multiple fast passes at lower power, unlike cutting.
3. Back vs. Front Engraving
- Front Engraving: Frosted effect on top surface.
- Back Engraving (Mirror Engraving): Design is reversed and engraved from the back side—seen through clear acrylic for a smooth, glossy front.
4. Settings Matter
- Use lower power and higher speed to avoid melting or charring.
- Add air assist to blow away debris and prevent edge burn.
- Focus distance must be precise (especially for fine details).
Laser engraving on acrylic is a precise, heat-based process that creates sharp, frosted designs. For best results, use a CO₂ laser, fine-tune your settings, and consider back-engraving for a premium finish.
Engraving vs. Cutting Acrylic: What's the Difference
When working with acrylic, it’s essential to know the difference between laser engraving and laser cutting; they are not the same!
Laser engraving acrylic removes just the material's surface to create detailed designs, patterns, text, or logos.
It gives that frosted look on clear acrylic or a textured appearance on colored sheets. Engraving is perfect for awards, nameplates, art, and custom décor.
On the other hand, laser cutting uses a more powerful laser to go through the acrylic sheet. This is great for making shapes, signage letters, or product parts with clean edges.
Here’s how you can pick the right method:
- If you want etched designs, go for engraving.
- If you want separate acrylic pieces, cutting is the way to go.
Each method requires different machine settings. Engraving uses low power and higher speed, while cutting uses higher power and slower speed.
Knowing which one you need will save you time, materials, and frustration! Here is the quick comparison table.
|
Feature |
Engraving |
Cutting |
|
Goal |
Surface design/detail |
Full separation through material |
|
Depth |
Shallow (0.1–1 mm) |
Full thickness (3mm, 5mm, etc.) |
|
Laser Settings |
Low power, high speed |
High power, slow speed |
|
Visual Effect |
Frosted, matte look |
Smooth, glossy edges |
|
Ideal Laser Type |
CO₂ or diode (dark acrylic) |
CO₂ preferred; diode for thin, non-transparent |
|
Typical Use |
Logos, labels, art, light panels |
Signs, parts, structures |
Best Types of Acrylic for Laser Engraving: Cast vs. Extruded
Not all acrylic is created equal when it comes to laser engraving. The two main types—cast acrylic and extruded acrylic—perform very differently under the laser.

Cast acrylic is made by pouring liquid acrylic into molds and allowing it to set. It has a more consistent structure and reacts beautifully to laser engraving, producing that signature frosted-white look. It’s perfect for signage, awards, and decorative projects.
Extruded acrylic, on the other hand, is made by pushing acrylic through rollers, making it cheaper and easier to shape or thermoform. However, it doesn’t engrave as cleanly—it tends to melt, bubble, or leave rougher marks.
Here’s a quick comparison:
- Cast Acrylic = Best for engraving, clean frosted lines
- Extruded Acrylic = Budget-friendly, better for cutting than engraving
So, if your project is focused on clean, professional-looking engraving, always reach for cast acrylic. You’ll get better detail, better contrast, and way fewer headaches.
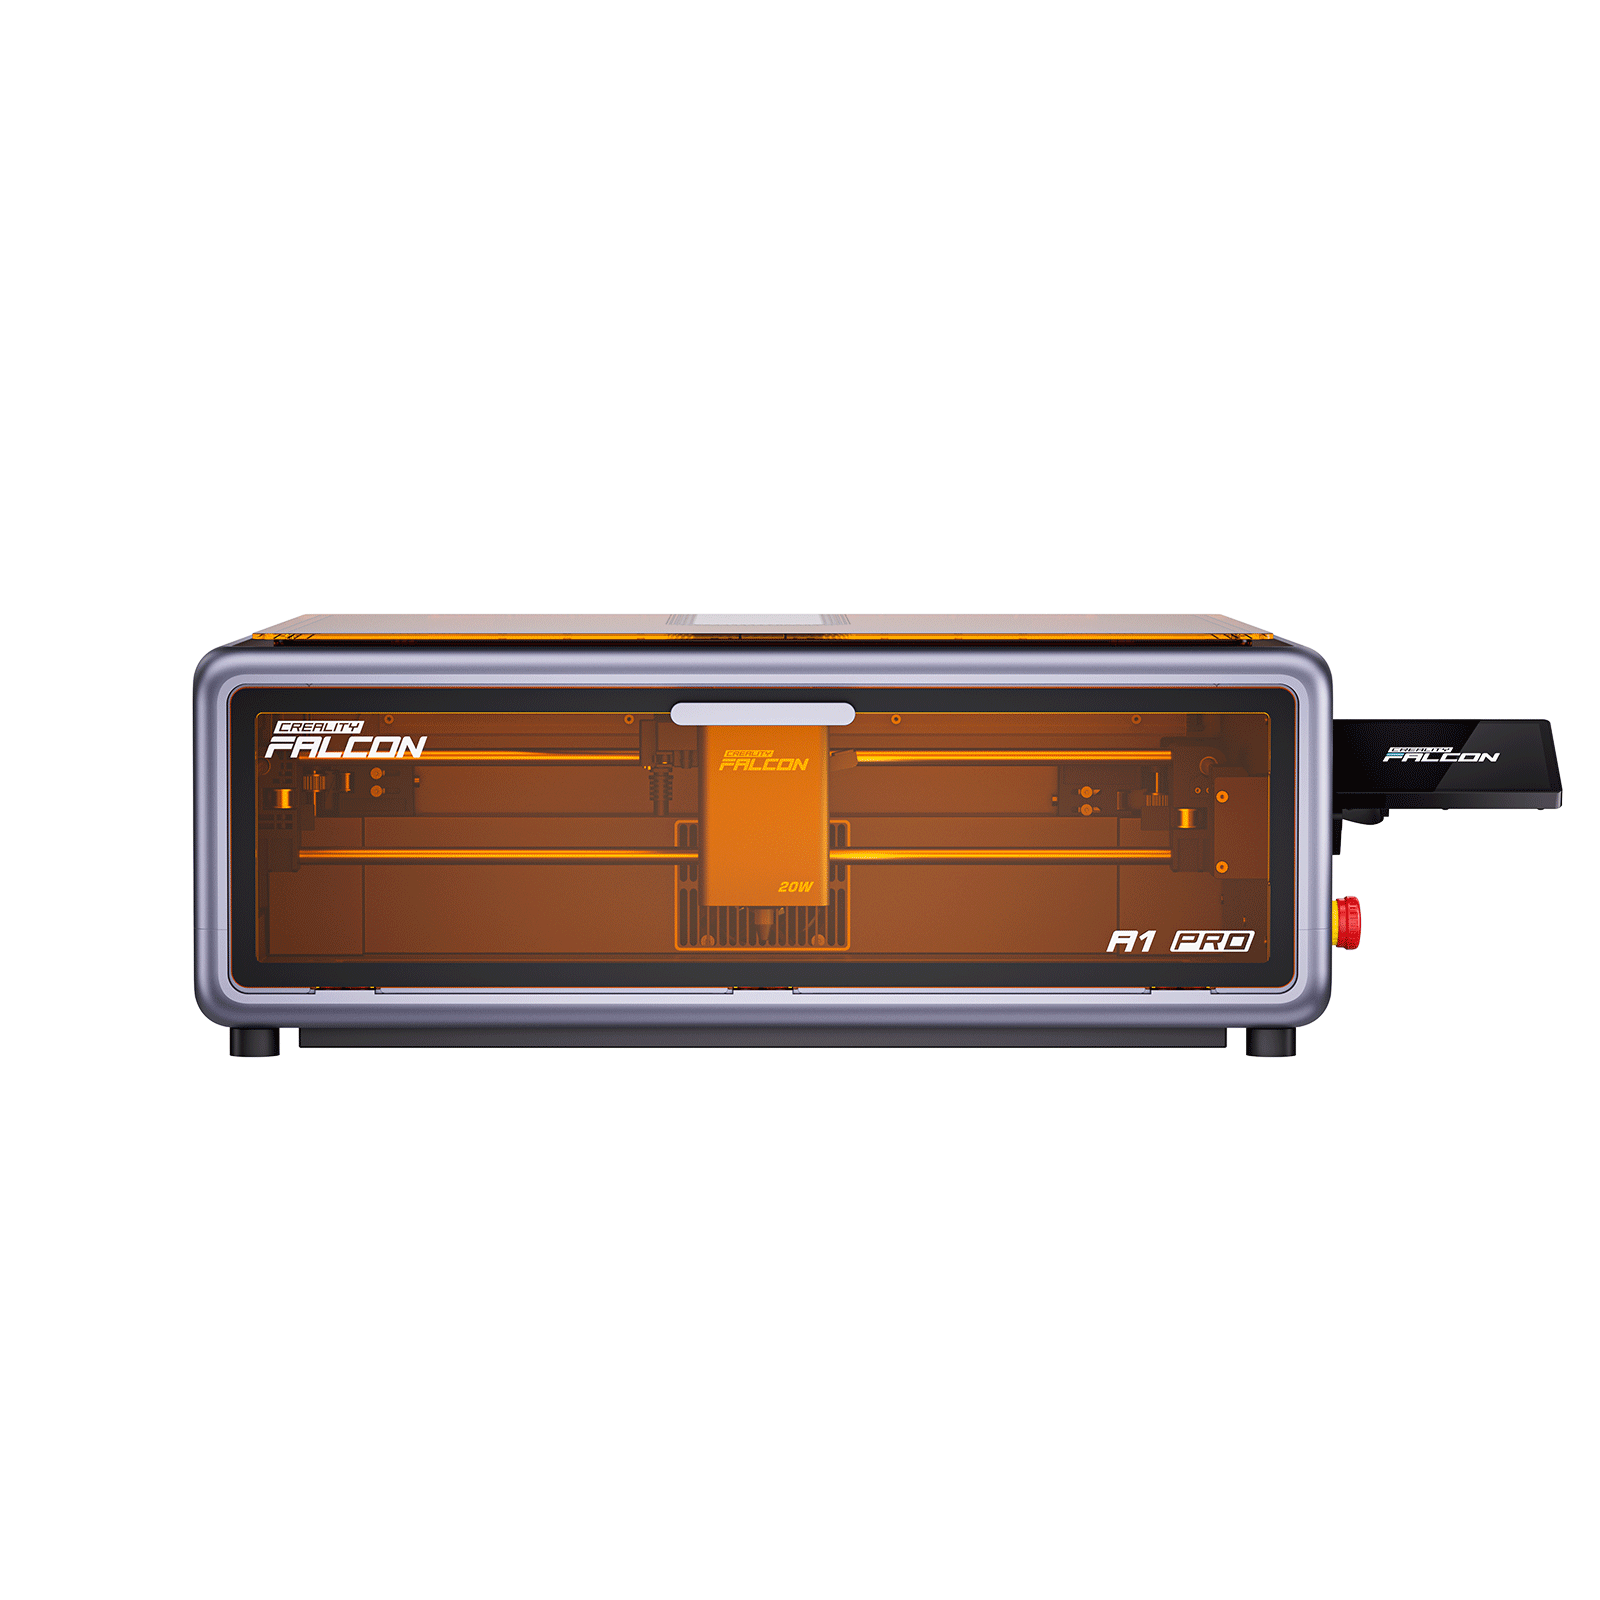
Top 5 Laser Engraving Machines for Acrylic Projects
Choosing the right laser engraving machine for acrylic or perspex is key to achieving clean, professional results. Whether you’re a hobbyist or a small business owner, here are five tried-and-true engraving machines that deliver excellent performance on acrylic surfaces.
1. xTool P2 / P2S (55 W CO₂ Laser)
Price: ~$3,699–$4,499 USD
The xTool P2 is a high-powered desktop CO₂ laser cutter with 55W of native output, a fully enclosed safety-certified frame, dual 16MP positioning cameras, and advanced features like curved surface engraving and passthrough for long materials.

Why Pick It:
- Cuts clear and colored acrylic up to 20 mm in a single pass
- Supports batch production, smart positioning, and LightBurn integration
- Perfect for prosumers and small businesses that need reliable, high-volume acrylic work
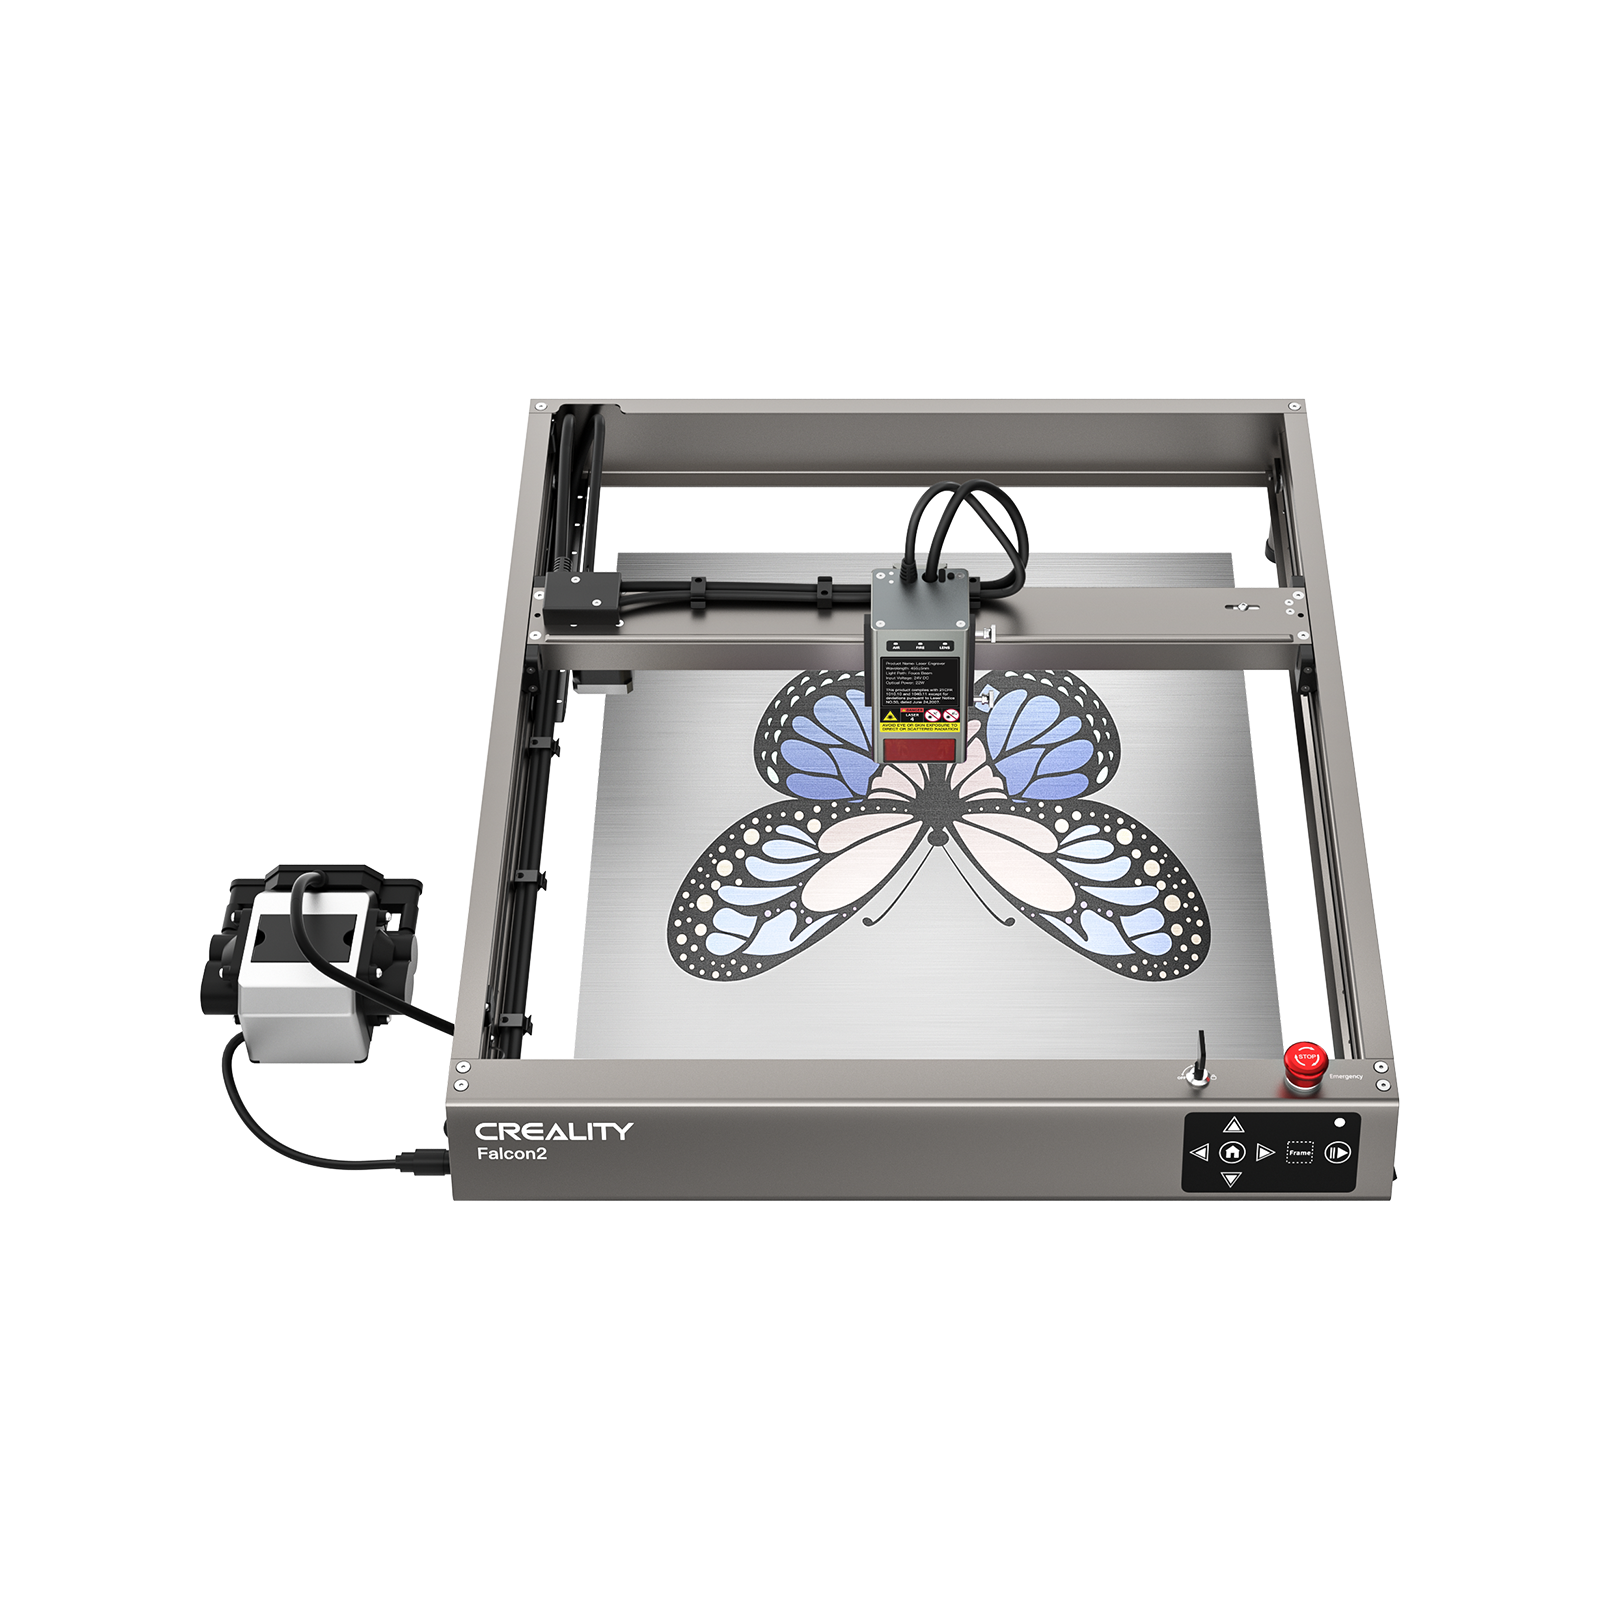
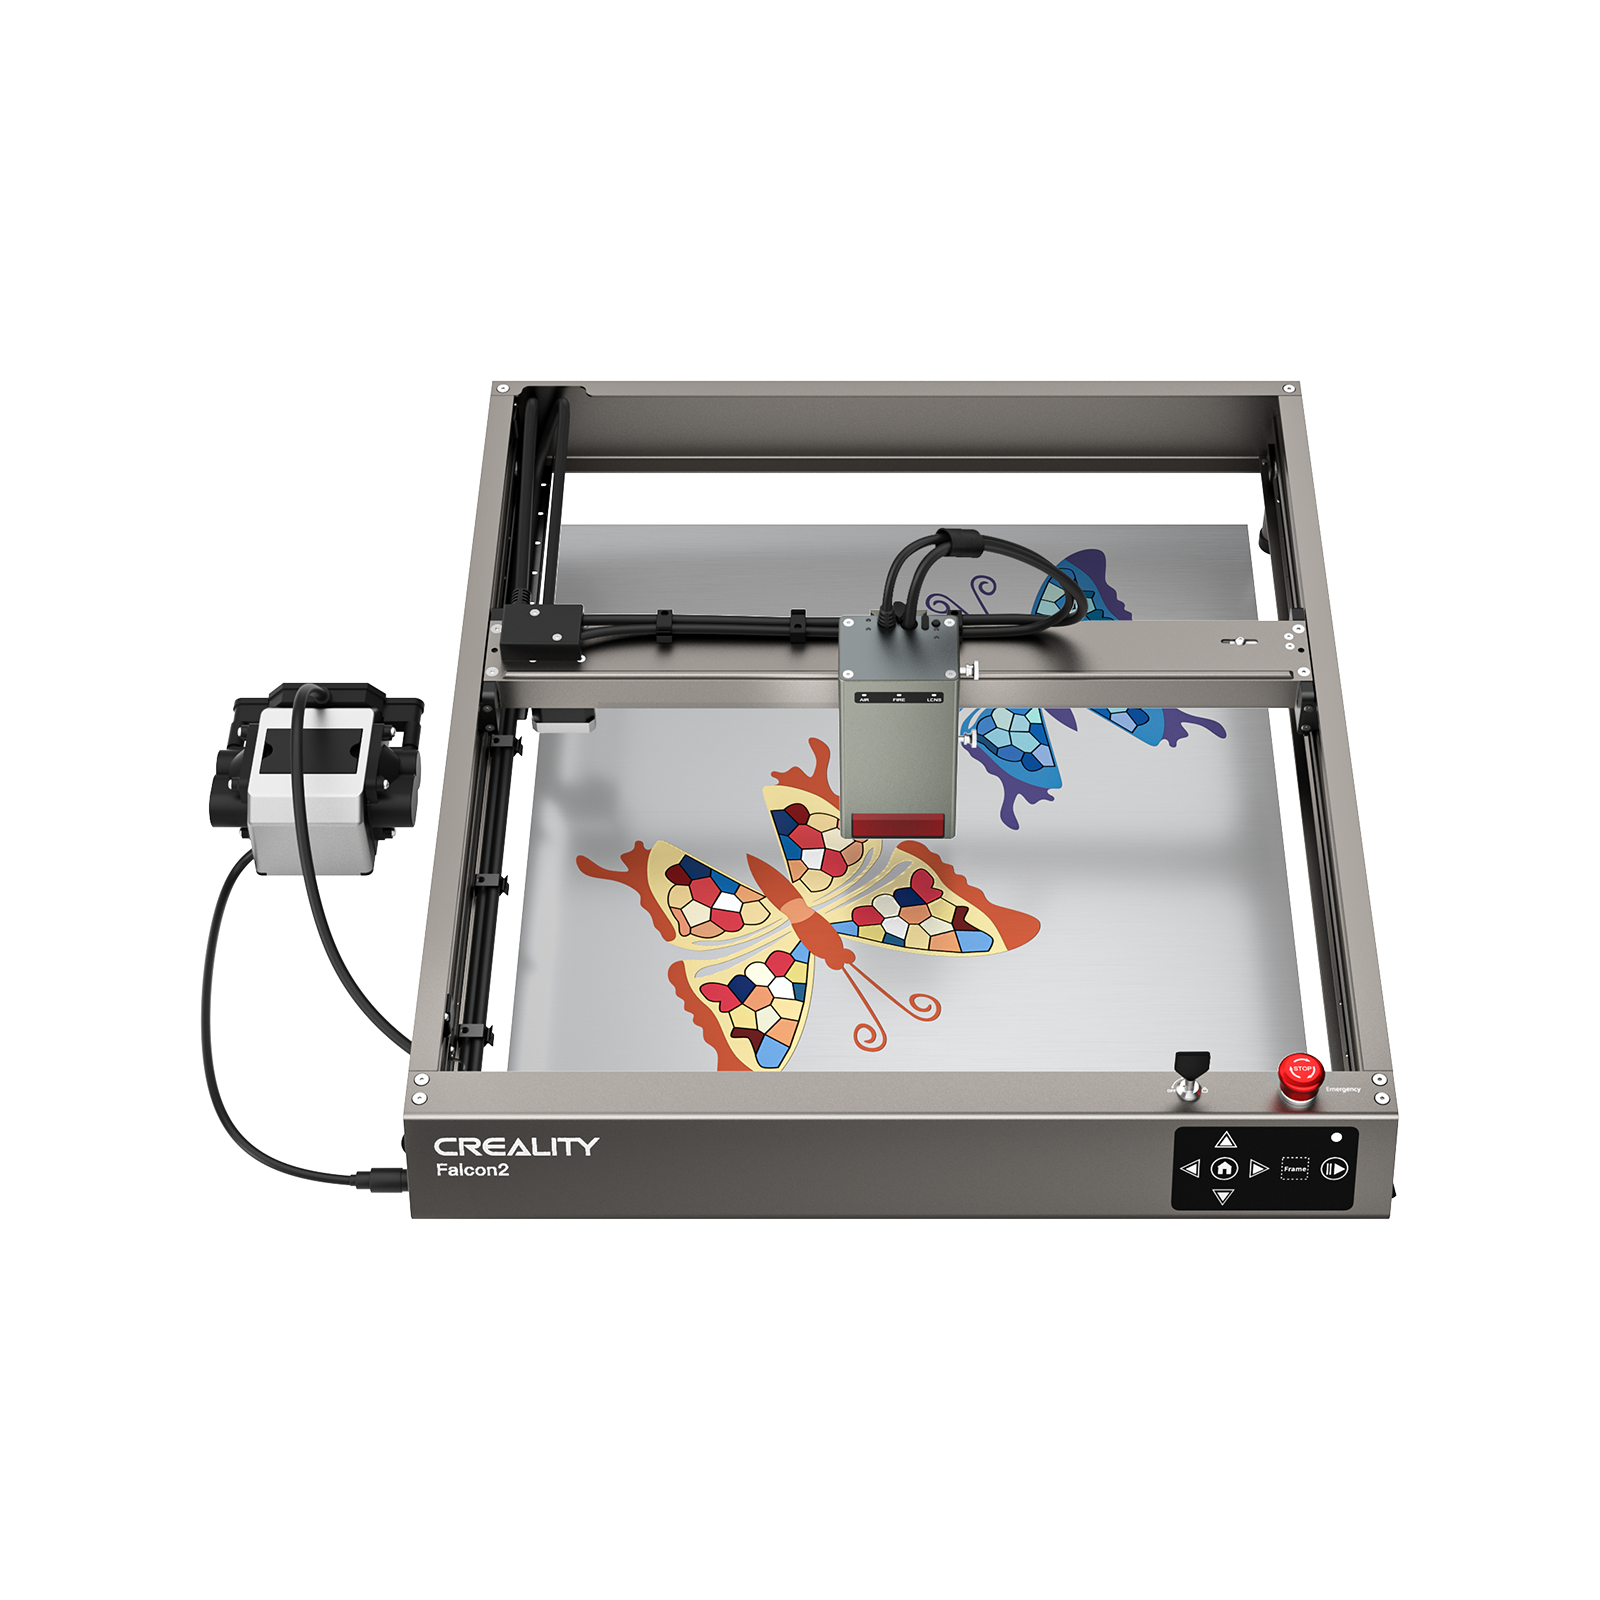
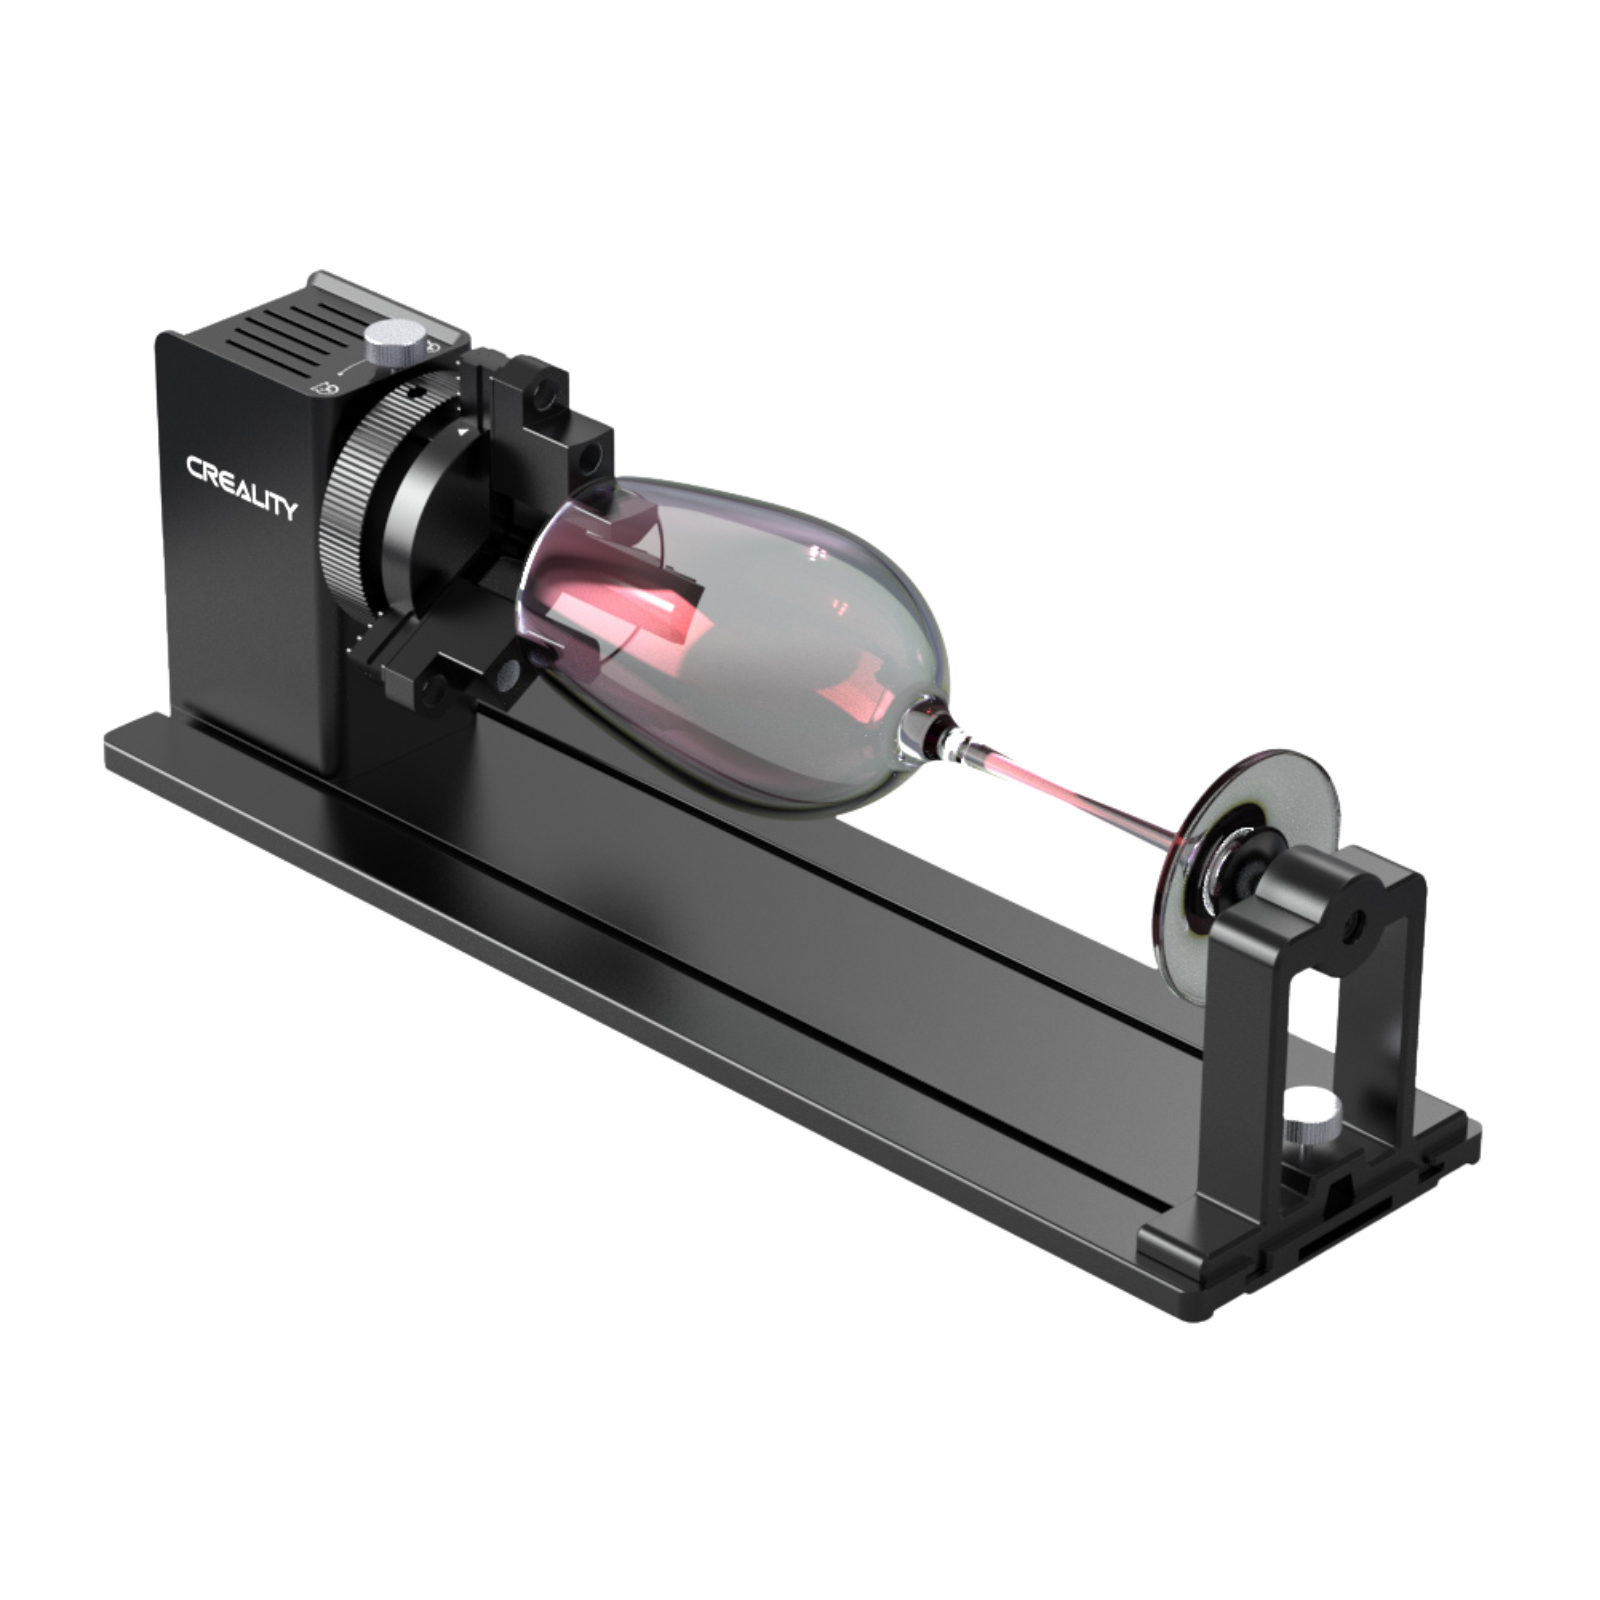
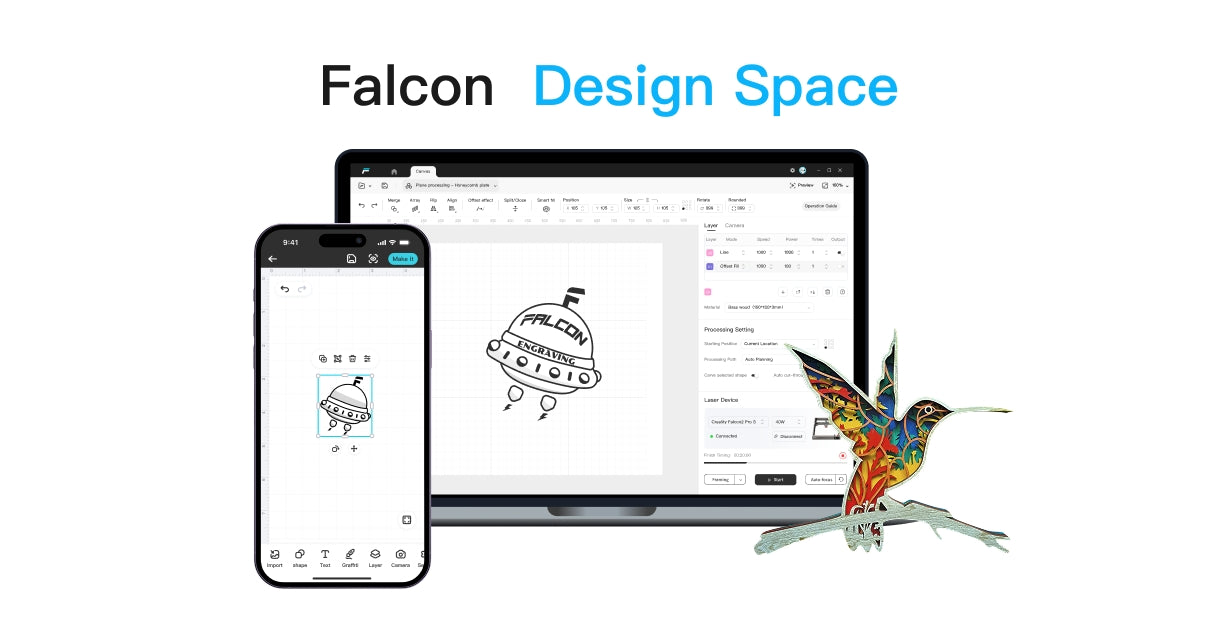
2. Creality Falcon2 Pro (60W Diode Laser)
Price: ~$1,000–$1,200 USD
The Falcon2 Pro is Creality’s flagship diode laser engraver, offering 60W beam-compressed output, air assist, flame detection, and a durable aluminum alloy build. It supports a 400×415 mm working area and reaches speeds up to 25,000 mm/min.

Why Pick It:
- Great for engraving and cutting colored acrylic sheets up to ~8 mm
- Clean edges thanks to built-in air assist and stable frame
- Affordable and expandable—great for hobbyists wanting serious power
Video tutorial of laser engraving acrylic with Falcon2 Pro.
3. Glowforge Pro (45 W CO₂ Laser)
Price: ~$5,000 USD (often lower for refurbished units)
The Glowforge Pro is a sleek, fully enclosed CO₂ laser cutter with onboard camera alignment, cloud-based software, and a passthrough slot for long materials. It’s designed for ease of use and reliability.

Why Pick It:
- Cleanly engraves and cuts acrylic up to 12 mm thick
- Ideal for signs, awards, and creative acrylic panels
- Beginner-friendly setup, great for crafters and small studio environments
4. Atomstack Hurricane (55 W CO₂ Laser)
Price: ~$2,699–$2,899 USD
The Atomstack Hurricane is a compact desktop CO₂ laser with 55W output, autofocus, touchscreen controls, LightBurn compatibility, and support for rotary and conveyor attachments.

Why Pick It:
- Strong acrylic cutting performance—works with clear, mirrored, and colored sheets
- Smooth operation, safety enclosure, and accessory-ready
- Excellent value for creators who want CO₂ power at a mid-range price
5. WeCreat Vision Pro (BeamFocus Diode, ~60W Effective)
Price: ~$3,500–$4,000 USD
The WeCreat Vision Pro uses 45W beam-compressed diode technology boosted by BeamFocus for deeper cuts and tighter engraving precision. It features an HD camera, air assist, liftable enclosure, and large work area.

Why Pick It:
- Cuts colored acrylic up to 20–25 mm thick and engraves with fine detail
- Unique design blends CO₂-like cutting depth with diode flexibility
- Ideal for prosumers or creators needing power, control, and versatility
Troubleshooting Common Acrylic Laser Engraving Issues
Here’s a clear and practical guide for Troubleshooting Common Acrylic Laser Engraving Issues, ideal for both beginners and experienced users:
1. Cloudy or Burnt Edges
Cause: Too much heat buildup from slow speed or excessive power
Fix:
- Increase engraving speed
- Reduce laser power
- Always use air assist to cool the engraving zone
- Try multiple light passes instead of one deep pass
2. No Mark Appearing (Especially on Clear Acrylic)
Cause: Clear acrylic doesn't absorb diode laser light (~450 nm)
Fix:
- Use CO₂ laser for clear or transparent acrylic
- If using a diode laser, switch to black or colored acrylic
- Or paint/coat the surface with black marker or tape before engraving
3. Cracks or Warping
Cause: Heat stress from overlapping lines or long exposure
Fix:
- Avoid overlapping vector paths
- Use lower power and higher speed
- Let material cool between passes
- Ensure proper focus distance (typically 2–3 mm for diode lasers)
4. Blurry or Uneven Engraving
Cause: Incorrect focus, loose belts, or uneven surface
Fix:
- Recalibrate laser focus height
- Check if your material is flat and level
- Tighten belts or rails on your machine
- Use focus gauge or autofocus feature if available
5. Engraving Looks Too Light or Shallow
Cause: Power/speed settings too weak
Fix:
- Increase laser power
- Decrease speed slightly
- Run a second pass for deeper contrast
- Use cast acrylic for better frosted engraving effect
6. Sticky Residue or Debris
Cause: Vaporized acrylic re-settles on surface
Fix:
- Use air assist or external exhaust fan
- Clean with isopropyl alcohol and microfiber cloth
- Apply masking tape before engraving and peel after
7. Pro Tips for Prevention
- Use cast acrylic for best engraving quality
- Always test on scrap before final jobs
- Keep lens and mirrors clean
- Maintain consistent focus and airflow
- Use LightBurn material test grids to find ideal settings
Before You Go
Laser engraving acrylic can be incredibly rewarding once you understand the basics. Whether designing signage, making custom gifts, or experimenting with perspex engraving, the right machine and materials make all the difference.
Stick to cast acrylic for cleaner results, adjust your settings based on your design, and always test before the final run.
If you are looking for a solid laser engraver to get started or upgrade your current setup, the CrealityFalcon is a great choice, powerful, user-friendly, and perfect for acrylic projects.


