


3D Laser Etching: A Comprehensive Guide

3D laser etching is often described as a single technique, but in practice, it covers two very different processes.
Depending on where the laser interacts with the material, 3D laser etching can either create depth on the surface or form a three-dimensional image inside transparent materials.
Understanding this distinction is essential when choosing materials, software, and laser engraver.
In this guide, we’ll break down surface 3D laser etching and internal 3D laser etching, explain how each method works, and walk through the key requirements for achieving reliable 3D results with the right machine and workflow.
The Two Types of 3D Laser Etching: Surface vs Internal
3D laser etching falls into two categories: surface etching, which creates depth on the material’s surface, and internal etching, which forms 3D images inside transparent materials without altering the surface.
1. Surface 3D Laser Etching
Surface 3D Laser Etching uses a laser to create depth and texture on the surface of a material by engraving at different depths.
In simple terms:
- The laser works only on the surface
- Deeper and shallower engraving creates a 3D, relief-like effect
- The design has visible and tactile depth
It’s commonly used on wood, leather, and acrylic, and looks similar to a shallow relief carving rather than a true internal 3D.

2. Internal 3D Laser Etching
Internal 3D laser etching works by focusing laser energy at precise points inside a transparent material, rather than on its surface.
In simple terms:
- The laser is focused inside the material, not on the surface
- The surface stays smooth and untouched
- Tiny points inside the material form a 3D image suspended within
It’s most commonly used with glass and crystal, such as 3D crystal awards and keepsakes.

How to Achieve Surface 3D Laser Etching
Surface 3D laser etching is achieved by controlling engraving depth on the material’s surface.
To do this successfully, you need the right material, machine setup, and software workflow working together.
1. Material: Choose Materials That Respond Well to Depth
Not all materials show depth clearly. The best materials for surface 3D laser etching are those that burn, vaporize, or change color gradually.
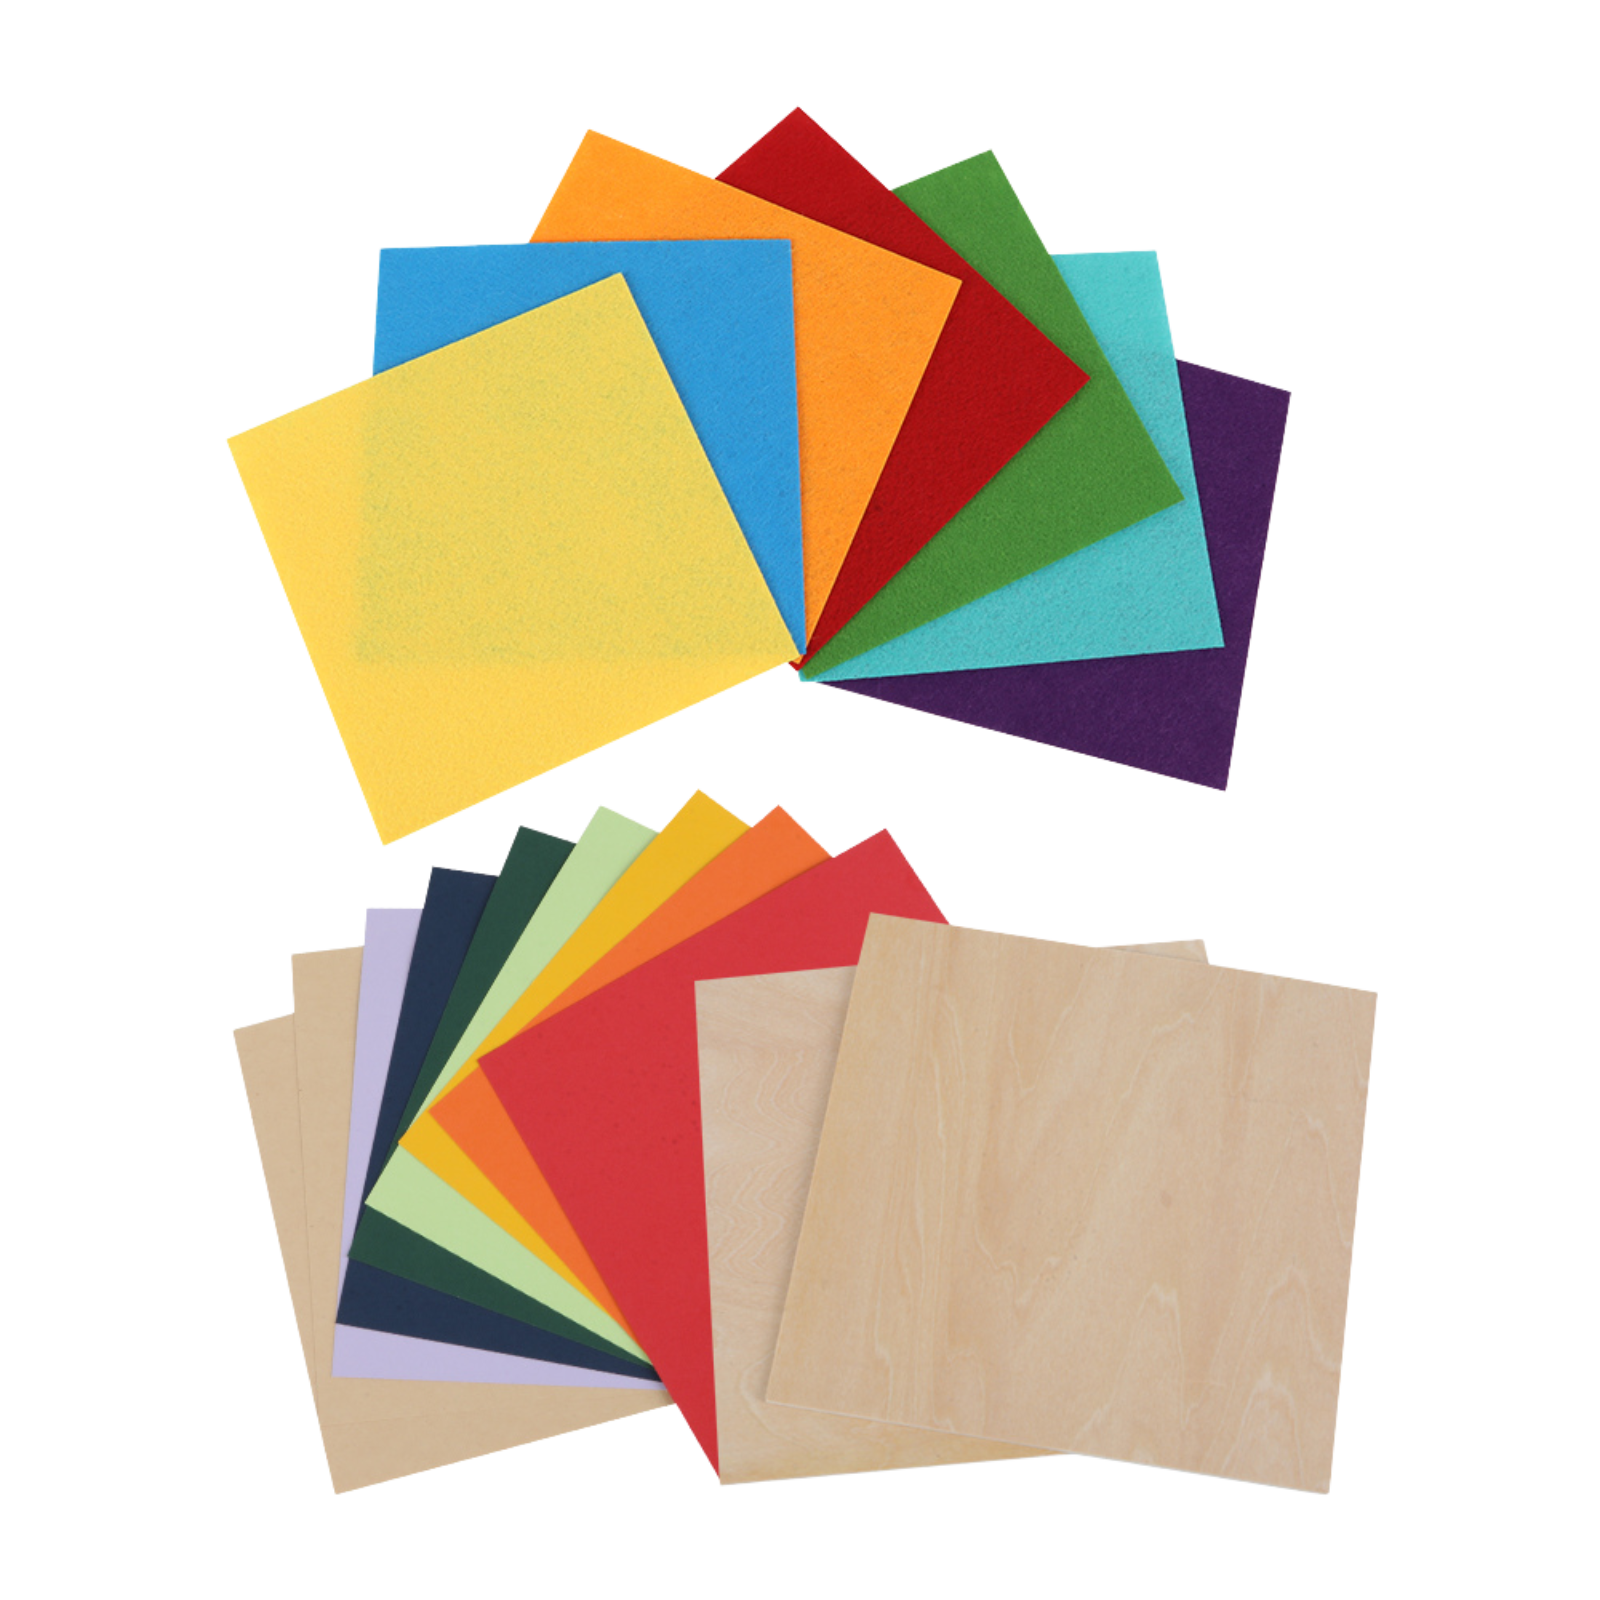
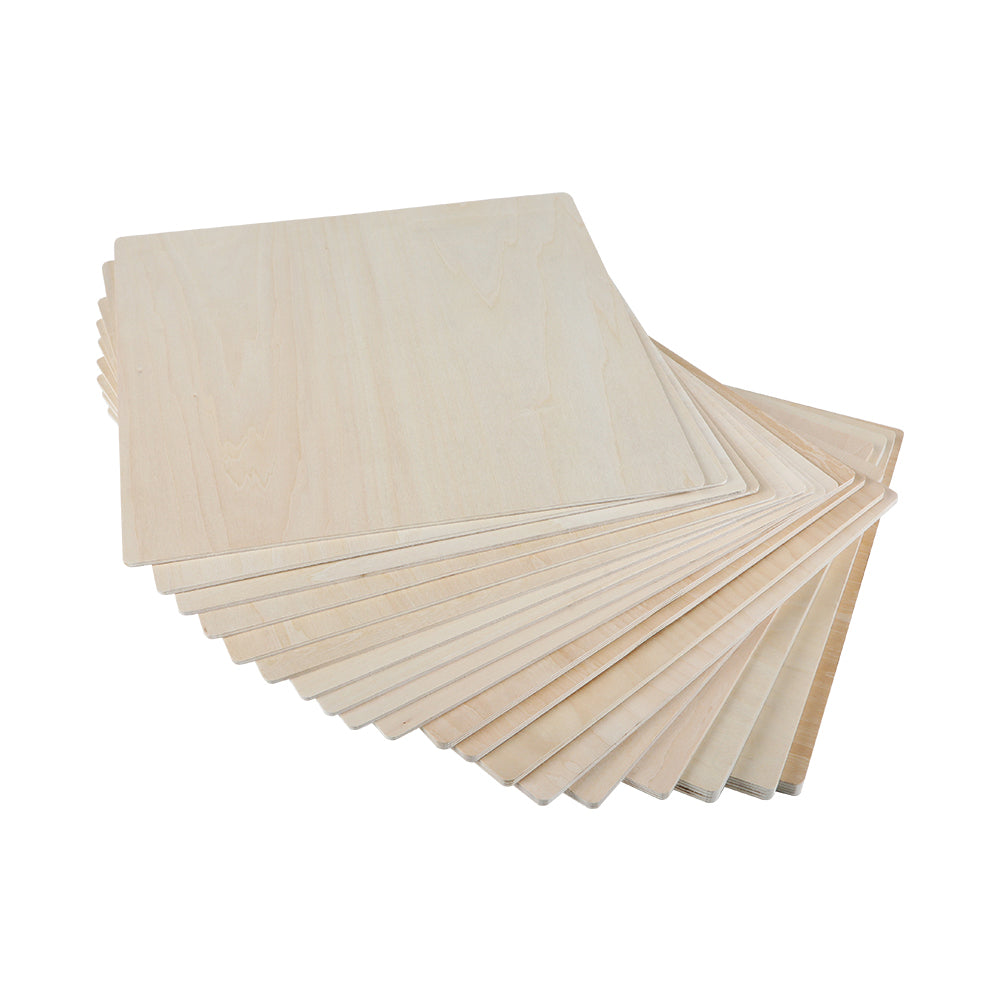
Recommended materials:
- Wood (birch plywood, basswood, maple)
- Leather
- Acrylic (especially cast acrylic)
- Coated or anodized metals (for shallow relief effects)
Why material matters:
- Softer, consistent materials allow smoother depth transitions
- Strong grain variation or uneven density can distort 3D effects
- Highly reflective bare metals are not ideal without special coatings or high-power fiber lasers
Good surface 3D results depend more on material consistency than on hardness.
2. Laser Engraver Configuration: Control Depth with Power, Speed, and Passes
Surface 3D laser etching does not rely on one single engraving pass.
Key machine settings include:
- Laser Power: Higher power removes more material → deeper engraving
- Engraving Speed: Slower speed increases laser energy per area → more depth
- Multiple Passes: Repeating passes on the same area builds depth gradually and cleanly
- Focus Control (Optional): Slight focus offsets can help control engraving width and texture
Typical approach:
- Shallow areas → lower power / faster speed
- Deeper areas → higher power / slower speed / more passes
Depth is created by energy control, not by moving the Z-axis like CNC.
3. Software: Use Grayscale or Layer-Based Control
Software is what translates “3D” into laser instructions.
Common software methods:
Grayscale engraving
- Lighter areas = shallow engraving
- Darker areas = deeper engraving
Layer-based engraving: Different layers use different power/speed settings
Multiple-pass strategies: Software repeats engraving automatically for deeper regions
Popular software tools:
- LightBurn (most common for diode and CO₂ lasers)
- LaserGRBL (basic grayscale support)
- CAD/CAM + laser workflows (advanced users)
Best practice:
- Always test grayscale depth on scrap material
- Adjust contrast and gamma before final engraving
Software doesn’t create depth physically—it tells the laser how much energy to apply where.
How to Achieve Internal 3D Laser Etching
Internal 3D laser etching is achieved by creating controlled micro-fractures inside transparent materials using a precisely focused laser.
Unlike surface engraving, the laser never touches the surface.
1. Material: Use Optically Clear Transparent Materials
Internal 3D laser etching only works with transparent materials that allow the laser beam to pass through without scattering.
Suitable materials include:
- Optical crystal
- High-clarity glass
- Laser-grade crystal blocks
Material requirements:
- High transparency
- Low internal impurities
- Uniform optical density
Any bubbles, color tint, or internal stress will distort the 3D image.
2. Laser System: High-Precision Pulsed Laser with Z-Axis Control
Internal 3D etching requires a specialized laser system, not standard surface engravers.
Key machine requirements:
- Pulsed laser (nanosecond or picosecond pulses)
- High peak energy focused at a single point
- Accurate Z-axis positioning for depth control
- High-quality focusing optics
Why this matters:
- The laser must deliver enough energy only at the focal point
- Energy outside the focal point must stay below the damage threshold
- This ensures the surface remains completely smooth
3. Software: Convert 3D Models into Internal Point Data
The software does not engrave lines or shapes—it controls points in 3D space.
Software process:
- A 3D model is converted into a 3D point cloud
- Each point contains X, Y, and Z coordinates
- The system fires a laser pulse at each coordinate
Result:
- One pulse = one internal micro-dot
- Thousands of dots = a full 3D image
4. Laser Focusing and Point-by-Point Etching
How the engraving happens:
- The laser focuses at a specific depth inside the material
- A short pulse creates a tiny internal fracture
- The system moves to the next point
- The process repeats layer by layer along the Z-axis
The “3D” effect comes from the precise spatial placement of dots, not from depth carving.
5. Quality Control and Density Adjustment
Final image quality depends on:
- Dot spacing
- Layer spacing
Pulse energy:
- Too dense → cloudy image
- Too sparse → weak or incomplete shape
Fine-tuning these parameters is essential for sharp 3D results.
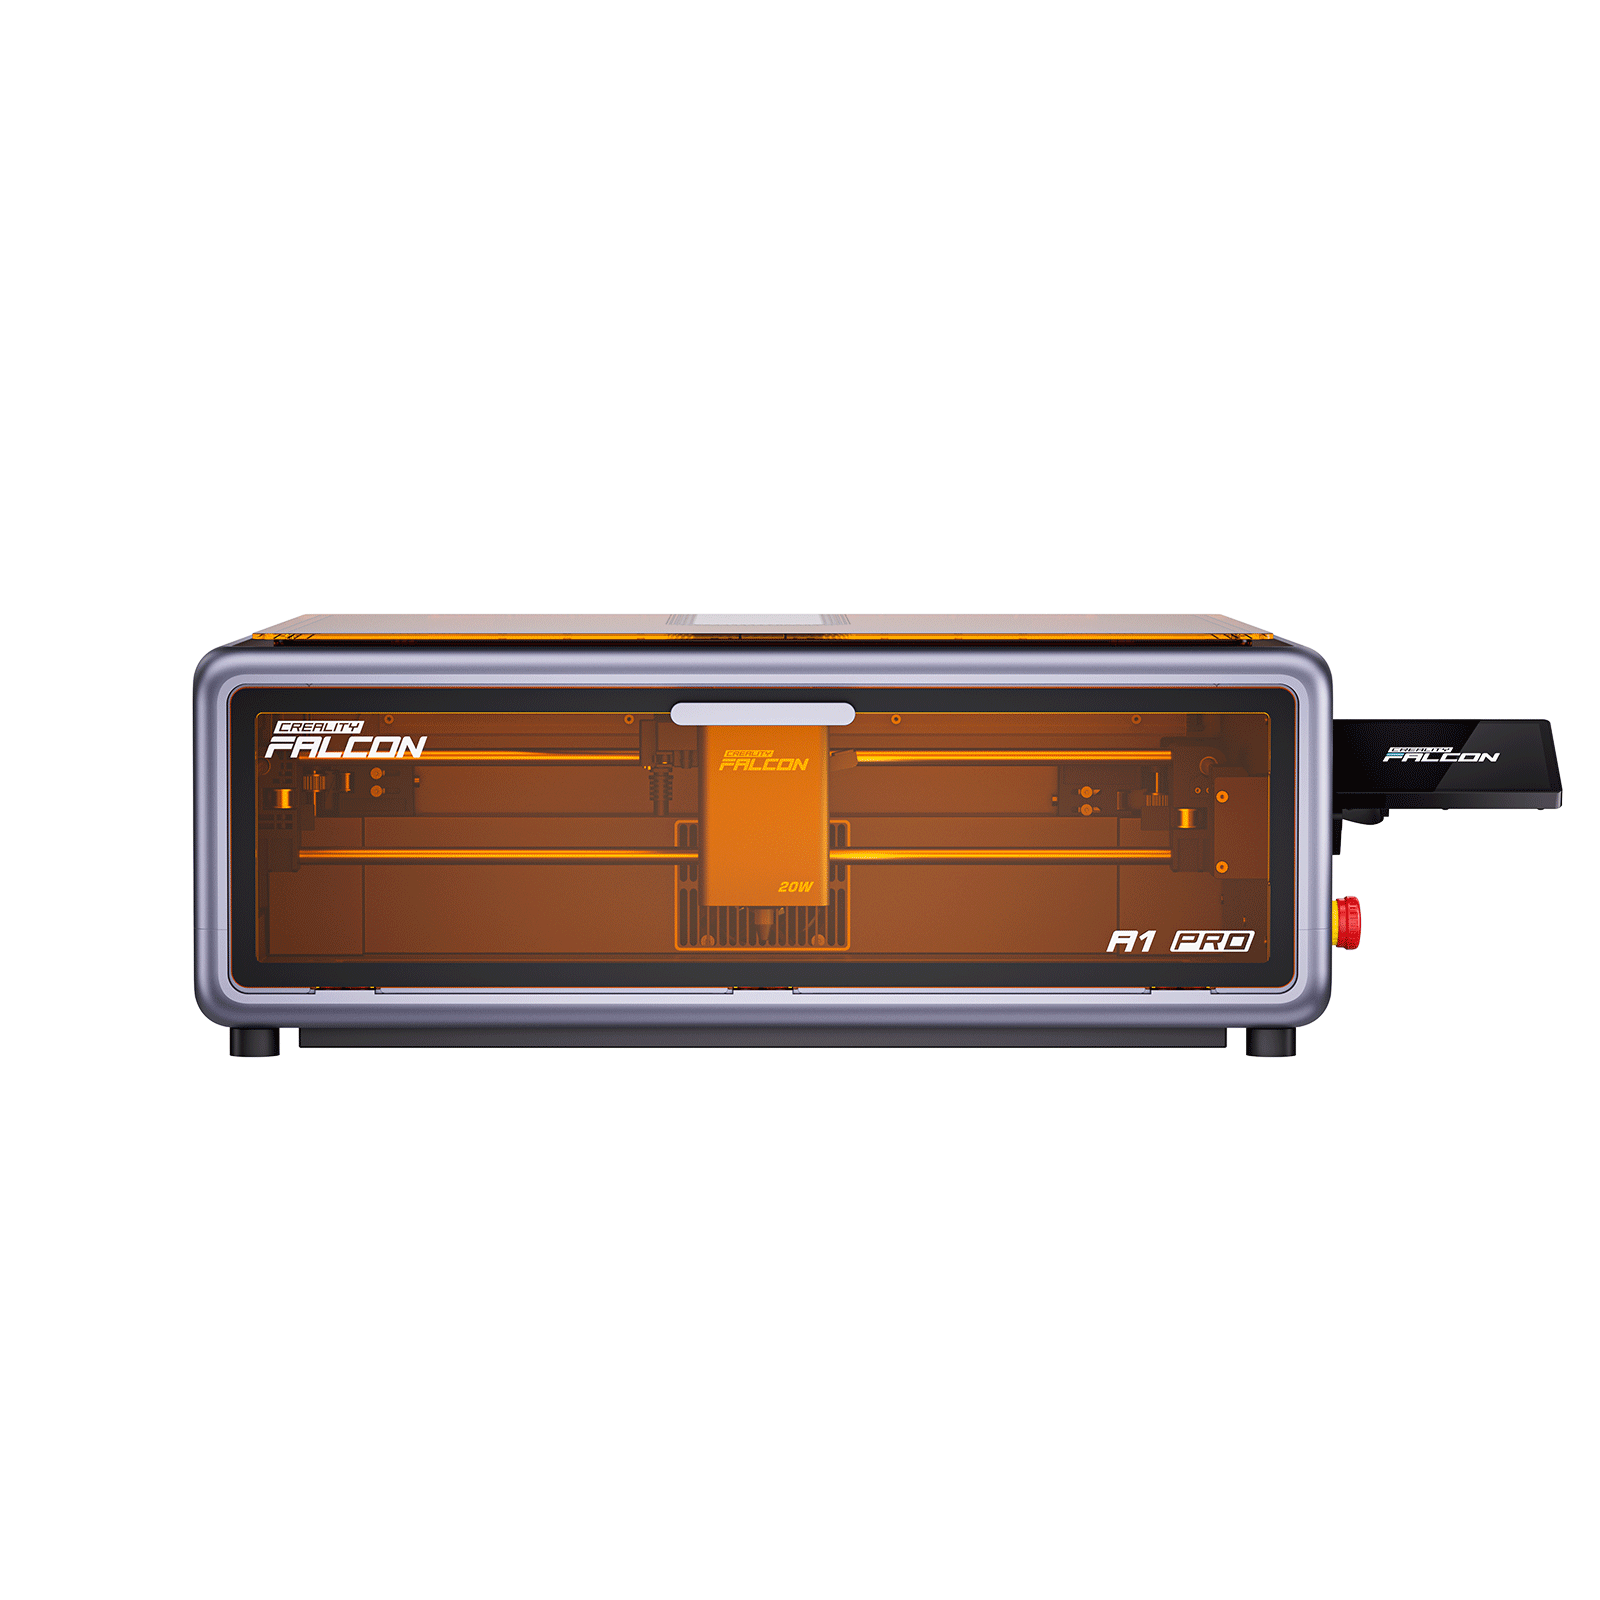
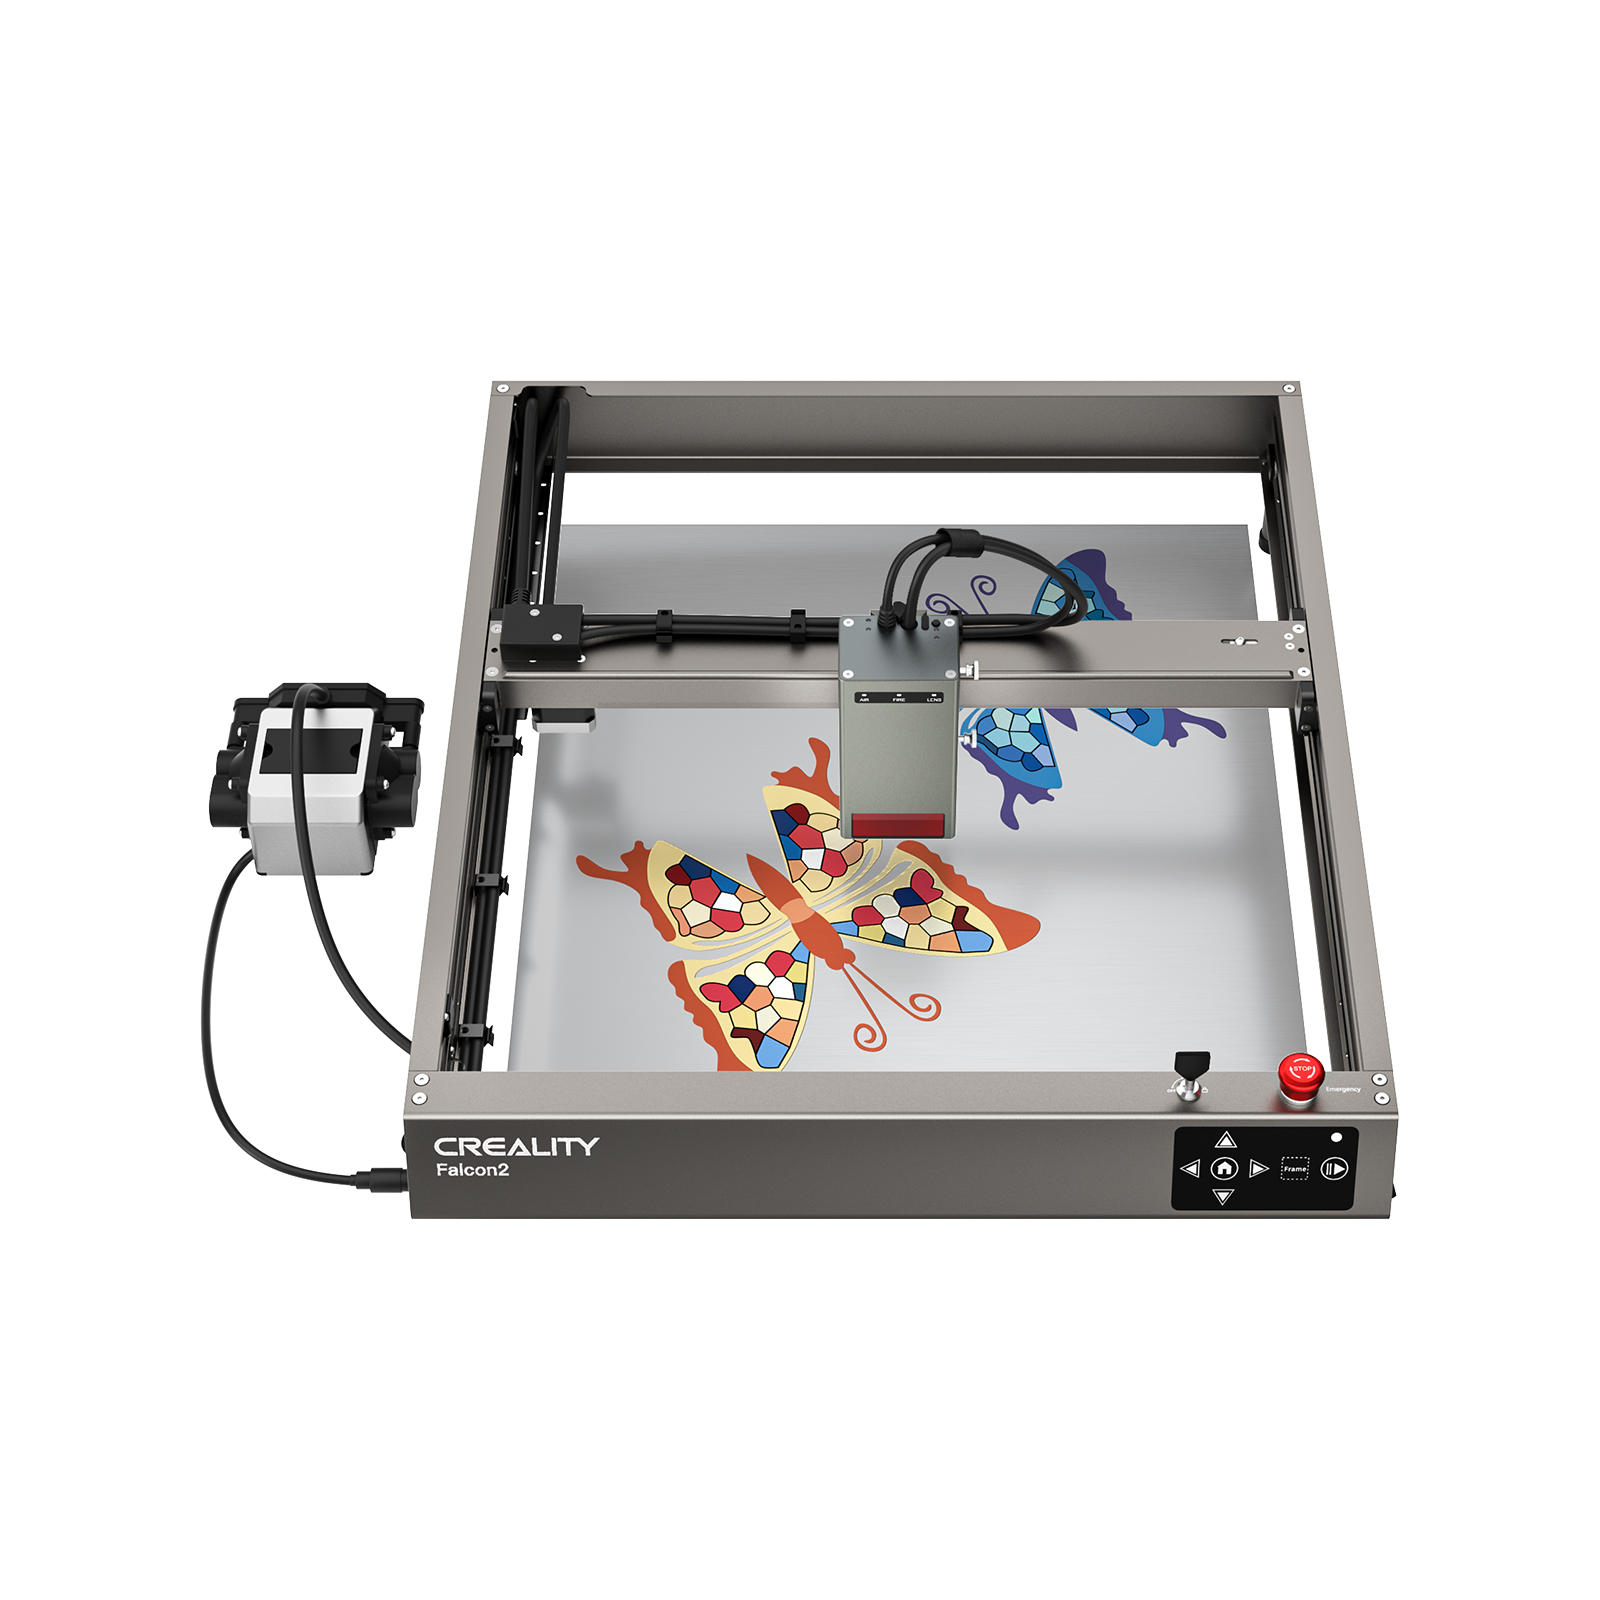
How to Choose the Right Machine for 3D Laser Etching
The right machine depends on whether you are doing surface or internal 3D laser etching.
For surface 3D laser etching (wood, acrylic, leather), focus on energy control.
Choose a machine with:
- Smooth And Precise Laser Power Adjustment
- Stable Low-Speed Engraving
- Strong Grayscale Engraving Support
CO₂ lasers are generally the best option, while high-power diode lasers work well for softer materials.
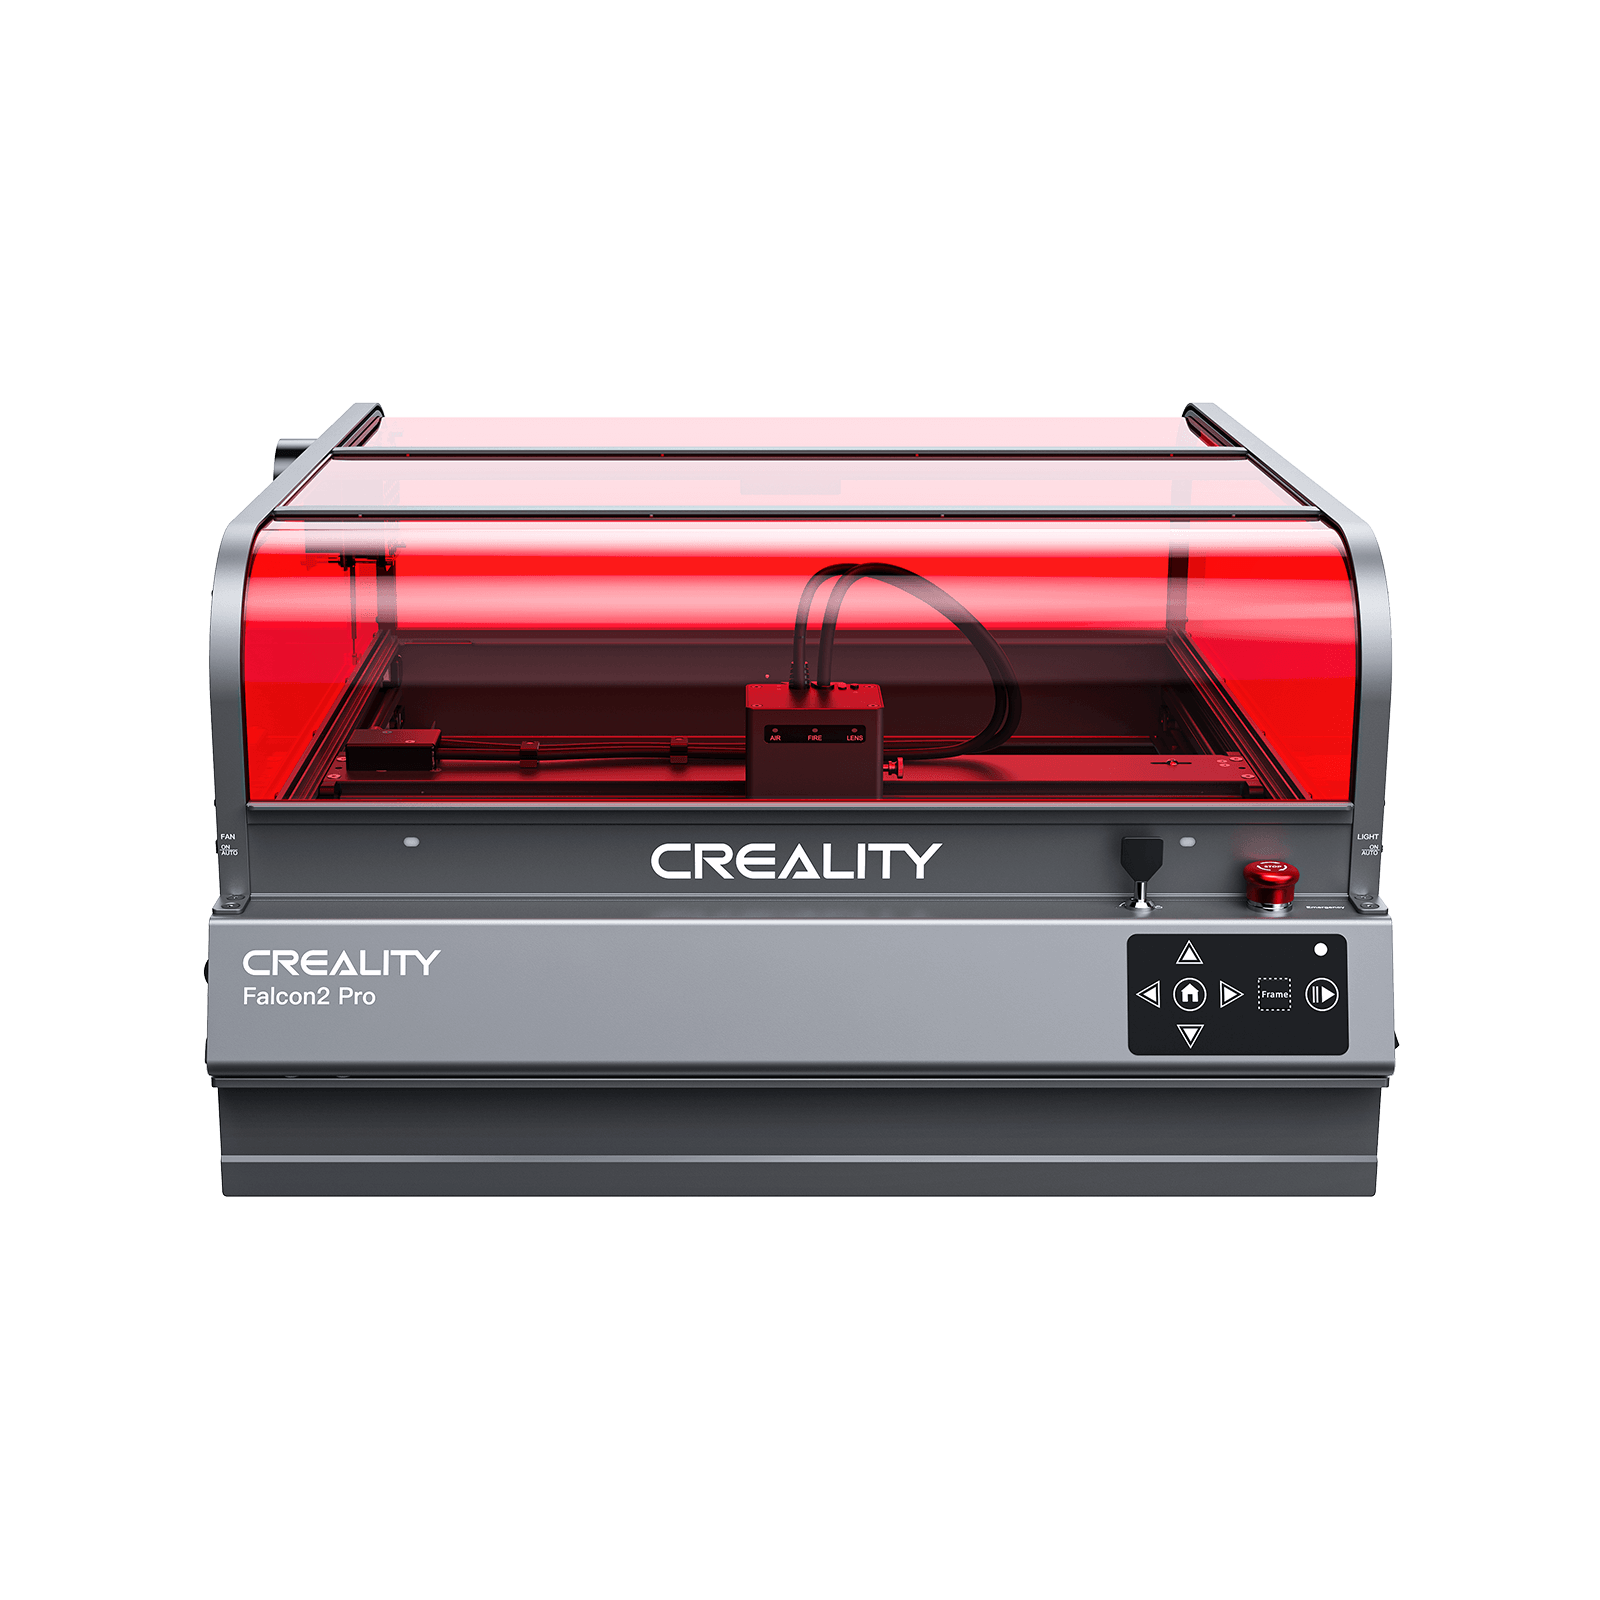
For internal 3D laser etching (glass or crystal), you need a specialized pulsed laser system.
The machine must support:
- high-energy laser pulses
- precise Z-axis depth control
- high-quality focusing optics.
Standard surface engravers cannot perform internal 3D etching reliably.
In all cases, make sure the machine is compatible with software that supports grayscale or 3D point control, has a rigid and stable frame, and includes proper safety features.
Key rule:
- Choose a machine based on depth control and laser type, not just advertised power.
FAQS about 3D Laser Etching
This section answers some of the most common questions people have when exploring 3D laser etching, including software capabilities and potential limitations of the process.
1. Can LightBurn Do 3D Laser Engraving
LightBurn can support surface-style 3D laser engraving through grayscale images, layered engraving, and multiple passes.
However, it does not support true internal or volumetric 3D engraving inside transparent materials.
2. What Are the Disadvantages of Laser Etching
Laser etching has limitations such as restricted engraving depth, material compatibility constraints, and longer processing times for complex 3D effects.
It also requires careful parameter tuning to achieve consistent results.
The End
3D laser etching is not a one-size-fits-all process.
- Surface 3D laser etching relies on controlled energy and depth variation to create relief-like effects on materials such as wood, leather, and acrylic.
- Internal 3D laser etching, on the other hand, uses precise laser pulses to build three-dimensional images inside transparent materials like glass and crystal—without affecting the surface.
By understanding the differences between these two methods, you can make better decisions about materials, machine specifications, and software tools.
Whether your goal is textured surface engraving or suspended internal 3D imagery, choosing the right process—and the right equipment—ensures consistent, high-quality results.