


CrealityFalcon General Maintenance Guide

Edited by: Henry Lin, Creality Rachel
Technical Support and Consultant: Filix Li, Henry Lin, Nordine Zouaoui
Quick Answer: Regular laser engraver maintenance helps prevent weak cutting, poor engraving quality, unexpected machine stops, lens contamination, loose belts, and airflow problems. For frequent users, a weekly check of the lens, laser module, belts, cables, work area, and air assist system can keep the machine more stable and extend its service life.
Why Laser Engraver Maintenance Matters
How often do you maintain your laser engraver? Some common issues, such as sudden stops, weak cutting, poor engraving contrast, or unstable motion, can be caused by a contaminated lens, loose belt, dust buildup, blocked airflow, or worn components.
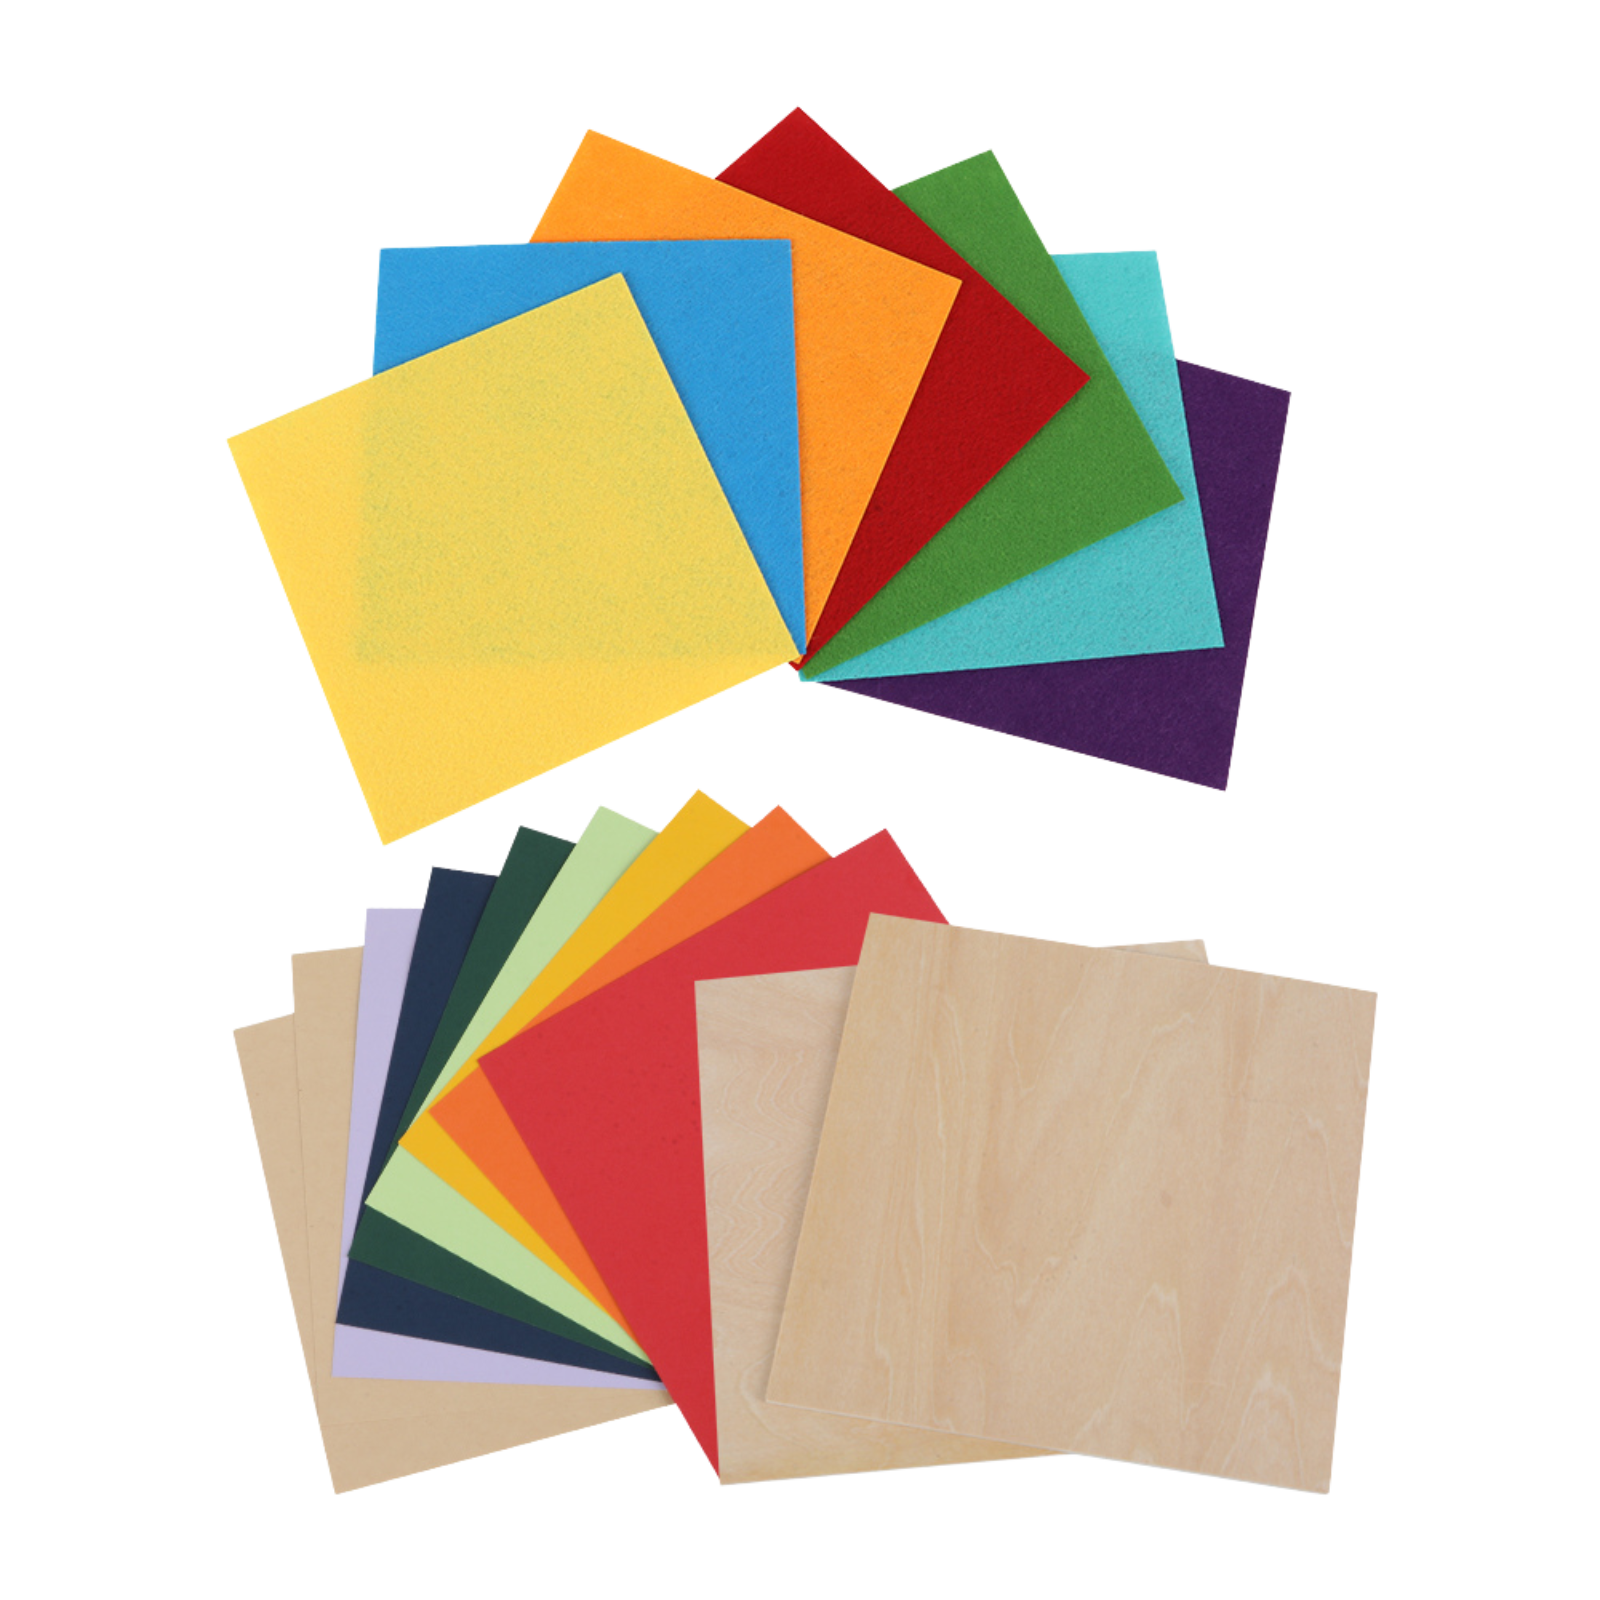
A regular maintenance routine helps your laser machine keep consistent performance. It also reduces the chance of avoidable downtime, especially if you cut wood, leather, paper, acrylic, or other materials that create smoke, dust, and residue.
Recommended Maintenance Schedule
The right maintenance frequency depends on how often you use the machine and what materials you process. Wood, leather, cardboard, and coated materials usually create more smoke and residue than light engraving on clean surfaces.
| Usage Level | Suggested Check Frequency | What to Check |
|---|---|---|
| Occasional use | Every 2 to 4 weeks | Lens, cables, belts, work area, dust buildup |
| 3 to 4 times per week | Weekly | Lens, laser module, belt tension, airflow, rails or rods |
| Daily or business use | Before each work session and weekly deep cleaning | Optics, exhaust, air assist, motion system, wiring, residue |
Routine Inspection Checklist
Before deep cleaning, start with a simple inspection. This helps you find obvious problems before they affect engraving quality or machine safety.
- Cable inspection: Check all cables for looseness, wear, crushed sections, or visible damage.
- Laser head and lens check: Make sure the protective lens and laser head are clean and free from smoke residue.
- Optical component inspection: Look for dirt, contamination, scratches, or cracks on visible optical parts.
- Belt inspection: Check belt tension and look for fraying, cracking, missing teeth, or uneven wear.
- Machine cleanliness: Remove dust, scraps, wood ash, leather residue, and small offcuts from the work area.
- Motion check: Move the laser head gently by hand when the machine is powered off to check for unusual resistance.
Lens Cleaning
The protective lens is one of the most important parts to keep clean. A dirty lens can reduce laser power, cause weak cuts, create burn marks, or overheat during operation.
For Falcon2 laser users, the laser module includes a LENS indicator. When the light flashes orange or red, it is time to check and clean the lens. You can also power off the machine, remove the laser head, and inspect whether the lens is contaminated.
1. How to Clean the Lens
- Turn off the laser machine and disconnect power before removing the laser head.
- Let the module cool down if it was recently used.
- Remove the protective lens according to the product instructions.
- Use a dust-free cloth or approved cleaning tool.
- Do not scratch the lens surface or use unknown chemical cleaners.
- Reinstall the lens only after it is clean and dry.
Reference video:
Lens Replacement
If the lens cannot be cleaned because of heavy contamination, cracks, burn marks, or physical damage, replace it with a new protective lens. Continuing to use a damaged lens may reduce laser output and can increase the risk of module damage.
1. When to Replace the Lens
- The lens has visible cracks or chips.
- Smoke residue cannot be removed safely.
- The lens surface looks burned, cloudy, or scratched.
- Cutting power remains weak after cleaning and refocusing.
- The machine shows repeated lens warnings after cleaning.
Reference video:
Laser Module Cleaning
The laser module can also collect dust, smoke residue, and wood particles over time. Even when the module is protected by an external casing, regular cleaning helps keep cooling and optical performance stable.
If you often cut wood, cardboard, leather, or acrylic, check the module more frequently. Use the dust-free cloth and anti-static brush supplied with the product when appropriate, and avoid pushing debris deeper into the module.
1. How to Clean the Laser Module
- Turn off the machine and disconnect power.
- Remove loose dust around the module casing.
- Use an anti-static brush for dust and small particles.
- Use a dust-free cloth for accessible exterior surfaces.
- Do not spray liquid directly into the laser module.
- Recheck the lens after cleaning the module.
Reference video:
Belt Maintenance
Belts control the motion of the laser head. If a belt is too loose, too tight, dirty, or worn, the machine may produce shifted lines, wavy engraving, inaccurate cuts, or unusual motion noise.
1. Check Belt Tension
- Turn off the laser cutter and disconnect power.
- Locate the belts on the motion system.
- Gently press the belt midway between pulleys.
- The belt should deflect slightly, not hang loose or feel overly tight.
- Adjust tension according to the manufacturer’s instructions for your model.
2. Inspect Belt Wear
- Inspect the full belt length visually.
- Look for fraying, cracks, missing teeth, deformation, or edge wear.
- Replace the belt promptly if visible damage is found.
- Do not continue production if the belt slips during motion.
3. Clean and Lubricate Related Motion Parts
- Follow the manufacturer’s recommendation for lubrication type and location.
- Apply lubricant sparingly only where recommended.
- For CR Falcon or machines with rods or rails, a thin layer of grease may be added after cleaning to restore smooth motion.
- Wipe away excess lubricant to prevent dust buildup.
- Do not over-lubricate belts, pulleys, or parts not designed for grease.
Reference video:
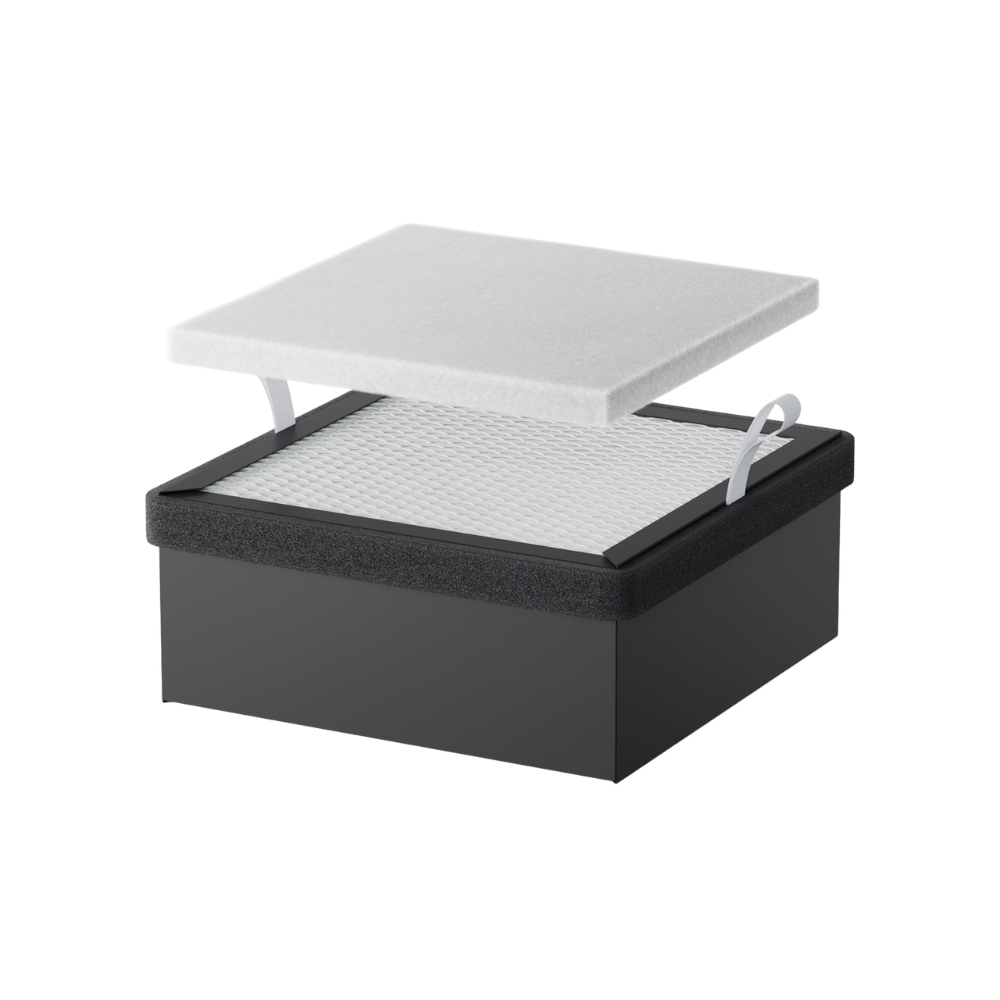
Air Assist Maintenance
If your machine has an air assist kit or air pump, inspect it regularly. Air assist helps reduce smoke buildup, charring, flame risk, and lens contamination, but weak airflow can reduce cutting quality.
Do not assume every laser engraver includes air assist by default. Some models or bundles include it, while others may require a separate air assist kit.
1. Check the Air Assist System
- Inspect the air pump cable and hose for looseness, leaks, or damage.
- Check whether airflow feels weaker than usual.
- Clean or replace the air assist filter if the system uses one.
- Make sure the nozzle is not blocked by dust or residue.
- Use air assist when cutting wood, paper, cardboard, or leather if your setup includes it.
Reference video:
Best Practices for Longer Equipment Life
Maintenance is only one part of equipment care. Daily operating habits also affect machine lifespan, cut quality, and engraving consistency.
- Set power, speed, and focus according to the material being processed.
- Do not use 100% power for every material if lower power is enough.
- Run material tests before production jobs.
- Monitor settings for different material thicknesses.
- Clean residue after jobs that produce heavy smoke or dust.
- Keep the lens, module, rails, belts, and work area clean.
- Do not leave the machine running unattended.
- Use proper ventilation or fume extraction for smoke-producing materials.
Common Maintenance Problems and Fixes
| Problem | Possible Cause | What to Check First |
|---|---|---|
| Weak cutting power | Dirty lens, poor focus, wrong settings, blocked airflow | Lens, focus, air assist, material settings |
| Shifted engraving lines | Loose belt, slipping pulley, unstable material | Belt tension, pulleys, workpiece position |
| Excessive smoke marks | Poor ventilation, weak air assist, dirty lens | Exhaust, air assist kit, lens cleanliness |
| Machine stops unexpectedly | Cable issue, sensor warning, lens contamination, overheating | Cables, warning lights, lens, airflow |
| Rough motion | Dust, dry rail or rod, belt issue | Motion path, rails, rods, belts |
Helpful Resources
For official documentation and additional model-specific support, visit the Creality Wiki. For video tutorials, check the Creality Falcon YouTube page.
FAQ
1. How Often Should I Clean My Laser Engraver?
If you use the machine 3 to 4 times per week, a weekly inspection is a good starting point. If you cut smoky materials daily, check the lens, work area, belts, and airflow before each session.
2. How Do I Know If the Lens Is Dirty?
Common signs include weaker cutting, darker burn marks, uneven engraving, visible residue on the lens, or a lens warning indicator on compatible Falcon2 modules.
3. Can I Keep Using a Cracked Protective Lens?
No. A cracked or damaged protective lens should be replaced before further use. A damaged lens can reduce power and may increase the risk of laser module damage.
4. Does Every Laser Engraver Need Air Assist?
Not every job requires air assist, and not every machine includes it by default. If your setup has an air assist kit, use it for materials that create smoke, charring, or flame risk, such as wood, paper, cardboard, and leather.
5. Why Is My Engraving Suddenly Misaligned?
Misalignment is often caused by loose belts, slipping pulleys, unstable material, or debris in the motion path. Check belt tension and make sure the workpiece is flat and secure.
6. Can Poor Maintenance Shorten Laser Lifespan?
Yes. Dust, smoke residue, dirty optics, weak airflow, and poor motion maintenance can reduce performance and may shorten the useful life of key parts.
Conclusion
Regular laser engraver maintenance keeps your machine safer, cleaner, and more consistent. The most important habits are simple: inspect cables, clean the lens, remove dust, check belt tension, maintain airflow if your setup has air assist, and use proper cutting parameters for each material.
A clean machine is easier to diagnose and more reliable during real projects. If you build maintenance into your normal workflow, your laser engraver is more likely to deliver stable cutting, cleaner engraving, and longer service life.
Recent News

Creality Falcon 12th Anniversary Sale: How to Get the Best Deals
Discover the Creality Falcon 12th Anniversary Sale with up to $1500 off. Compare prices, find the biggest discounts,...

Top 5 xTool Alternatives & Competitors (2026 Edition)
In the market for a laser cutter but not sure about xTool? This Best 5 xTool Alternatives (2026...

Cutting Acrylic with a Laser Cutter: Complete Guide
Learn how to cut acrylic with a laser cutter, including settings, safety tips, cast vs extruded acrylic, and...