


Mastering Photo Transfer to Wood with Laser Engraving

Transferring the essence of a cherished photograph onto the canvas of wood marries the worlds of traditional artisanship with modern technological precision. It’s a practice that has seen an evolution from simple handcraft to a refined art form, shaped by the advancements in laser engraving technology. Beyond its aesthetic allure, the craft of photo transfer to wood echoes the human desire to immortalize moments, to embed a sliver of time into the grains of a living material like wood. The result is more than a simple reproduction—it's a tactile keepsake that carries a weight of permanence and an organic presence.
When a photograph—a fleeting snapshot of life—is transferred to wood, it undergoes a transformation. No longer confined to a digital screen or a glossy paper, the image takes on the characteristics of its wooden host. The knots and grooves of the wood become part of the photograph’s narrative, each line of grain suggesting a story extending beyond the pixels of the original image. This natural variance ensures that each transferred photo is inherently unique, a one-of-a-kind piece where irregularities only add to its character.
Selecting the Right Type of Wood
The selection of wood is a critical first step. Different woods come with varying characteristics such as grain density, hardness, color, and resin content—all of which can affect the final outcome of the engraving. Here are the steps to ensure you pick the ideal wood for your project:
Identify the Purpose: Determine the purpose of your project. Is it decorative, functional, or both? The intended use may influence the choice of wood. For example, hardwoods like maple or cherry are durable and great for items that will be handled frequently.
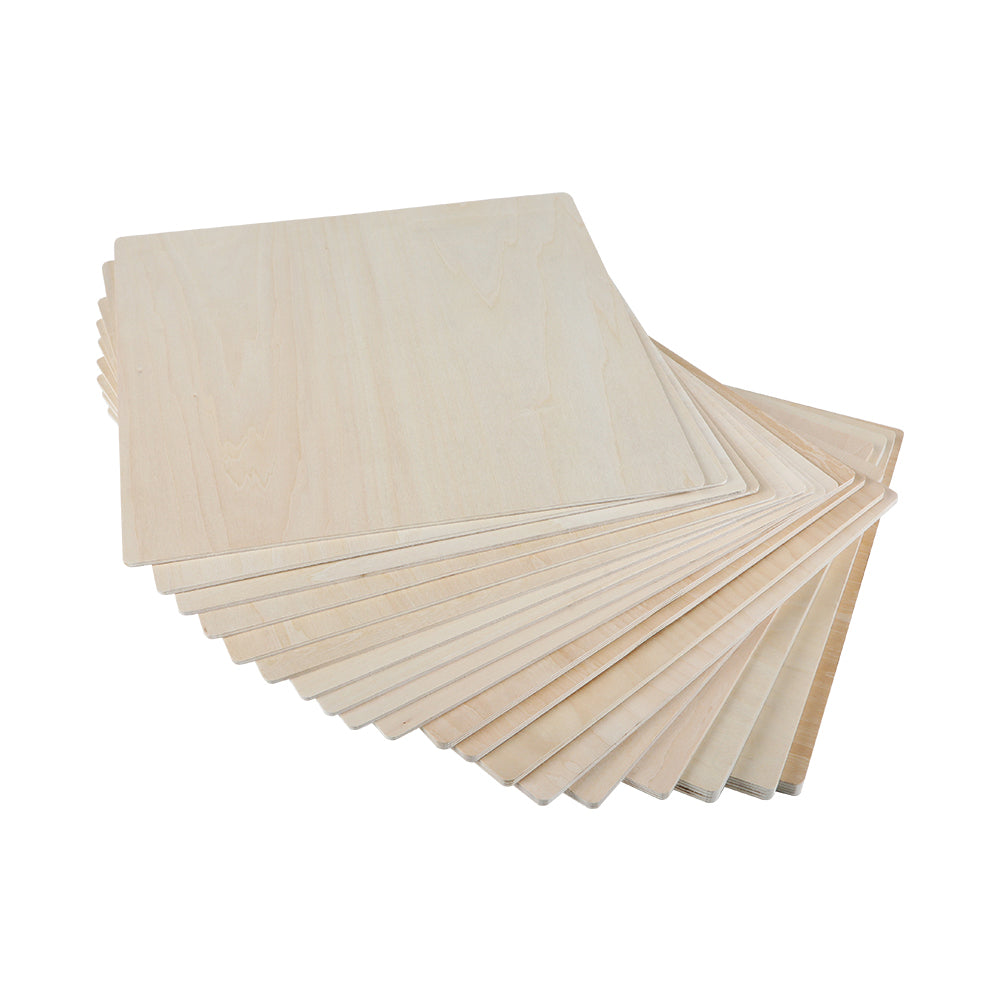
Consider the Grain: Look for wood with a fine, even grain. Woods with a consistent grain, such as basswood or birch, are ideal as they provide a smooth surface that translates into a clearer engraving.
Opt for Light-Colored Woods: Lighter woods like alder or maple showcase engraved photos more prominently due to the contrast between the burnt areas and the natural wood color.
Check for Defects: Inspect the wood for any knots, cracks, or imperfections. These can not only disrupt the engraving but might also interfere with the visual integrity of the photo.
Pre-Finish Testing: Consider applying a sample engraving on a similar piece of wood to check how a finish or sealant might affect the look of the engraving, as some treatments might darken or lighten the engraved areas.
Preparing the Wood Surface for Engraving
Once the wood is chosen, preparing it for engraving is crucial:
Sanding: Sand the wood thoroughly, starting with a coarser grit and moving to a fine-grit sandpaper. Sand in the direction of the grain to avoid scratches that could be highlighted during the engraving process.
Cleaning: Remove all dust from the surface with a tack cloth or a piece of damp cloth. Any residue may hinder the laser's ability to evenly engrave the image.
Sealing (Optional): Apply a thin, even sealant coat if desired. This can sometimes help in achieving a more consistent engraving, especially on woods with varied grain density.
Choosing and Preparing the Photo for Transfer
Selecting the right photo and preparing it for laser engraving is an art in itself. Follow these steps to prepare your image:
Select High Contrast Images: High contrast images with distinct light and dark areas translate best onto wood. The laser engraver interprets the shades of grey to modulate the intensity of the laser.
Convert to Grayscale: Use an image editing program to convert your photo to grayscale. This simplifies the image, removing color information that the laser cannot process.
Adjust Brightness and Contrast: Enhance the image's brightness and contrast to amplify the details. You may need to experiment with settings to find the perfect balance that reflects the detail and texture in your photo.
Resize and Crop: Adjust the image size to match the wood piece you are working with. Crop the image to focus on the main subject and eliminate unnecessary background elements.
Apply Filters or Effects (Optional): Sometimes, applying a sharpening filter can enhance details, while other effects may simulate a particular artistic style or texture.
File Conversion: Convert the edited image into a format compatible with your laser engraver's software. Common formats include BMP, JPG, PNG, or vector files like AI or SVG for more sophisticated engravers.
Test Engraving: If possible, do a test engraving on a scrap piece of the same wood. This allows you to tweak the image and machine settings without risking the final piece.
By carefully selecting the right type of wood and meticulously preparing your image for engraving, you lay a solid foundation for an impeccable photo transfer to wood. Each step is integral to achieving the desired outcome: a beautifully engraved piece that captures the essence of your photograph with clarity and longevity. With the preparation complete, we can now proceed to the intricacies of the actual laser engraving process.
Comparing with other methods
| Transfer Method | image | Pros | Cons |
|---|---|---|---|
| Mod Podge Photo Transfer |  |
|
|
| Nail Polish Remover Transfer |  |
|
|
| Wax Paper Transfer |  |
|
|
| Iron-on Transfer Paper |  |
|
|
| Glue Transfer |  |
|
|
| Laser Engraving Photo Transfer |  |
|
|
Laser engraving stands out as a superior method for transferring photos to wood when compared to alternatives like Mod Podge, nail polish remover, wax paper, iron-on transfer paper, and glue transfer methods due to its precision, durability, consistency, and versatility. It allows for the creation of highly detailed and permanent images that are resistant to wear and environmental factors. Additionally, laser engraving is clean, safe, and efficient, offering significant control over the engraving process without the need for direct contact with the material, thereby minimizing the risk of damage. While the choice of photo transfer method may depend on project specifics and personal preferences, laser engraving is often preferred for its high-quality results and ability to replicate designs accurately across multiple pieces.
Referring: https://www.wikihow.com/Transfer-Pictures-Onto-Wood
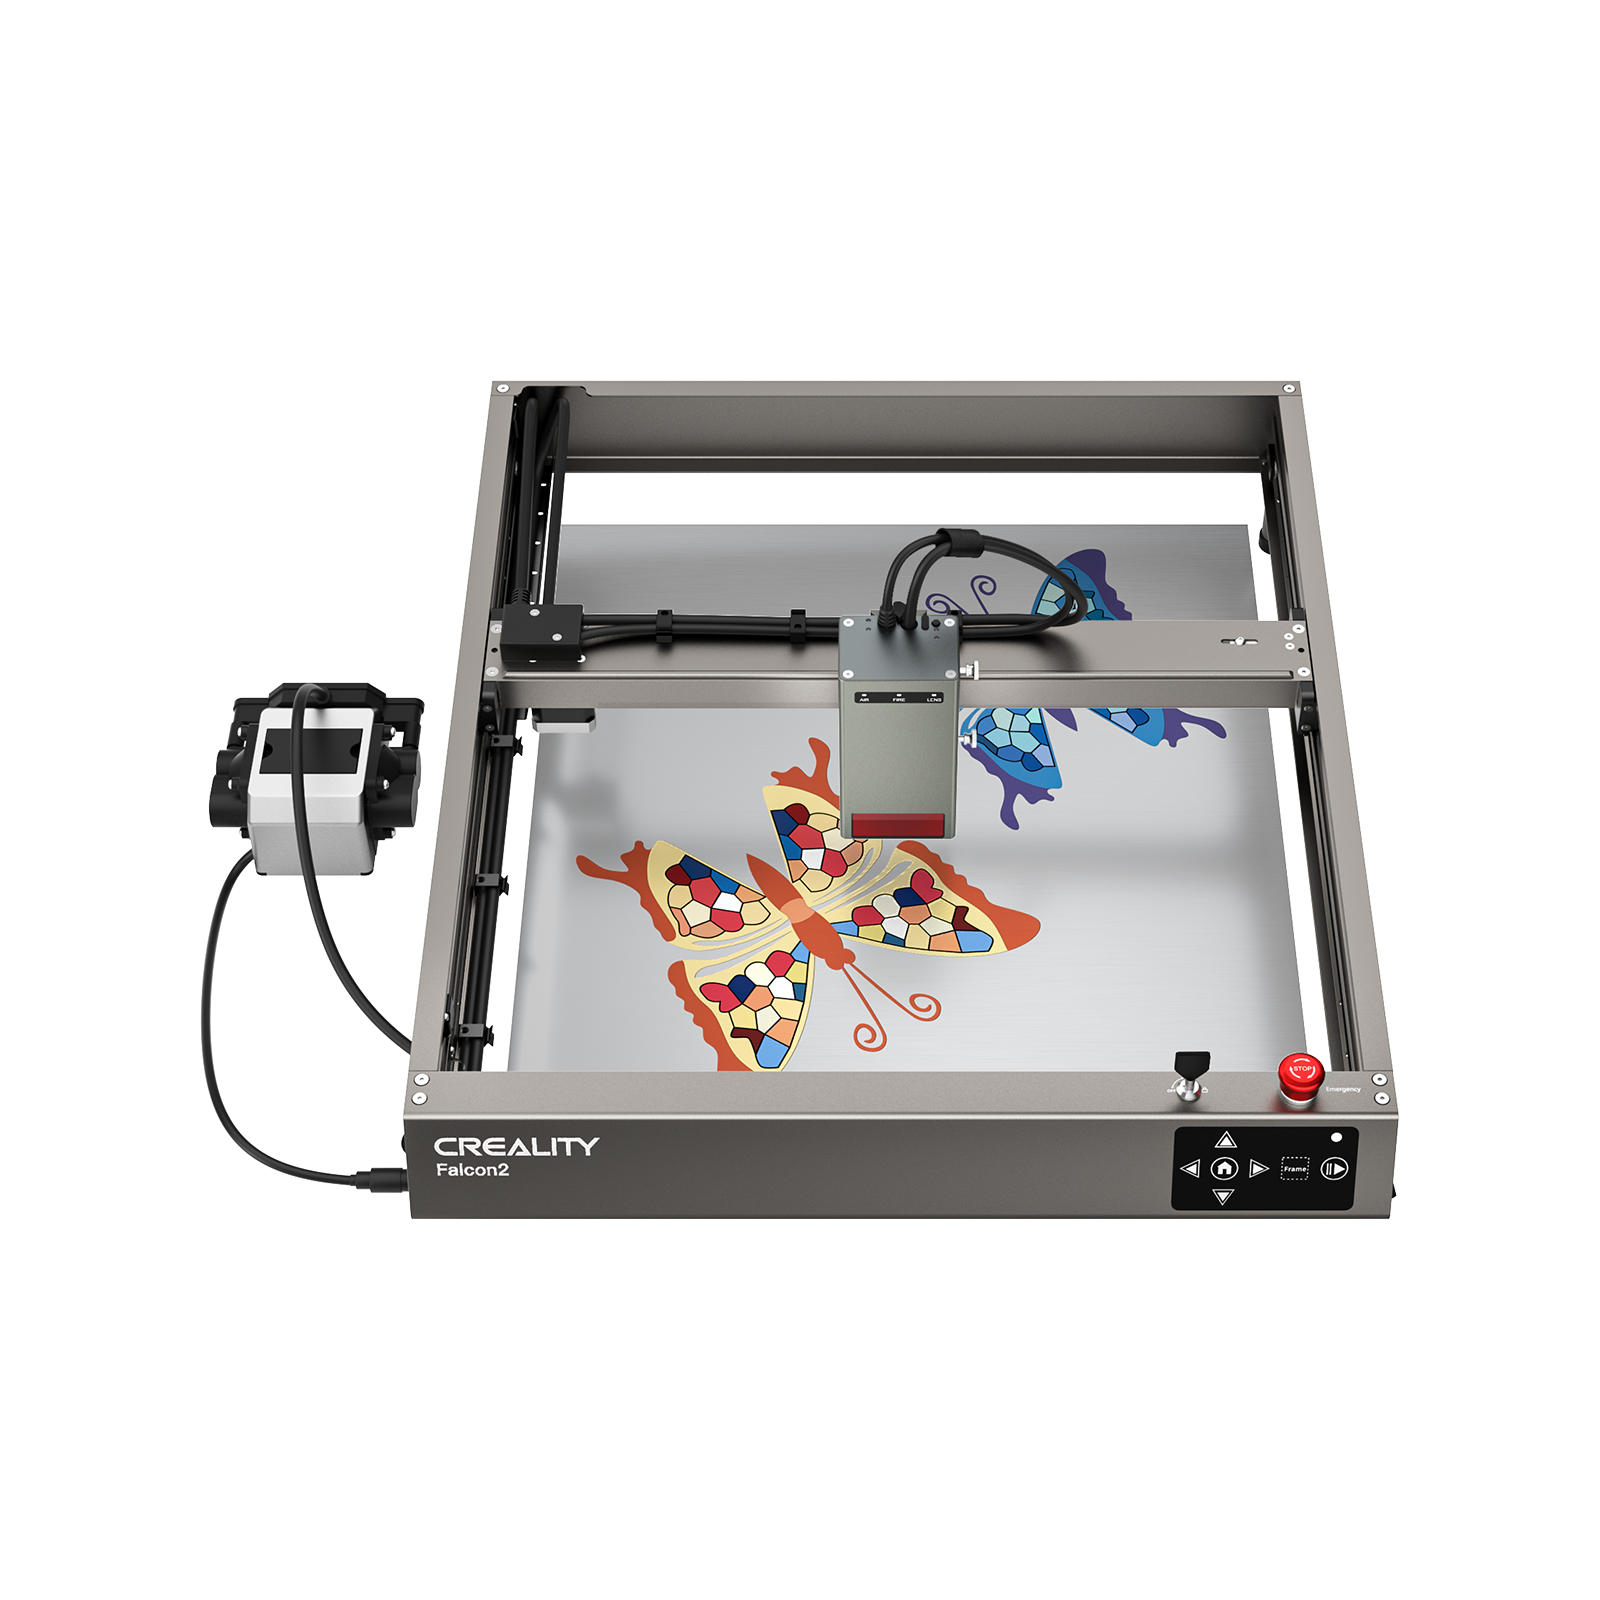
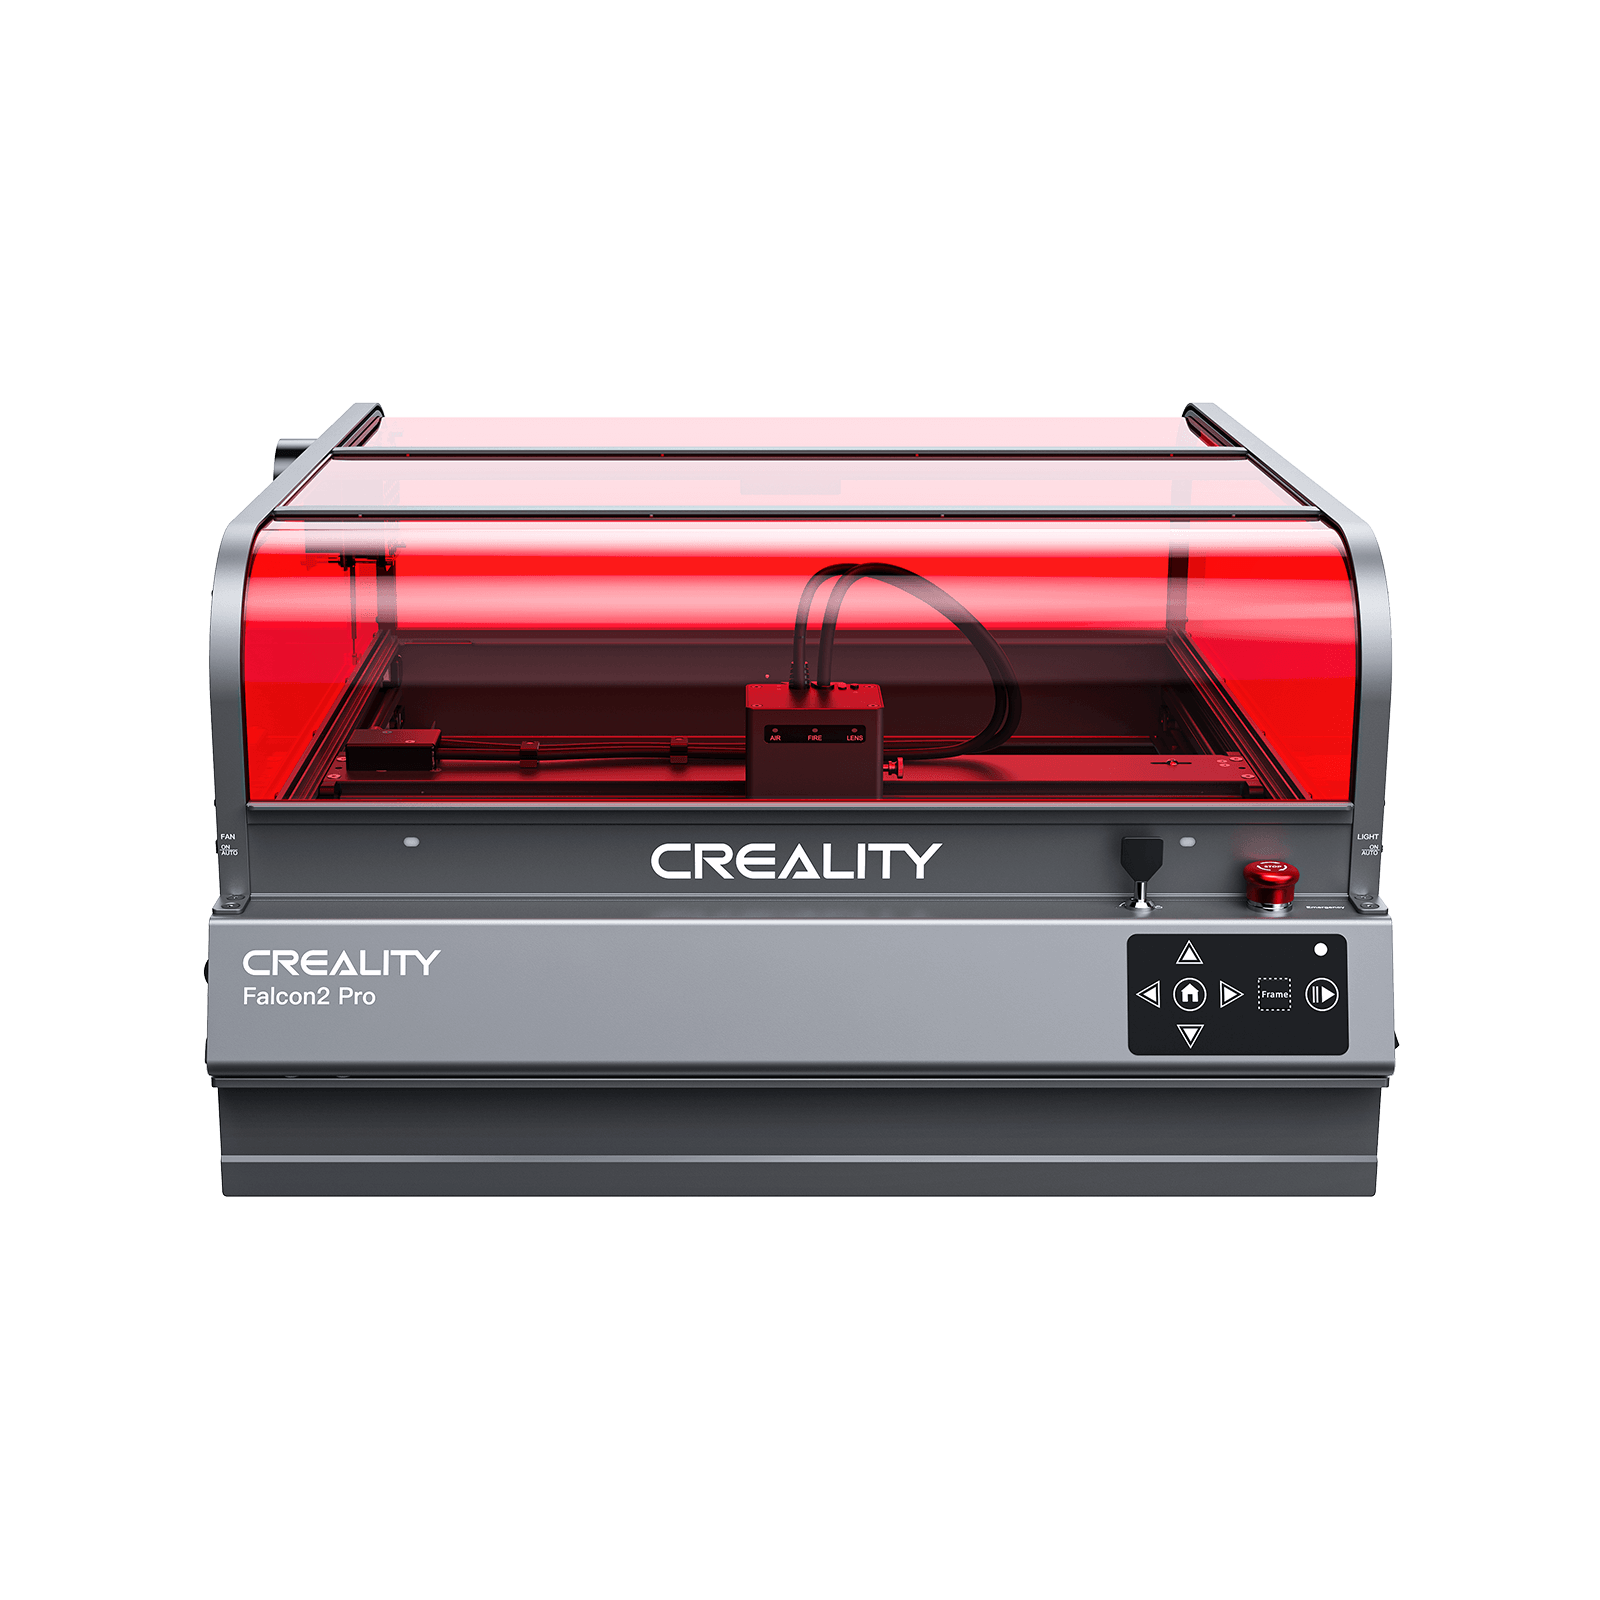
The Laser Engraving Process with CrealityFalcon 2 pro

Photo transfer to wood by laser engraving represents a fusion of traditional craft with modern technology, resulting in a unique and personalized piece of art. The laser engraving process can be complex, demanding careful attention to detail in order to achieve the best results. The following steps will guide you through setting up and executing the engraving process, as well as providing safety measures that must be adhered to.
The Creality Falcon 2 Pro stands out in the laser engraving market, offering a balance of affordability, precision, and ease of use that appeals to both hobbyists and professionals. It features a 1.6W semiconductor laser capable of high-resolution, detailed engravings across various materials. Its user-friendly interface simplifies the learning process, allowing for quick adjustments and real-time monitoring of projects. The machine's robust construction enhances its precision and versatility, accommodating different sizes of wooden pieces. the Falcon 2 Pro is more compact, affordable, and easier to maintain, making it an attractive option for those with limited space or budget. It supports a wide range of applications beyond wood, such as engraving on leather, acrylic, and anodized aluminum, showcasing its adaptability for creative and commercial projects.
Setting Up the CrealityFalcon 2 pro
1. Machine Preparation:
Begin by ensuring the CrealityFalcon 2 pro laser engraver is on a stable, level surface to prevent movement during operation.
Check the laser path and the work area for any obstructions that might interfere with the movement of the laser or the material being engraved.
2. Safety Measures:
Always wear safety glasses that are rated for the specific wavelength of the laser to protect your eyes from reflections or direct exposure.
Work in a well-ventilated area to prevent the buildup of fumes from burnt material.
Familiarize yourself with the emergency stop function or pause buttons on the engraver.
Importing and Adjusting the Image
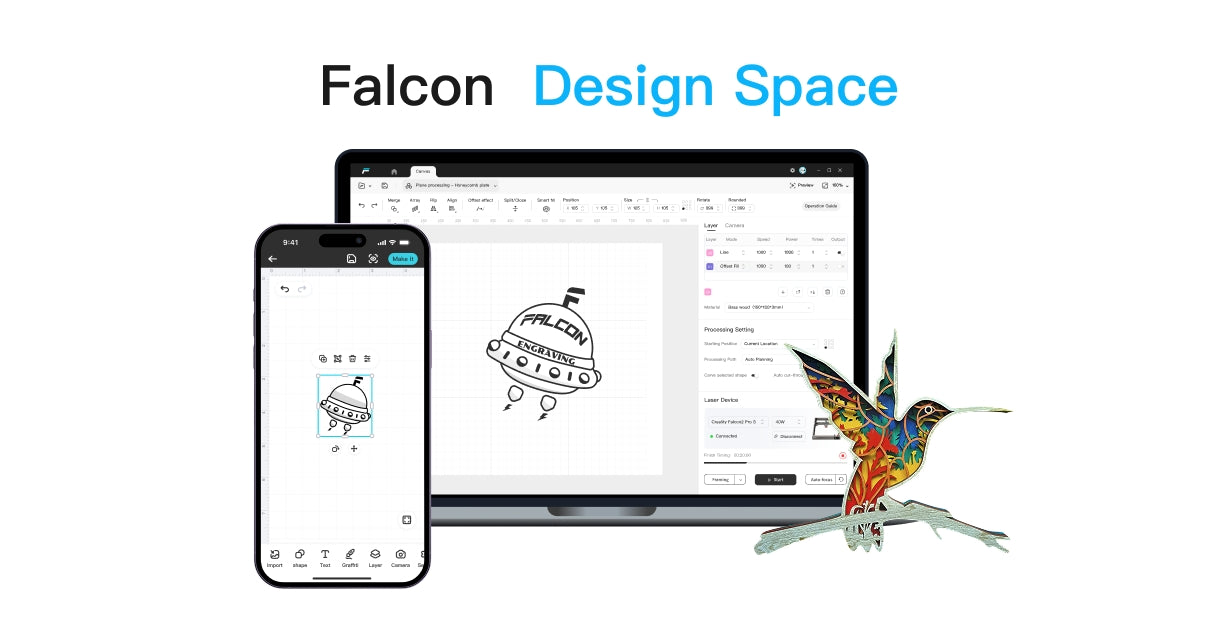
1. Software Setup:
Open the image in LightBurn. Ensure the file is in the correct format and resolution as previously prepared.
Position the image on the virtual work area in the software to correspond with where you want it placed on the wood.
2. Power and Speed Settings:
 Adjust the laser's power settings according to the wood's density and color. Higher power is generally required for denser woods.
Set the engraving speed; slower speeds typically result in darker burns, which can be desirable for creating contrast.
3. Material Test:
It is advisable to run a small test engraving in an inconspicuous area or on a sample piece to confirm the power and speed settings will yield the desired result
Executing the Engraving
1. Securing the Wood:
Secure the wood onto the engraver bed to prevent any movement. This can be done using clamps or a vacuum table, depending on your setup.
Double-check that the workpiece is perfectly flat and level with the engraving platform.
2. Running the Job:
With everything set and safety measures in place, you can now initiate the engraving process through the software. The laser will start engraving according to the parameters set.
3. Monitoring the Process:
Keep an eye on the process. You should never leave the laser engraver unattended while it's running as unexpected errors could occur.
Watch for signs of excessive burning and be ready to pause or adjust settings if needed.
4. Progress Checks:
Periodically pause the engraving to inspect the progress, ensuring the depth and detail are consistent with your expectations.
5. Final Pass:
Depending on the results of your progress checks, you may decide to run a final pass. This can help darken the engraved areas for better contrast or clean up any incomplete sections.
Safety Precautions Throughout the Process
Throughout the entire engraving process, safety should remain the primary concern:
Keep a fire extinguisher rated for electrical fires nearby in case of an emergency.
Be aware of the materials you are engraving with; some materials can release toxic fumes when burned.
Ensure that any bystanders are also equipped with appropriate safety gear and are aware of the risks.
Once the engraving is complete, the next steps involve carefully cleaning and finishing the wood to protect the engraving and to highlight the transferred photo. With the right post-processing techniques, your laser-engraved image will be showcased in its best light, creating a lasting and meaningful piece.
After the intricate process of laser engraving a photo onto wood, the ensuing steps play a critical role in accentuating the engraved image's clarity and ensuring its longevity. These post-engraving steps involve the meticulous cleaning of the wood surface to remove any remnants of the engraving process, followed by the application of finishing products that protect the engraving and elevate the visual impact of the photo.
Tips for engraved wood work
Cleaning the Engraved Wood
Removing Residual Debris:
Following the laser engraving process, the wood's surface will likely have some leftover debris composed of burnt wood particles and soot. It's essential to remove this debris gently but thoroughly to reveal the intricate details of the engraved image. A soft brush or compressed air can be used to dislodge loose particles without causing any abrasions.
Choosing a Cleaning Solution:
To eliminate any persistent soot or residue, a damp cloth can be used. For a deeper clean, consider a gentle cleaning solution or rubbing alcohol applied sparingly with a microfiber cloth. It is imperative to avoid soaking the wood as excessive moisture can warp the wood or blur the image.
Addressing Deeper Grooves:
A cotton swab dipped in cleaning solution can navigate the narrow grooves of the engraving to ensure all residue is removed. It is important to work systematically across the image, paying extra attention to areas with fine detailing.
Enhancing the Visibility of the Engraved Photo
Darkening the Engraving:
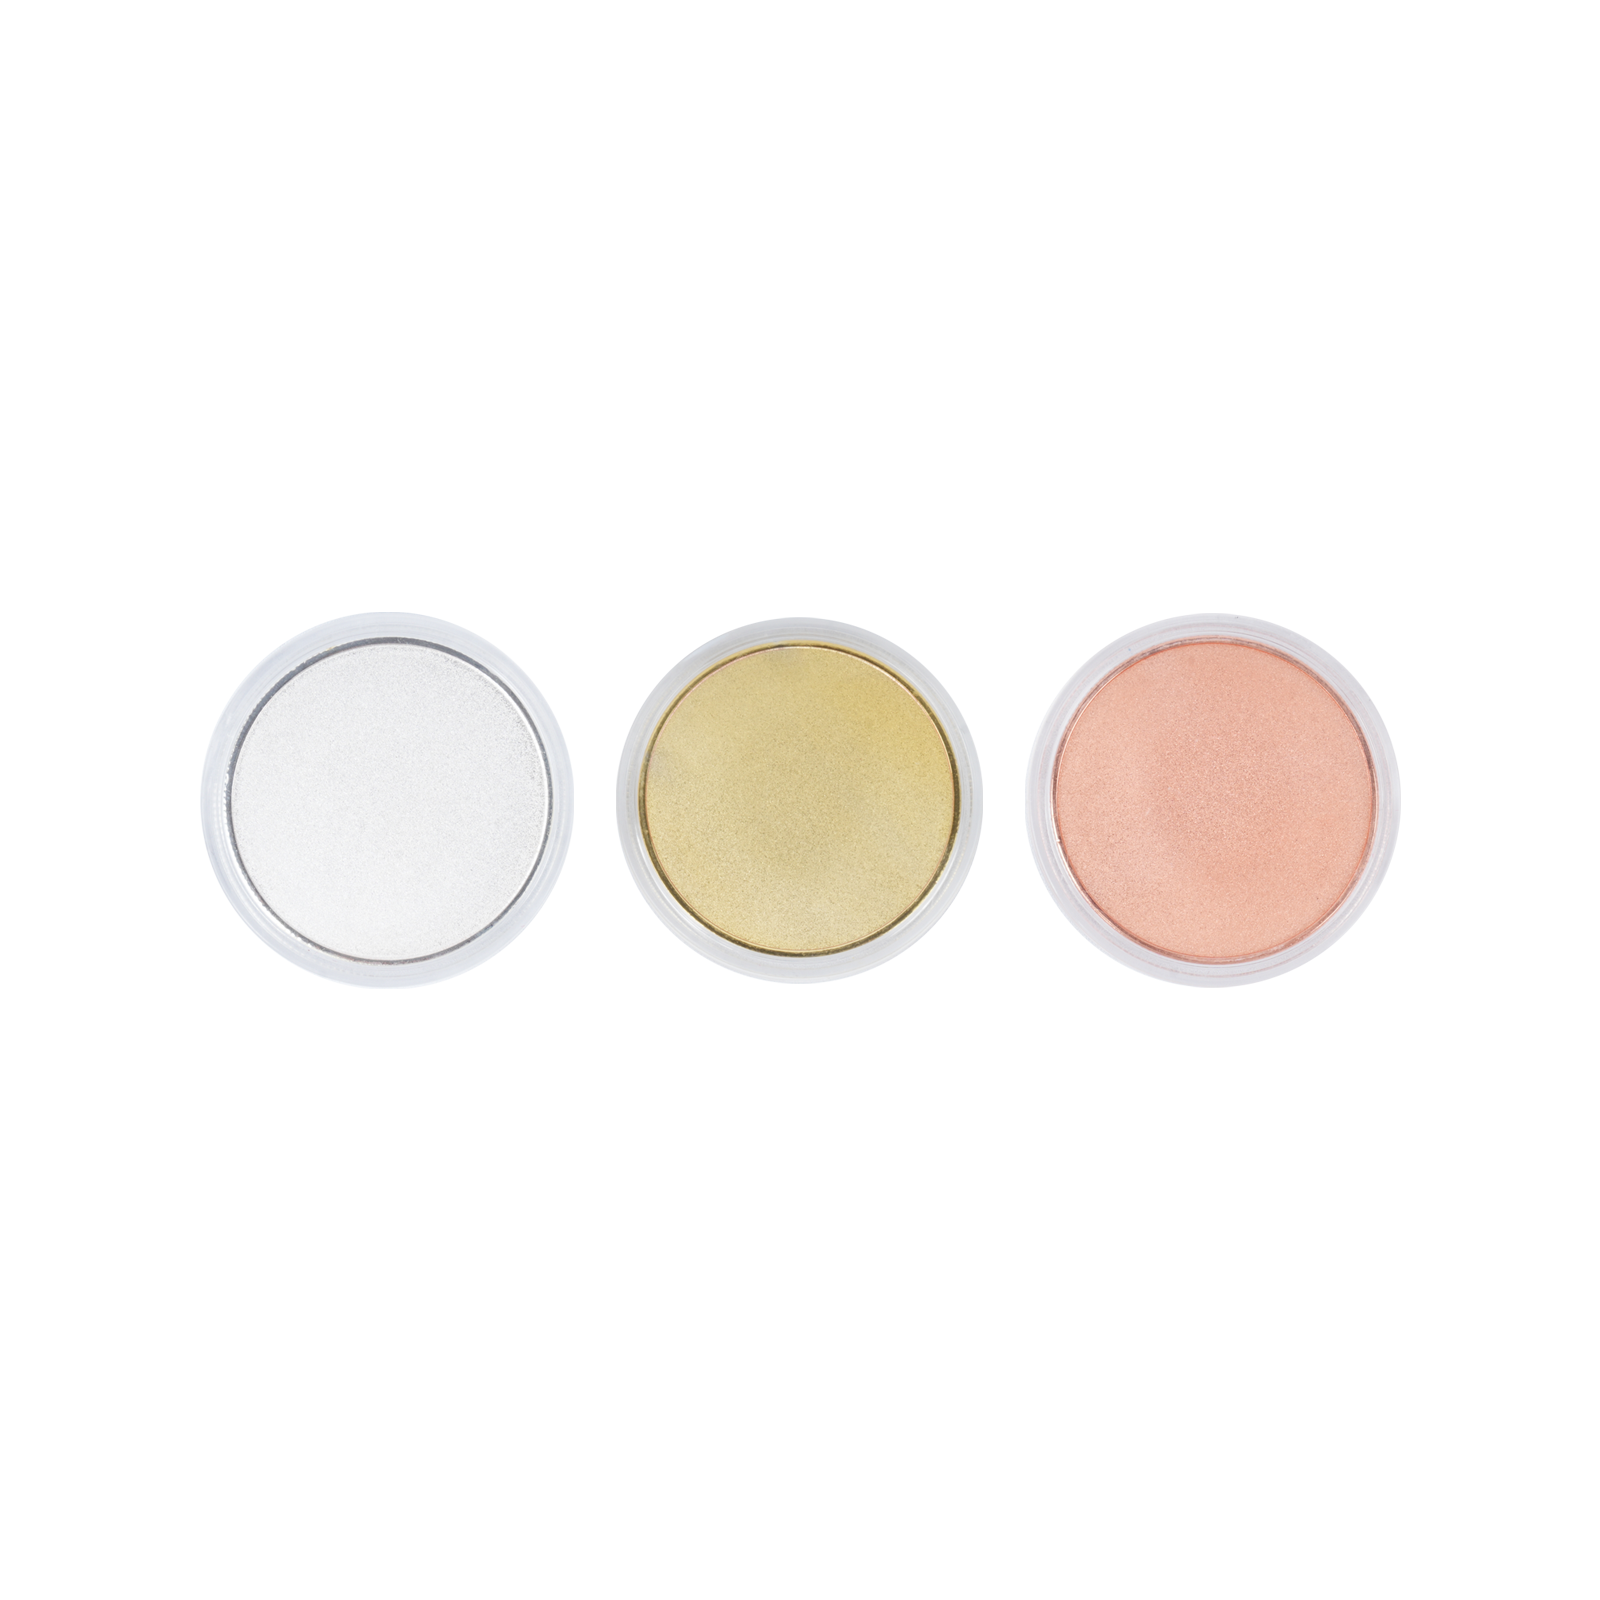
To increase the contrast of the engraving against the wood, artists may use colorants or stains. By carefully applying these substances to the engraved grooves, the photo's details can be accentuated. Ensure that any excess stain is wiped away from the unengraved surface to maintain a clean look.
Using White Paint:
In cases where a photograph requires additional clarity or when the wood is particularly dark, white acrylic paint can be lightly brushed into the engraving. This will make the image stand out more distinctly. As with stains, it is important to clean up any paint that lands outside of the engraved lines.
Protecting the Engraved Image
UV Protective Coats:
For artworks that will be displayed in areas exposed to sunlight, consider a UV-protective coat to prevent the photo from fading over time. These specialized finishes are designed to shield the wood from the sun's harmful rays without altering the image's appearance.
Environmental Considerations:
Think about the environment in which the piece will be displayed. If wood art is intended for outdoor use or in high-humidity environments, a more robust sealant or waterproof treatment may be necessary to protect against the elements.
Through careful cleaning and the judicious application of finishes, the natural beauty and detail of the laser-engraved photo on wood can be fully realized and preserved. These finishing touches not only enhance the aesthetic appeal but also ensure that the piece can be enjoyed for years to come, withstanding the test of time and exposure. Whether it becomes part of a home's interior decor or a cherished gift, the final presentation of laser-engraved wood art speaks volumes about the care and craftsmanship invested in its creation.
Harnessing the precision and versatility of laser engraving, crafters and artists have been able to transform ordinary wood pieces into personalized works of art that capture memories, express creativity, and tell stories. The following are some of the myriad ways in which laser-engraved photos on wood can be creatively applied, providing inspiration for anyone looking to explore this exciting art form.
Wood Laser Cutting Applications
Personalized Home Decor

Photo Wall Art: A compelling project is creating a gallery wall of laser-engraved wooden panels. Each panel can feature a significant moment, such as wedding vows, a newborn's footprints, or a family portrait. The natural wood grains play a role in framing the image, giving each piece a unique character.
Customized Clocks: Integrating laser-engraved photos onto wooden clock faces results in functional artwork. Whether it’s a family portrait or a landscape photo, these timepieces become conversation starters and cherished heirlooms.
Fashion and Accessories

Wooden Jewelry: Laser-engraved photos on wooden pendants, earrings, or cufflinks offer a warm, organic touch to personal accessories. These can be especially meaningful when they feature portraits, initials, or symbols that carry personal significance.
Handbags and Clutches: Incorporating laser-engraved designs onto wooden elements of handbags or clutches adds an unexpected and customized element to fashion accessories. Whether it’s a small logo or a full image, the engraving is sure to stand out.
Gift Items

Keepsake Boxes: Wooden boxes with laser-engraved lids can be an elegant and heartfelt gift. Photos, names, or special dates carved onto the surface transform a simple box into a treasured keepsake for holding jewelry, letters, or mementos.
Custom Coasters: Sets of wooden coasters with laser-engraved images or messages can serve as personalized housewarming or wedding gifts. They're functional, protect surfaces, and are a constant reminder of a special event or person.
Commemorative and Memorial Products

Pet Tributes: For pet lovers, laser-engraved photos on wood plaques serve as beautiful tributes to furry friends. With the pet’s image and name, these tributes can be displayed in a place of honor within the home.
Memorial Markers: Small wooden markers or plaques with laser-engraved photographs are a subtle yet meaningful way to commemorate a loved one. They can be placed in gardens, family rooms, or anywhere that offers comfort and remembrance.
Functional Art

Wooden Maps: A creative use of laser engraving involves etching detailed maps onto wood panels. Highlighting specific locations with photo engravings, like where a couple first met or where a family vacation took place, adds a personal narrative to the piece.
Tabletops: Large scale projects like dining tables or coffee tables can be turned into storytelling canvases. With an entire tabletop as the workspace, a collage of family photos or a large scenic engraving can become a centerpiece that sparks conversation.
Signage and Branding

Business Signage: Customized signage with a laser-engraved logo or company photograph creates a professional and welcoming atmosphere for businesses. This approach stands out from traditional printed signs and can be used both indoors and outdoors.
Product Branding: Small businesses can use laser engraving to brand their products, such as on cutting boards or furniture. By adding a logo or a custom design, the product carries a mark of quality and craftsmanship.
Potential Issues
Issue 1: Inconsistent Engraving Depths
One of the frequent challenges is achieving uniform depth across the engraved area. Variations in wood density and resin content can cause the laser to burn deeper in some spots than others, leading to an uneven finish.
Troubleshooting Steps:
Conduct test engravings on a piece of scrap wood from the same material to determine optimal settings.
Use a pre-engraving wood conditioner to minimize differences in wood density and resin content.
Adjust the laser speed and power to ensure consistent energy application across the entire image.
Issue 2: Image Is Too Light or Too Dark
Sometimes, the final image may come out too faint or excessively burned. This can detract from the visual impact and legibility of the photo.
Troubleshooting Steps:
Pre-edit the photo to enhance contrast and brightness levels. Darker areas need to be lightened to avoid excessive burning, and lighter areas may need to be darkened for visibility.
Calibrate your laser engraver's power settings; use less power or faster speed for a lighter image, and increase power or reduce speed for a darker result.
Ensure that you are using the correct image mode (such as grayscale) compatible with your laser engraver's software.
Issue 3: Blurry or Unclear Images
Blurring can occur if the laser moves too quickly or if the image file isn't of high enough resolution.
Troubleshooting Steps:
Use a high-resolution image with at least 300 dpi to ensure clarity when scaled to size.
Double-check the focus of the laser; a laser that is not properly focused can lead to a loss of detail.
Reduce the speed of the laser, allowing for more precise and clear burns.
Issue 4: Wood Burning or Charring
Excessive burning can occur, which is undesirable as it can obscure the photo and create an unpleasant smell.
Troubleshooting Steps:
Experiments with different species of wood, as some, like cherry or alder, are more prone to burn than others, like maple or birch.
Utilize air assist to blow away smoke and debris during the engraving process, which can help in preventing flare-ups.
Refine laser settings, opting for multiple low-power passes rather than a single high-power pass.
Issue 5: Residue Buildup
After engraving, there may be a residue of sap or tar left on the surface, which can affect the visual appeal and texture of the wood.
Troubleshooting Steps:
Clean the surface immediately after engraving with a soft brush or cloth to remove loose debris.
For more stubborn residue, lightly sand the surface or use a suitable cleaning solution that does not harm the wood.
Test the cleaning solution on a non-visible part of the wood to ensure that it does not cause discoloration or damage.
Issue 6: Material Warping or Damage
Wood can warp due to the heat generated during the laser engraving process, or the material may be inadvertently damaged.
Troubleshooting Steps:
Store wood in a controlled environment before engraving to minimize internal stresses that can lead to warping.
Secure the wood to the engraving bed using clamps or double-sided tape to prevent movement during engraving.
Choose the correct wood thickness to withstand the heat of the engraving process without distorting.
Issue 7: Inaccurate Photo Transfer
Sometimes, despite proper settings, the engraved image may not align with the intended design, resulting in an inaccurate transfer.
Troubleshooting Steps:
Check the laser engraver's calibration to ensure accurate movement along the X and Y axes.
Verify that the laser engraver's bed is level to prevent distortions in the image transfer.
Utilize alignment tools or jigs to position the wood consistently for each engraving task.
These troubleshooting steps should equip you with the know-how to tackle common laser engraving difficulties effectively. Remember, persistence and continued experimentation with settings and techniques are key to mastering the photo transfer process and achieving flawless results with your laser engraver.
Laser-engraved wood art pieces require care and maintenance to retain their beauty and integrity over time. These pieces, often cherished as personal or commemorative items, need to be protected from elements that could degrade the material or fade the engraving. Below are the essential guidelines for preserving the quality and longevity of engraved wood art.
Storage Conditions for Engraved Wood Art
Wood is a hygroscopic material, meaning it absorbs and releases moisture depending on the environment. To prevent warping or cracking:
Maintain Stable Humidity: Store the wood in an environment with consistent humidity levels, ideally between 35% and 55%. Avoid areas like basements or attics where humidity fluctuates.
Temperature Control: Avoid sudden temperature changes which can cause the wood to expand or contract. Room temperature is usually adequate for storing wood art.
Avoid Direct Sunlight: UV rays can fade the engraving and damage the wood. Store pieces away from direct sunlight or use UV-protective glass if the piece is framed.
Positioning: Wood should not be in contact with the ground or walls where moisture could be absorbed. Utilize shelving with adequate air flow around the pieces.
Cleaning Engraved Wood Art
Dust and other particulate matter can settle into the engraved grooves, diminishing the clarity of the image over time. Here's how to clean laser-engraved wood:
Dusting: Use a soft, dry brush or microfiber cloth to gently remove surface dust. Avoid using cleaning agents or water which can stain or warp the wood.
Detailed Cleaning: If the engraving has collected grime, a cotton swab lightly dampened with distilled water can be used to clean the grooves carefully. Ensure the wood dries completely afterward.
Avoid Harsh Chemicals: Cleaners with harsh chemicals or abrasives should be avoided as they can strip the wood of its natural oils and damage the engraving.
Display Recommendations for Engraved Wood Art
Displaying wood art properly not only showcases the piece but also plays a role in its preservation:
Wall Mounting: Ensure that mounting hardware is adequate for the weight of the piece. Use spacers to keep the wood art away from the wall, allowing for air circulation.
Display Cases: For smaller pieces, display cases or shadow boxes can offer protection from dust and handling. They can also mitigate the effects of environmental factors.
Protective Coatings: Consider applying a sealant or a clear varnish to protect the wood from moisture and dirt. Ensure that the product is compatible with the type of wood and the intended display conditions.
Regular Inspections: Periodically inspect the piece for any signs of deterioration such as fading, cracking, or warping and address these issues promptly
Maintenance Practices for Engraved Wood Art
Ongoing maintenance is crucial for the longevity of the engraving. Here are some practices to consider:
Reapply Finishes: Over time, finishes can wear off. Reapply protective coatings as necessary, ensuring the wood is clean and dry beforehand.
Handle with Care: When moving or cleaning the piece, handle it with clean hands or wear cotton gloves to avoid transferring oils or dirt into the wood.
Repair Damage Promptly: If the wood is chipped or the engraving becomes less visible, a professional conservator can advise on the best repair methods.
Conclusion
In sum, laser engraving offers a combination of accuracy, durability, versatility, efficiency, safety, and accessibility that is unmatched by other photo transfer techniques. As a result, it has become a preferred method for transferring photographs to wood, bringing with it a level of detail and permanence that is ideally suited for creating lasting keepsakes and high-quality art pieces.
Recent News

Creality Falcon 12th Anniversary Sale: How to Get the Best Deals
Discover the Creality Falcon 12th Anniversary Sale with up to $1500 off. Compare prices, find the biggest discounts,...

Top 5 xTool Alternatives & Competitors (2026 Edition)
In the market for a laser cutter but not sure about xTool? This Best 5 xTool Alternatives (2026...

Cutting Acrylic with a Laser Cutter: Complete Guide
Learn how to cut acrylic with a laser cutter, including settings, safety tips, cast vs extruded acrylic, and...