


Fabric Laser Etching: Your Ultimate Guide to Customizing Textiles

Hey there, fellow creators and curious minds!
I'm so excited to dive into a topic that's truly a game-changer in customization: fabric laser etching.
In this ultimate guide, I’m going to walk you through everything you need to know, from the science behind it to the best fabrics, creative applications, and how to get started with your laser engraver.
Let’s get creating!
What Exactly is Fabric Laser Etching
Fabric laser etching is a process where a laser lightly burns or alters the surface of the fabric to create visible patterns, textures, or designs.
It does not cut through the material, and it doesn’t remove deep layers like metal engraving. Instead, the laser’s heat gently burns, vaporizes, or changes the fibers, producing:
- Darker burn marks
- Lighter “bleached” effects
- Soft textured patterns
- Fine shading or gradient designs
It’s essentially a surface modification technique, suitable for most textile materials.
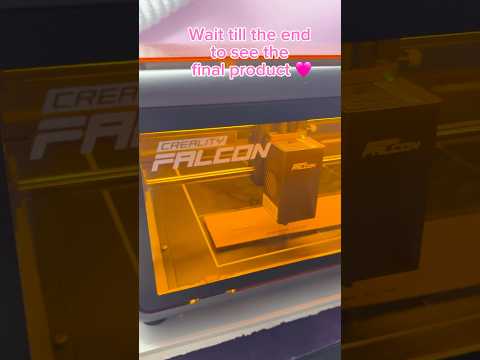
Watch the video clip to see how laser engraving works on fabric like denim.
How Fabric Laser Etching Works
- The laser beam hits the surface of the fabric.
- The fibers react to the heat (burning, carbonizing, or lightning).
This creates high-contrast patterns without damaging the structure of the fabric.
Note:
This is a micro-surface treatment—not cutting and not deep engraving.
What Effects Can It Create
Fabric laser etching can produce:
- High-resolution graphics
- Photo-level shading effects
- Gradient images (grayscale)
- Logos, branding, icons
- Texture effects (patterns, brushed look)
- Embossed-style marks on leather
It’s more eco-friendly than traditional printing and far more detailed than embroidery.

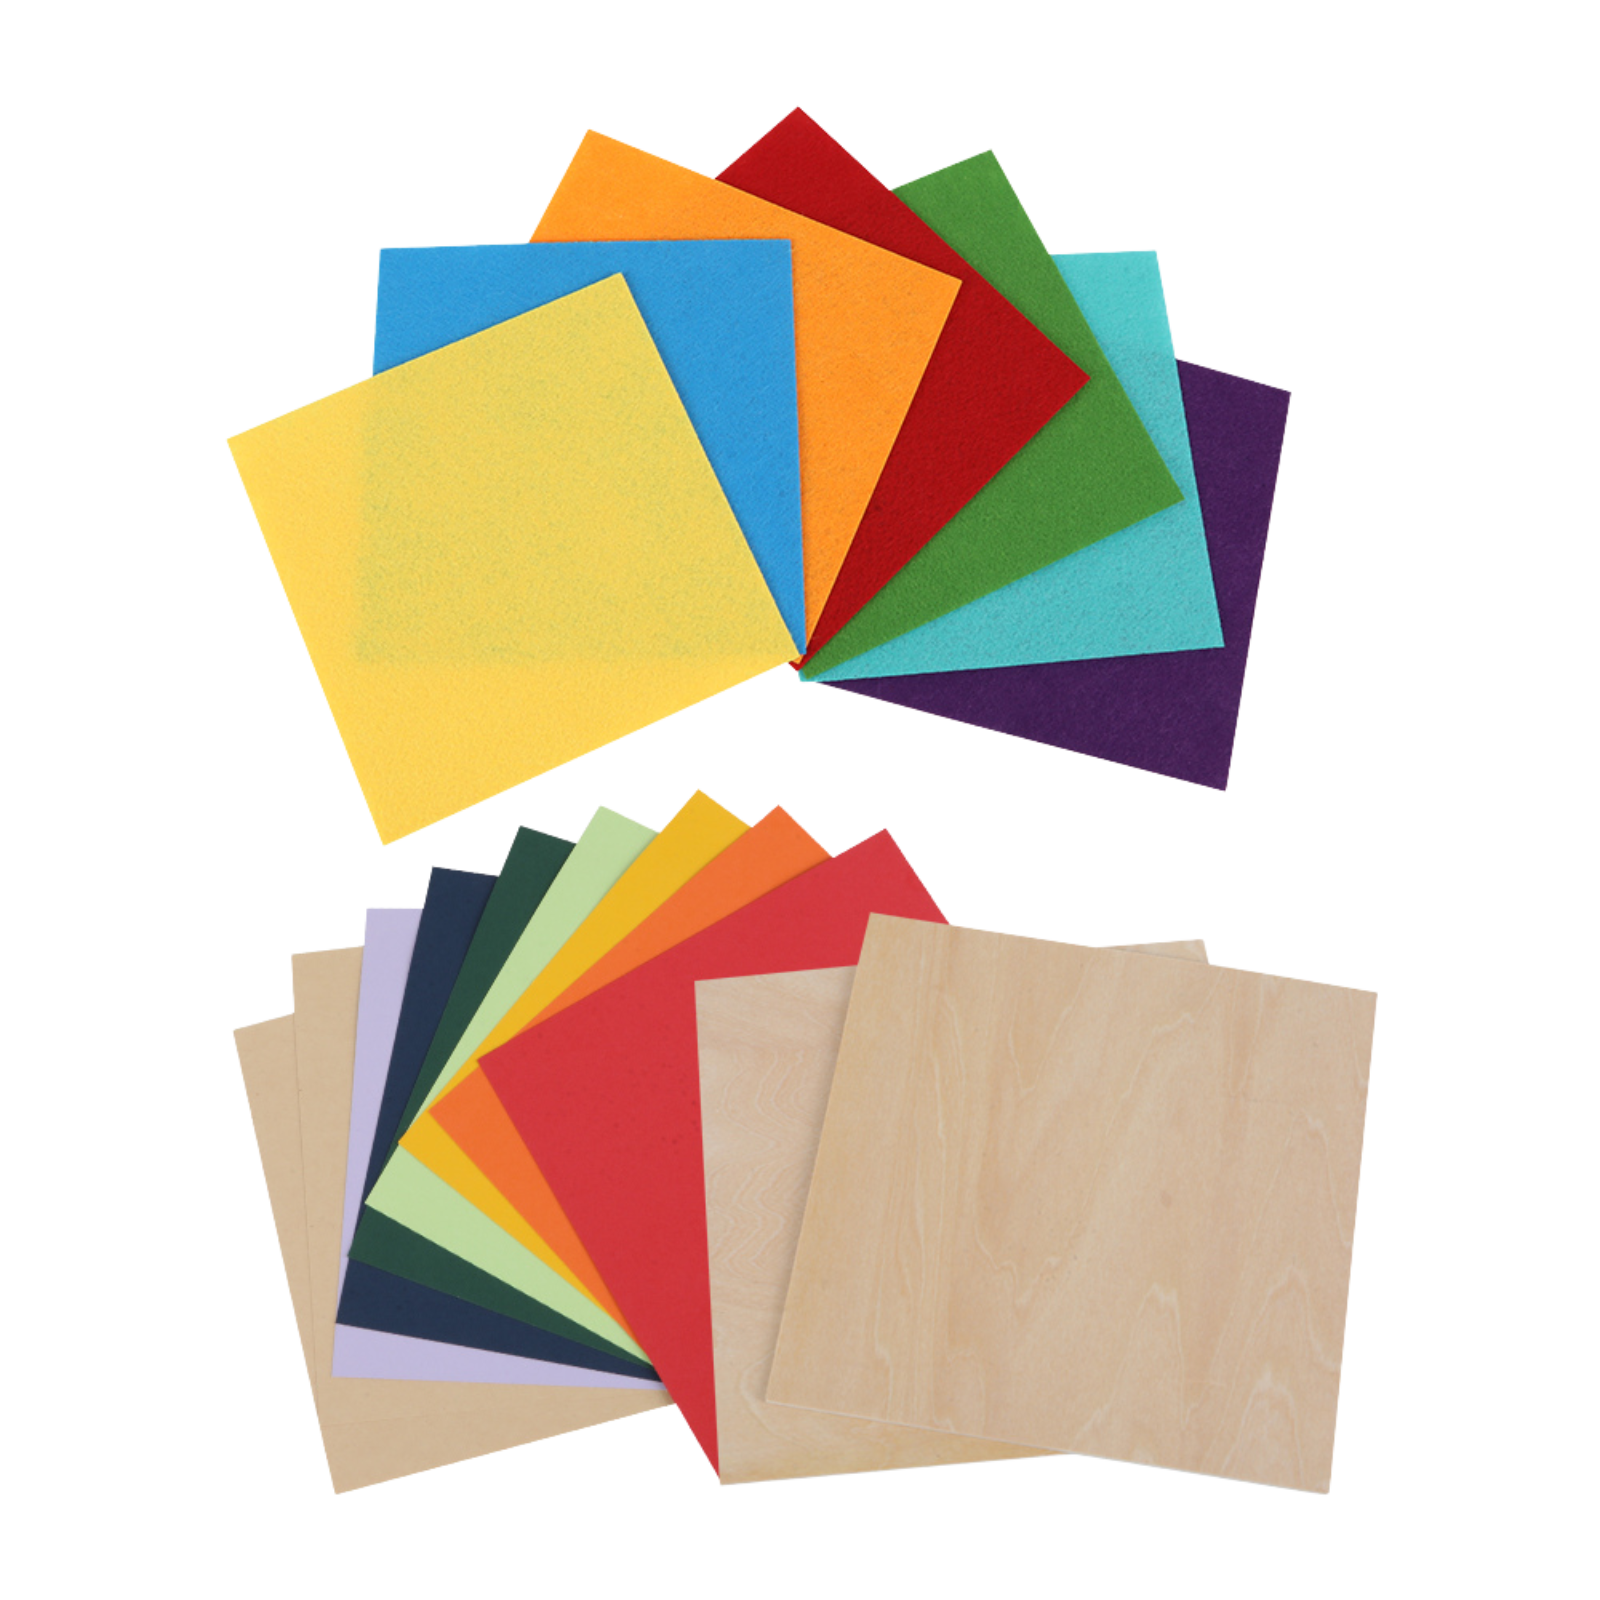
What Fabric Can be Laser Etched
Laser etching works on many types of fabrics, especially those that react well to heat.
Please make sure to check the fabric’s ingredient list before you start to laser etch.
The best materials are those with natural fibers or synthetic blends that can darken, lighten, or texture when exposed to a laser.
Fabrics that can be laser etched include:
- Denim – Excellent contrast and high-detail results
- Cotton – Light burn effect, good for logos and patterns
- Polyester – Produces clean light marks or texture changes
- Fleece – Creates smooth, high-contrast designs
- Leather & Faux Leather – Very detailed surface etching
- Wool – Subtle texture effects
- Microfiber – Fine shading and gradients
- Canvas – Bold, visible markings
General rule:
If the fabric can darken, lighten, or slightly burn on the surface without melting through, it can usually be laser etched.
3 Steps to Start Fabric Laser Etching
Starting fabric laser etching is much easier than it looks.
With the right laser, the right fabric, and a few basic settings, you can create high-contrast patterns, logos, and detailed textures on clothing, accessories, and textile products.
Here’s a simple guide to help you get started:
- Choose the Right Laser and Fabric: Use a CO₂ or Diode laser for the best results, and pick fabrics that react well to heat—such as denim, cotton, polyester, fleece, leather, or canvas.
- Prepare Your Design and Settings: Load your design, set low–medium power, high speed, and keep the focus sharp. Always run a small test patch first to check the color change and texture.
- Etch and Clean: Secure the fabric, run the etching pass, and then wipe or brush off any loose fibers. Adjust settings as needed for clearer contrast and smoother results.
Laser Engraving Fabric Settings You Should Know
When working with fabric, the safest and most effective workflow is simple: test first, then engrave.
Different textiles react very differently to heat, so a quick material test prevents mistakes and helps you find the perfect settings.
1. Run a Material Test
Always begin with a small test grid or sample.
Why? Because fabrics vary widely in thickness, weave, color, and fiber composition—cotton burns differently than polyester, denim reacts differently than fleece, and leather requires completely different power.

A material test lets you dial in the ideal combination of low–medium power, high speed, and tight focus without risking burn marks, holes, stretching, or uneven results.
For an easy first attempt, use low power and high speed so you can etch the fabric rather than melt it.
2. Etch the Final Design
Once the test patch looks clean and consistent, apply those settings to your actual design.
Secure the fabric, run a fast single pass, and clean off any loose fibers.
This ensures sharp lines, smooth shading, and minimal fabric damage.
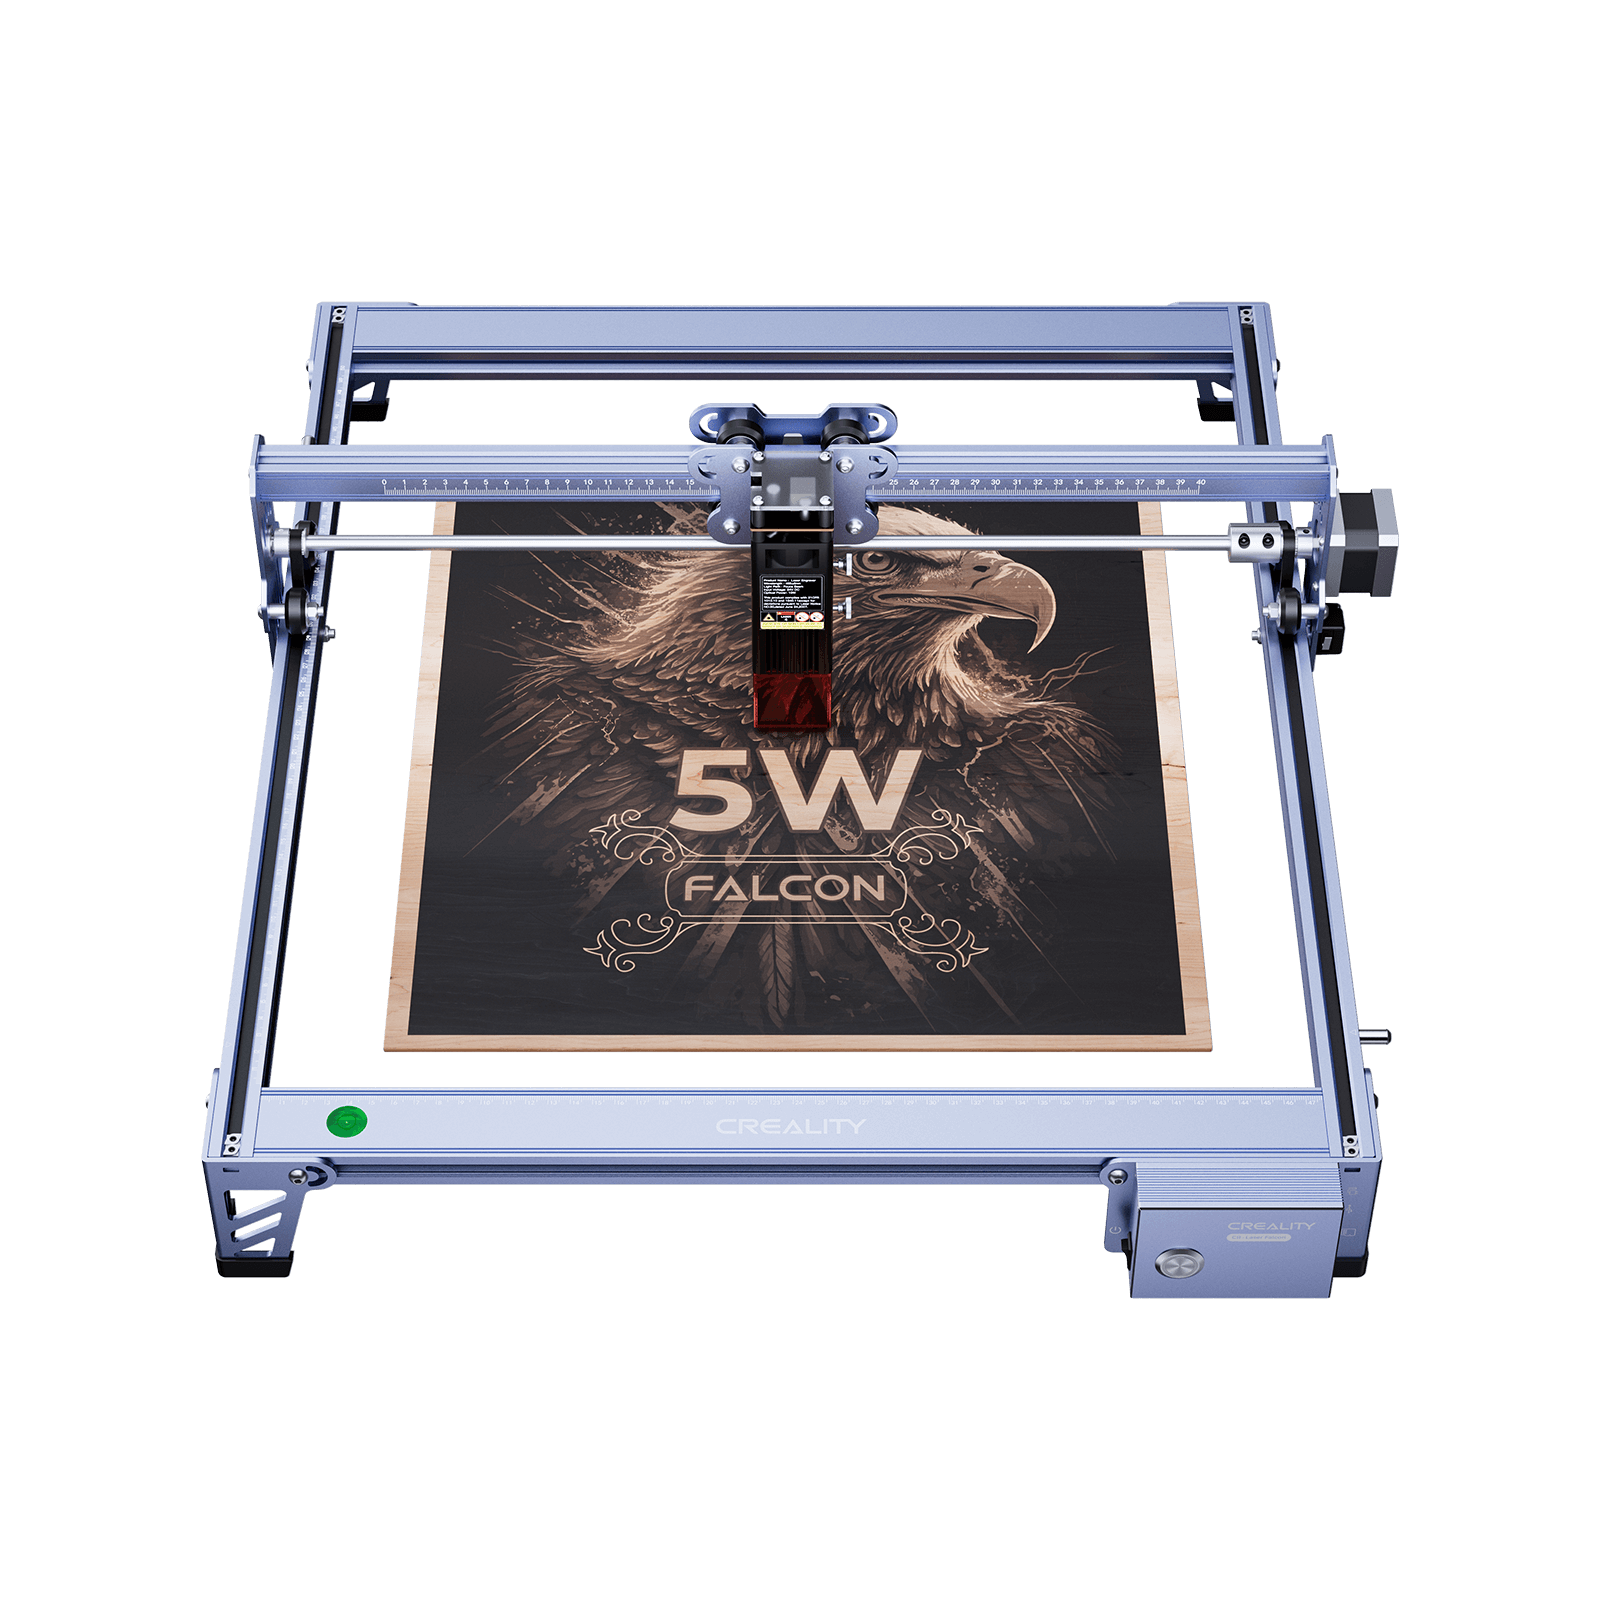
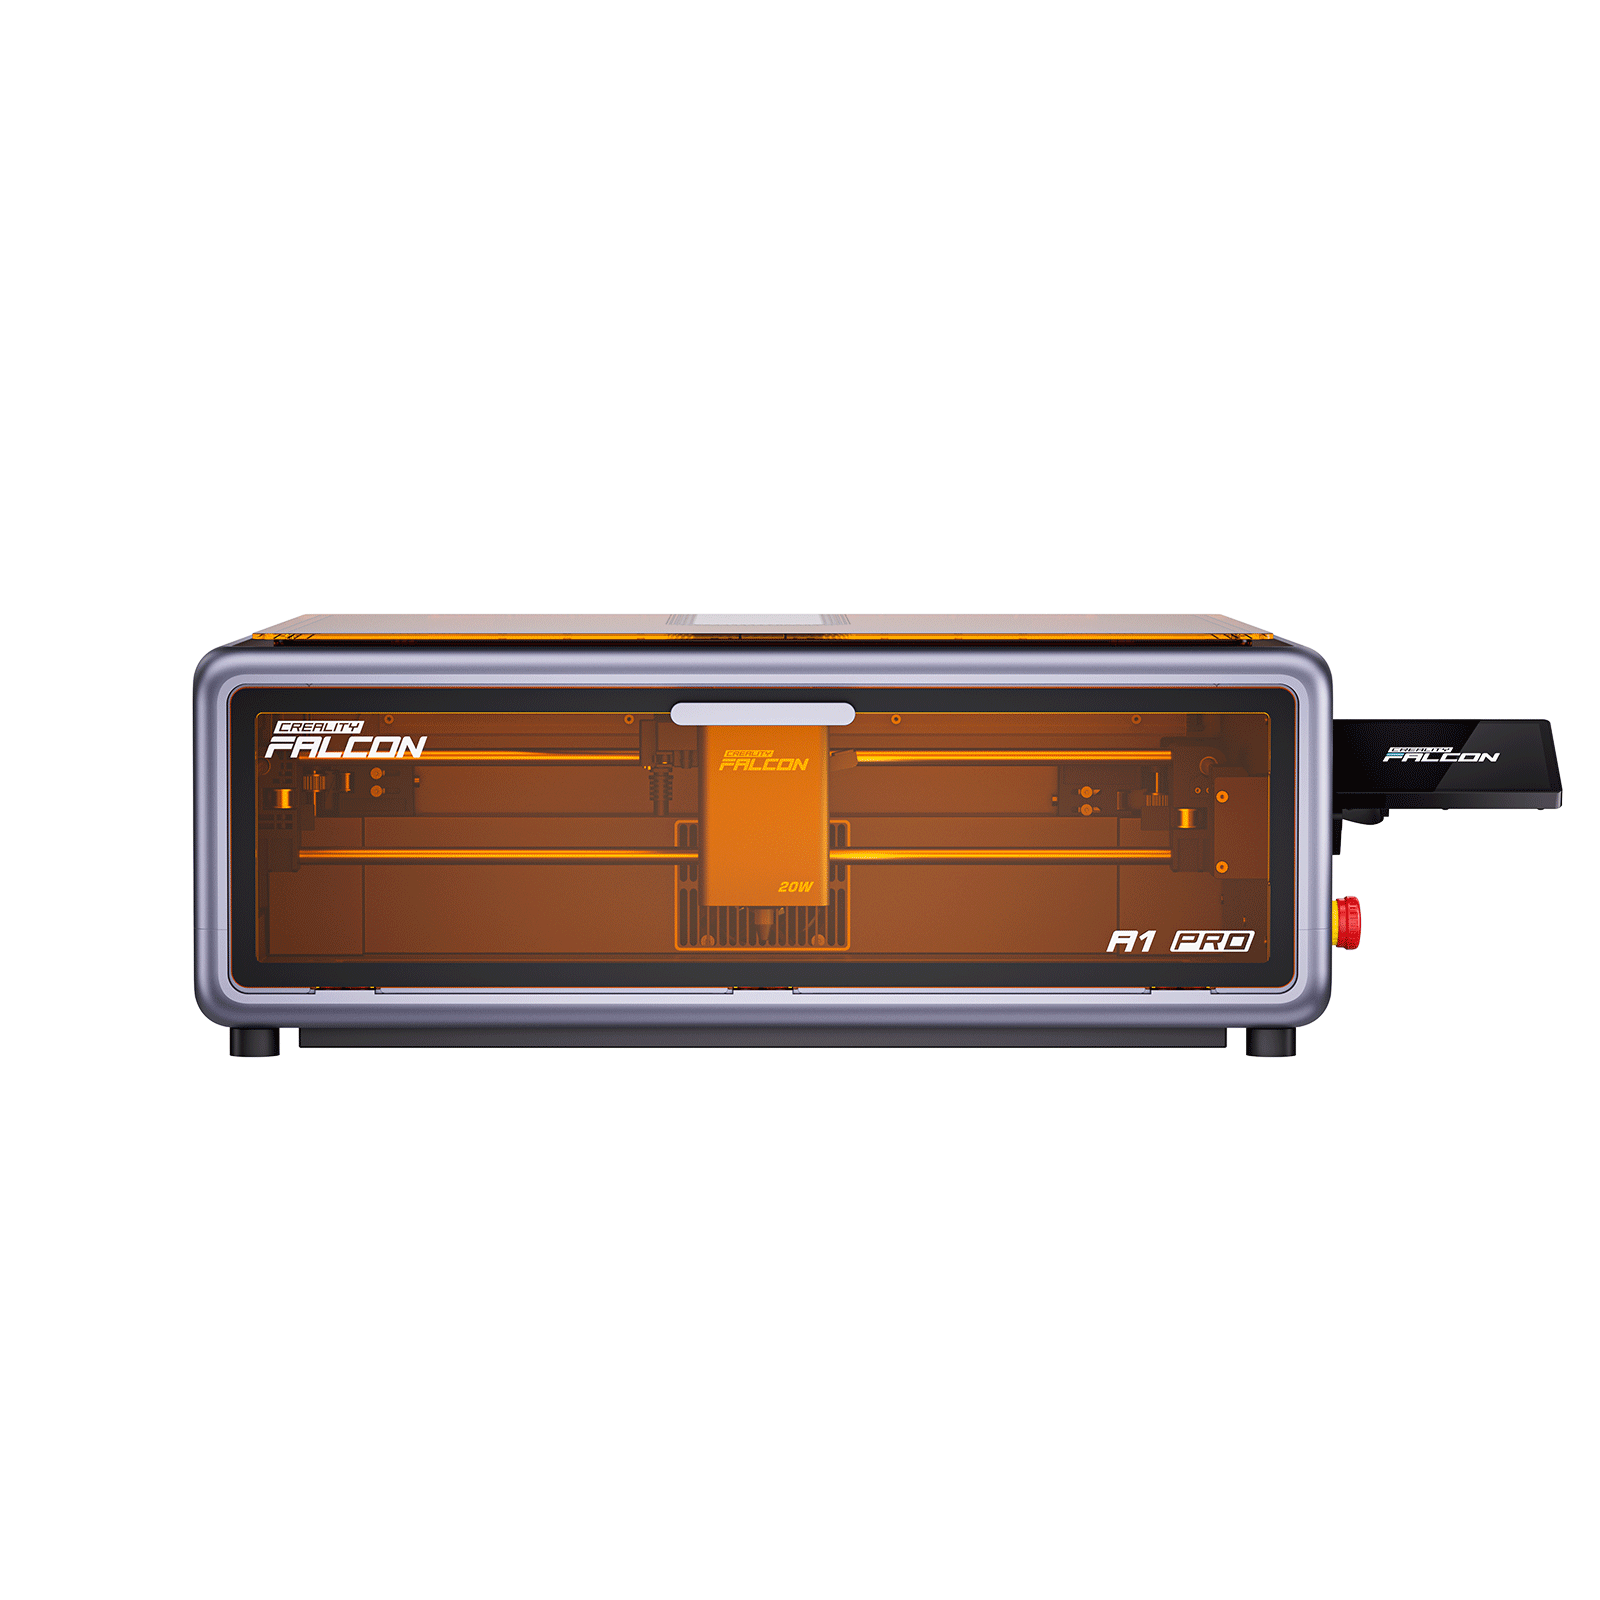
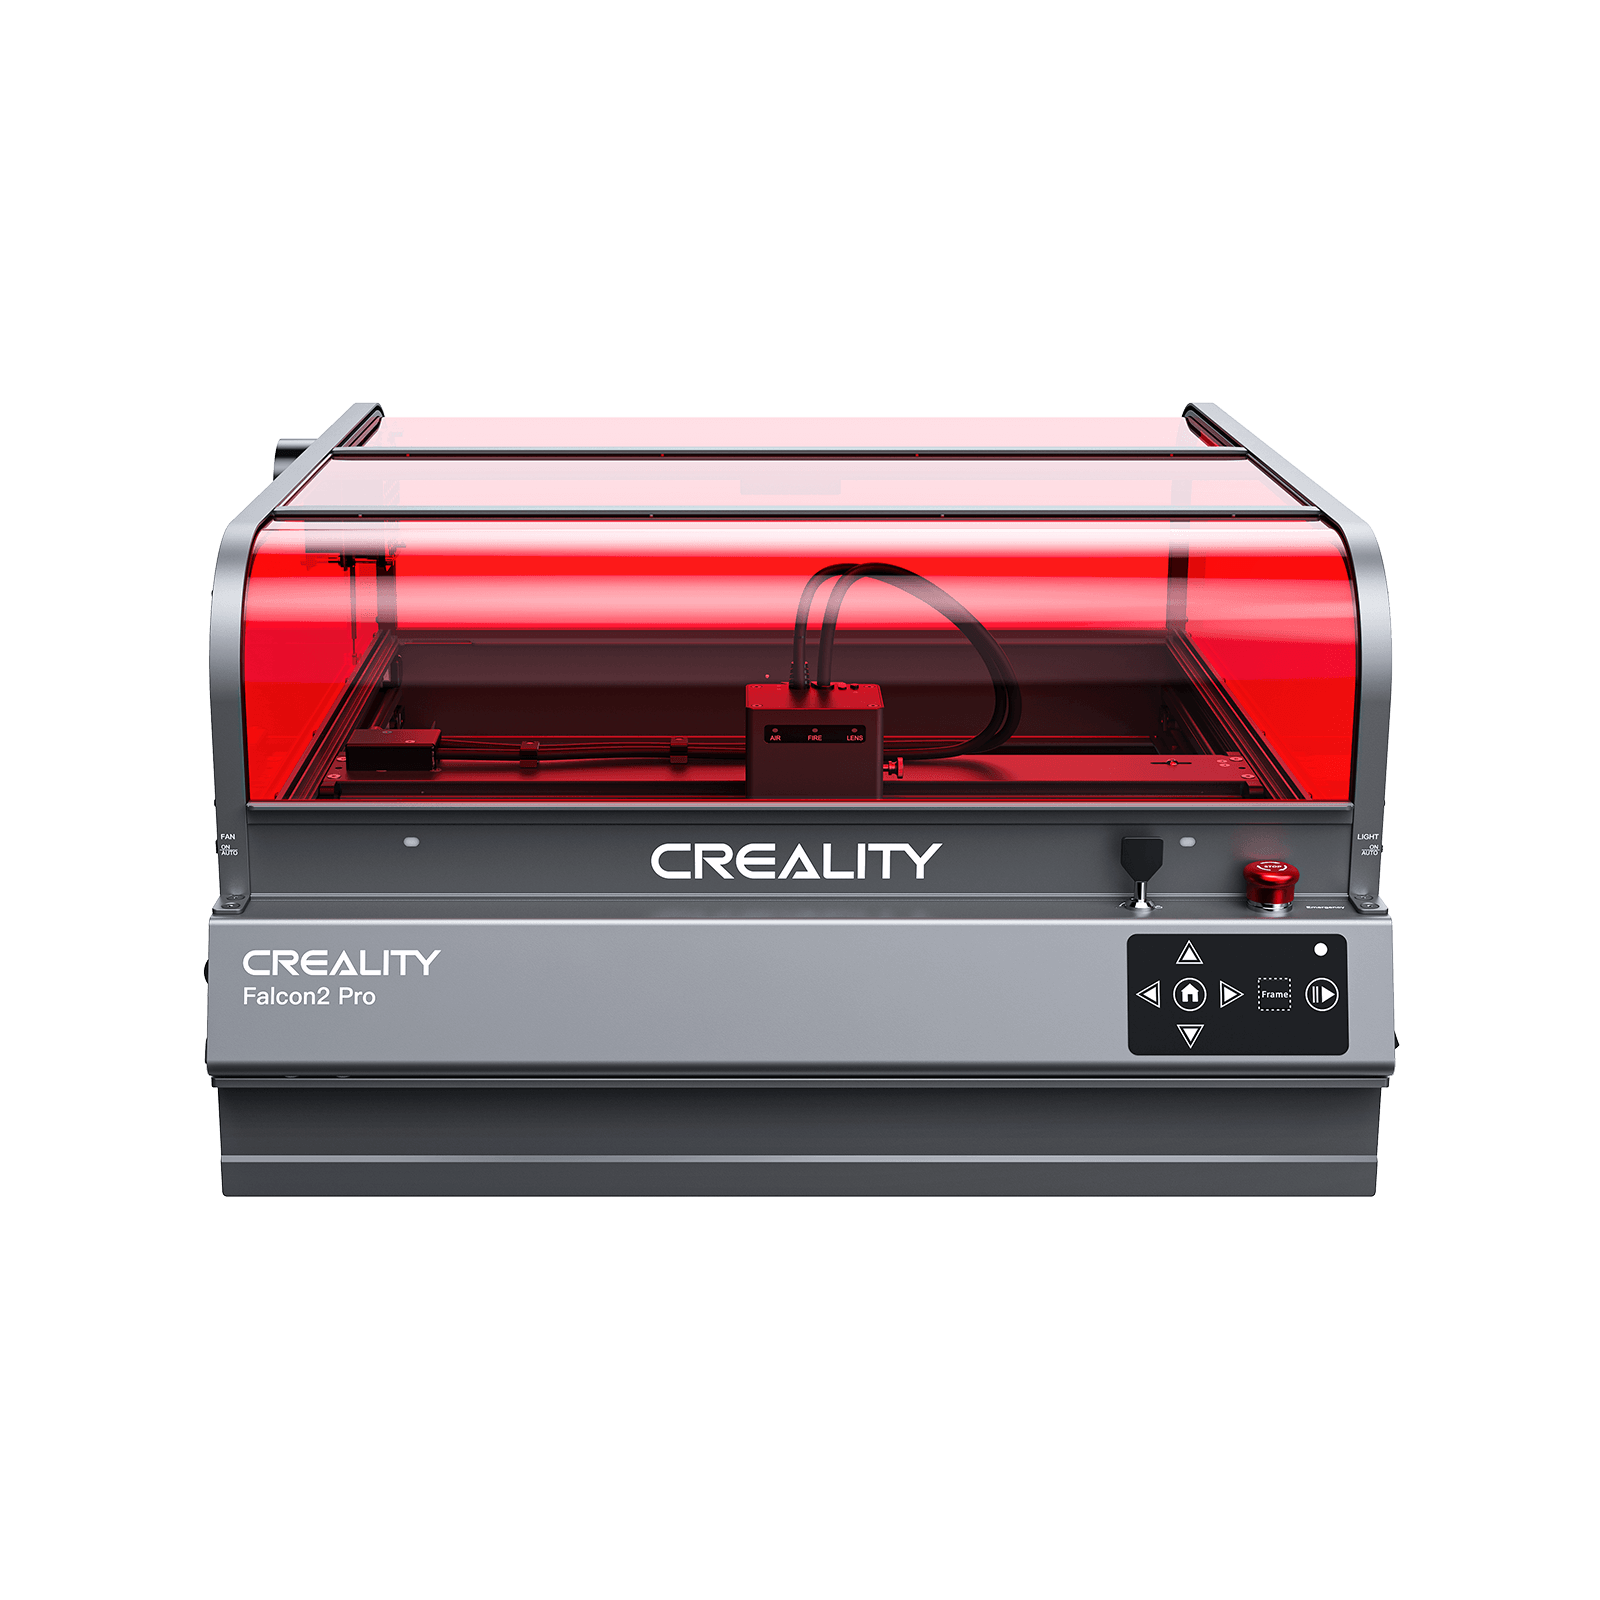
Laser Engraver for Fabric Laser Etching Recommended
If you’re looking for a laser engraver that performs well on non-metal materials such as fabric, wood, and acrylic, the Falcon A1 Pro 20W is an excellent choice to get started.

With adjustable power settings, a stable work platform, and broad material compatibility, the Falcon A1 Pro 20W gives beginners and creators the freedom to experiment with logos, patterns, and texture effects across a variety of fabrics.
Whether you're personalizing clothing, creating textile art, or adding branding to leather goods, this machine delivers professional-level results in a compact, user-friendly package.
If you’re ready to explore fabric laser etching with confidence, the Falcon A1 Pro 20W offers the ideal combination of performance, safety, and ease of use.
The End
Fabric laser etching opens up a whole new world of creativity, and the best part is—you don’t need to be an expert to get started.
With the right laser, a little testing, and a bit of curiosity, you can turn ordinary fabrics into something truly unique.
Whether you're customizing clothes, making gifts, or adding a personal touch to your brand, laser etching gives you endless room to play and experiment.
So go ahead—grab a piece of fabric, run a quick test, and start creating.
You’ll be surprised by how quickly you can bring your ideas to life.
Happy etching!
Recent News

12 World Cup Laser Engraving Ideas for Fans
Explore world cup laser engraving ideas for fan gifts, tumblers, coasters, signs, and safe soccer-inspired designs makers can...

What Materials Does a Laser Cutter Cut Safely
Find out what materials does a laser cutter cut, which plastics to avoid, and how CO2, diode, and...

7 Best Laser Engravers Under $1000
Quick Answer:The best laser engraver under $1000 should be chosen by total setup cost, not machine price alone.For most...