


Your Easy Introduction to Glass Etching [3 Methods]
![Your Easy Introduction to Glass Etching [3 Methods]](http://www.crealityfalcon.com/cdn/shop/articles/featured-image-of-glass-etching_917fe068-bd51-4cc1-a504-bf580957db97.webp?v=1764232716&width=1600)
Ever looked at a glass cup or bottle and wished you could mark it with something personal—your name, a symbol, a little piece of art?
Glass looks delicate and untouchable, but here’s the fun secret: there is not just one way to carve your ideas into it right at home.
Curious which method suits you best?
Let’s walk into the world of glass etching step by step…and uncover the options one by one.
Part 1: What Is Glass Etching
Glass etching is the process of creating a frosted, matte, or carved effect on the surface of glass.
Instead of scratching the glass by accident, you intentionally “mark” it to form patterns, names, logos, or decorative designs.
The etched areas turn cloudy or textured, while the rest of the glass stays smooth and clear.

It’s a simple way to transform ordinary cups, bottles, ornaments, or windows into personalized pieces of art—without needing advanced skills or expensive tools.
Part 2: Is Glass Etching Easy
Glass etching is easier than most people think.
You don’t need special art skills, and you don’t have to spend a lot of money to get started.
In fact, some methods only require a stencil and a small bottle of etching cream.
Others feel more hands-on, like using a simple engraving pen, while laser engraving offers clean, professional results with almost no effort.
No matter which approach you choose, glass etching is surprisingly accessible—even for total beginners.
Part 3: 3 Methods for Glass Etching
There’s no single way to etch glass—in fact, that’s what makes this craft so fun.
Whether you prefer something quick and beginner-friendly, something hands-on, or something clean and high-tech, there are three simple methods you can choose from.
Method 1: Chemical Glass Etching
Chemical glass etching is the simplest and most beginner-friendly way to etch glass at home.
It works by applying a special etching cream that reacts with the surface of the glass, creating a soft, frosted design.
You don’t need machines, experience, or expensive tools—just a stencil, the cream, and a few minutes of patience. It’s perfect for names, small icons, and quick decorative projects.

How to Do Chemical Glass Etching (3 Easy Steps)
Step 1 — Prepare the Glass & Apply the Stencil
Clean the glass thoroughly to remove fingerprints and oils. Then place a vinyl stencil or adhesive design onto the surface, making sure the edges are firmly pressed down so the cream won’t leak.
Step 2 — Apply the Etching Cream
Use a brush to spread a thick, even layer of etching cream over the open areas of the stencil. Let it sit for 3–5 minutes while the chemical reaction creates the frosted effect.
Step 3 — Rinse and Reveal the Design
Rinse off the cream under running water, peel off the stencil, and dry the glass. Your custom etched pattern will appear permanently on the surface—clean, simple, and ready to use.
Method 2: Hand Glass Etching
Glass hand etching uses small handheld tools—like an engraving pen or a rotary tool—to carve lines directly into the glass.
Instead of relying on chemicals, you’re physically scratching the surface to create patterns, letters, or textures.
This method feels more artistic and hands-on, making it great for people who enjoy crafting and want a more personal, handmade look.

How to Do Glass Hand Etching (3 Easy Steps)
Step 1 — Choose the Right Tool
Use a handheld engraver, rotary tool, or engraving pen with a carbide or diamond-tip bit. Clean your glass and secure it so it won’t move while you work.
Step 2 — Trace Your Design Slowly
Place a printed template inside or behind the glass, then gently trace over the lines with your engraving tool. Work slowly and lightly—let the tool do the cutting. You can deepen the lines by going over them multiple times.
Step 3 — Add Texture and Clean the Surface
Once the main lines are done, add small details or shading if you want. Wipe off the dust, rinse the glass, and check your work. The design will have a handmade, slightly textured feel that's unique to this method.
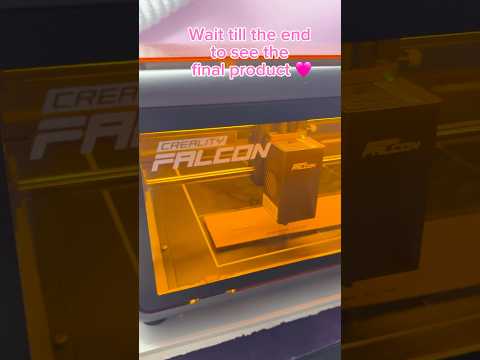
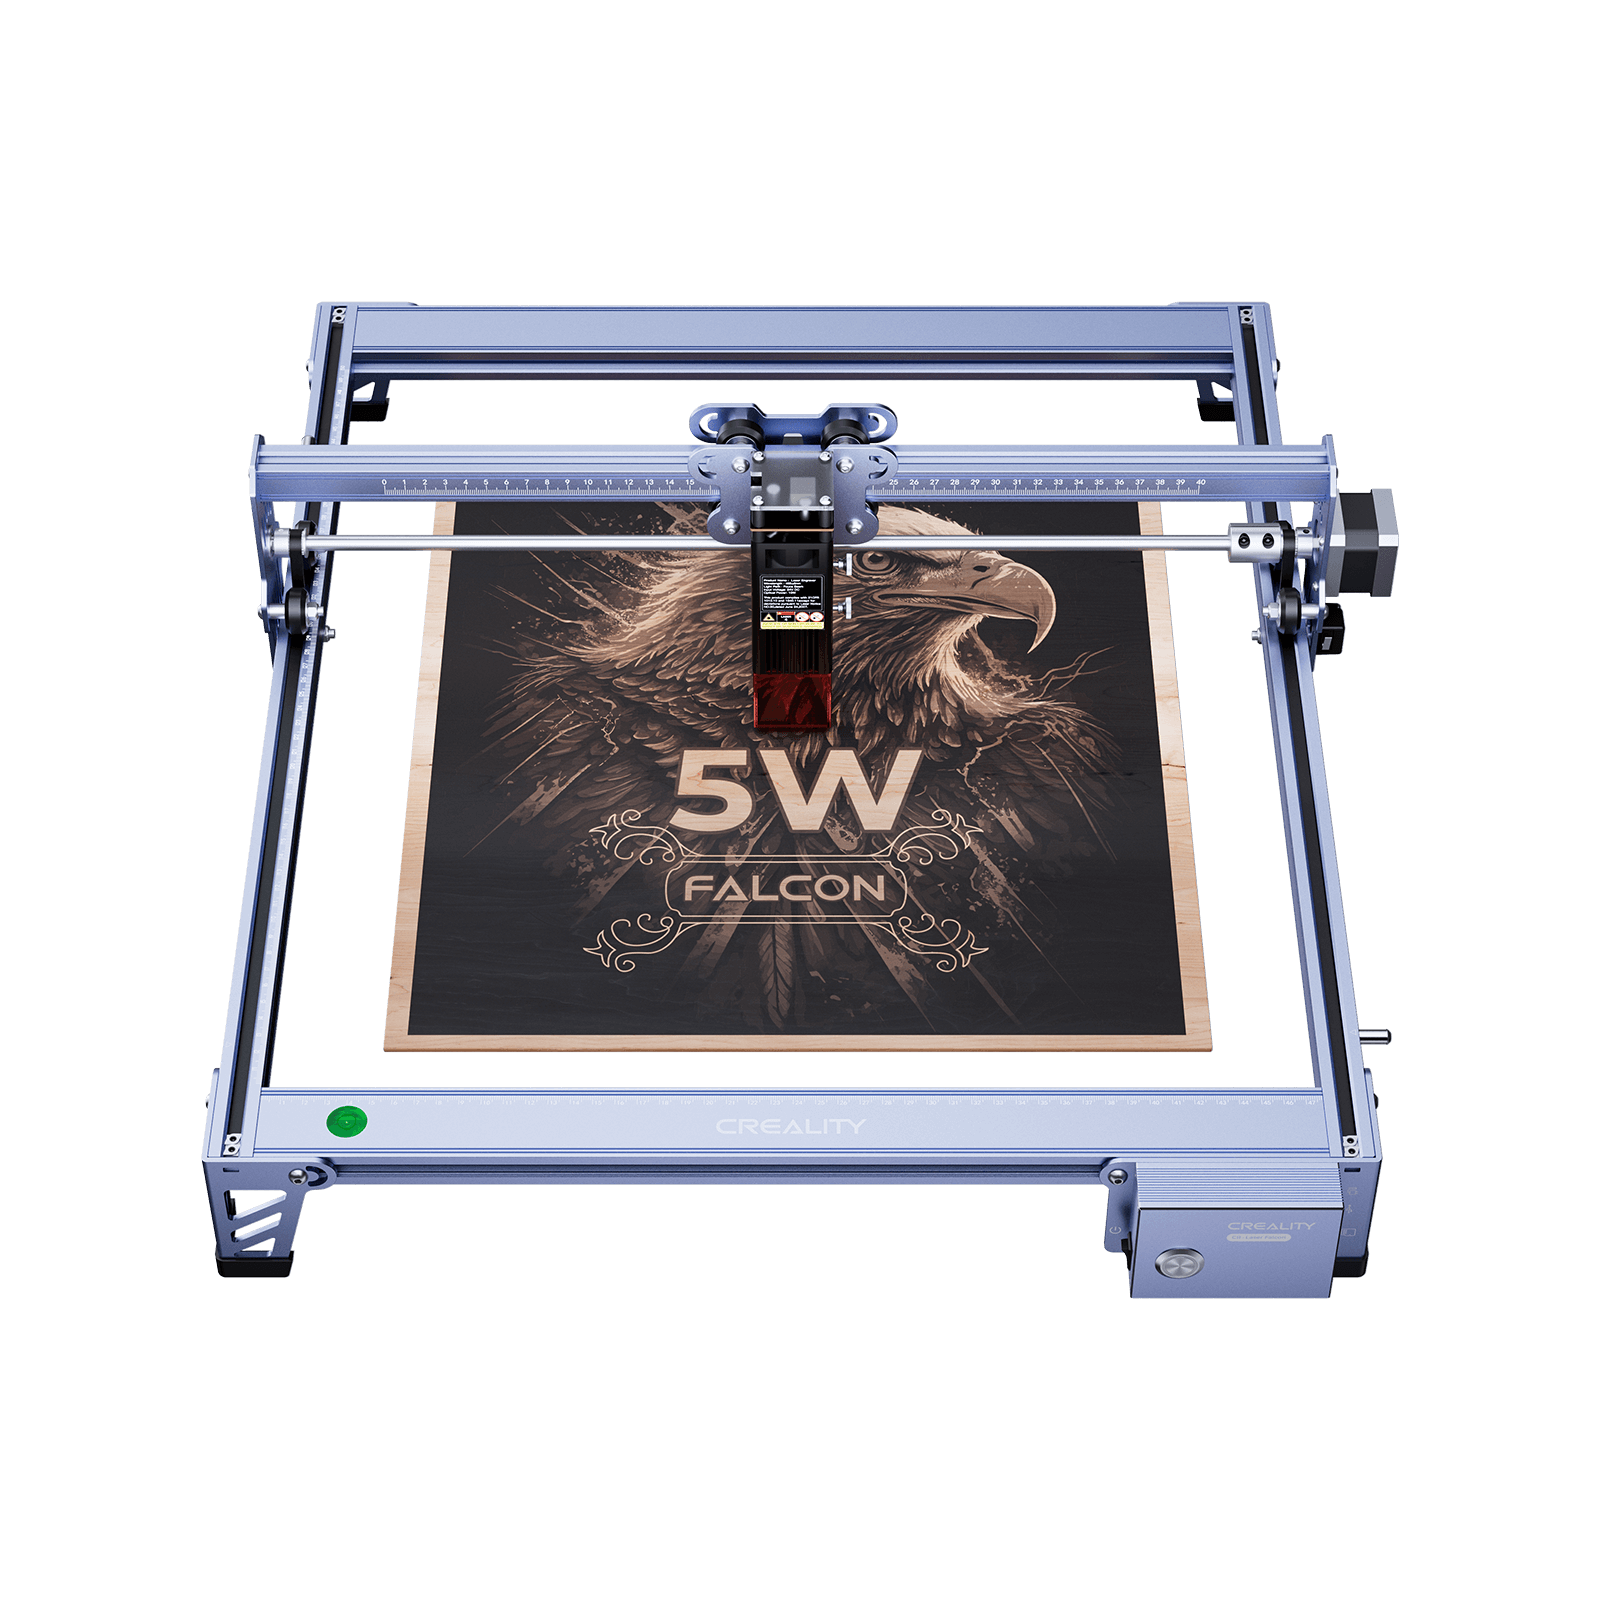
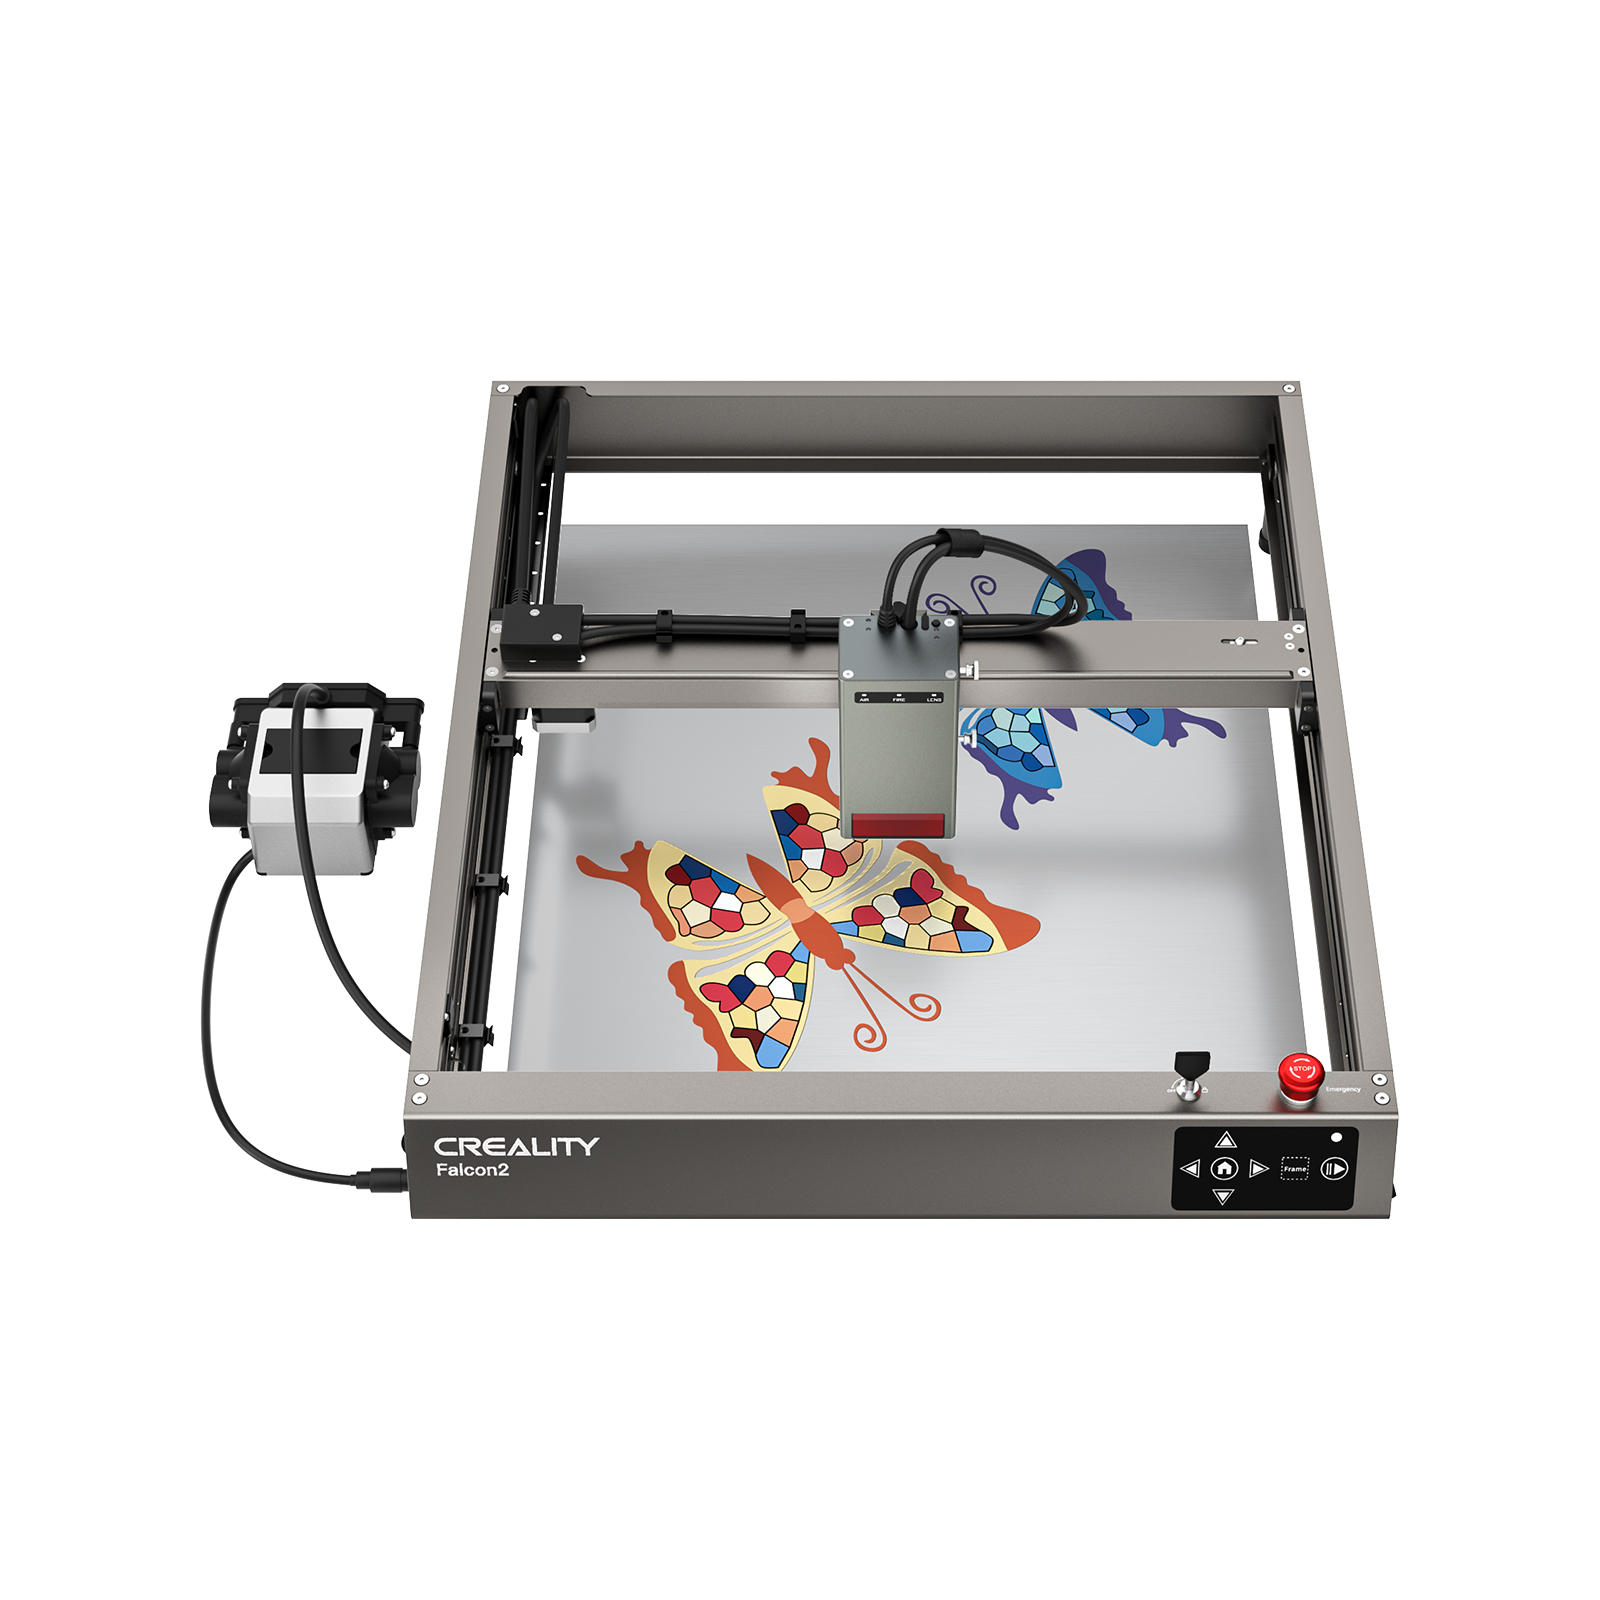
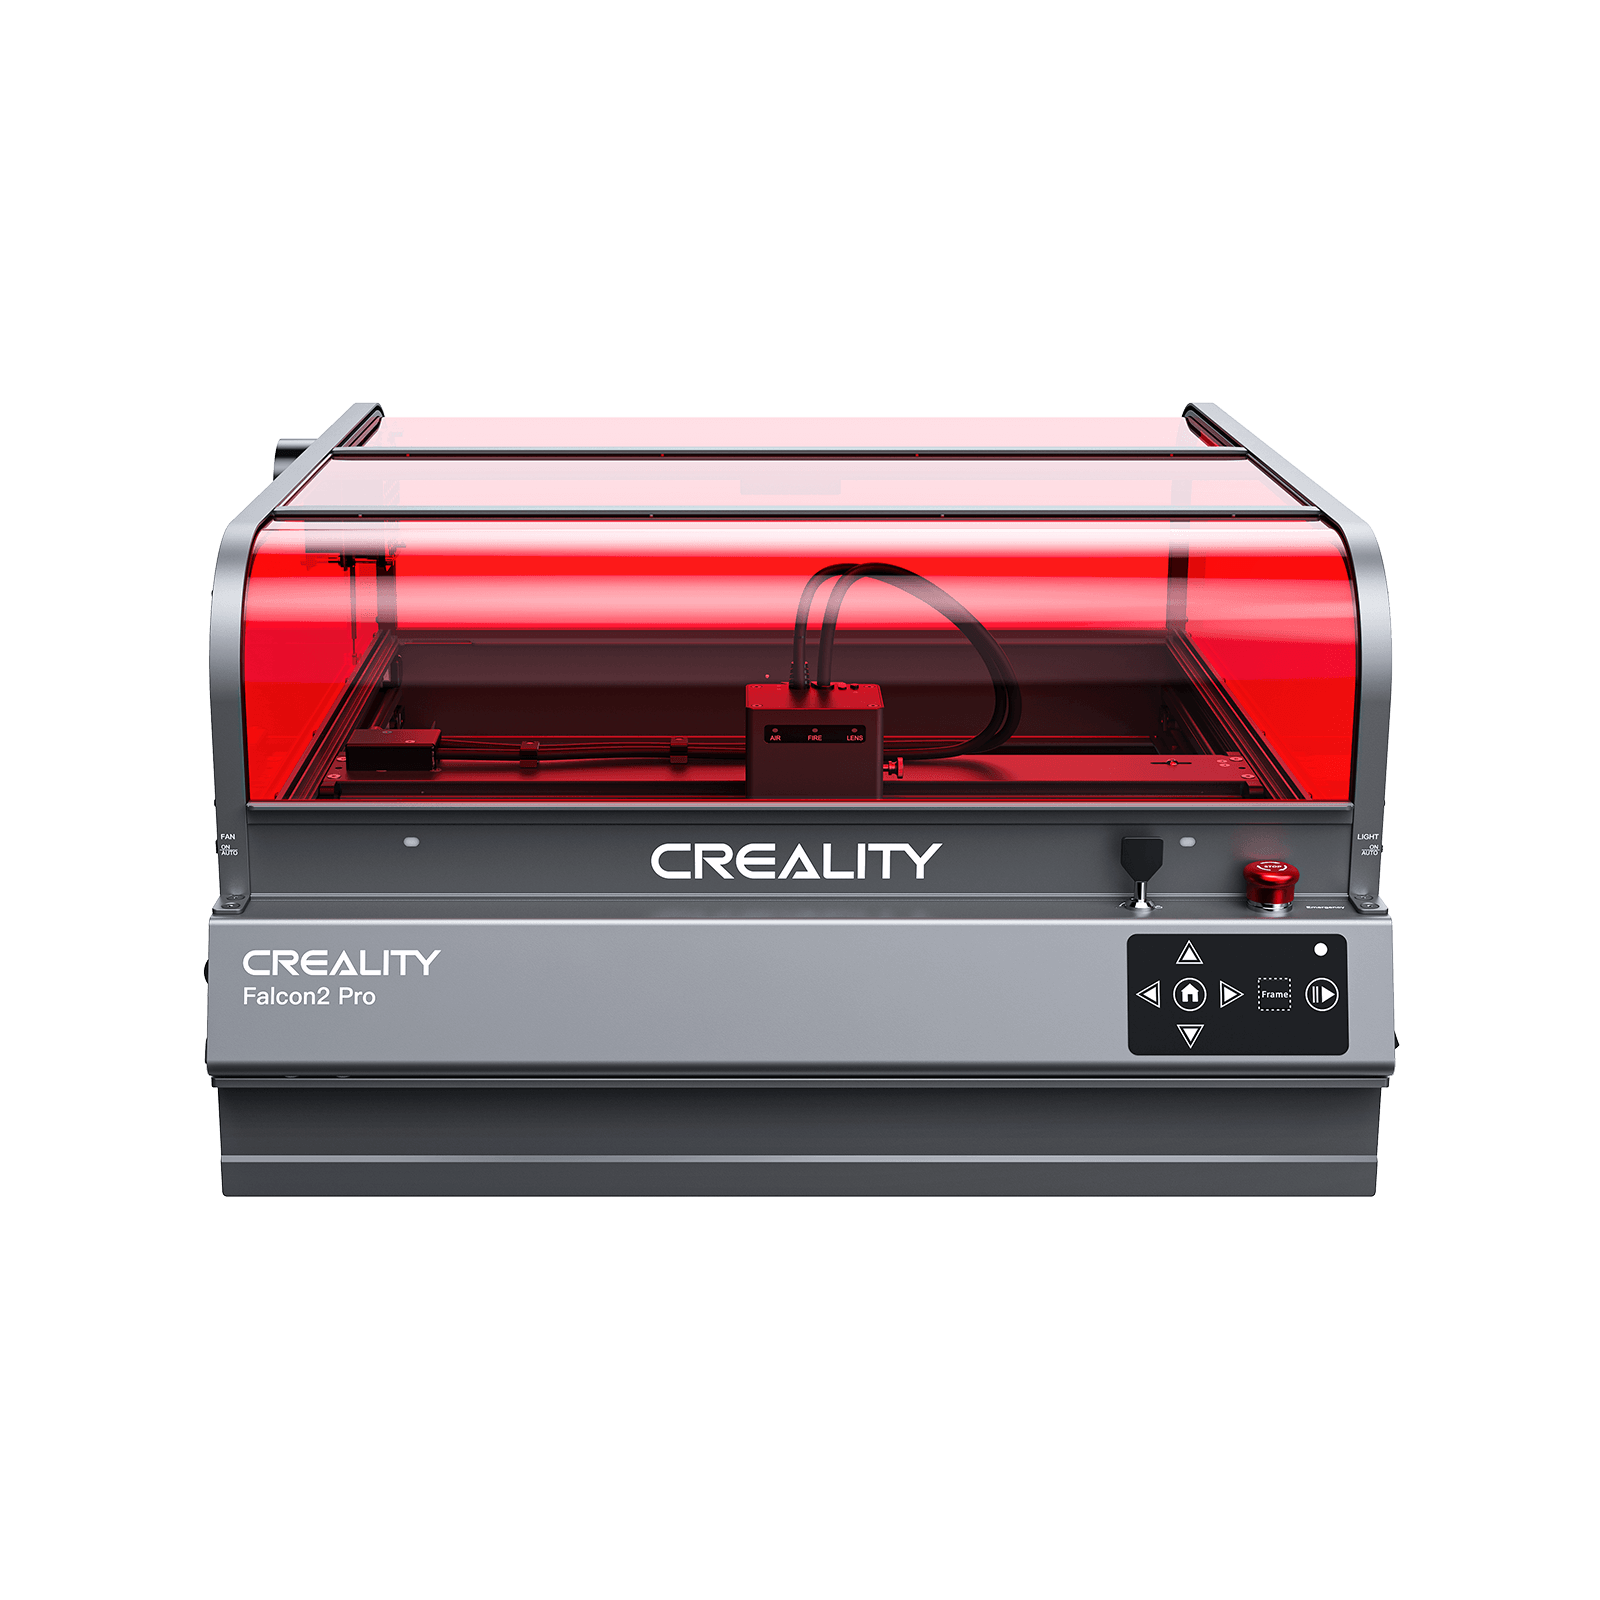
Method 3: Laser Glass Etching
Laser glass etching uses concentrated laser energy to mark the surface of the glass, creating a frosted, detailed design with almost no manual effort.
Unlike chemical etching or hand tools, a laser engraver can produce extremely fine lines, sharp text, and even photo-level patterns.
This method is ideal for anyone who wants professional-looking results—whether for gifts, small business projects, or personalized home décor.

How to Do Laser Glass Etching (3 Easy Steps)
Step 1 — Prepare Your Laser and the Glass
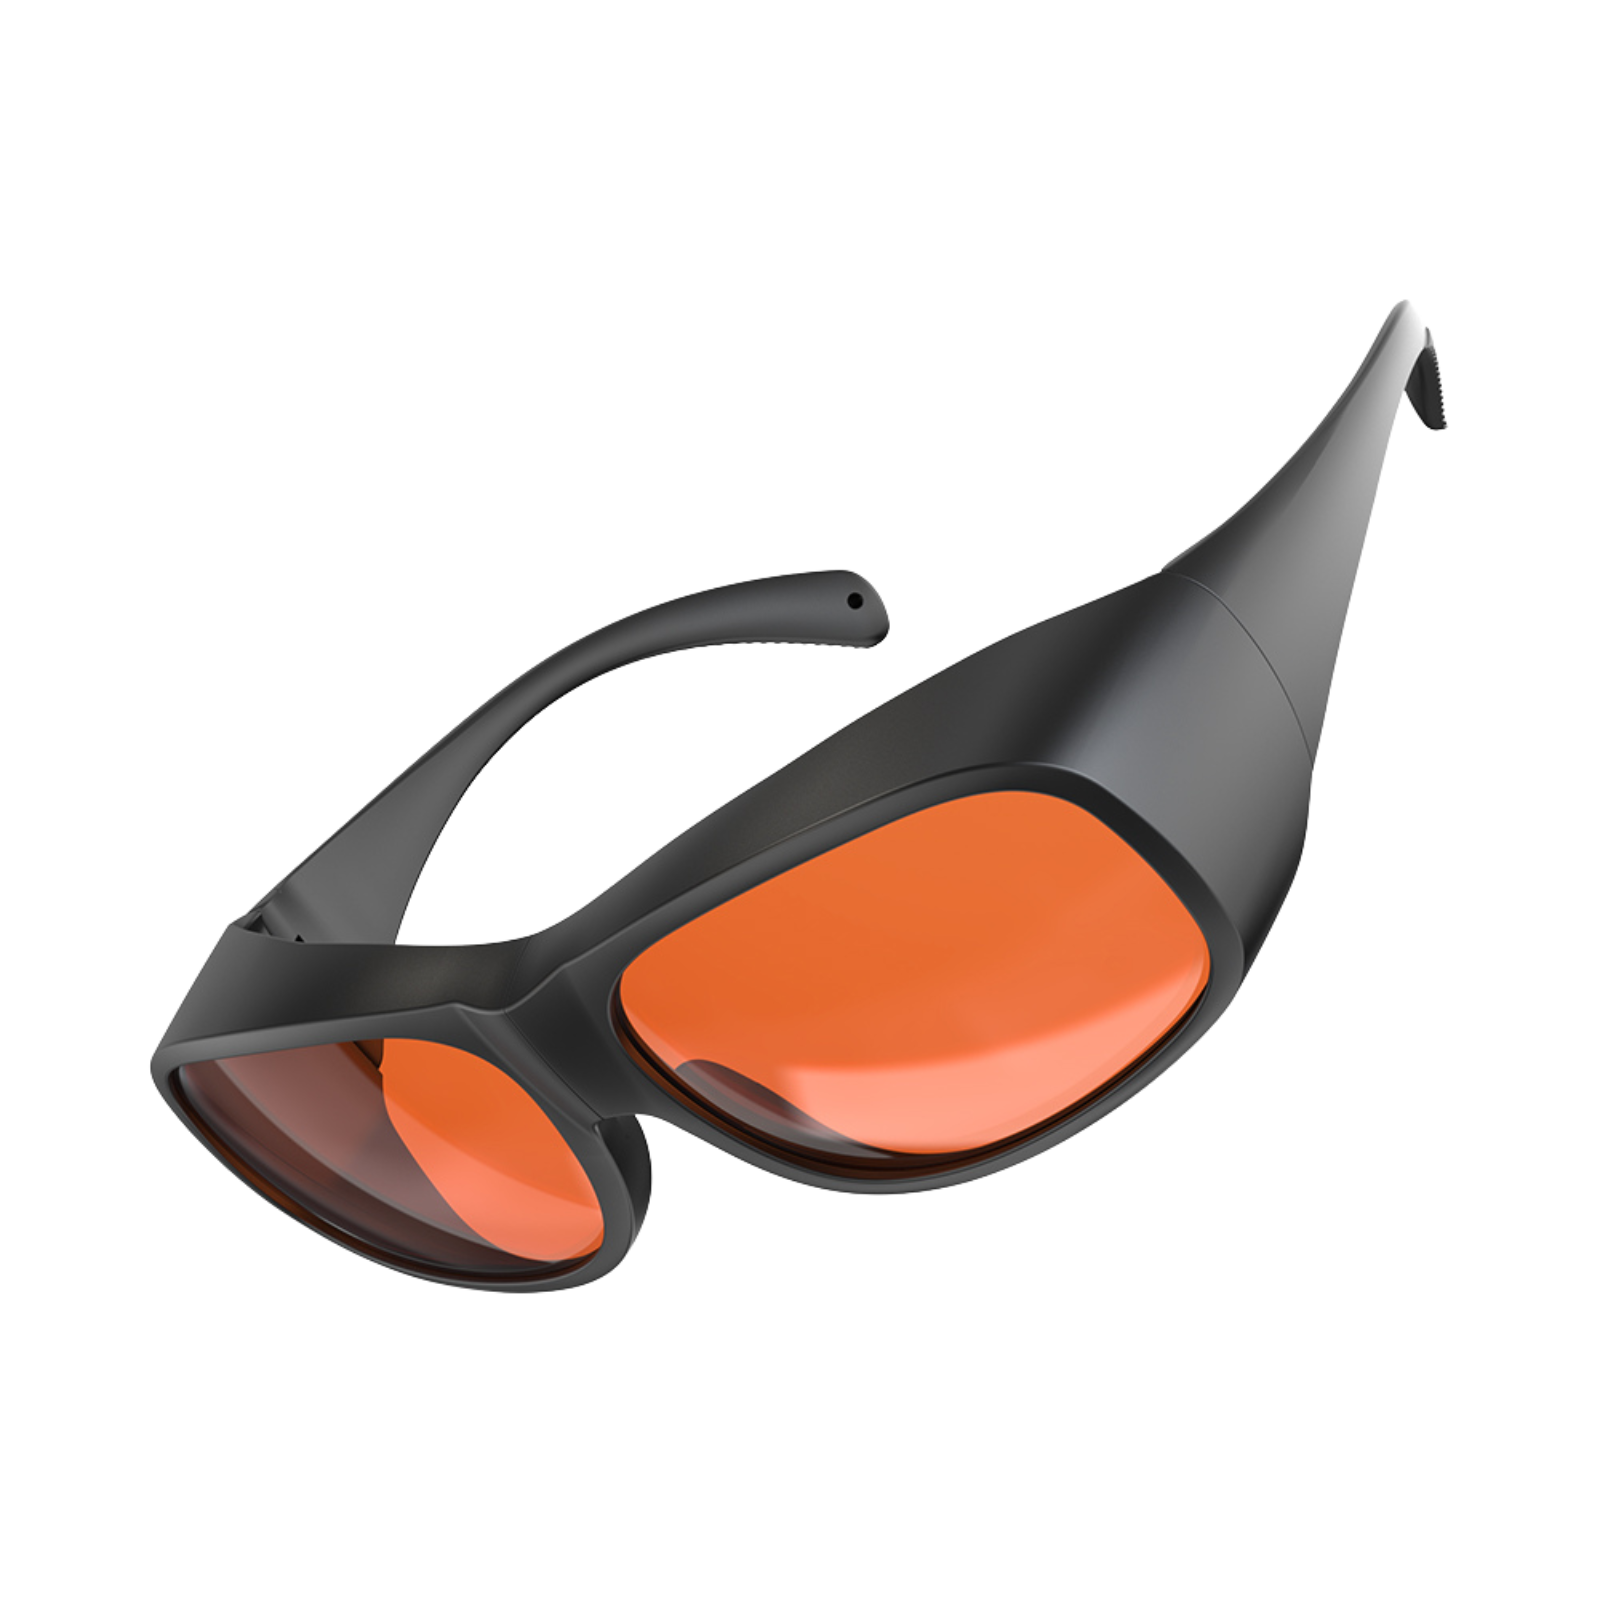
Clean the glass thoroughly and place it on a flat, stable surface. If you’re using a diode laser, attach an IR (1064 nm) module, since standard blue-light diodes don’t etch clear glass effectively.
Step 2 — Upload and Position Your Design
Import your SVG or image file into your laser software (LightBurn, LaserGRBL, or manufacturer software). Adjust size, power, and speed settings, then position the laser over the engraving area.
Step 3 — Start the Engraving
Begin the engraving process and let the laser work on its own. The beam will lightly fracture the surface of the glass, leaving a crisp, frosted design. Once done, wipe off any residue and admire the clean, professional finish.
Comparison Between the 3 Glass Etching Methods
|
Method |
Difficulty |
Cost |
Tools Needed |
Detail Level |
|
Chemical Glass Etching |
★☆☆ (Easy) |
Low |
Etching cream, stencil |
Medium |
|
Hand Glass Etching |
★★☆ (Medium) |
Medium |
Engraving pen or rotary tool |
Medium–High |
|
Laser Glass Etching |
★☆☆ (Easy, machine-assisted) |
High |
Laser engraver (IR laser recommended) |
Very High |
Part 4: Best Method for Glass Etching at Home
The best method for glass etching at home really depends on what you want to make and the tools you already have.
- If you’re new to crafting and want the simplest beginner option, chemical etching is the easiest way to create a clean, frosted design in just a few minutes.
- If you prefer something more hands-on, a small engraving pen offers more control and lets you add a personal, handmade touch.
- But if you’re looking for the most precise and versatile option, a laser engraver is hard to beat.
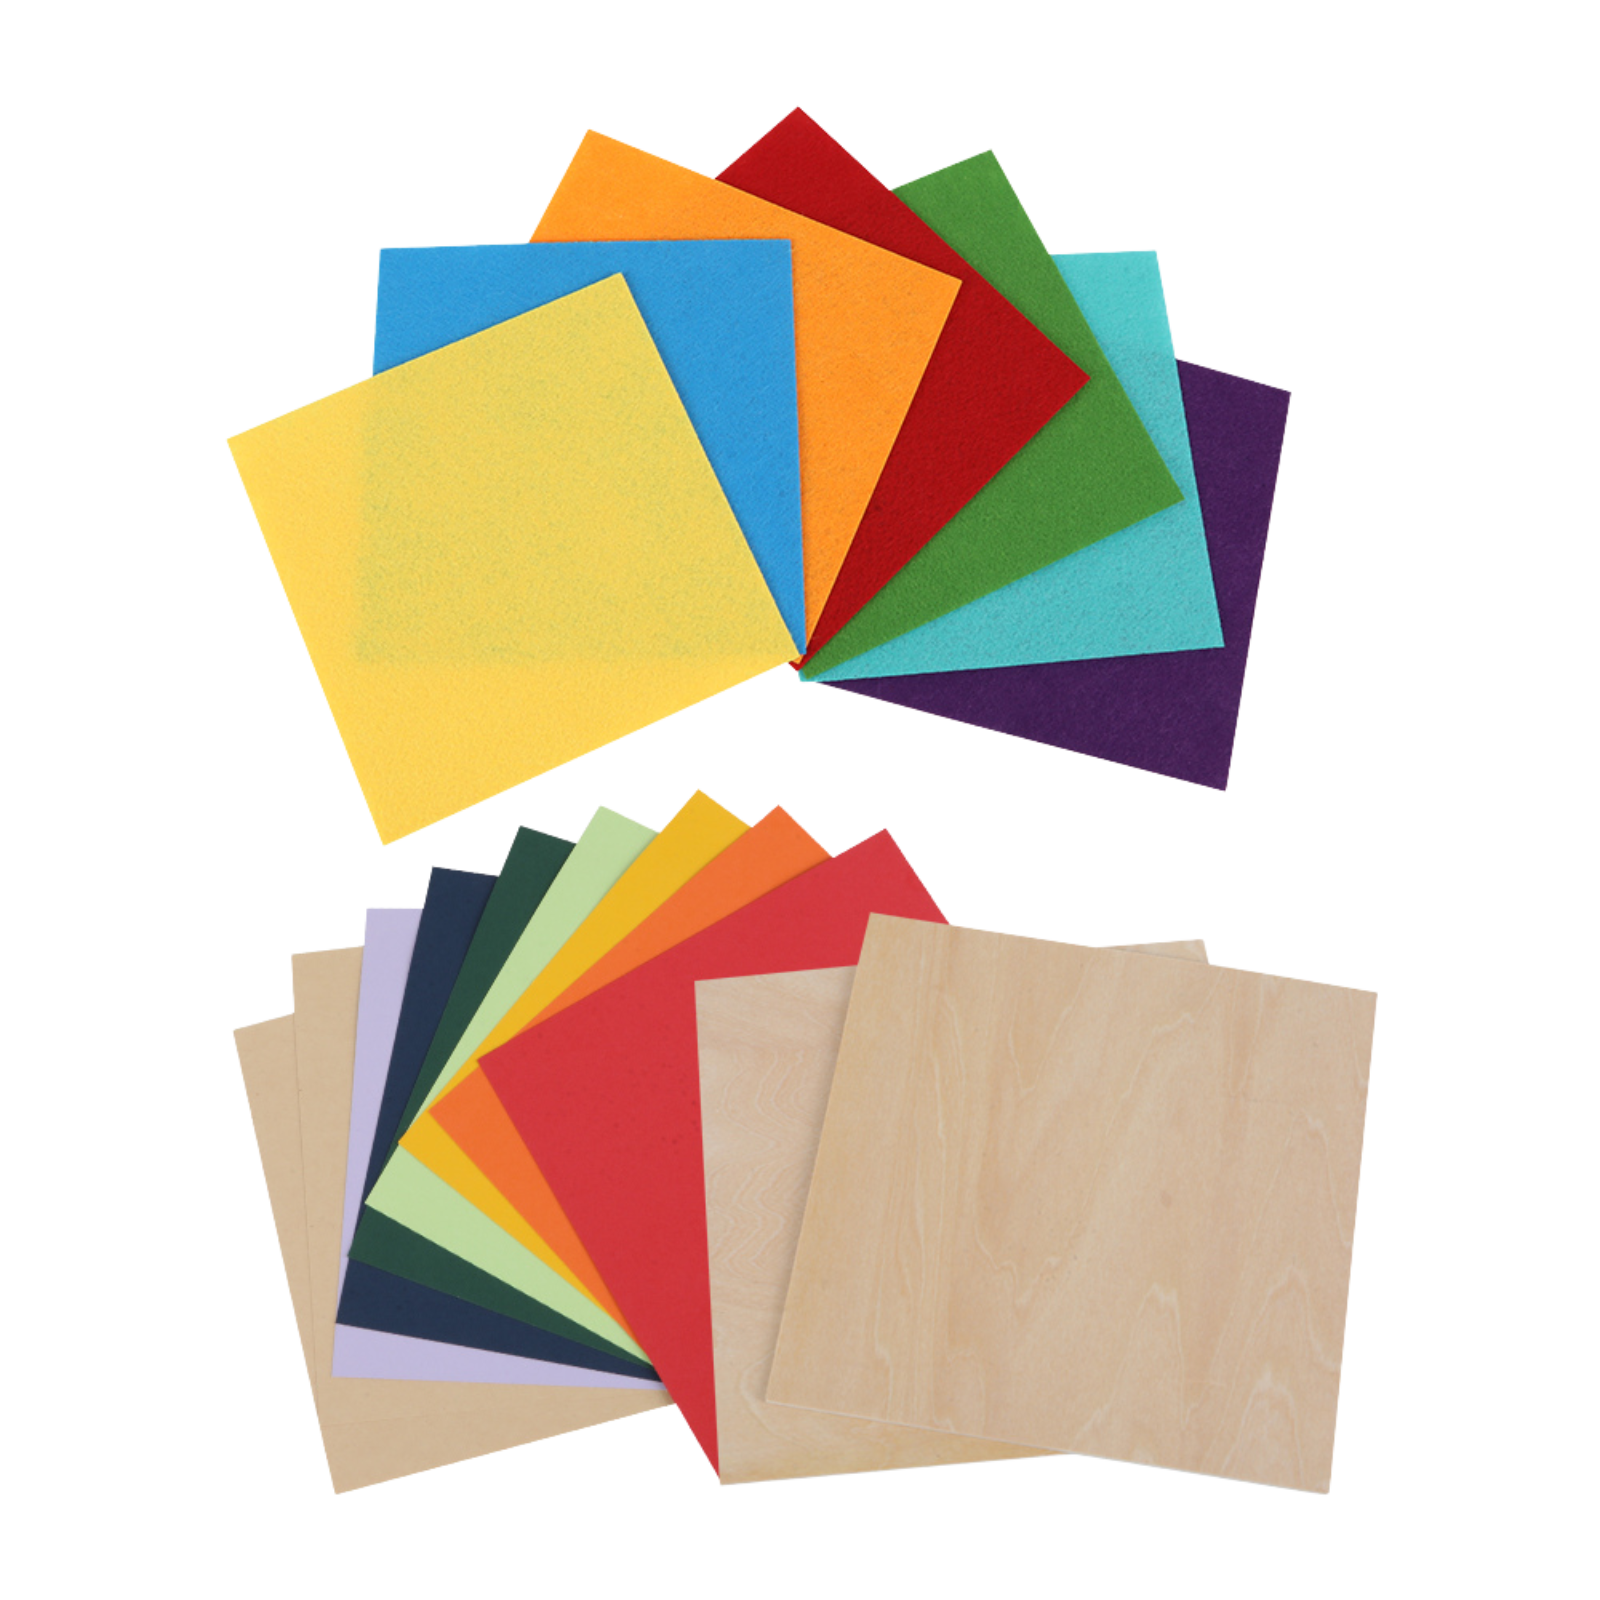
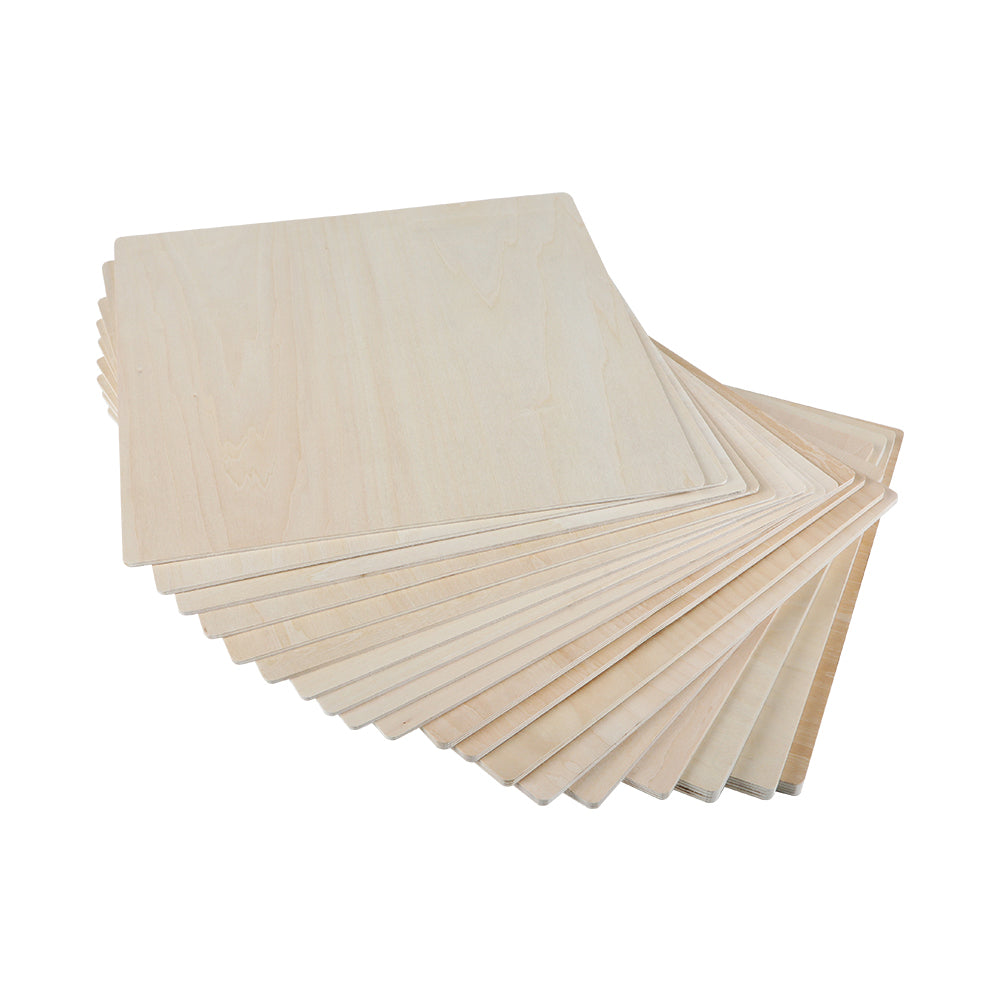
Not only does a laser engraver produce sharp, professional results on glass, but it also works beautifully on materials like wood, acrylic, leather, paper, and even coated metals.
A single laser machine can handle dozens of projects — from ornaments and tumblers to keychains, signs, and small business products — making it a great long-term tool if you want to explore more than just glass.
The End
No matter which technique you choose, glass etching is one of the most rewarding DIY crafts you can try at home.
It’s simple, satisfying, and full of creative potential.
And if you decide to upgrade to a laser engraver later on, you’ll unlock an entirely new world of materials and project ideas.
For now, grab a glass, pick your method, and give your first design a try—you might be surprised by how easy it feels once you start.
Recent News

12 World Cup Laser Engraving Ideas for Fans
Explore world cup laser engraving ideas for fan gifts, tumblers, coasters, signs, and safe soccer-inspired designs makers can...

What Materials Does a Laser Cutter Cut Safely
Find out what materials does a laser cutter cut, which plastics to avoid, and how CO2, diode, and...

7 Best Laser Engravers Under $1000
Quick Answer:The best laser engraver under $1000 should be chosen by total setup cost, not machine price alone.For most...