


Cutting Acrylic with a Laser Cutter: Complete Guide

Quick Answer:
You can cut acrylic with a laser cutter, but the best machine depends on acrylic type and color.
CO2 lasers are best for clear acrylic and polished edges, while diode lasers work mainly on dark or opaque acrylic.
Always test first because color, thickness, coating, and surface finish affect results.
Can You Cut Acrylic with a Laser Cutter
Yes, acrylic, also called PMMA, is one of the most common materials for laser cutting. It is popular for signs, display stands, ornaments, awards, lighting panels, custom gifts, and small business products because it can produce clean shapes and glossy edges when cut correctly.
The most important detail is laser type. Clear acrylic usually cuts best with a CO2 laser, while blue diode lasers are mainly suitable for dark or opaque acrylic. A fiber laser is not the right tool for cutting acrylic because it is designed for metal marking and industrial material processing.
| Laser Type | Can Cut Acrylic | Best Use | Important Limit |
|---|---|---|---|
| CO2 laser | Yes | Clear acrylic, colored acrylic, polished edges | Needs ventilation and proper setup |
| Diode laser | Limited | Black acrylic, dark acrylic, some opaque sheets | Usually cannot cut clear acrylic well |
| Fiber laser | No | Metal marking and industrial engraving | Not suitable for acrylic cutting |
Key takeaway: choose a CO2 laser for clean transparent acrylic cutting. Choose a diode laser only if your project uses dark or opaque acrylic and you are willing to run material tests.
Best Laser Types for Acrylic Cutting
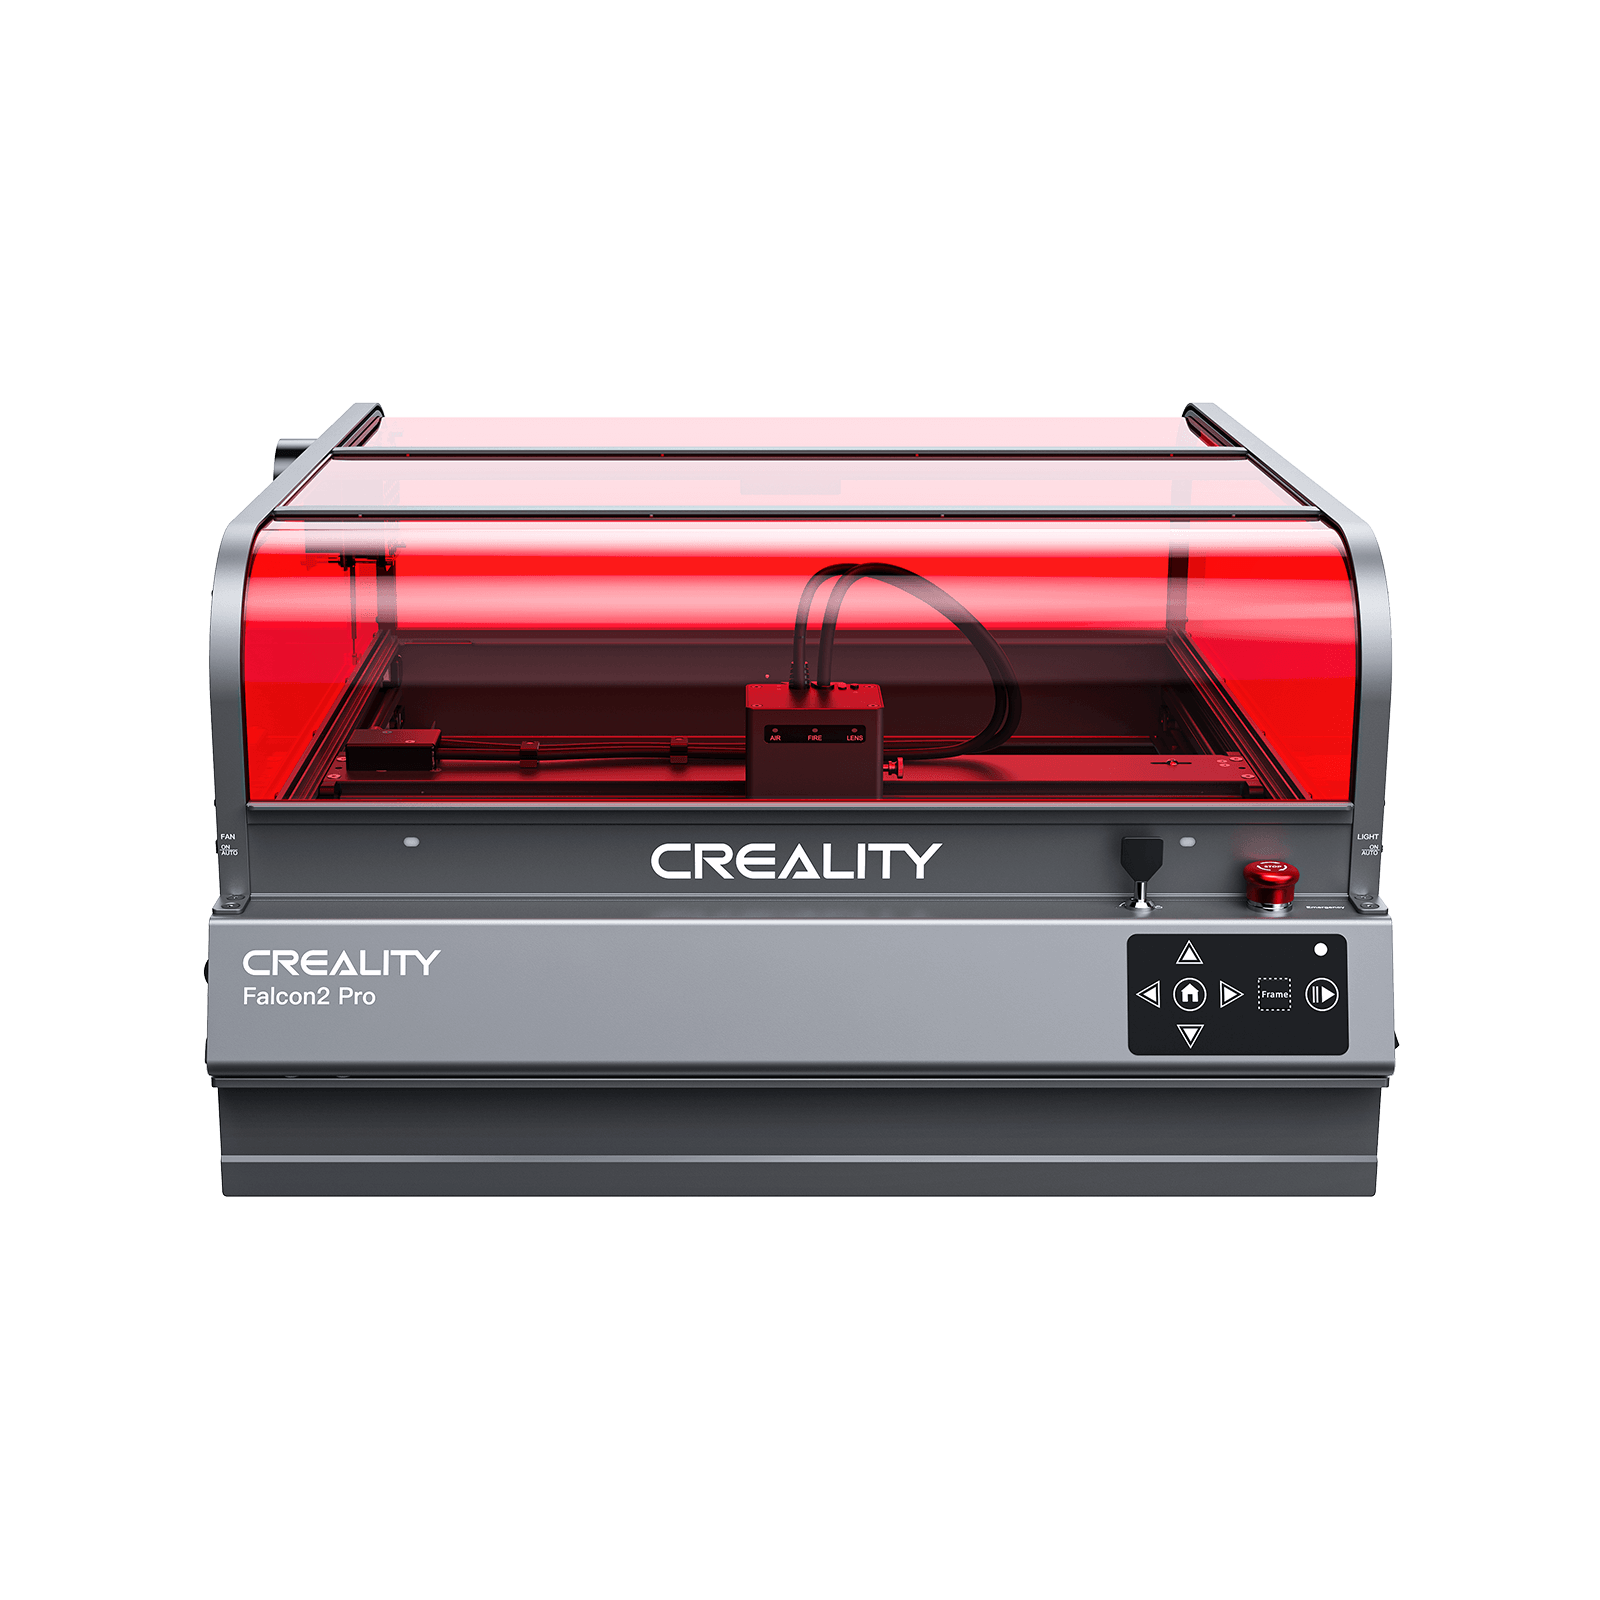
1. CO2 Laser Engravers for Clear Acrylic
A CO2 laser engraver is usually the best choice for acrylic because its wavelength is absorbed well by PMMA. This allows it to cut clear, colored, mirrored, frosted, and cast acrylic more effectively than a blue diode machine.
CO2 lasers are especially useful for professional signage, retail displays, awards, light panels, templates, and acrylic products where edge quality matters. With correct speed, power, focus, ventilation, and masking, a CO2 laser can produce smooth flame-polished edges.
- Best for clear acrylic and polished edges.
- Better for thicker acrylic sheets than diode lasers.
- Useful for signage, display work, awards, and professional production.
- Requires exhaust, ventilation, and regular optics maintenance.
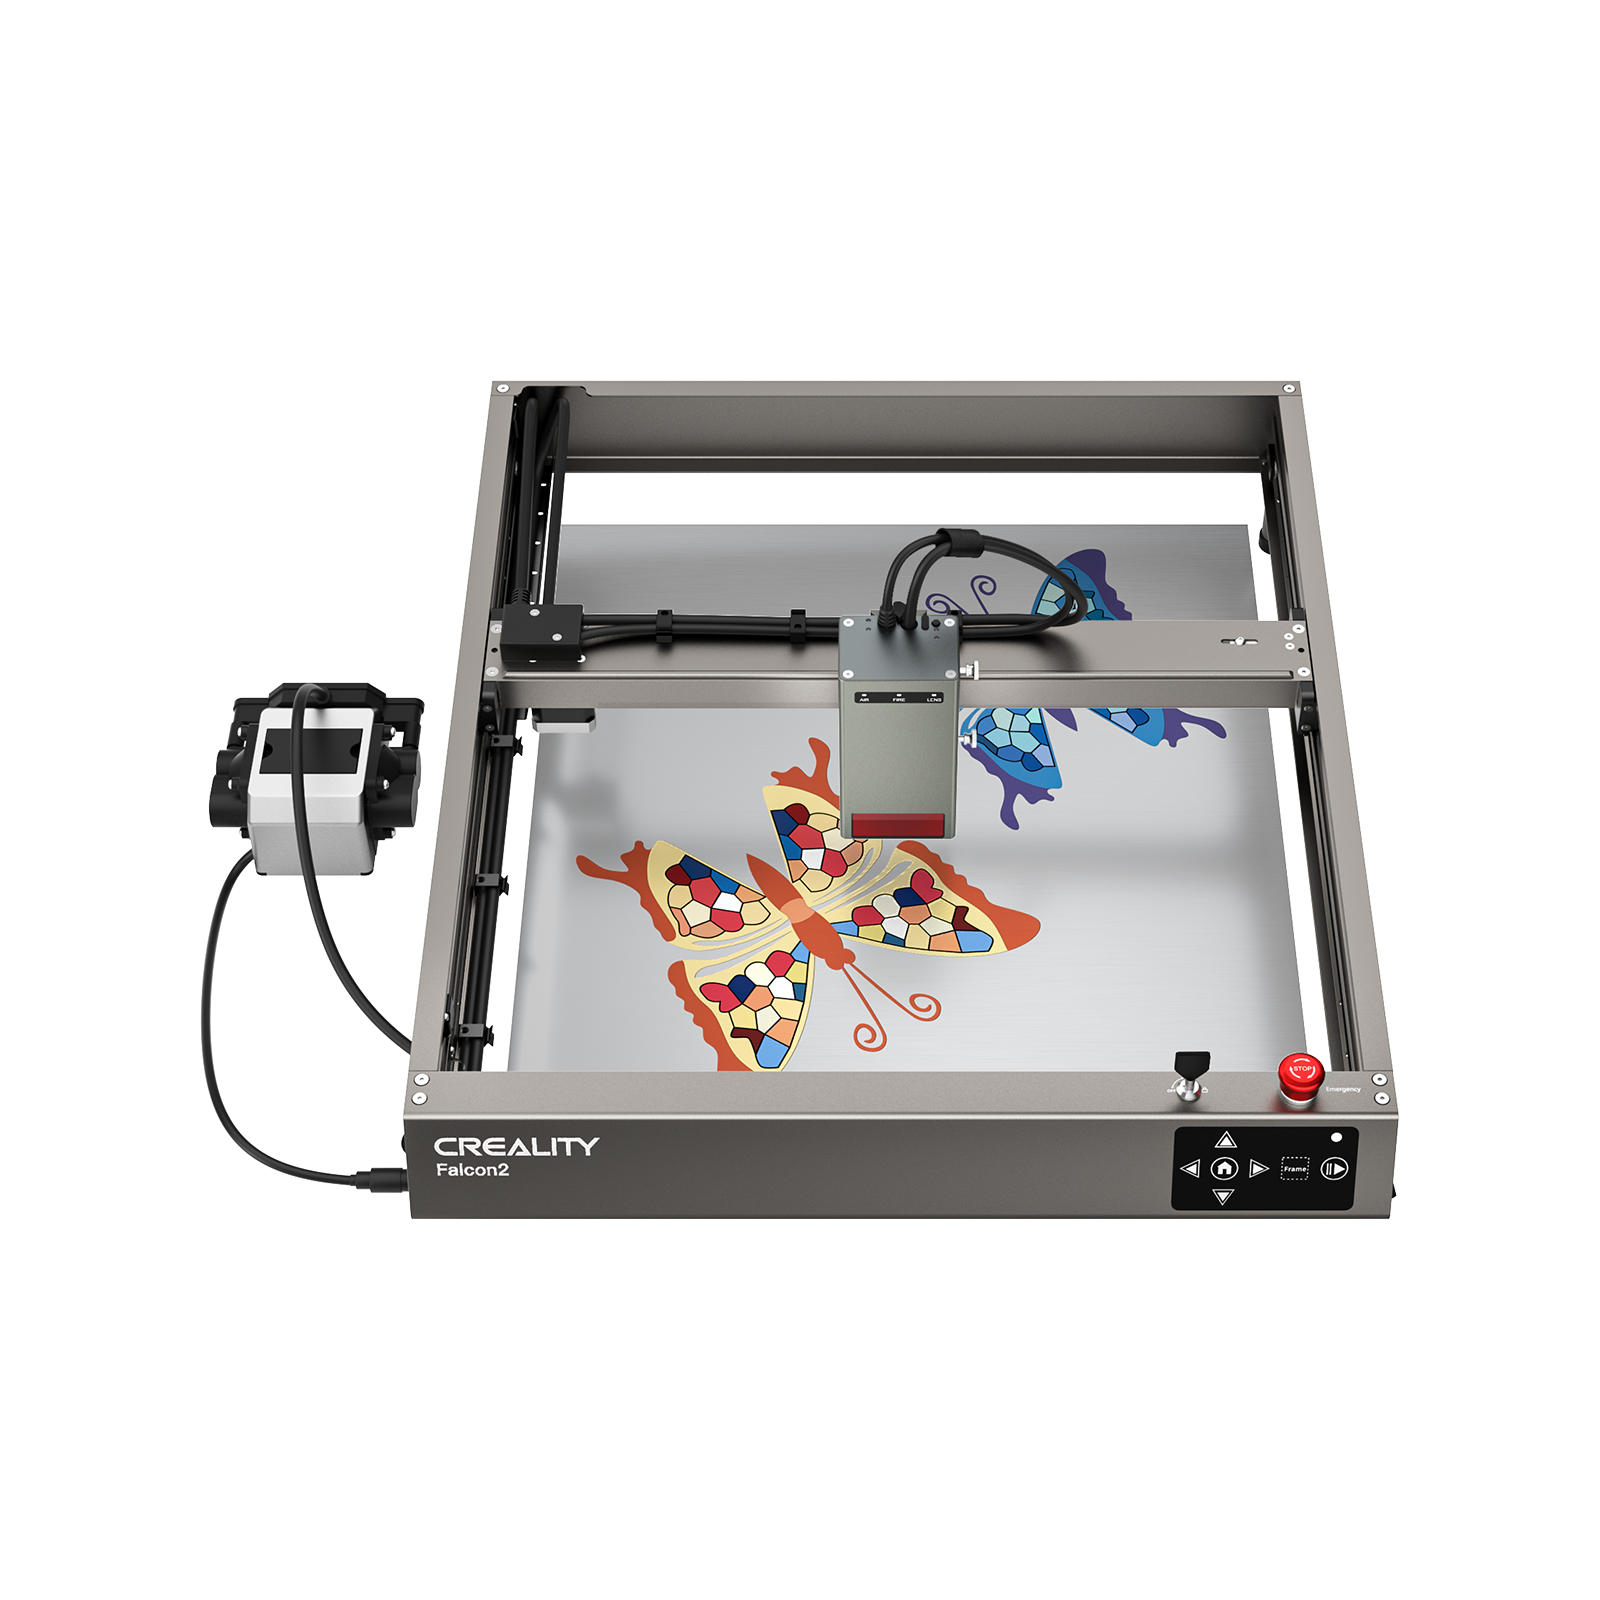
2. Diode Laser Engravers for Dark Acrylic
A diode laser engraver can cut or engrave some acrylic, but the material must absorb the blue laser wavelength. That usually means black acrylic, dark acrylic, painted acrylic, or certain opaque sheets.
Diode lasers are more affordable and compact, so they can be useful for hobby projects, small dark acrylic tags, ornaments, keychains, and craft blanks. However, they are not the best choice for clear acrylic cutting. Results vary by color, coating, thickness, and surface finish, so users should always run a material test before production.
- Best for black or dark acrylic.
- Useful for hobby crafts and small gift projects.
- Less effective on clear, white, blue, and transparent acrylic.
- May need multiple passes depending on thickness and power.
3. Fiber Laser Engravers for Metal Not Acrylic
A fiber laser engraver is not the right tool for acrylic cutting. Fiber systems are mainly used for metal marking, jewelry, tools, industrial tags, and certain plastics that respond to the fiber laser wavelength.
If your project is mainly acrylic, choose CO2 for clear acrylic or a diode laser for dark acrylic. If your project is mainly stainless steel, aluminum, brass, or industrial metal tags, then a fiber system may be the better direction.
Cast vs Extruded Acrylic
Acrylic type affects both cutting and engraving quality. Cast acrylic is usually preferred for laser projects because it engraves with a frosted white look and often produces cleaner visual results. Extruded acrylic can be cheaper, but it may melt more easily and engrave with less contrast.
| Acrylic Type | Cutting Edge | Engraving Effect | Best For |
|---|---|---|---|
| Cast acrylic | Smoother and cleaner | Frosted white contrast | Signs, awards, displays, gifts |
| Extruded acrylic | Can look slightly melted or less polished | Lower contrast | Budget parts, templates, simple cuts |
For professional results, cast acrylic is usually the safer choice. Still, users should test the exact sheet before production because brand, color, thickness, masking film, and surface finish can change the final edge quality.
Recommended Starting Settings for Acrylic
Laser settings are starting points, not final values. Machine power, lens condition, focus height, acrylic brand, color, thickness, masking, airflow, and exhaust all affect the result. Always run a small test grid before cutting the final piece.
| Machine Type | Suitable Acrylic | Starting Approach | Important Note |
|---|---|---|---|
| 10W diode laser | Thin black or dark acrylic | Low speed, high power, multiple passes | Clear acrylic is usually not suitable |
| 20W diode laser | Dark or opaque acrylic | Moderate speed, high power, 1 to 3 passes | Test color and thickness first |
| 40W plus CO2 laser | Clear, cast, colored, and thicker acrylic | Moderate speed, controlled power, single pass when dialed in | Best path for clean acrylic cutting |
If your machine includes or supports air assist, use a light and controlled airflow when cutting acrylic. Too much air can sometimes dull the flame-polished edge, while too little extraction can trap fumes near the cut. The best setup depends on the laser type and acrylic sheet.
How to Cut Acrylic Step by Step
1. Choose the Right Acrylic Sheet
Start with cast acrylic if edge quality and engraving contrast matter. Choose clear or colored cast acrylic for CO2 laser work, and choose black or dark opaque acrylic if you are using a diode laser.
Avoid mystery plastic sheets. Some plastics look like acrylic but are unsafe or perform poorly under a laser. Never cut PVC or vinyl because they can release corrosive and toxic chlorine-containing fumes.
2. Prepare the Design File
Use vector paths for cutting and raster images for engraving. Keep small internal details large enough to survive handling, especially on keychains, ornaments, thin lettering, and decorative signs.
If you are using Creality Falcon software, Falcon Design Space can help beginners place simple shapes, text, and gift designs before sending the job to the machine.
3. Mask the Surface
Masking film can reduce smoke staining and surface marks. Many acrylic sheets already come with protective film, but users should confirm that the film is laser-safe before cutting. If the film is unknown, remove it and use a known laser-safe masking method.
Masking is especially helpful for engraved gifts, signs, and display pieces where the front surface must stay clean.
4. Focus the Laser Carefully
Focus affects kerf, edge quality, and cut-through performance. If the beam is not focused correctly, acrylic may melt, fail to cut through, or show wider edges than expected.
Check focus every time you change material thickness. For thicker acrylic, some users test focus slightly into the material, but this depends on machine type and lens setup.
5. Run a Test Grid
Before the final job, run a small speed and power test on a scrap piece from the same acrylic sheet. This prevents wasted material and helps you find the cleanest balance between cut-through, edge quality, and heat control.
For diode lasers, testing is especially important because acrylic color dramatically changes absorption. A setting that works on black acrylic may fail on blue, white, or clear acrylic.
6. Cut with Ventilation Running
Start cutting only after ventilation or a fume extractor is running. Acrylic fumes can smell strong and should not be trapped indoors. Keep the lid closed on enclosed machines and never leave the laser unattended.
After cutting, allow fumes to clear before opening the machine. Then remove masking, clean residue, and inspect the edge before producing a larger batch.
Common Acrylic Cutting Problems and Fixes
1. Acrylic Does Not Cut Through
If acrylic does not cut through, the laser may be underpowered for the sheet, the speed may be too fast, the focus may be wrong, or the material may not absorb the laser wavelength well.
- Slow down the cutting speed.
- Increase power within safe machine limits.
- Check focus and lens cleanliness.
- Use fewer thick cuts and more appropriate material thickness.
- For clear acrylic on a diode laser, switch to CO2 or use dark acrylic instead.
2. Edges Look Melted or Rough
Melted edges usually come from too much heat staying in one area. This can happen when speed is too slow, power is too high, airflow is wrong, or the acrylic type is less suitable for clean laser cutting.
- Increase speed slightly.
- Reduce power if the cut still goes through.
- Test airflow because too much or too little air can affect edge finish.
- Try cast acrylic if extruded acrylic looks rough.
3. Yellow Marks or Smoke Stains Appear
Yellowing and smoke marks usually come from residue, poor exhaust, dirty optics, or unprotected surfaces. Acrylic can look much cleaner when masking and extraction are dialed in.
- Use laser-safe masking film.
- Improve exhaust and fume extraction.
- Clean the lens and mirrors according to machine instructions.
- Reduce heat buildup with better speed and power balance.
4. Clear Acrylic Fails on a Diode Laser
This is expected in many cases. Clear acrylic transmits much of the blue diode laser light instead of absorbing it. That is why CO2 lasers are the standard choice for clear acrylic cutting.
- Use a CO2 laser for clear acrylic.
- Use black or dark acrylic for diode projects.
- Do not assume higher diode wattage solves all clear acrylic problems.
Safety Tips for Cutting Acrylic
Acrylic can be laser-cut safely with the right setup, but ventilation is not optional. The cutting process produces fumes and odor, so the machine should exhaust outside or use a suitable fume extraction system.
- Use strong ventilation or a dedicated fume extractor.
- Never cut PVC, vinyl, or unknown plastic sheets.
- Keep acrylic flat to avoid focus changes and flame risk.
- Do not leave the laser running unattended.
- Keep optics clean because dirty lenses can overheat or reduce power.
- Keep a suitable fire extinguisher nearby.
When to Consider an Enclosed Diode Upgrade
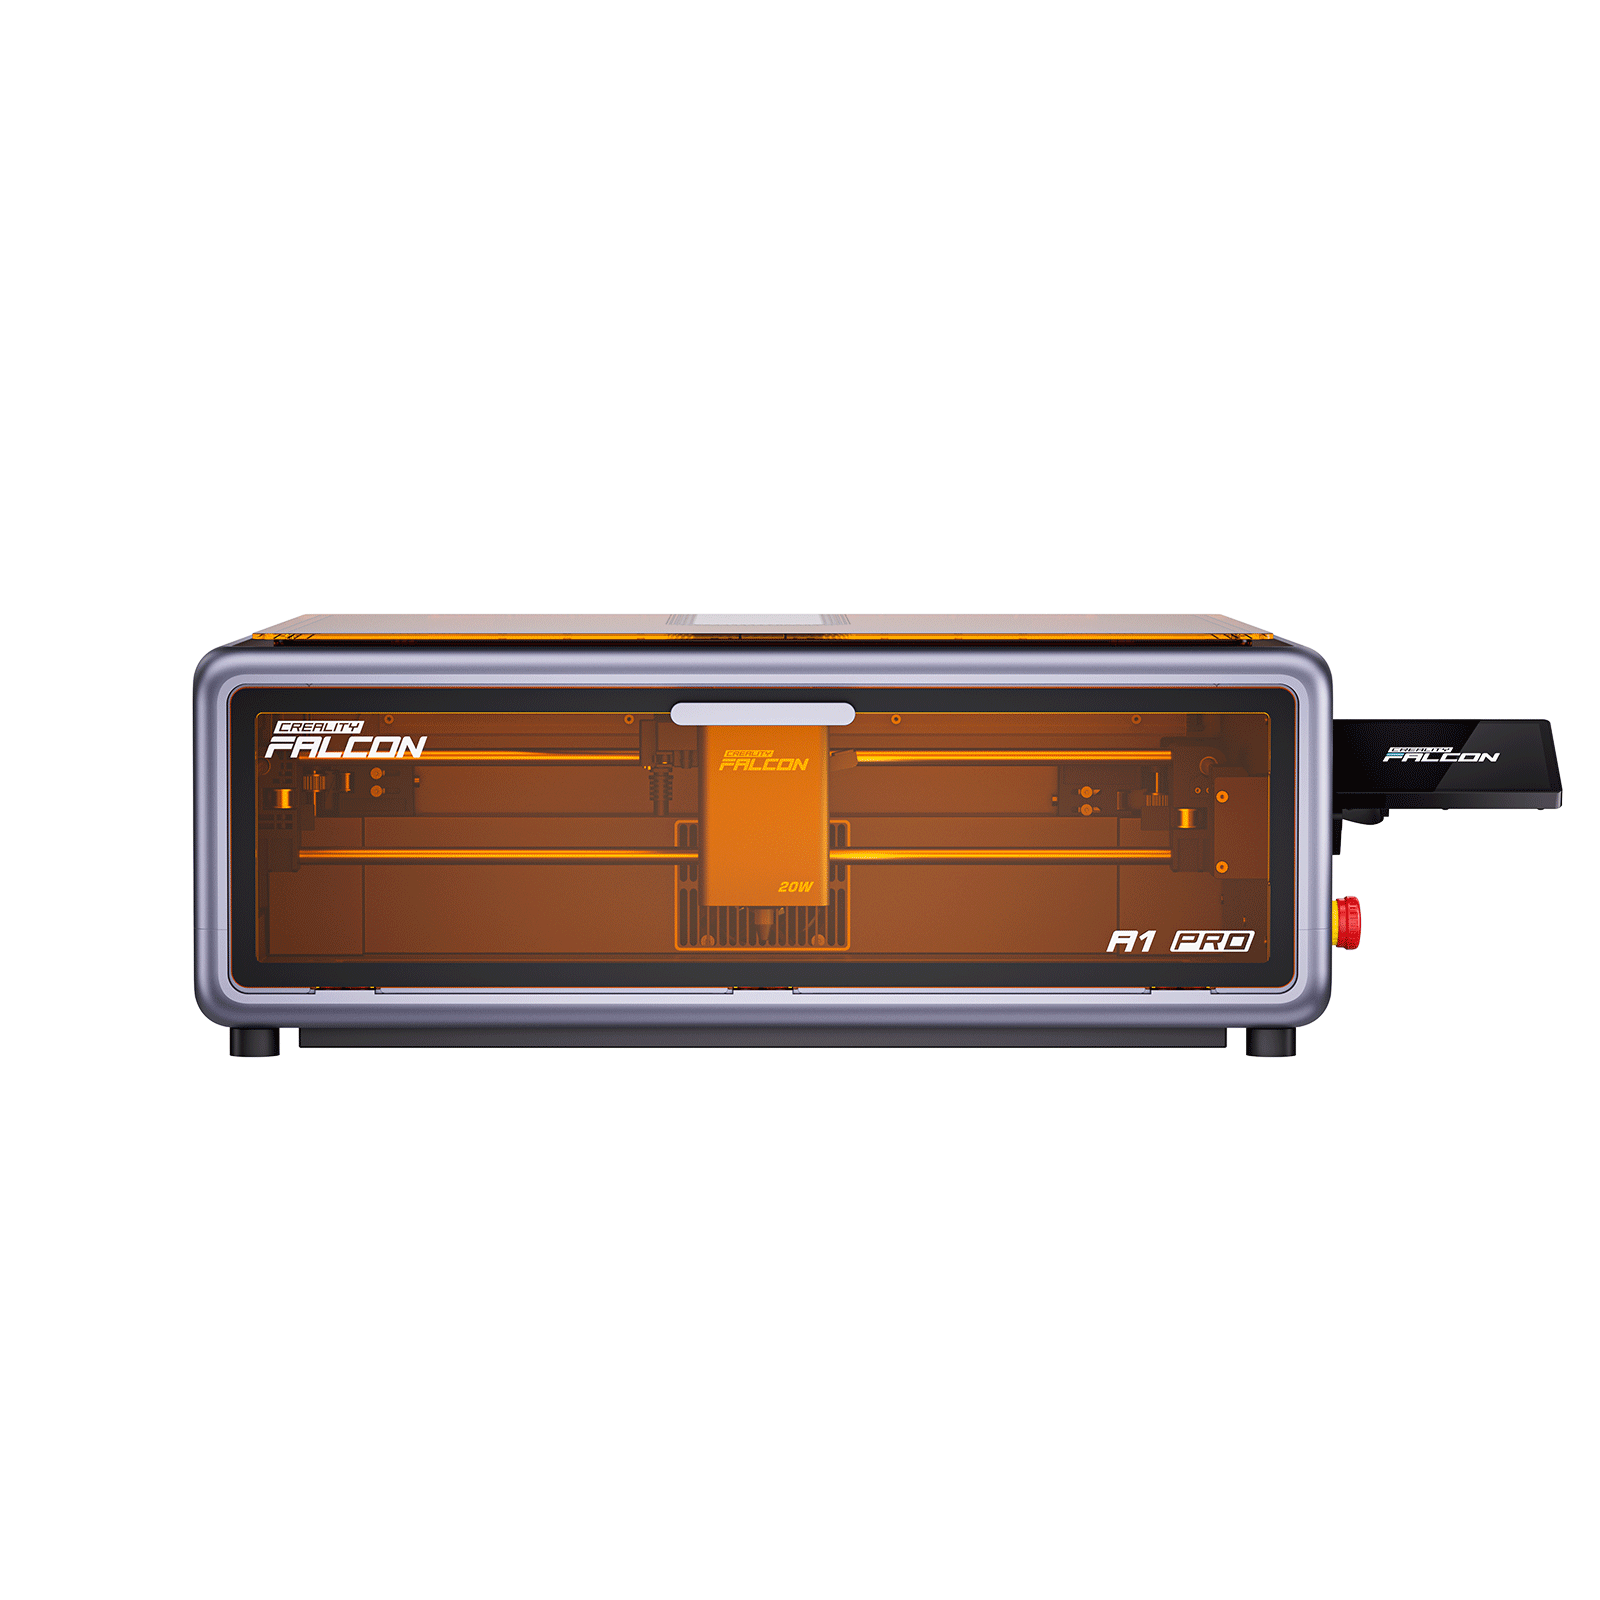
1. Creality Falcon A1 Pro
Why Choose This Product: If you mainly work with dark acrylic, wood, leather, paper, cardboard, and personalized gifts, the Creality Falcon A1 Pro can be a stronger enclosed diode upgrade option for home studios and small craft businesses.
The A1 Pro is not a replacement for a CO2 laser when the goal is clear acrylic cutting. Its stronger use case is dark or opaque acrylic engraving and cutting, plus mixed-material gift production. Its enclosed workflow, 20W diode power, autofocus, camera support, touchscreen, and app control can make repeated personalization jobs easier to manage.
Material results are not universal: acrylic color, coating, thickness, and surface finish all affect diode laser performance. Users should always run a material test before producing customer orders or batch projects.
- SPECS: 20W blue diode laser; optional 2W IR module depending on bundle or configuration; CoreXY motion; up to 600 mm/s speed; AI visual autofocus; touchscreen and app control; enclosed safety design.
- PROS: Useful for dark acrylic, wood, leather, paper, cardboard, and personalized gifts.
- PROS: Enclosed workflow is easier to manage indoors with proper ventilation.
- PROS: Smart positioning and autofocus help with repeated small projects.
- CONS: Not the best choice for clear acrylic cutting.
Common Buyer Questions About Acrylic Laser Cutting
Common buyer concerns usually focus on laser type, clear acrylic compatibility, smoke control, air assist, edge quality, material thickness, and whether a diode laser can replace a CO2 laser. These questions matter because acrylic is highly sensitive to wavelength, color, and heat control.
The safest buying logic is simple: choose CO2 if acrylic is your main material, especially clear acrylic. Choose a diode laser only if your projects are mostly dark acrylic, engraving, mixed crafts, or small hobby work. Always test before production because acrylic results can change from one sheet to the next.
FAQ
1. Can You Cut Clear Acrylic with a Diode Laser?
Usually not well. Clear acrylic does not absorb blue diode laser light efficiently, so the beam may pass through instead of cutting cleanly. A CO2 laser is the better choice for clear acrylic.
2. What Is the Best Laser for Cutting Acrylic?
A CO2 laser is usually the best laser for acrylic cutting, especially for clear acrylic and polished edges. A diode laser can work on dark or opaque acrylic, but results are more limited.
3. Is Cast Acrylic Better Than Extruded Acrylic?
Cast acrylic is usually better for laser projects because it engraves with stronger frosted contrast and often cuts with cleaner visual results. Extruded acrylic is cheaper but may melt more easily and engrave with less contrast.
4. Do You Need Air Assist for Acrylic?
Airflow helps manage fumes and heat, but the best air assist level depends on the machine and edge quality goal. Strong airflow can sometimes reduce flame-polished edge quality, so users should test airflow settings on scrap acrylic first.
5. Is Acrylic Safe to Laser Cut Indoors?
Acrylic should only be cut indoors with proper exhaust or fume extraction. It produces strong fumes and odor during cutting. Never cut PVC, vinyl, or unknown plastics because they can release dangerous fumes.
6. Why Are My Acrylic Edges Rough?
Rough edges can come from the wrong acrylic type, incorrect speed and power, poor focus, weak exhaust, dirty optics, or excessive heat buildup. Run a test grid and compare cast versus extruded acrylic if edge quality matters.
Conclusion
Cutting acrylic with a laser cutter works very well when the laser type matches the material. CO2 lasers are the best choice for clear acrylic, polished edges, and professional acrylic products. Diode lasers are more limited, but they can handle some dark or opaque acrylic projects when settings are tested carefully.
For clean acrylic results, choose cast acrylic, control fumes, keep optics clean, use masking when appropriate, and run a material test before production. The most important rule is simple: match the acrylic type to the laser wavelength before expecting clean cuts.

Recent News

Creality Falcon 12th Anniversary Sale: How to Get the Best Deals
Discover the Creality Falcon 12th Anniversary Sale with up to $1500 off. Compare prices, find the biggest discounts,...

Top 5 xTool Alternatives & Competitors (2026 Edition)
In the market for a laser cutter but not sure about xTool? This Best 5 xTool Alternatives (2026...

5 Cheap Laser Engravers Under $200 in 2026
Looking for affordable laser engravers that won’t disappoint? Explore powerful, user-friendly options ideal for beginners and pros. Get...