


Laser Etching Stainless Steel: Beginner Guide

Quick Answer:
Laser etching stainless steel at home is possible, but most desktop users are doing surface marking or shallow etching, not deep metal engraving.
A 2W IR or fiber laser can mark selected bare stainless steel, while most blue diode and CO2 lasers need marking spray, coating, or a painted surface for visible results.
Can You Laser Etch Stainless Steel at Home
Yes, you can mark or etch stainless steel at home if you use the right laser type, proper ventilation, eye protection, and a fire-safe workspace.
For indoor use, an enclosed machine with exhaust or air filtration is strongly recommended.

The important detail is expectation. For most home and desktop workflows, laser etching stainless steel usually means surface marking or shallow etching, not deep metal engraving or metal cutting. You can create logos, names, QR codes, tool labels, decorative patterns, and tumbler designs, but the process and durability depend on the laser source and surface preparation.
A fiber laser or 2W IR laser is better for bare stainless steel marking. A blue diode laser usually needs marking spray, coating, or a painted surface to create a visible mark on stainless steel.
3 Differences Between Marking Etching and Engraving
People often use “marking,” “etching,” and “engraving” interchangeably, but they do not mean the same thing.
Understanding the difference helps you choose the right machine and avoid expecting a desktop diode laser to do industrial metal engraving.
1. Laser Marking
Laser marking mainly changes the surface color, oxide layer, or surface reaction of stainless steel without obvious material removal. It is commonly used for logos, serial numbers, QR codes, tool labels, and decorative marks.
2. Laser Etching
Laser etching creates a shallow surface change or slight texture change. It is suitable for personalized tumblers, tags, nameplates, gifts, and small business products, but it should not be confused with deep metal engraving.
3. Laser Engraving
Laser engraving removes more material and creates more noticeable depth. For stainless steel, this usually requires a fiber laser or industrial-grade equipment rather than a standard desktop blue diode laser.
For most desktop users, stainless steel “laser etching” usually means surface marking or shallow etching, not deep metal engraving. If you need deep metal removal, a production-grade fiber system is usually the better tool.
4 Best Laser Types for Stainless Steel
Different laser sources interact with stainless steel in different ways. The biggest mistake is assuming that a 20W blue diode laser, a 2W IR laser, a CO2 laser, and a fiber laser all mark stainless steel the same way.
| Laser Type | Can Mark Bare Stainless Steel | Need Marking Spray | Best For |
|---|---|---|---|
| 2W IR / 1064 nm laser | Yes, on selected bare metals | Usually no for many stainless marking tasks | Small metal tags, jewelry, tools, cups, gifts |
| Blue diode laser 5W to 20W | Usually limited without preparation | Usually yes | Budget marking with spray, coating, or painted surfaces |
| Fiber laser | Yes | Usually no | Professional metal marking, industrial labels, batch production |
| CO2 laser | Usually no direct marking | Usually yes | Metal marking with Cermark-style spray or coating |
1. Fiber Lasers for Professional Metal Marking
A fiber laser engraver is the best fit for professional stainless steel marking. Fiber lasers are designed for metals, can mark bare stainless steel directly, and are commonly used for serial numbers, industrial parts, tools, tags, jewelry, and production identification.

If your work depends on high-volume stainless steel marking, deep engraving, or industrial durability, fiber is usually the safest buying direction. The tradeoff is price, learning curve, and a more specialized workflow.
2. 2W IR Lasers for Desktop Metal Marking
A 2W IR or 1064 nm laser is useful for compact desktop metal marking. It can mark selected bare metals, including stainless steel, and is well suited for small objects such as metal tags, jewelry, tools, tumblers, and personalized gifts.

IR is not the same as a high-power fiber system, but it gives desktop users a more realistic way to mark stainless steel than a standard blue diode module alone. Results still vary by alloy, surface finish, focus, and settings.
3. Blue Diode Lasers with Marking Spray
A blue diode laser engraver is better known for wood, leather, paper, cardboard, and dark acrylic. Most 5W to 20W blue diode lasers are not ideal for direct bare stainless steel marking without preparation.

For stainless steel, a blue diode laser usually needs marking spray, coating, paint, or another prepared surface to create a high-contrast mark. Most 5W to 20W diode lasers are not suitable for practical stainless steel cutting. Any thin-sheet cutting capability depends on material thickness, setup, and test conditions.
4. CO2 Lasers with Coatings
A CO2 laser engraver is excellent for wood, acrylic, leather, paper, and many non-metal materials, but it usually cannot directly mark bare stainless steel without help.

With marking spray or a suitable coating, CO2 lasers can create dark marks on stainless steel. This is useful for shops that already own a CO2 machine and want occasional metal marking without buying a fiber laser.
Can Falcon A1 Pro Etch Stainless Steel
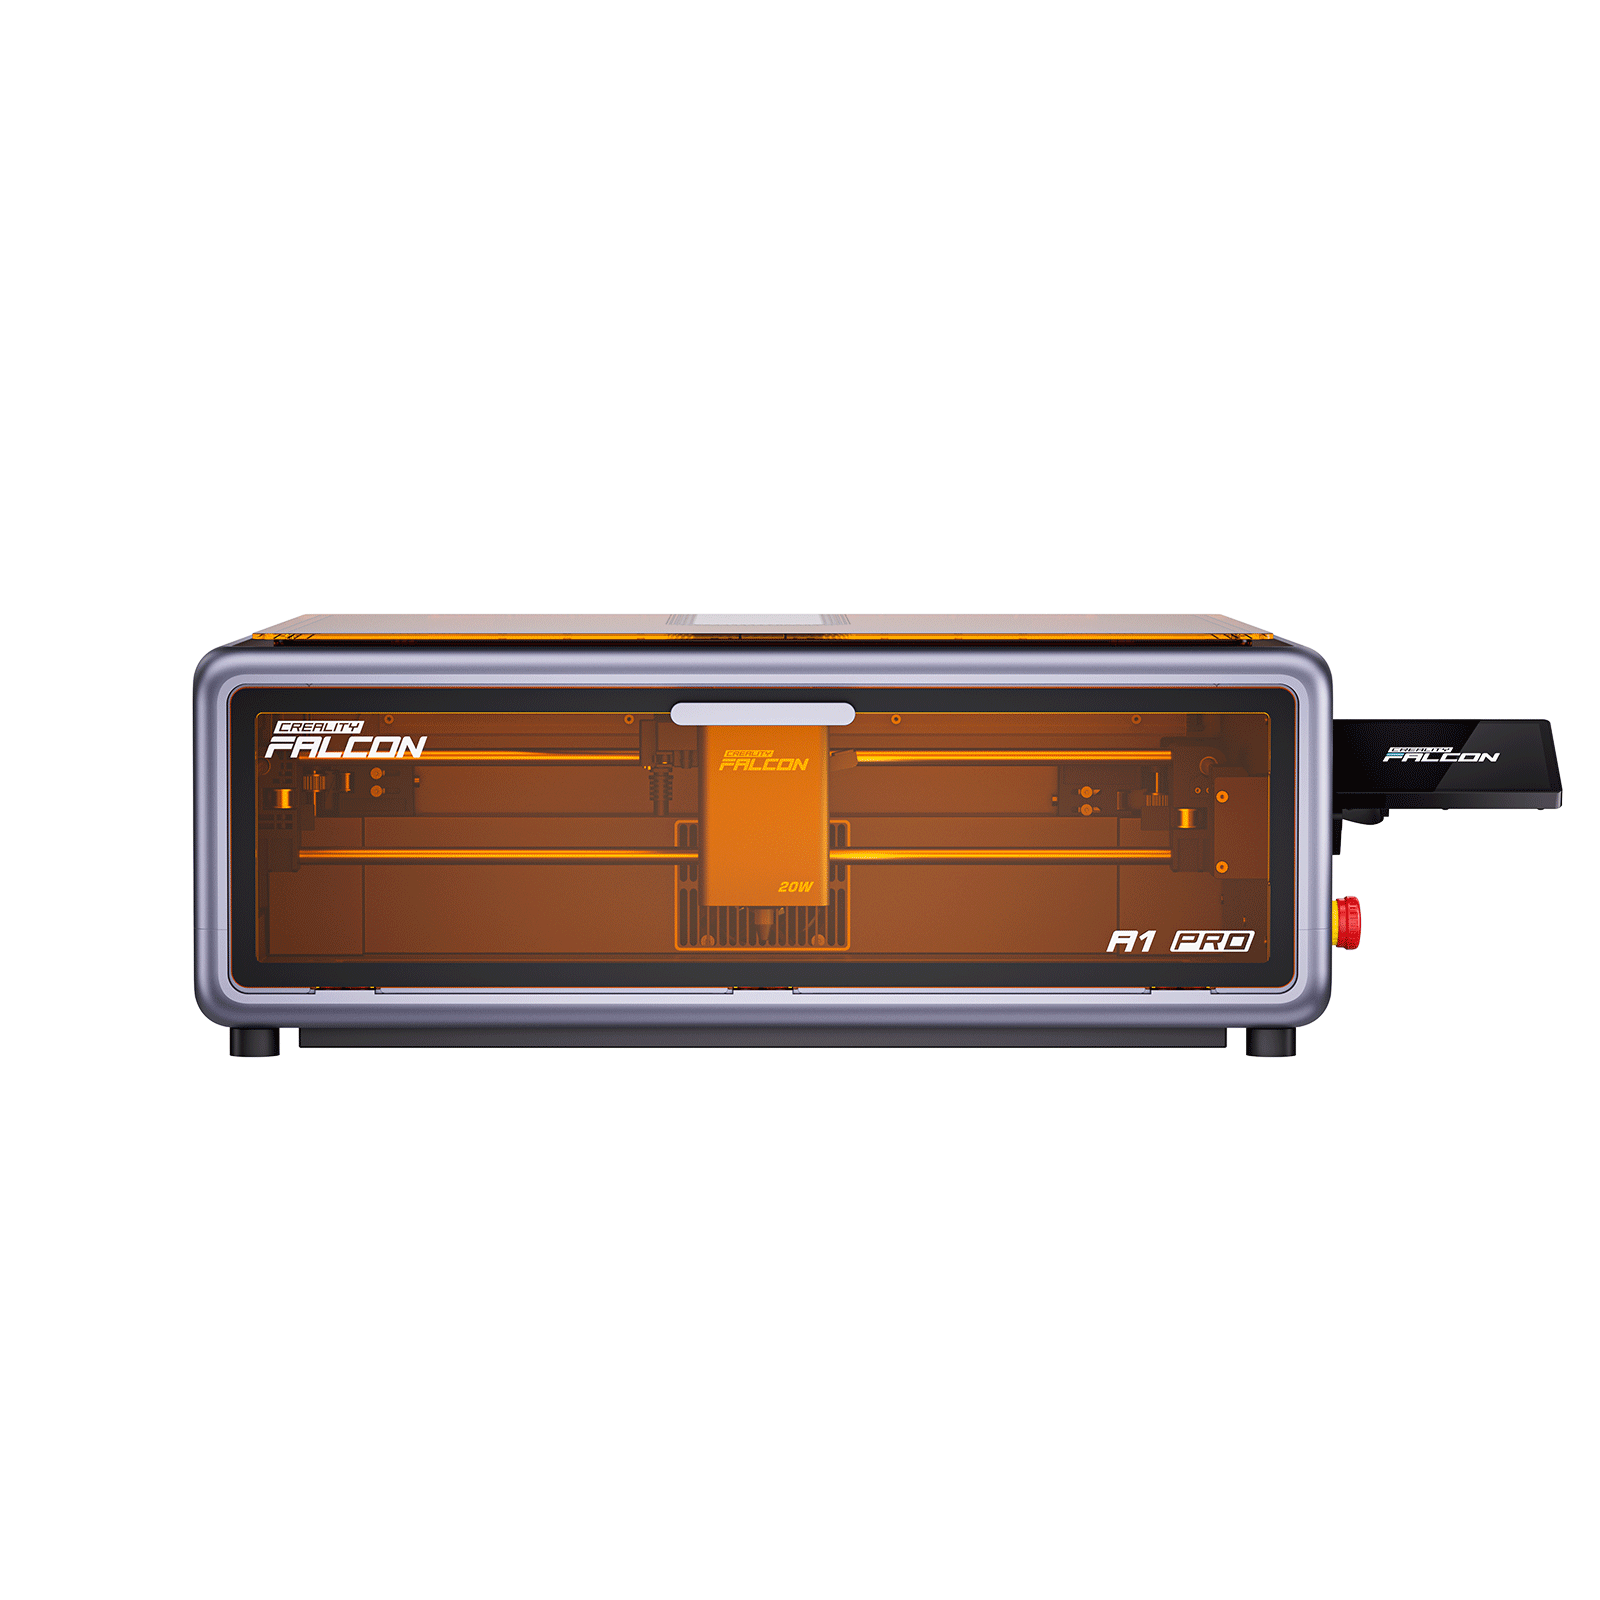
Yes, the Falcon A1 Pro can mark selected stainless steel surfaces when equipped with the optional 2W IR module, depending on bundle or configuration. This is the most accurate way to describe its stainless steel capability.
Its 20W blue diode module is better suited for wood, dark acrylic, leather, paper, cardboard, and other non-metal materials. For stainless steel, the blue diode module is mainly useful when paired with a suitable marking spray, coating, or painted surface.

The Falcon A1 Pro should not be described as a machine that directly deep-engraves bare stainless steel with its 20W blue diode module. It is a practical desktop option for beginners and small businesses that need an enclosed workflow, simple setup, and stainless steel marking capability when paired with the 2W IR module.
- SPECS: 20W blue diode laser; optional 2W IR module depending on bundle or configuration; enclosed desktop design; AI visual autofocus; touchscreen and app workflow; supports Falcon Design Space, LightBurn, and LaserGRBL workflows.
- PROS: Good fit for small stainless steel tags, tools, jewelry, tumblers, and custom gifts when using the 2W IR module.
- PROS: Enclosed desktop workflow is easier to manage indoors with proper exhaust or filtration.
- PROS: 20W blue diode module is useful for non-metal materials, while the optional 2W IR module expands metal marking options.
- CONS: Not suitable for industrial-scale stainless steel engraving or practical stainless steel cutting.
Prices may vary due to promotions. Please check the official website for the latest pricing.
10 Steps to Laser Etch Stainless Steel
1. Choose the Right Laser Type
Use fiber or IR for bare stainless steel marking whenever possible. Use a blue diode or CO2 laser only when the stainless steel surface is prepared with a marking spray, coating, or paint.
2. Clean the Stainless Steel Surface
Remove oil, fingerprints, dust, and residue before marking. A clean surface improves consistency and reduces patchy marks.
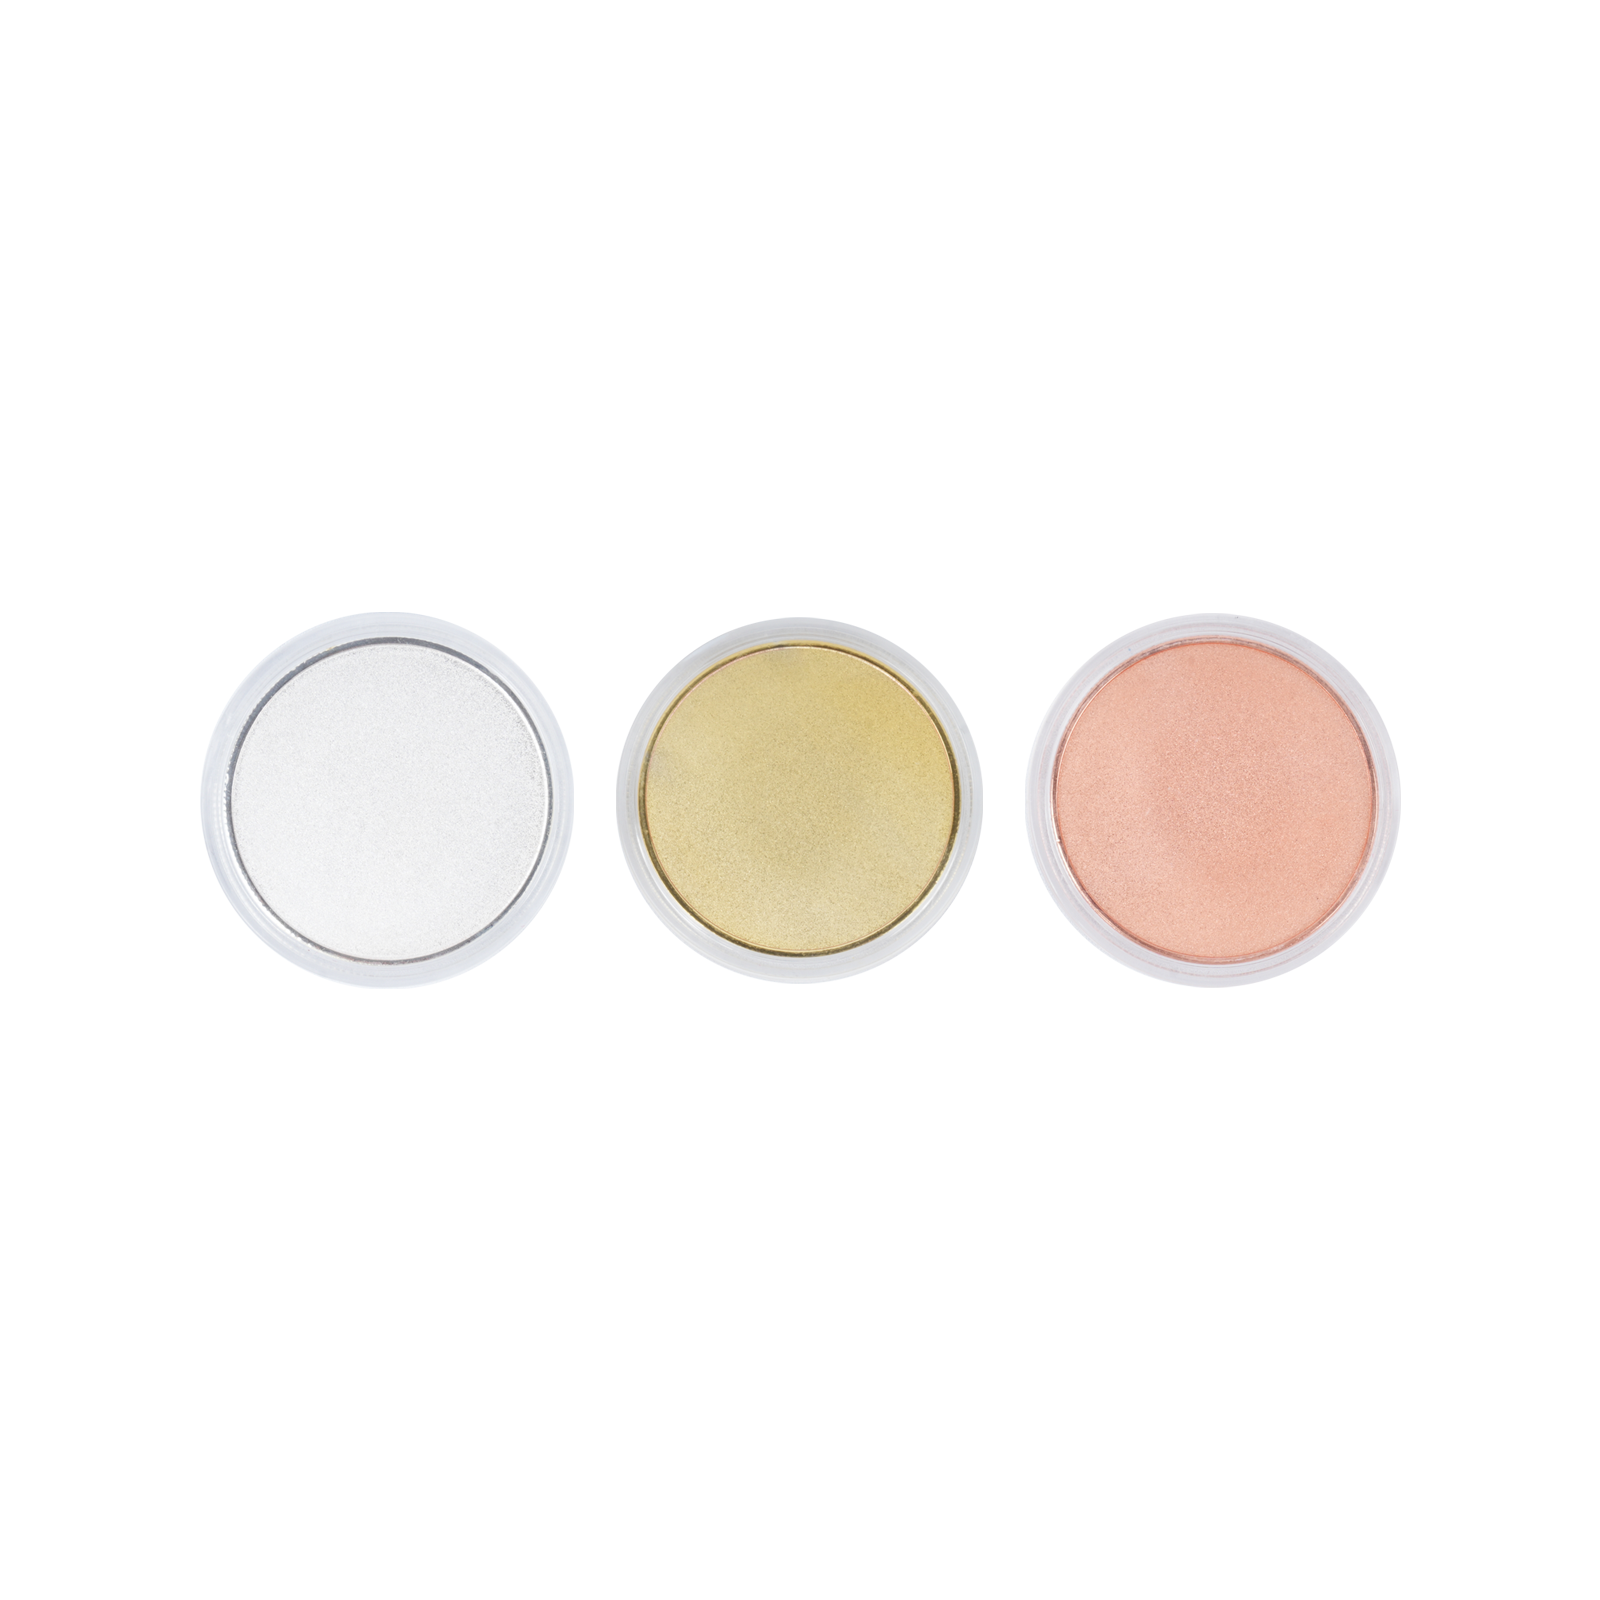
3. Decide Whether You Need Marking Spray
If you are using most blue diode or CO2 laser setups, marking spray is usually needed. IR and fiber lasers can usually mark bare stainless steel without spray, depending on settings and finish.
4. Secure the Workpiece
Make sure the stainless steel piece is flat, stable, and unable to shift during marking. Movement can blur text, logos, and QR codes.
5. Focus the Laser Correctly
Focus affects mark sharpness and contrast. Follow the machine’s focus method carefully, especially when using IR modules for small metal objects.
6. Run a Small Test Grid
Always run a test grid before final production. Stainless steel results vary by alloy, surface finish, coating, marking spray, and laser type.
7. Adjust Speed Power and Passes
Start with conservative settings and adjust gradually. Too much power too quickly can create poor contrast, heat marks, or inconsistent results.
8. Complete the Final Marking
Once the test grid shows the best contrast, run the final design. Stay near the machine and monitor the job from start to finish.
9. Clean the Surface After Marking
If you used marking spray, remove leftover coating according to the product instructions. Do not leave residue on tumblers, tools, tags, or jewelry.
10. Inspect Contrast and Durability
Check whether the mark is readable, sharp, and durable enough for the intended use. For customer work, test abrasion resistance before producing a batch.
8 Common Mistakes to Avoid
- Treating marking, etching, and engraving as the same process: They differ by depth, surface change, and application.
- Expecting a blue diode laser to directly engrave bare stainless steel: Most blue diode setups need marking spray or coating.
- Skipping marking spray with diode or CO2 lasers: Without preparation, the mark may be weak or invisible.
- Using too much power too quickly: Run a test grid before committing to final settings.
- Ignoring ventilation: Metal marking sprays, coatings, and residue can create fumes or particles.
- Engraving unknown coatings: Unknown finishes may release unsafe fumes or produce poor results.
- Assuming all stainless steel reacts the same way: Alloy, finish, coating, and surface polish affect results.
- Confusing thin-sheet test cutting with practical stainless steel cutting: Desktop diode lasers are not practical stainless steel cutters.
7 Safety Tips for Stainless Steel Laser Etching
- Use proper ventilation, exhaust, or air filtration.
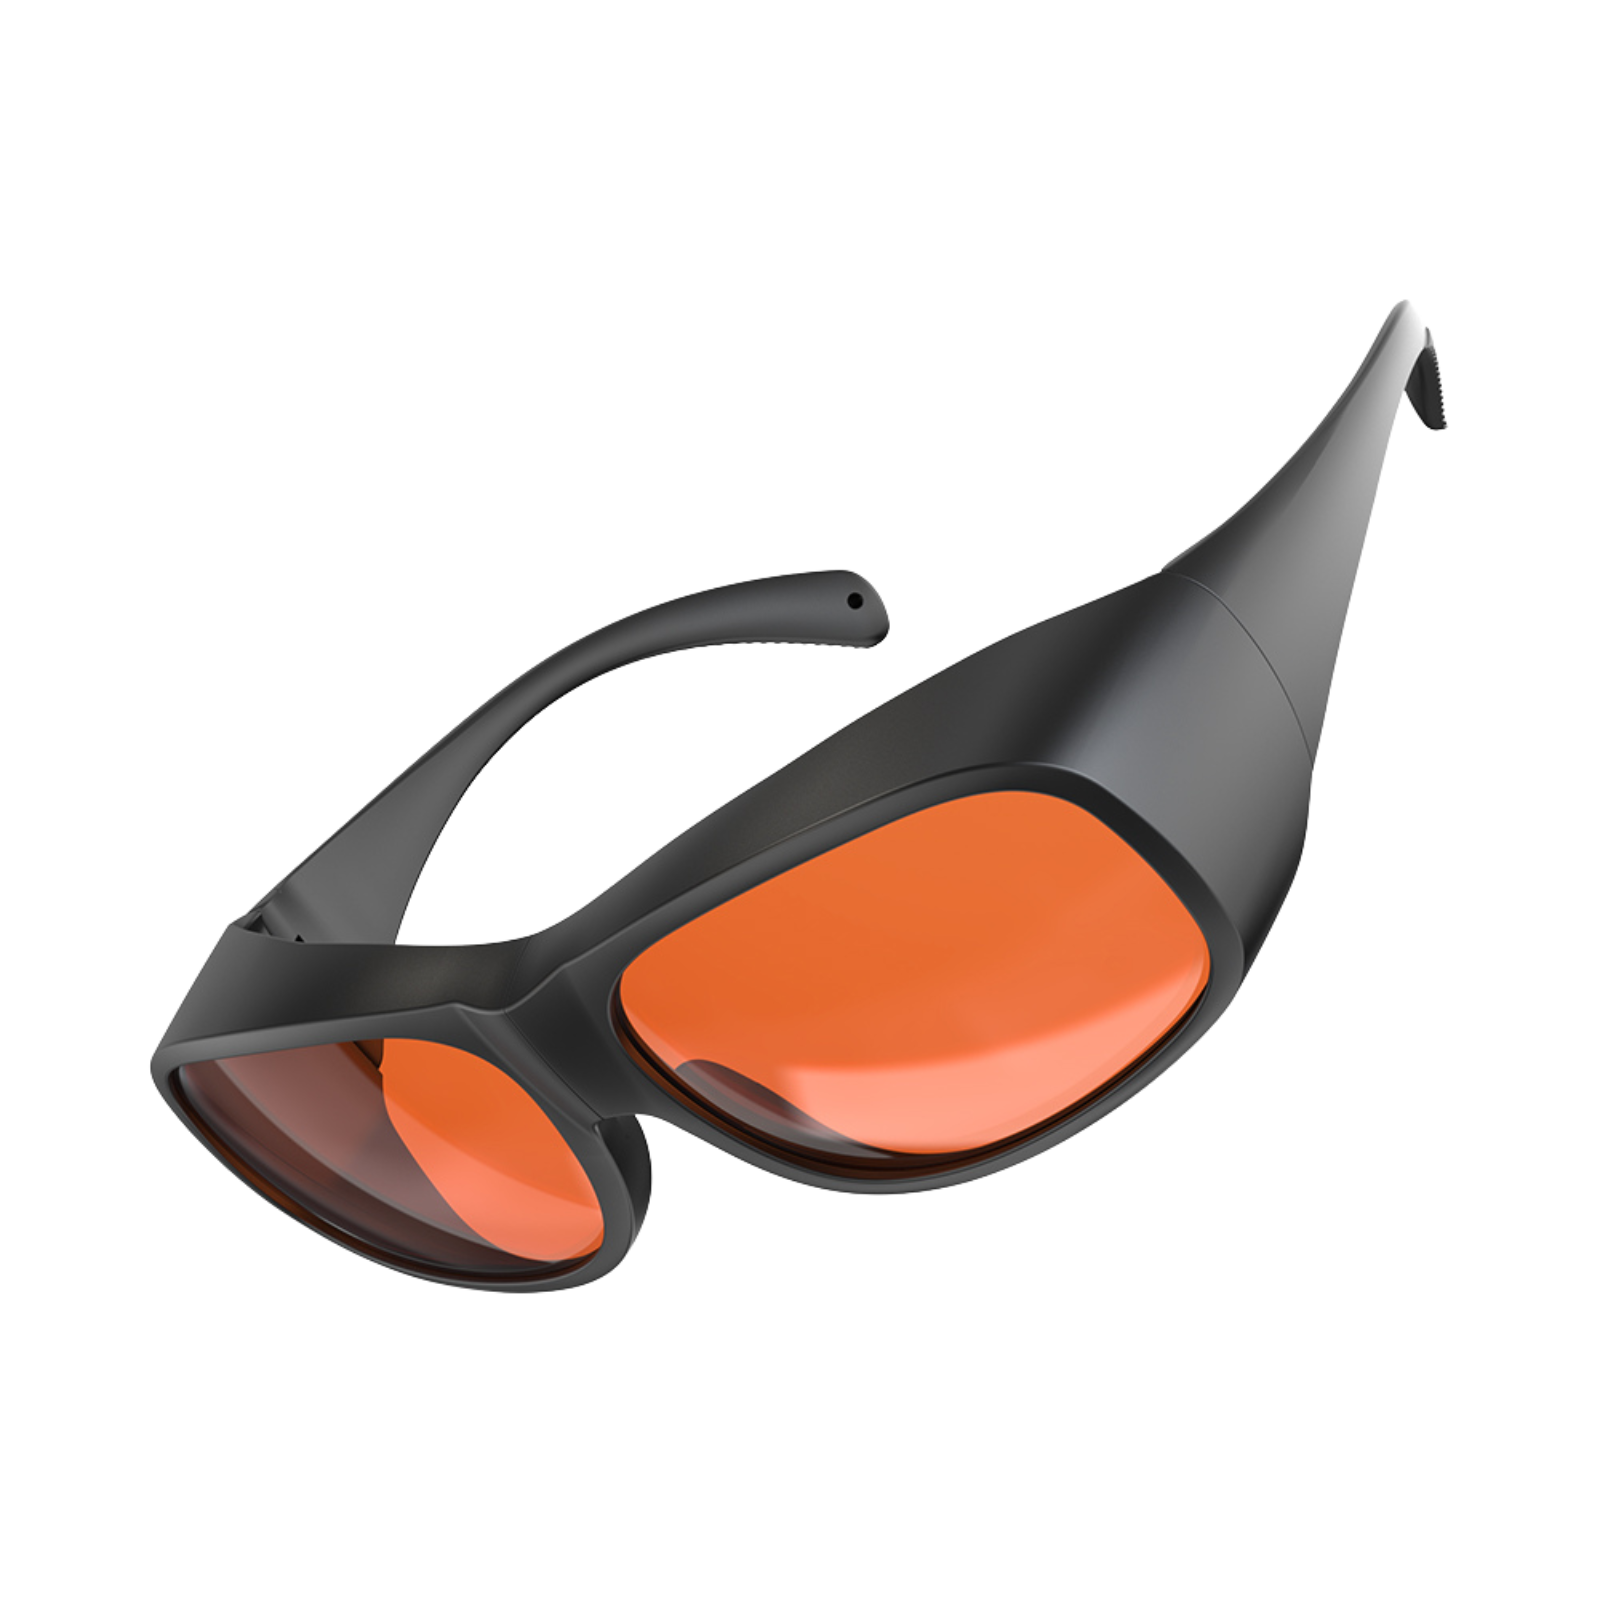
- Wear laser safety glasses suited to your laser wavelength.
- Use a fire-safe workspace and keep the area clear of flammable clutter.
- Choose an enclosed machine when working indoors whenever possible.
- Do not engrave unknown coatings or unknown metal finishes.
- Never leave the laser unattended while marking.
- Clean residue after using marking spray and keep optics free from contamination.
FAQ
1. Can a Diode Laser Etch Stainless Steel?
Yes, but most blue diode lasers need a marking spray, coating, or painted surface. For bare stainless steel, an IR or fiber laser is usually better.
2. Can Falcon A1 Pro Mark Stainless Steel?
Yes. When equipped with the optional 2W IR module, the Falcon A1 Pro can mark selected bare metals, including stainless steel. Its 20W blue diode module is better suited for non-metal materials or metal marking with spray or coating.
3. Can a 20W Diode Laser Cut Stainless Steel?
It is not suitable for practical stainless steel cutting. Very thin-sheet results depend on material thickness, setup, and test conditions, but this is not the same as real stainless steel cutting capability.
4. Do I Need Marking Spray for Stainless Steel?
For most blue diode and CO2 laser setups, yes. IR and fiber lasers can usually mark bare stainless steel without spray, depending on alloy, finish, and settings.
5. What Is the Best Beginner Laser for Stainless Steel Marking?
A desktop IR laser or dual-laser machine is more beginner-friendly for small metal tags, tumblers, jewelry, tools, and custom gifts. Fiber lasers are better for professional or high-volume metal marking.
6. Is Laser Etching Stainless Steel Safe at Home?
It can be safe when you use the right laser type, ventilation, eye protection, fire-safe setup, and known materials. Do not process unknown coatings, and never leave the machine unattended.
Conclusion
Laser etching stainless steel is realistic for home studios and small businesses, but the process must be described accurately. Most desktop workflows create surface marking or shallow etching, not deep stainless steel engraving.
For bare stainless steel, IR and fiber lasers are the better choices. Blue diode and CO2 lasers usually need marking spray, coating, or a prepared surface. The Falcon A1 Pro is a practical desktop option when equipped with the optional 2W IR module, while its 20W blue diode module remains strongest for non-metal materials and prepared-surface marking.
Recent News

Creality Falcon 12th Anniversary Sale: How to Get the Best Deals
Discover the Creality Falcon 12th Anniversary Sale with up to $1500 off. Compare prices, find the biggest discounts,...

Top 5 xTool Alternatives & Competitors (2026 Edition)
In the market for a laser cutter but not sure about xTool? This Best 5 xTool Alternatives (2026...

Cutting Acrylic with a Laser Cutter: Complete Guide
Learn how to cut acrylic with a laser cutter, including settings, safety tips, cast vs extruded acrylic, and...